
Use your favorite photos to make custom Mod Podge coasters – because DIY photo coasters make perfect gifts! These picture coasters are inexpensive and easy to make.
Skills Required: Beginner. Picture coasters are simple if you take your time! The project is fine for those who have never used Mod Podge before, but I’d suggest doing a test first if you’re new to Mod Podge.
Hey Mod Podge Rocks readers! I’m Emily from Martha Shmartha, and I am beyond excited to be sharing these DIY coasters with you.
Amy has taught me a lot about decoupage, the most important thing being not to say, “Modge Podge.” (Yup, I did that. What shame!)
But now I know better and I am so pleased to be sharing a really nifty Father’s Day project with you. I’m going to show you how to decoupage Mod Podge coasters! This decoupage idea is one that you’ll do again and again, I promise.
Picture Coasters
Before you get started with your DIY photo coasters, I want to answer a few questions for you. These are commonly asked and are good to know before you dive into the project!
Where can I buy tiles for picture coasters?
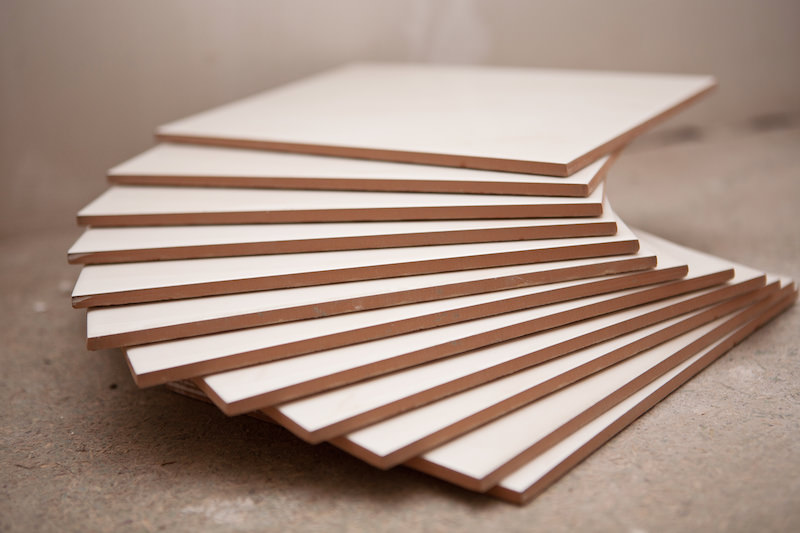
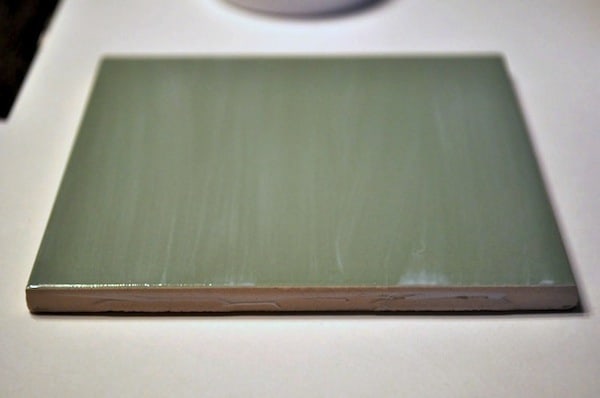
If you can find a hardware store, you’ll probably be able to find tiles. I like to get mine at Home Depot and Lowe’s has them too. They are very inexpensive, typically under $1.
Can I use real photos for my coasters?
I don’t recommend it, at least when you’re using Mod Podge. My recommendation is that you get laserjet copies made (not inkjet, because it will bleed). Your original images will stay preserved.
How many coats of Mod Podge do you need for coasters?
I would use at least three coats, letting dry for 15 – 20 between each.
What Mod Podge formula should I use to seal coasters?
My favorite formula to use for coasters is Mod Podge Hard Coat. Having said that, check out the formula guide for more detail.
How do you seal paper coasters?
Some crafters wonder if you have to do anything special for paper picture coasters. As long as you use laserjet printouts, you can treat paper the same way you would fabric.
Simply Mod Podge the paper/image down, smooth, and let dry for 15 – 20 minutes. Then you can seal over the top with several coats.
How do you make waterproof tile coasters?
If you didn’t know, Mod Podge isn’t fully waterproof – nor is it heat proof. If you want to make your coasters waterproof and heat proof, Engine Enamel is what the pros use.
If you’re ready to jump in, let’s do it!
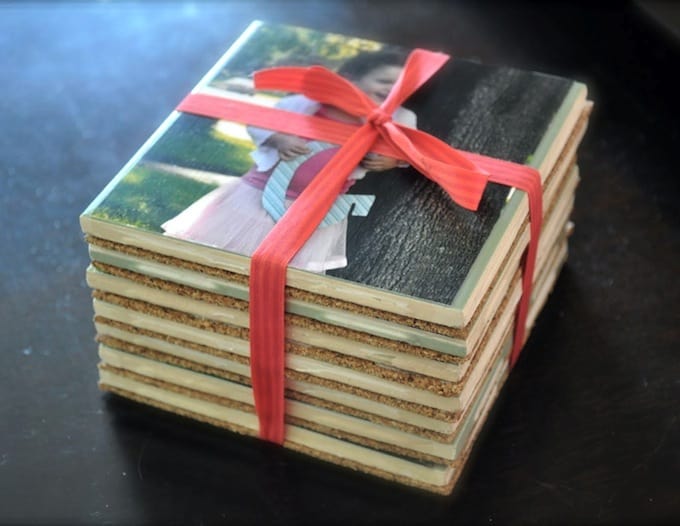
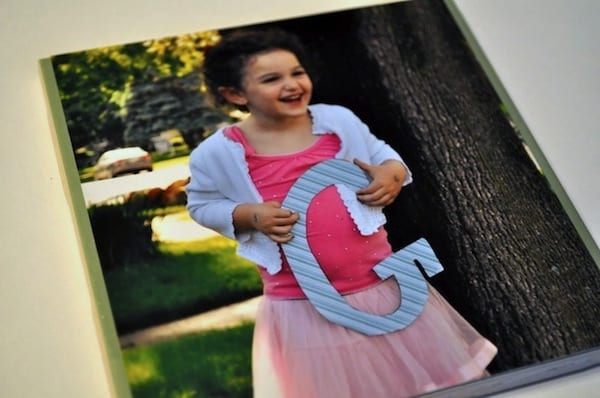
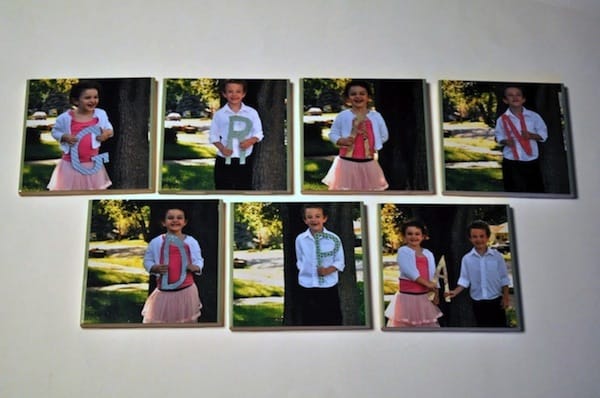
My DIY photo coasters spell G-R-A-N-D-P-A, but you could easily make yours to say D-A-D-D-Y for Father’s Day. They’re a great Mother’s Day gift too. Really you can make them say anything. Let’s get started!
Gather These Supplies
- Tiles (I got mine for like 20 cents each from Home Depot. They are 4.5″ x 4.5″, but anything around this size will work)
- Cardboard
- Decorative (Scrapbook) Paper
- Mod Podge Matte
- Mod Podge Hard Coat
- Scissors
- Pen/Pencil
- Camera
- Photographs (You’ll take them, then you’ll need to have them printed)
- Cute kids
- Cork board
- Adhesive Spray
Let’s get started!
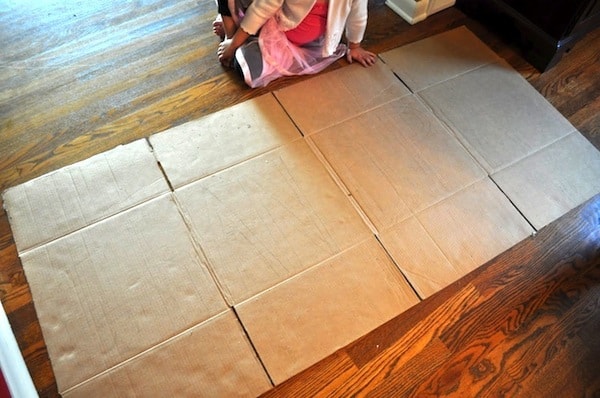
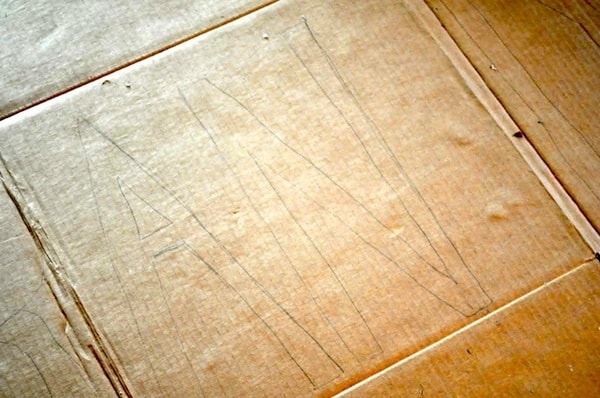
This first thing we need to do is make our cardboard letters. I opened up a giant box, then freehanded the letters GRANDP onto the cardboard. I chose to use the A twice, for the first and last A, but you could draw A twice, as well.
You do want your letters to be fairly big, as they have to be very visible in a photograph.
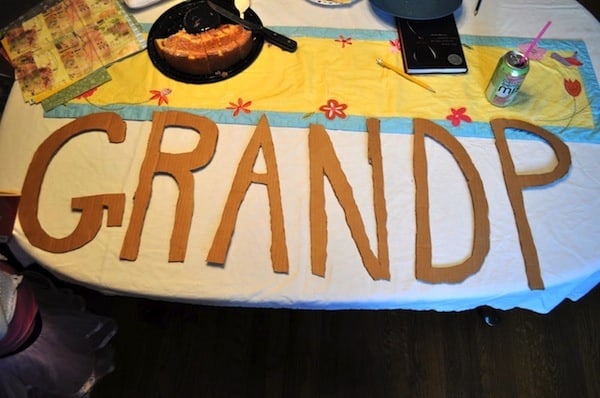
Now you need to cut out all of your letters. Please excuse the background of this photo. My husband was on call, blah, blah, blah.
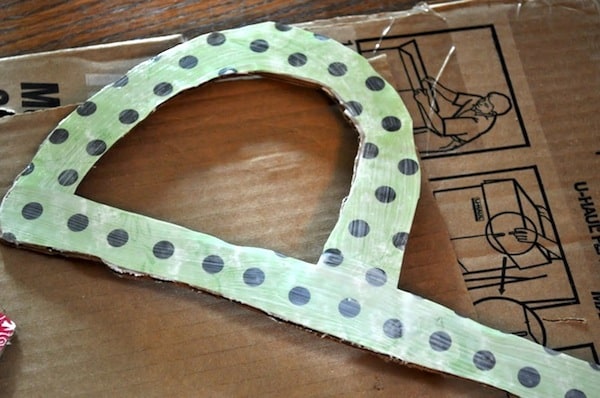
Now we need to cover the letters with decorative paper. I used a different paper for each letter. Lay the letter on the backside of your paper, then trace it with pencil.
You want to use the back of the paper so that your pencil marks don’t show on the front.
Then cut the letter from the paper. Coat the cardboard letter with Matte Mod Podge, then lay the paper on top. Smooth out all of the air bubbles. Let it dry. Then paint a layer of Mod Podge over the letter/paper.
Some of my letters were too big to fit on my scrapbook paper. I just fit what I could tracing, then cut out enough to cover the rest of the letter from the scraps.
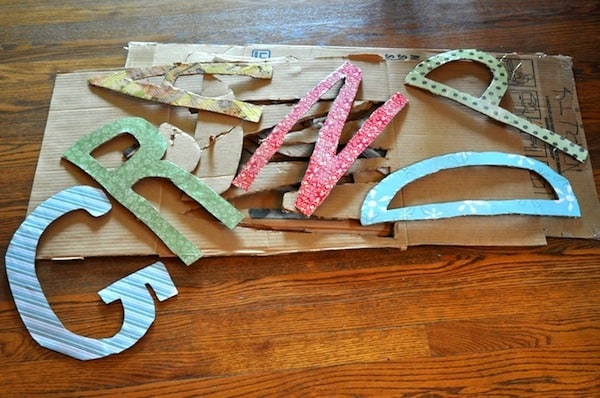
This is what you should have!
Okay, the letters are done! Here’s the fun part: Go out and shoot some adorable pictures of your kids holding each of the letters, one letter at a time.
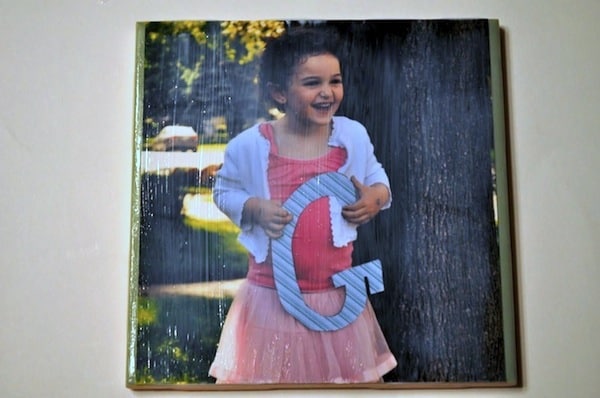
We did some funny shots and some normal shots – do whatever Dad/Grandpa would love the most. Choose one picture of each letter and have it printed in a 4 x 6. I did some cropping before I had the photos printed, just to be sure that the kids/letters were big enough.
Be cautious, though, as you’ll have to cut about 1.5″ from the top or bottom of your photo to make it fit on the tile (I ended up cutting my kids feet off in every photo).
To crop my photos, I placed a picture on its tile, then made a crease along the bottom edge, where I wanted to crop. Then I cut along that crease with my paper cutter.
This is what your photo should look like after cropping. Your Mod Podge coasters are halfway done!
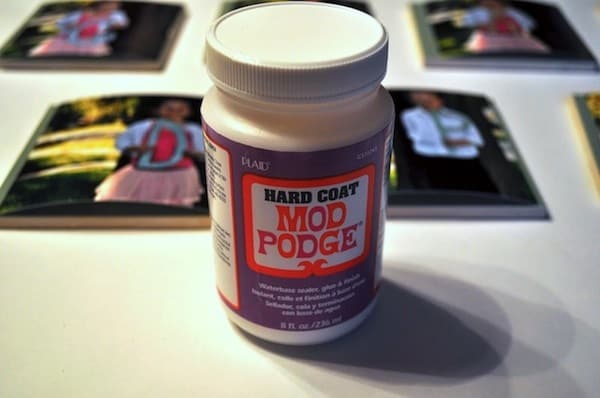
Okay Mod Podgers, it’s time to pull out your Hard Coat Mod Podge! This Mod Podge is water resistant and not tacky, just right for coasters.
Paint a thin coat of Mod Podge onto your tile. I used a soft bristle brush, but you could use a foam brush, too. Lay the photo onto the tile, centering it and smoothing out all of the air bubbles.
I didn’t have any trouble with air bubbles after drying, I think because the photo paper is so thick, but I worked pretty hard to rub out any bubbles with my fingers as soon as I placed the photo onto the tile.
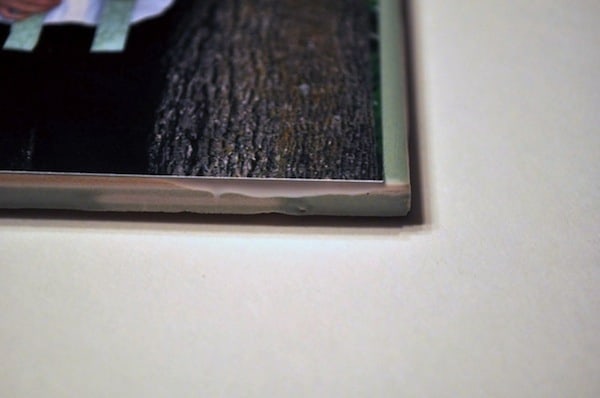
After using the Mod Podge, both here and once you paint it on top of the photo, check the ends of your tiles to be sure that there aren’t any drips.
You can just wipe the Mod Podge off when it’s wet, but once the it dries, well, at least your coaster will have some texture!
Repeat the previous steps until you have all of your photos cropped and adhered to the tiles. Once the Mod Podge is completely dry (if you go too early, your photos will slip out of place – don’t ask me how I know that), paint a layer of decoupage medium over the top of the photo.
Do this for each tile. Use long brush strokes, going from top to bottom or bottom to top, so that you don’t have smudge marks from the Mod Podge in the middle of your tiles.
Let the Mod Podge dry (about 20 minutes), then give the coaster another coat (x5!) The directions on the bottle said to use five coats, so that’s what I did. When you don’t know what you’re doing, just follow the directions!
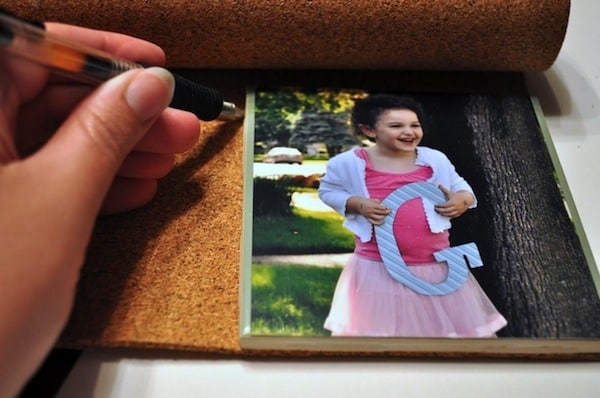
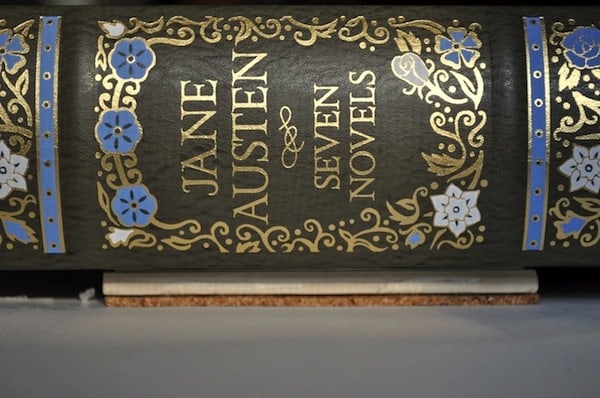
The top of your Mod Podge coasters project is done – sweet! Since the bottom of a tile is not exactly smooth, and thus isn’t very good for a tabletop, I decided to put a layer of corkboard on the bottom of each tile. To do this, lay your tile on the cork board and trace around the edges.
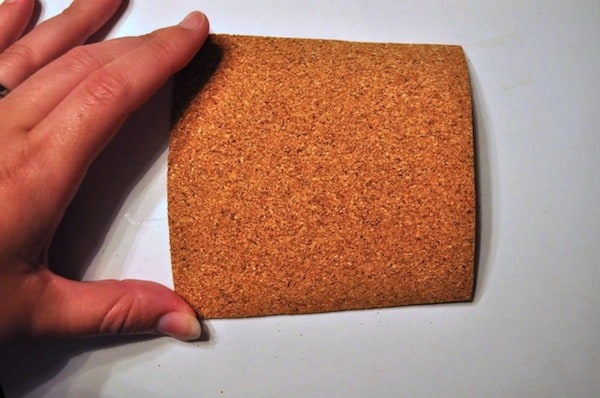
Cut out the square.
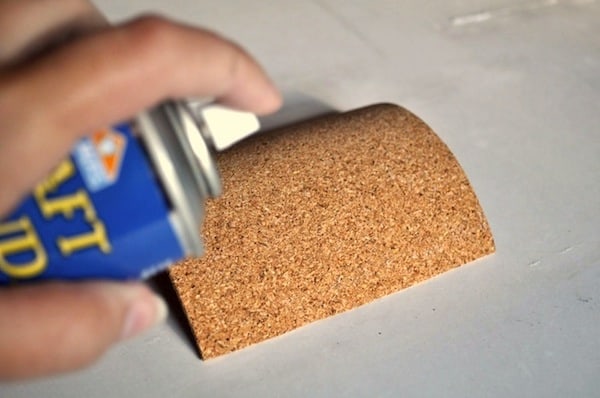
I used adhesive spray to glue the corkboard to the tiles. This stuff makes a HUGE mess, so be sure to cover your entire work area (cover a bigger area than you’ll actually need).
Also be careful not to lay your tiles, picture side down, on an area that has just been sprayed.
You will end up with sticky tiles! Again, just trust me. Spray the top of the corkboard with the adhesive spray. Lay the tile over the corkboard.
It won’t stick without some pressure, so you’ll have a little bit of time to move the tile around before it’s adhered for good. Repeat until all of your tiles have a cork bottom.
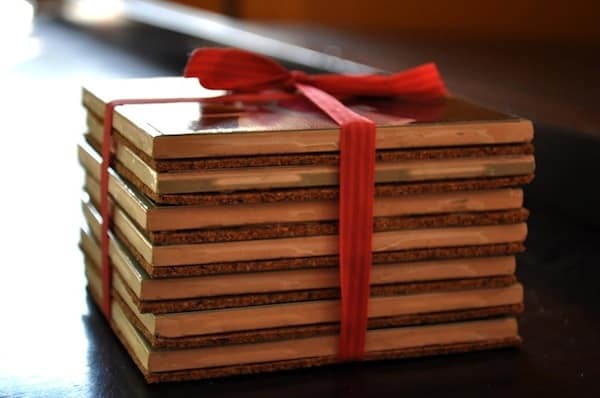
Guess what? You’re done with the DIY photo coasters! Now wrap those suckers up and give them to the Daddy/Grandpa in your life.

Make Photo Coasters
Equipment
- Pen or pencil
Materials
- 6 Tiles 4.5" square
- Mod Podge Matte
- Mod Podge Hard Coat
- Photos
- Cork
- Clear acrylic spray sealer
- Engine Enamel or Minwax Polycrylic
Video
Instructions
- Choose the photos that you would like to use for your coasters and print them out to fit the tiles. Use a laserjet printer. Cut out photos using scissors.
- Paint a thin coat of Mod Podge onto a tile. Lay the photo onto the tile, centering it and smoothing out all of the air bubbles. Wipe away any Mod Podge that comes out the edges.
- Repeat with the other tiles and photos. Let dry at least 15 – 20 minutes.
- Spray the tops of the tiles with Engine Enamel or seal with Minwax Polycrylic; let dry.
- Trace each tile on a piece of cork. Cut out with scissors.
- Use adhesive spray to adhere the cork to the tiles.
- Place a book on top of the tiles to apply pressure and keep the cork sticking to the bottoms.
- Let dry 24 hours before using.
Notes
Thank you so much Amy, for inviting me to your blog today. And thank you Mod Podge Rockers for checking out my DIY photo coasters!
If you enjoyed making these photo crafts, you’ll probably love these additional projects that also use pictures. Check them out:


In the body above the instructions, you mentioned putting modge pod OVER the photo and repeating 5 times?? But in the instructions list, it doesn’t say to do that?
This is a very old tutorial I’m about to revise. You can do 3-5 top coats of Mod Podge. A better tutorial is here: https://modpodgerocksblog.com/diy-tile-coasters/
I should have this one updated soon> Thanks!