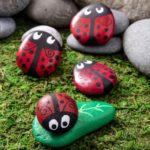
Paint cute ladybug rocks for your garden with this easy, fun tutorial. No art skills needed. Just rocks, paint, and a little personality!
If you’ve ever looked at your garden and thought, “This could use more rocks painted like bugs,” you’re in the right place. But these aren’t just any bugs.
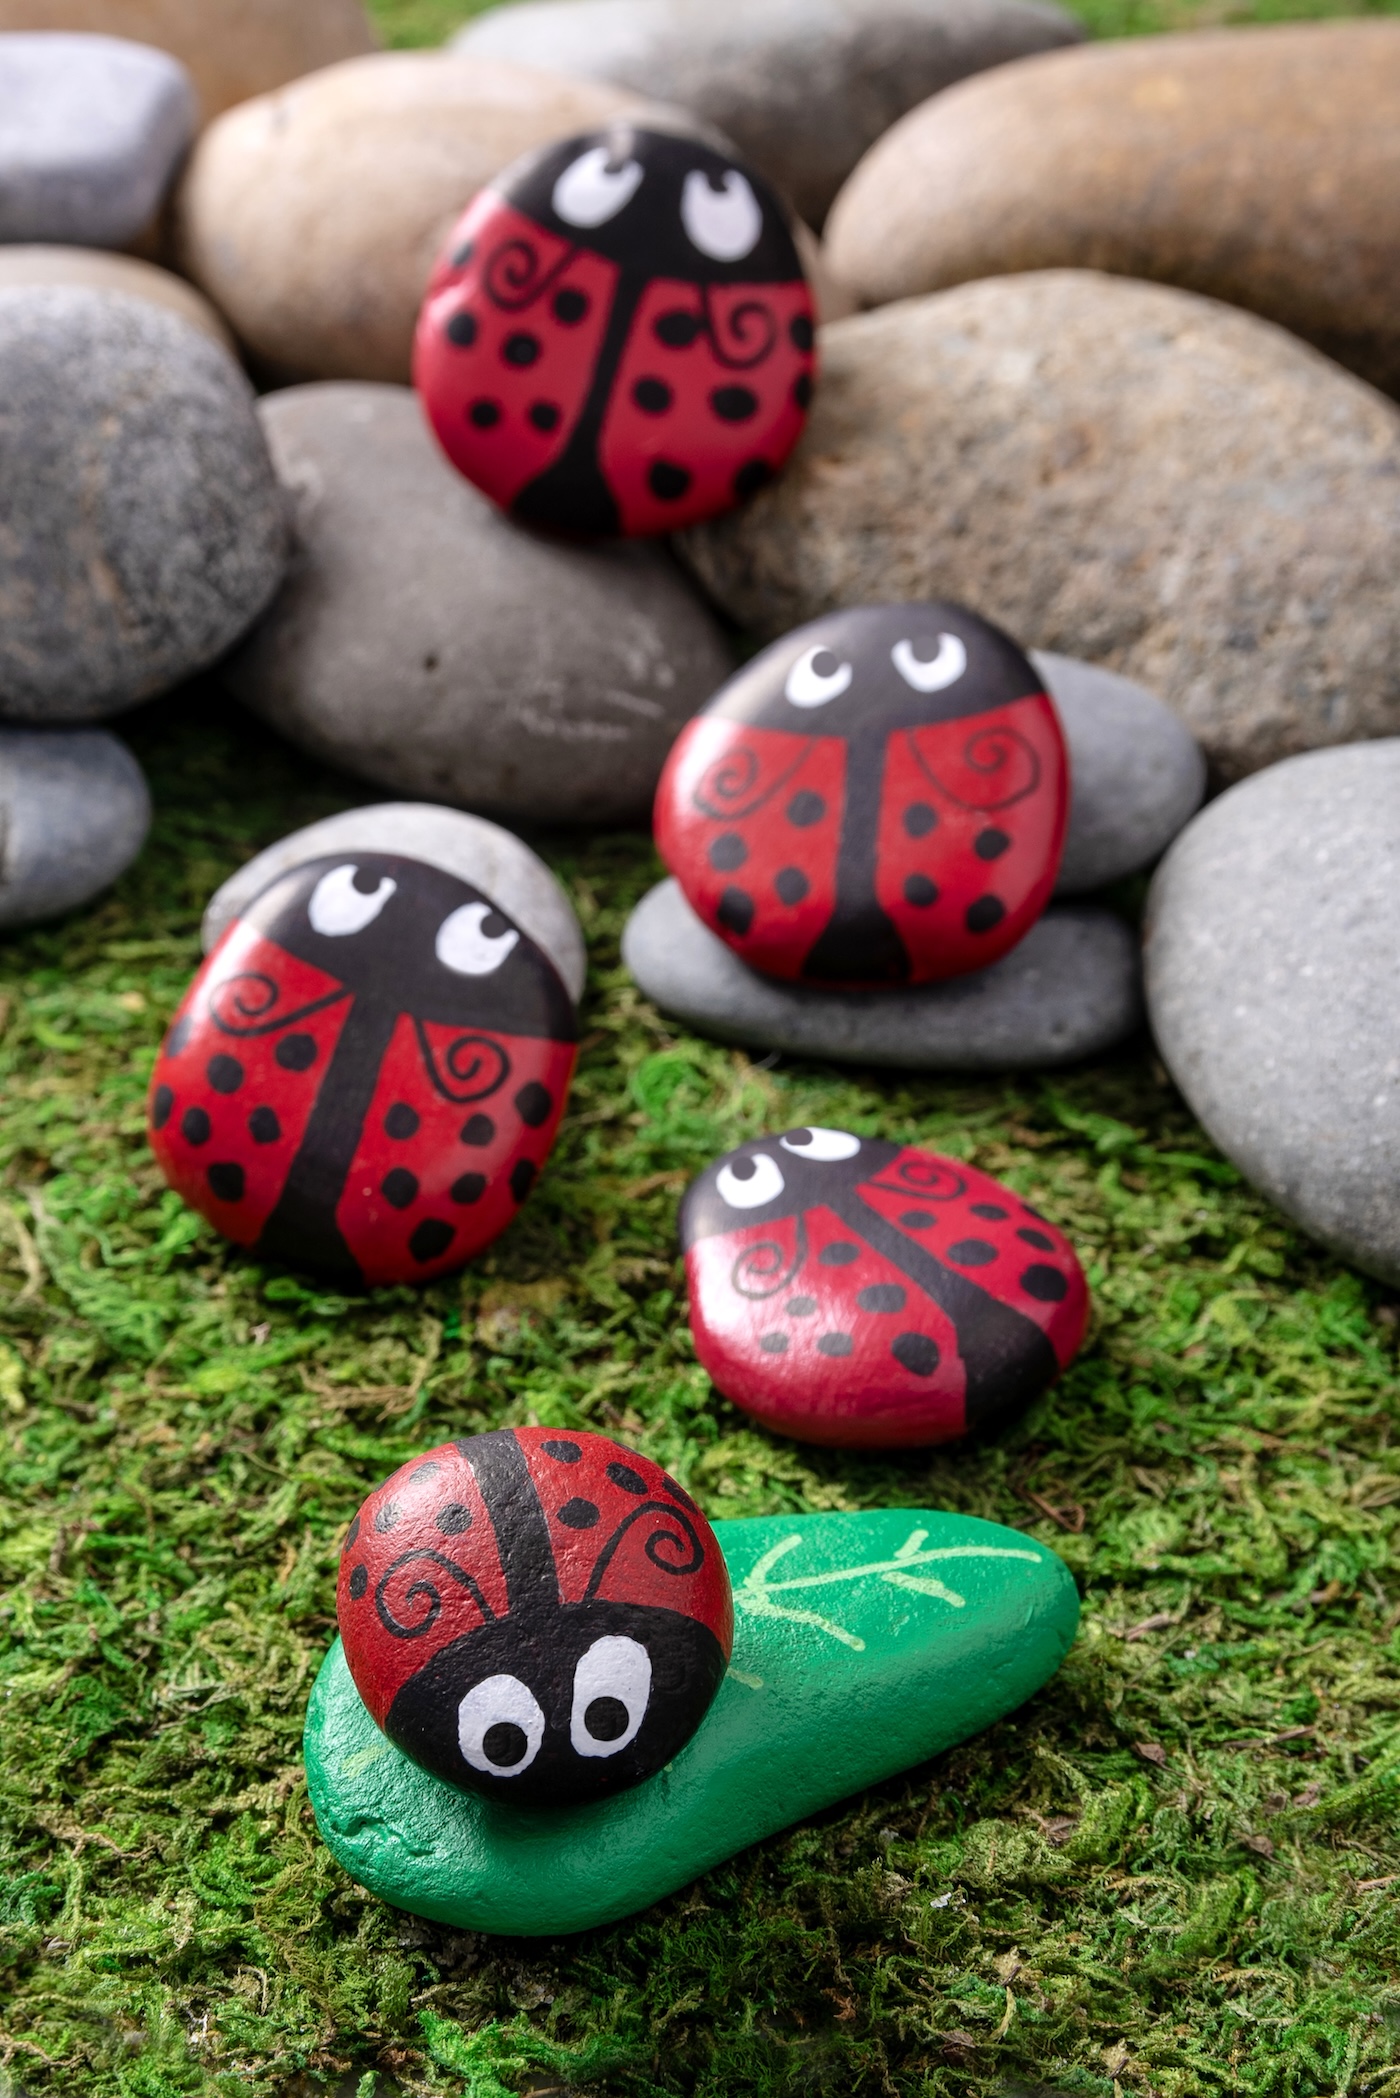
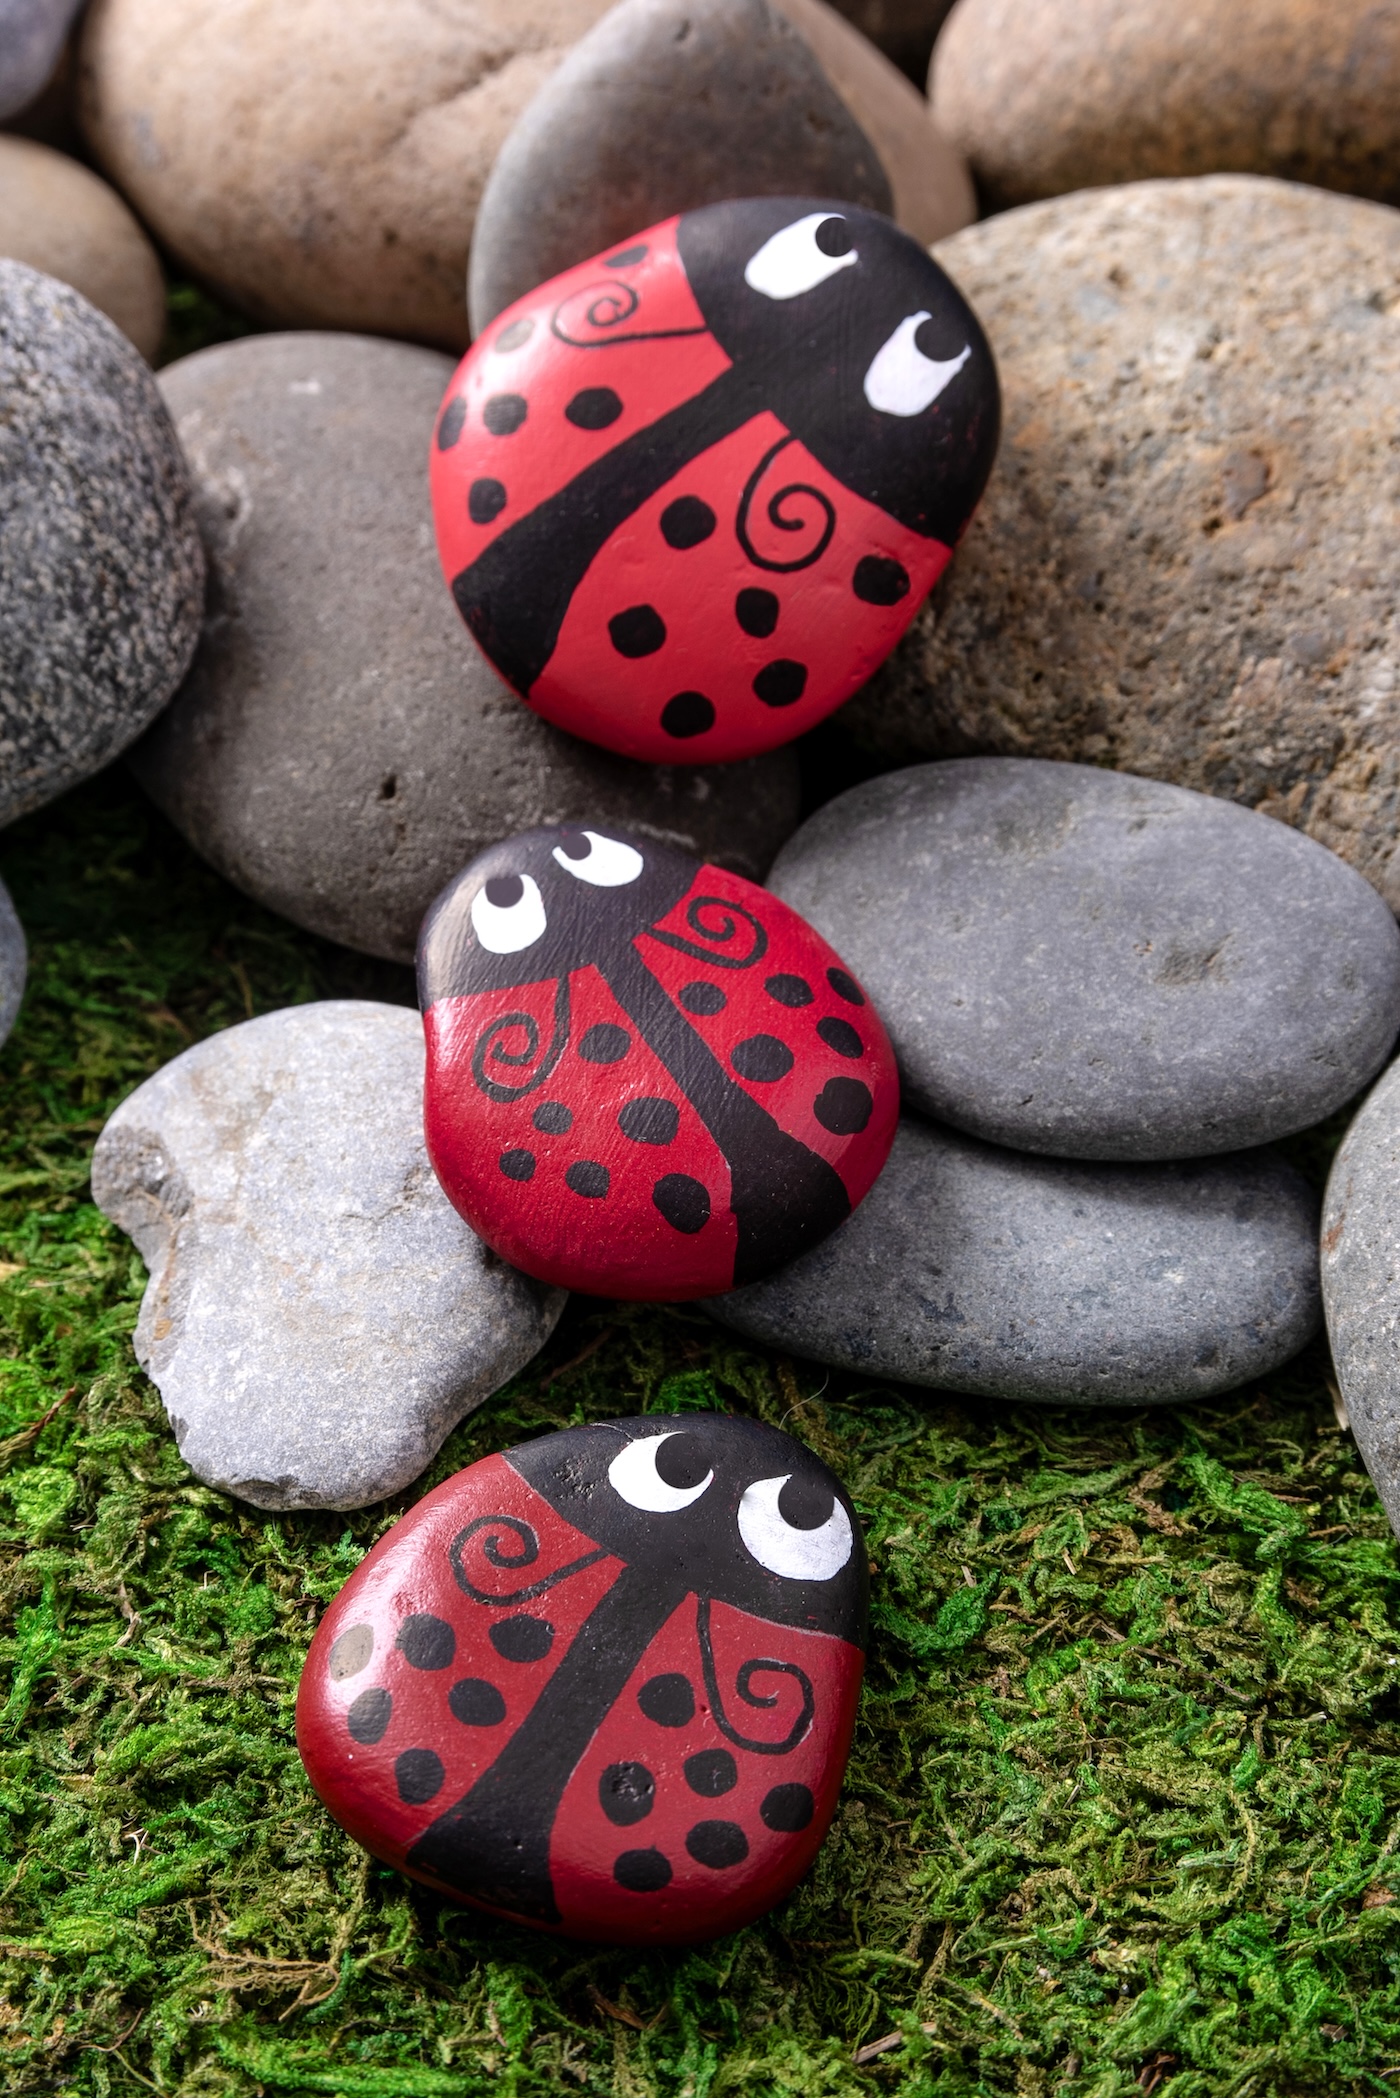
These are adorable, polka-dotted ladybugs that won’t crawl up your arm or fly into your face! Or eat all your plants.
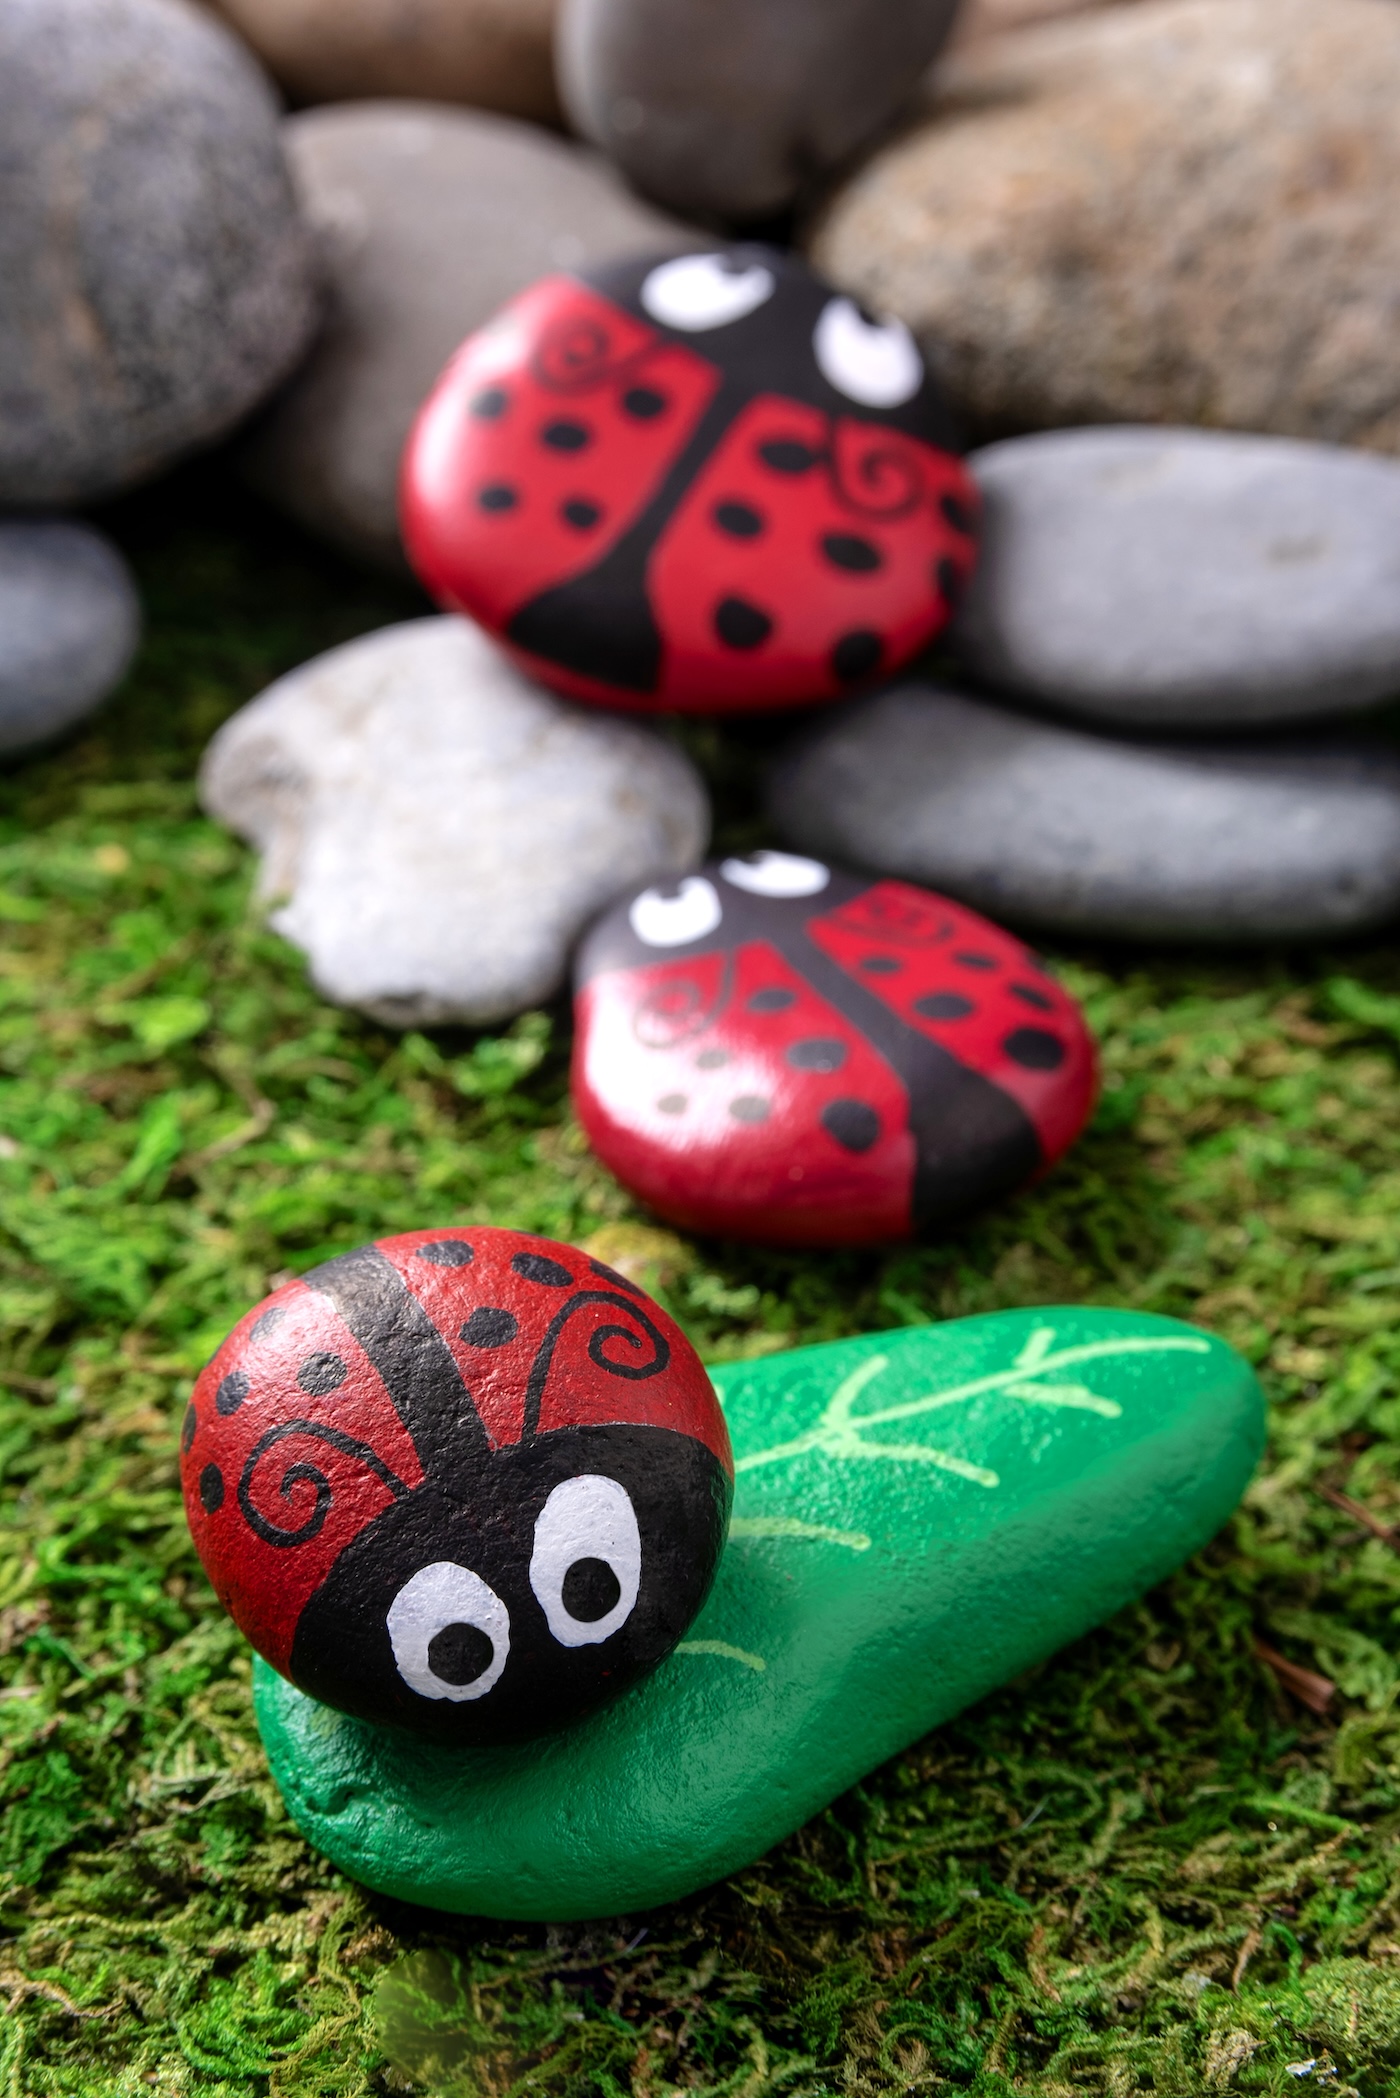
Today I’m going to show you how to paint rocks to look like ladybugs, so you can scatter them in your yard, give them to friends, or even leave them in parks to surprise strangers. (Because who doesn’t want to find a bug rock on a hike? Exactly.)
And don’t worry. This project is easy, inexpensive, and you don’t even have to be good at painting. If you can hold a brush and count to seven (the usual number of ladybug spots, but no one’s counting), you’re golden.
Also we went with more spots. Because these are yours, you can add as many as you like!
Here’s what you need to get started. You probably already have half of this stuff lying around from that other craft you started and never finished.
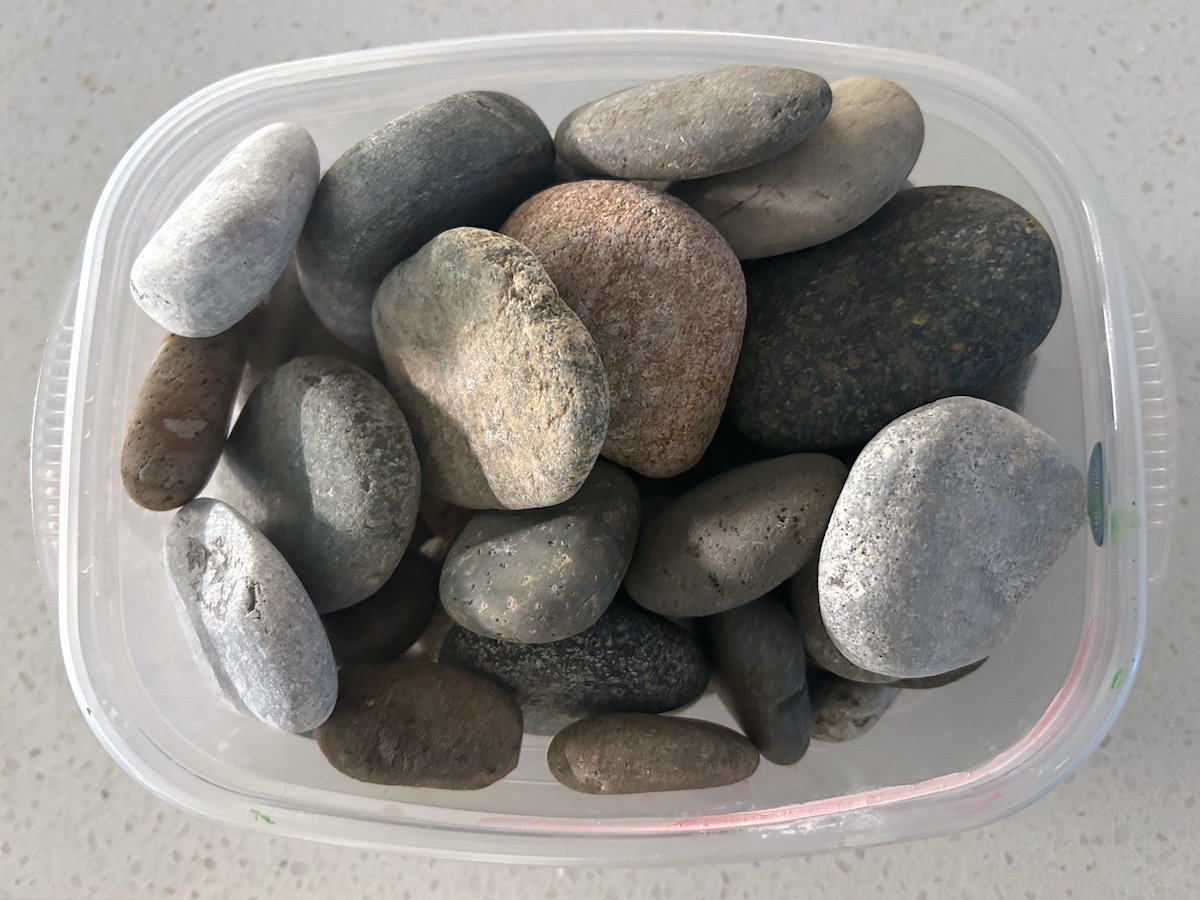
- Smooth, flat rocks (look for ones about palm-sized and already ladybug-shaped if possible)
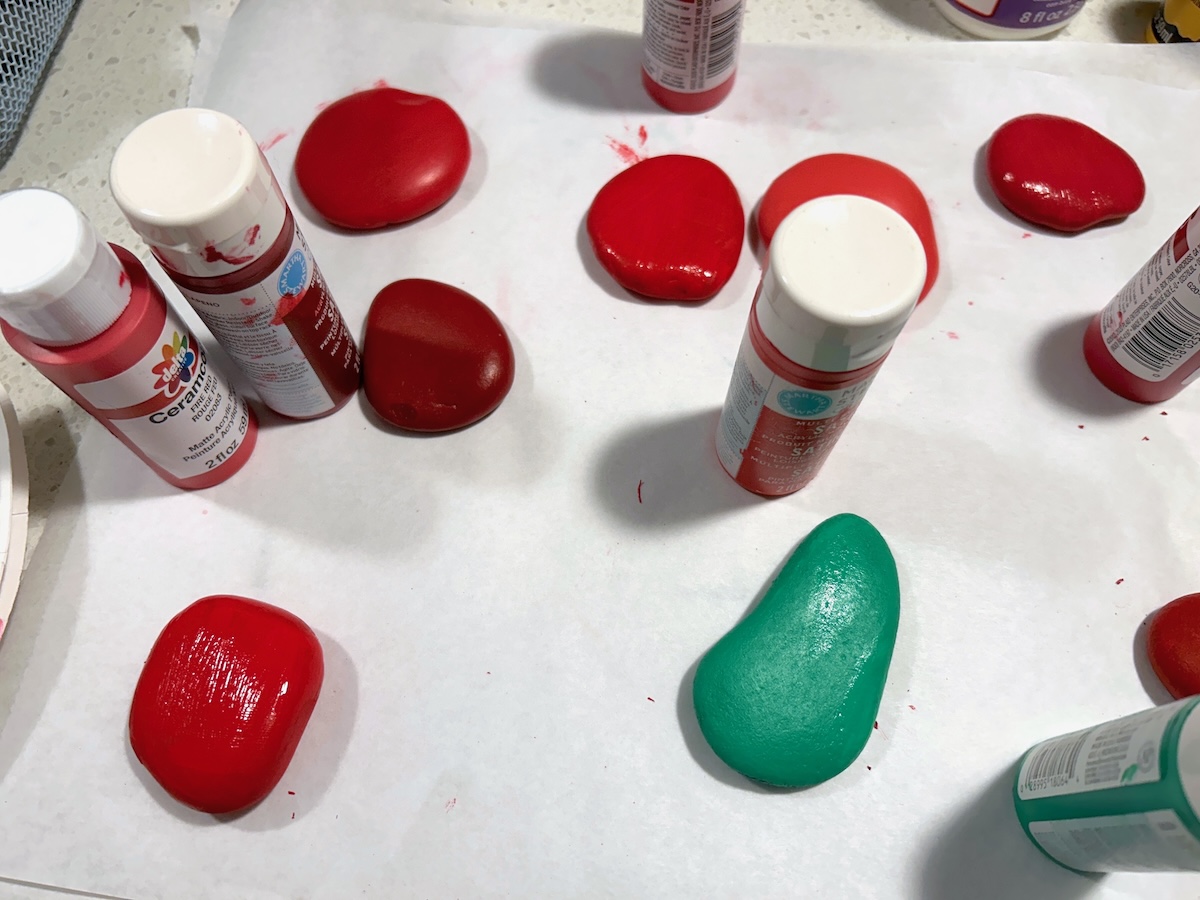
- Acrylic craft paint – red (add green if you want to make a leaf)
- Paint pens – black, white
- Small paintbrushes – one flat, one tiny for details
- Sealer (Mod Podge Outdoor for UV protection, Mod Podge Satin if they won’t be outside)
- Pencil (optional, for sketching your bug before you commit)
Why You’ll Love This Craft
Not only are these ladybug rocks ridiculously cute, but they’re also:
- Budget-friendly
- Kid-friendly
- Therapeutic (there’s something soothing about painting spots, okay?)
- Guaranteed to make your garden at least 73% happier*
*not scientifically verified
So go grab some rocks, pour yourself a coffee (or wine, no judgment), and get painting. You’ll have a whole ladybug family before you know it!
And unlike real bugs, these don’t bite, sting, or freak you out by crawling on you at 2 AM.
Get the printable how to card below:
Ladybug Painted Stones
Equipment
Materials
- 1 can Spray primer white
- Acrylic paint various shades of red, and green if you do a leaf rock
- Paint pen(s) black, green, white
- 6 Rocks small to medium, round
Instructions
- Wash the rocks using mild soap and water to remove dirt. Let dry.
- Paint the rocks with a coat of red and let dry. Don't forget to get the sides a little.

- Flip over and paint on the other side. Keep repeating this process of painting each side until the rocks are covered. Let dry.
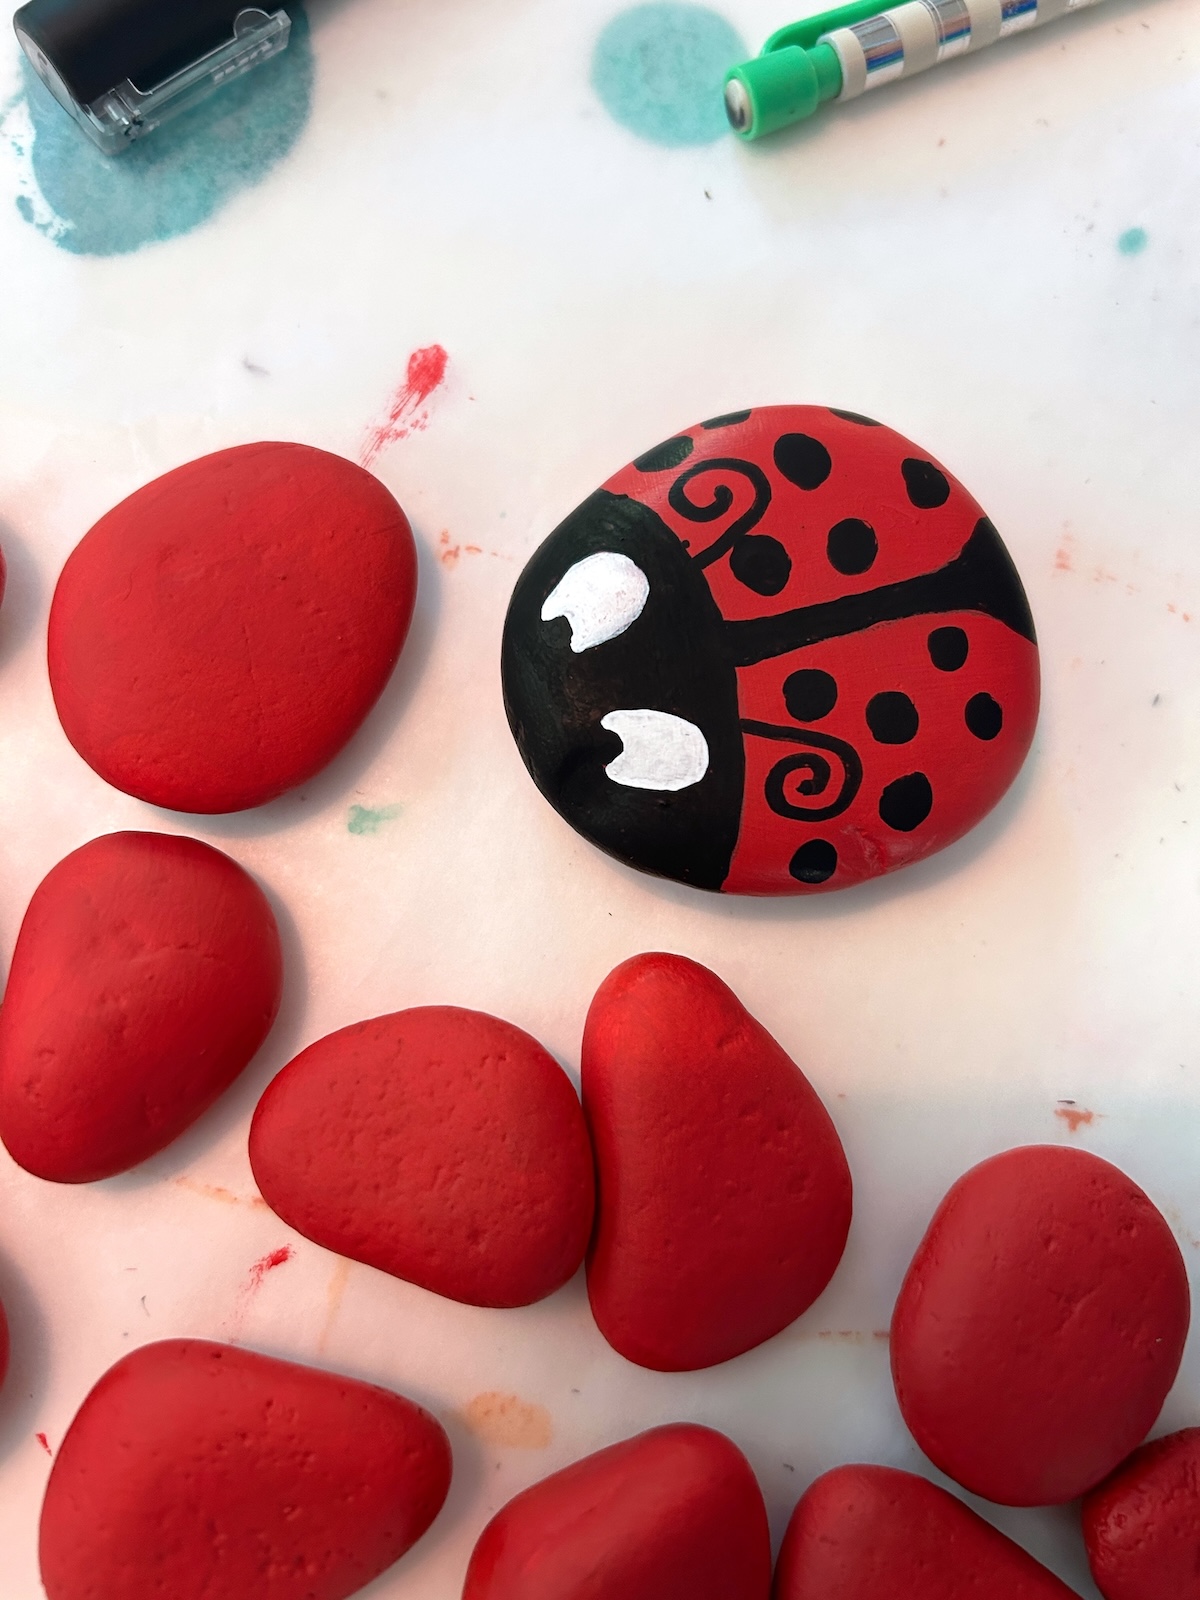
- Draw details on the rocks with paint pens. Begin with the black paint pen and do the eyes, antennae, and stripe down the back. Let dry.
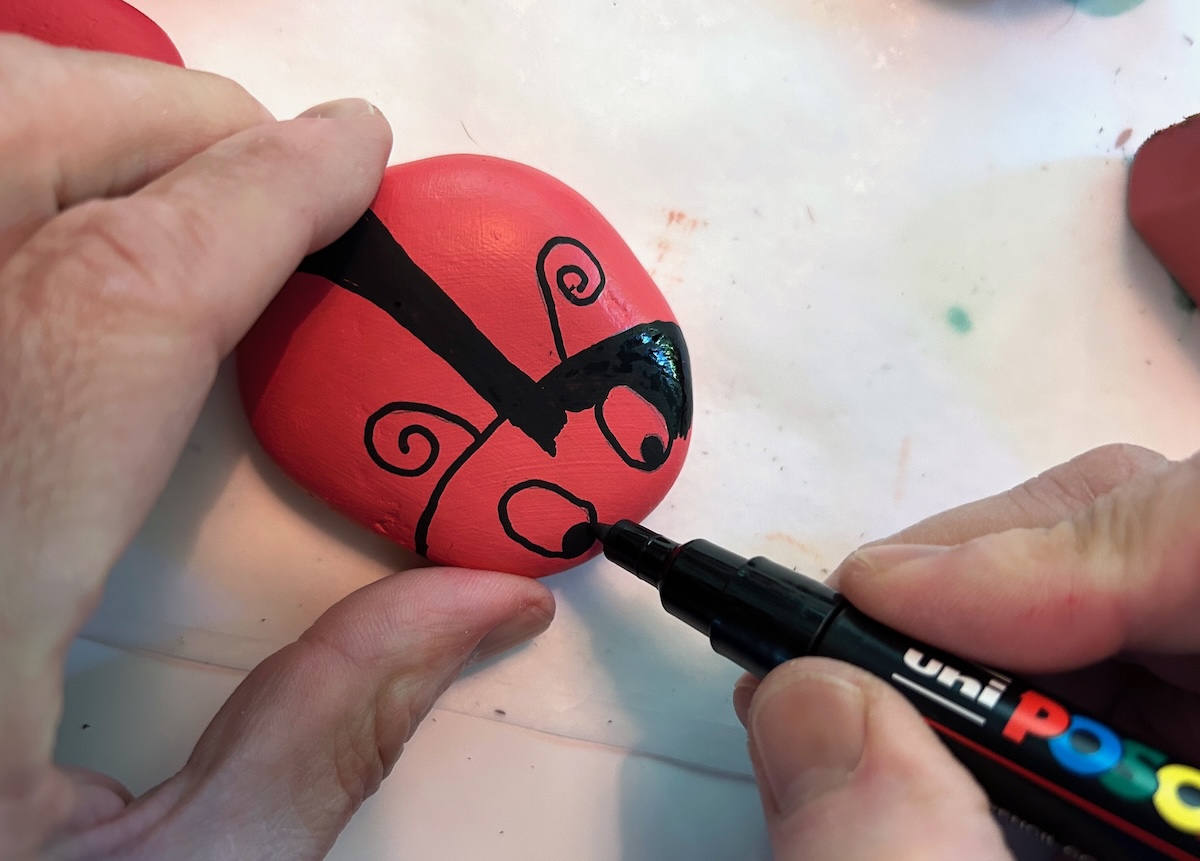
- Fill in the eye areas with a white paint pen. Let dry.
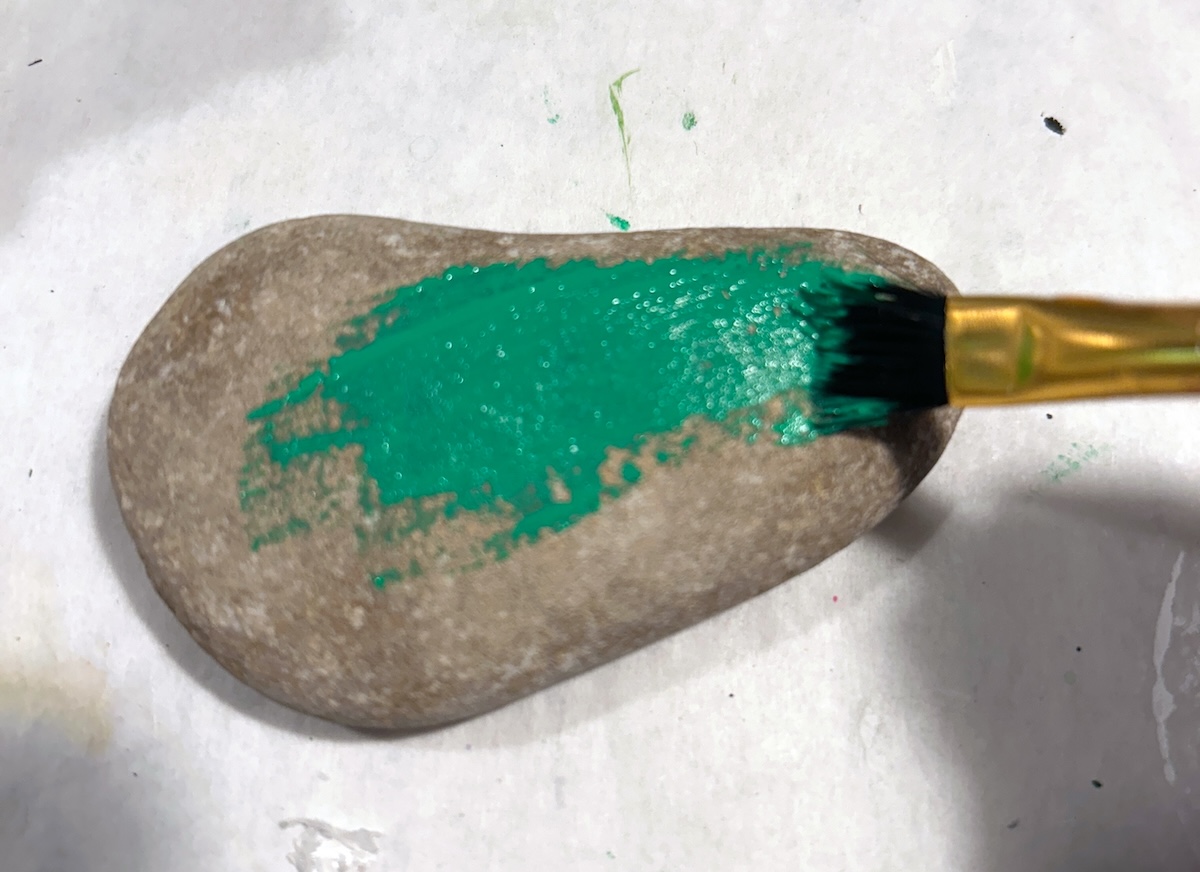
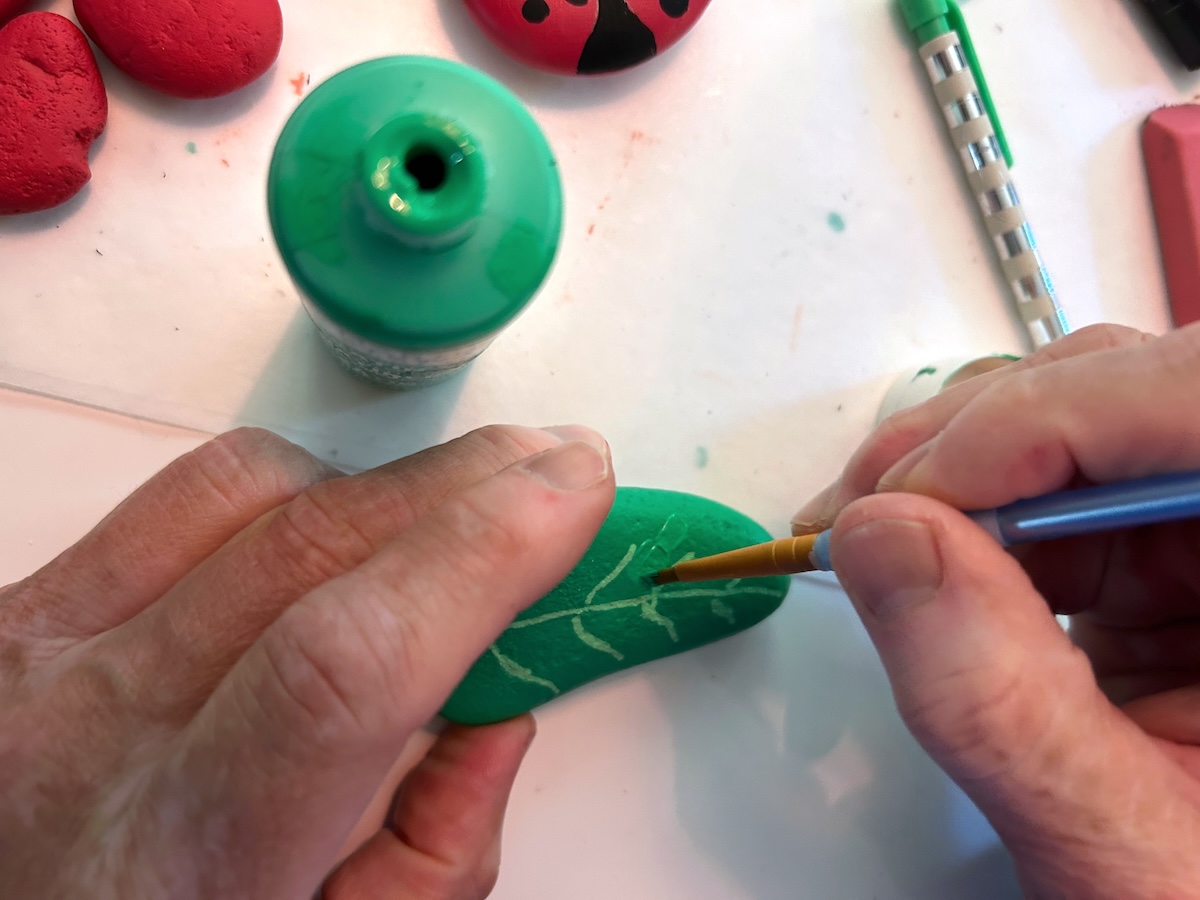
- If you'd like to make a leaf rock, paint a longer rock with medium green. Let dry and add stem accents with a lighter green.
- Use a small paintbrush to touch up any areas on your rocks that need it.
- Seal with several coats of Mod Podge and let dry completely before displaying in your home or garden.
Notes
Remember: real ladybugs don’t have perfect spots, so if yours are a little wonky, just call it “rustic.”
Did you enjoy this project? Let me know in the comments! I’d also love for you to check out these other ideas:
Cactus Rocks • Clay Pot Gnomes • Clay Pot Lighthouse • Clay Pot Mushrooms • Garden Markers • Gnome Birdhouse • Make a Fairy Garden • Painted Birdhouses • Painted Rocks • Rock Mushrooms • Spoon Plant Markers • Strawberry Rocks