Use Mod Podge and pictures to make a fun photo bracelet! This is so easy even a kid can make it – and it makes a great gift.
Skills Required: None. Mod Podge is very easy to use on this small of an area, including Dimensional Magic. You should be able to complete this project with ease.

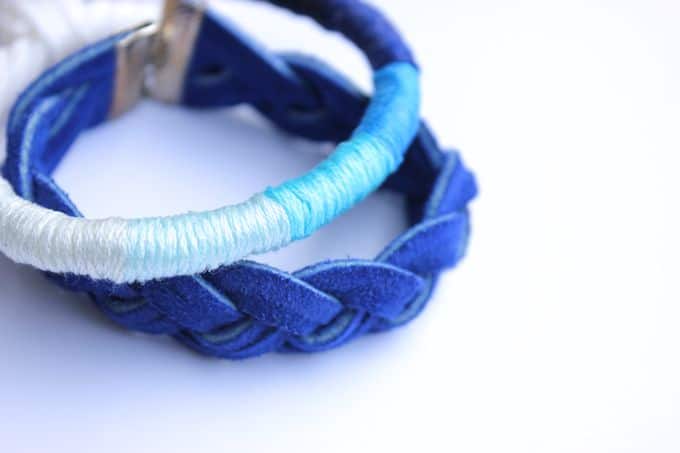
Hello everyone! Justine from Sew Country Chick here, and today I have an easy family photo bracelet tutorial to share with you. As you know from my lace earrings and some other projects, I absolutely love Mod Podge jewelry. It makes great Mother’s Day gifts!
My kids have watched me try handmade jewelry before, and of course they’ve seen me use Mod Podge. The older ones are getting more interested in what I’m doing, even wanting to try a few projects for themselves.
One day while we were crafting, my eleven-year-old daughter made this DIY photo bracelet for me. I thought it turned out so great that I wanted to share how she did it.
It’s such a quick, but yet-still-nice photo craft that works for a personalized gift. Isn’t she just so crafty? I was so proud of her for executing this idea on her own, without my help! Given how easy it was to do, I had to share.

PS – before we jump into the tutorial, aren’t my kids cute? I know that’s what every mother thinks, but I’m going to say it anyway!
Family Picture Bracelet
Gather These Supplies
- Bracelet blank with bezels
- Mod Podge Dimensional Magic
- Printer
- Paintbrush
- Scissors
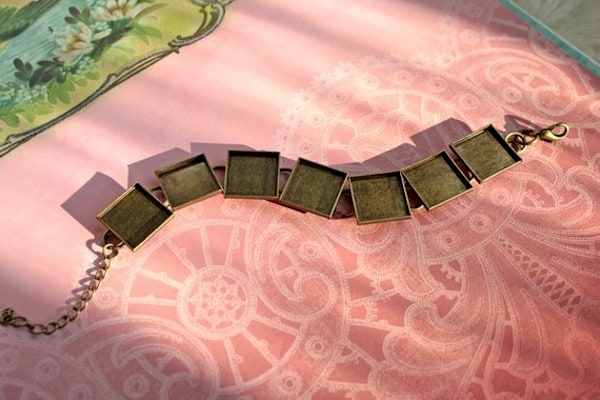
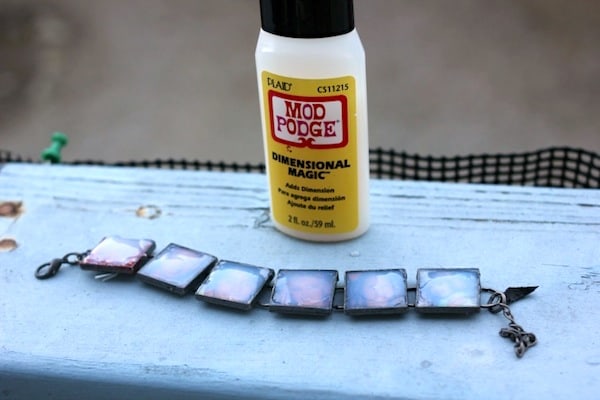
To make the bracelet, she used a brass bracelet blank with square bezels from the hobby shop. To seal the photo bracelet bezels, she used some Mod Podge Dimensional Magic.
The photo was one she found with our families faces that would fit into the little squares on the bracelet. She had it printed on a laserjet printer.
Tip: your best bet is laserjet printed images or photo paper for this DIY bracelet project – inkjet images will smear!
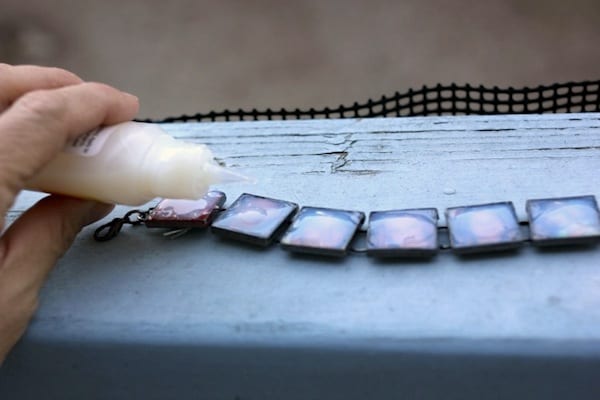
Once you cut out your photos to use, add them to the squares. Fill each square with the Mod Podge Dimensional Magic. Let your photo bracelet dry for several hours in a warm place.
You don’t want Dimensional Magic to dry in a cold(er) environment, or it could crack. You wouldn’t want to let DM dry in the garage during winter, for example.
After the first layer dries, add another layer on top. Settling is natural with this product, and you’re going to want to add another layer so there are no indentions in the middle of the photo. I promise that it will dry clear!
That’s really all you need to do to complete this picture bracelet project. You’re going to spend longer trying to find the bracelet blank that suits your needs than you are doing the project! It’s wild, but it’s true.
This photo bracelet makes a great gift for someone you love. I know I love mine and I wear it all the time! It’s one of my treasures, especially because it’s handmade.

Photo Bracelet
Equipment
- Printer and paper
Materials
- Bracelet blank with bezels
- Mod Podge Dimensional Magic
- Printed photos preferably laserjet
Instructions
- Decide on the bracelet blank you are going to use. Select photos of faces, and print them out to the size of the bezels.
- Cut the photos to fit the bezels and place them inside.
- Add a medium layer of Dimensional Magic to the top of each bezel and let dry for about 4 hours.
- Add another layer of Dimensional Magic top the top of each bezel, being careful not to spill over the top. Let dry overnight to finish.
If you enjoyed this picture bracelet tutorial, I’d love for you to check out these other great ideas you’ll love: