
Ladybug Painted Stones
Learn how to paint a ladybug rock for your garden! This is an easy tutorial for all skill levels.
Yield: 6 rocks
Cost: $2
Equipment
Materials
- 1 can Spray primer white
- Acrylic paint various shades of red, and green if you do a leaf rock
- Paint pen(s) black, green, white
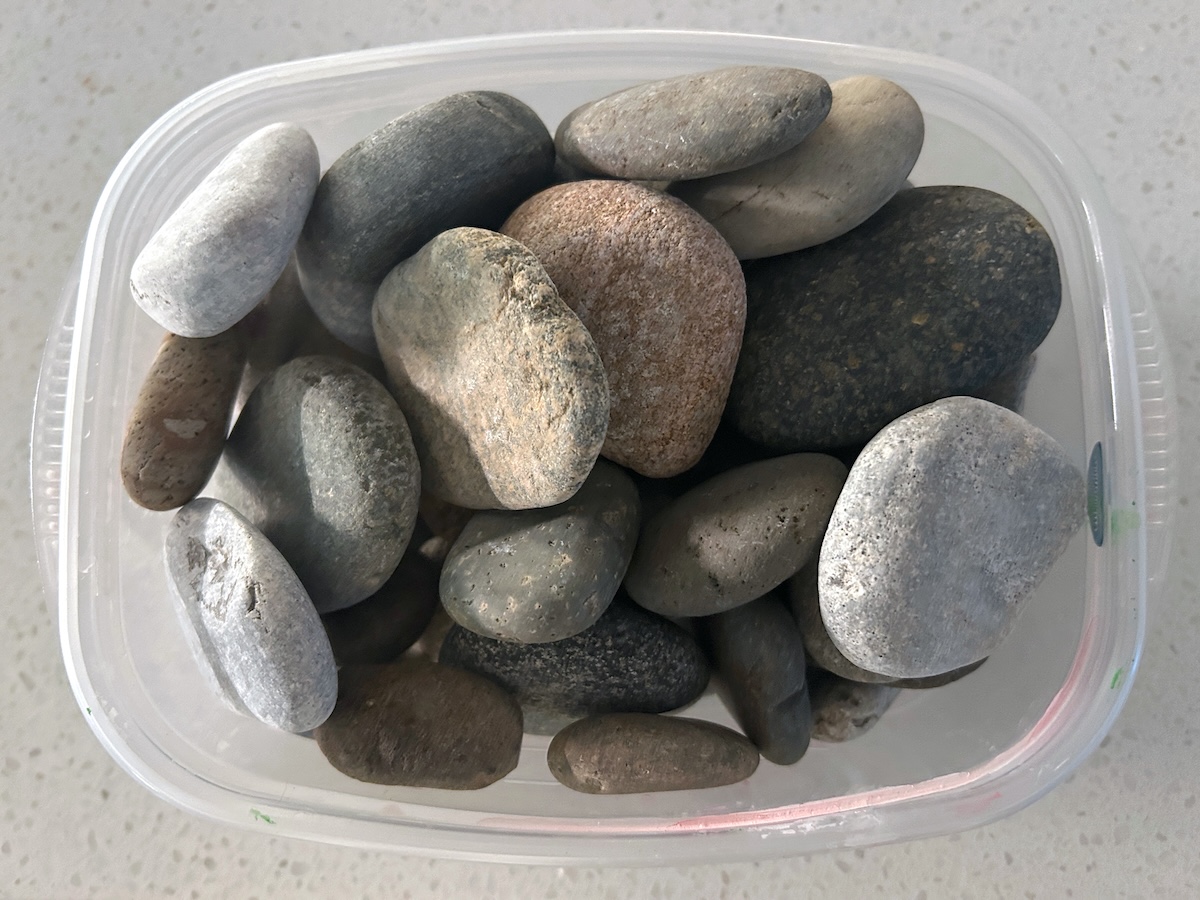
- 6 Rocks small to medium, round
Instructions
- Wash the rocks using mild soap and water to remove dirt. Let dry.
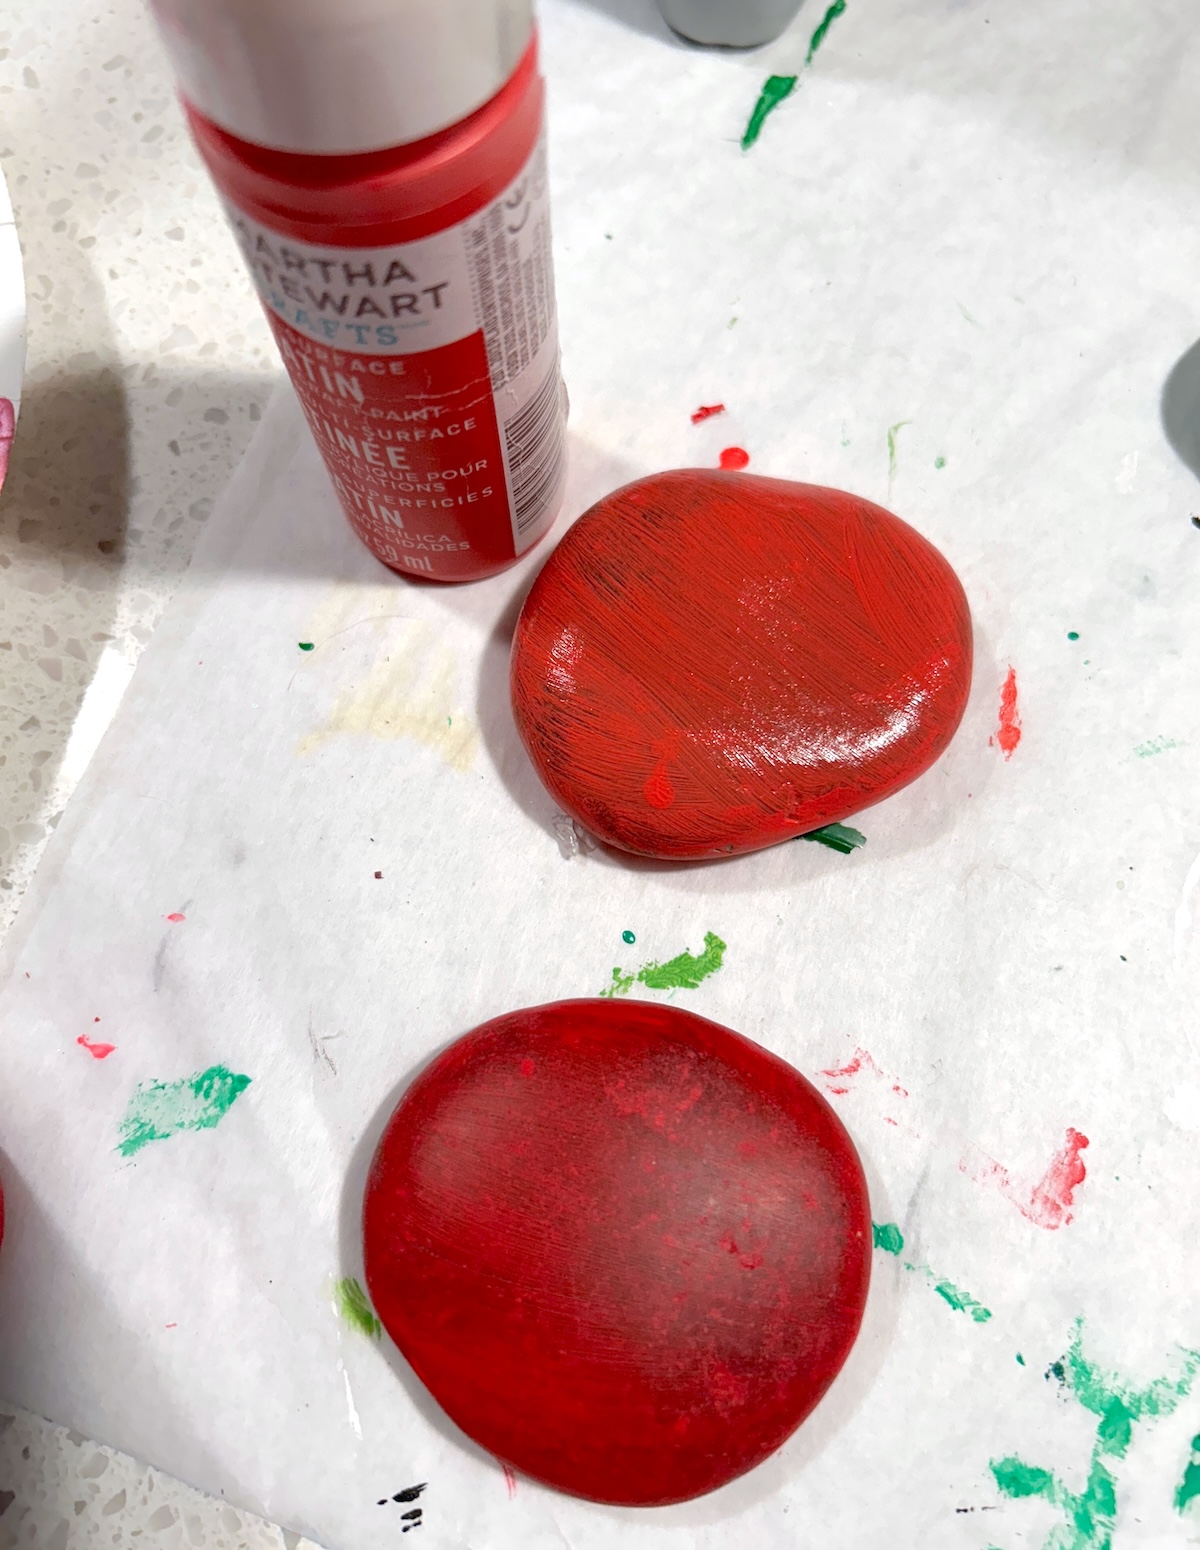
- Paint the rocks with a coat of red and let dry. Don't forget to get the sides a little.
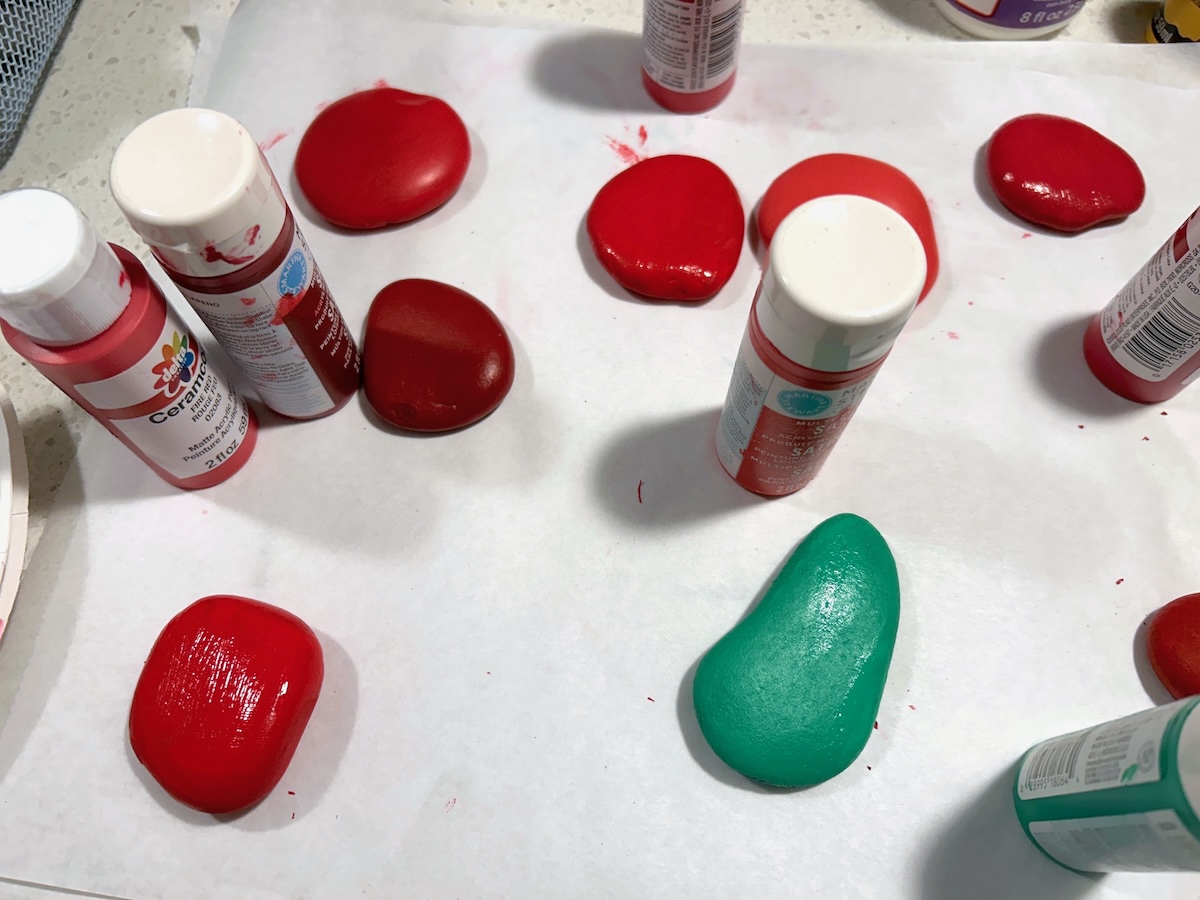
- Flip over and paint on the other side. Keep repeating this process of painting each side until the rocks are covered. Let dry.
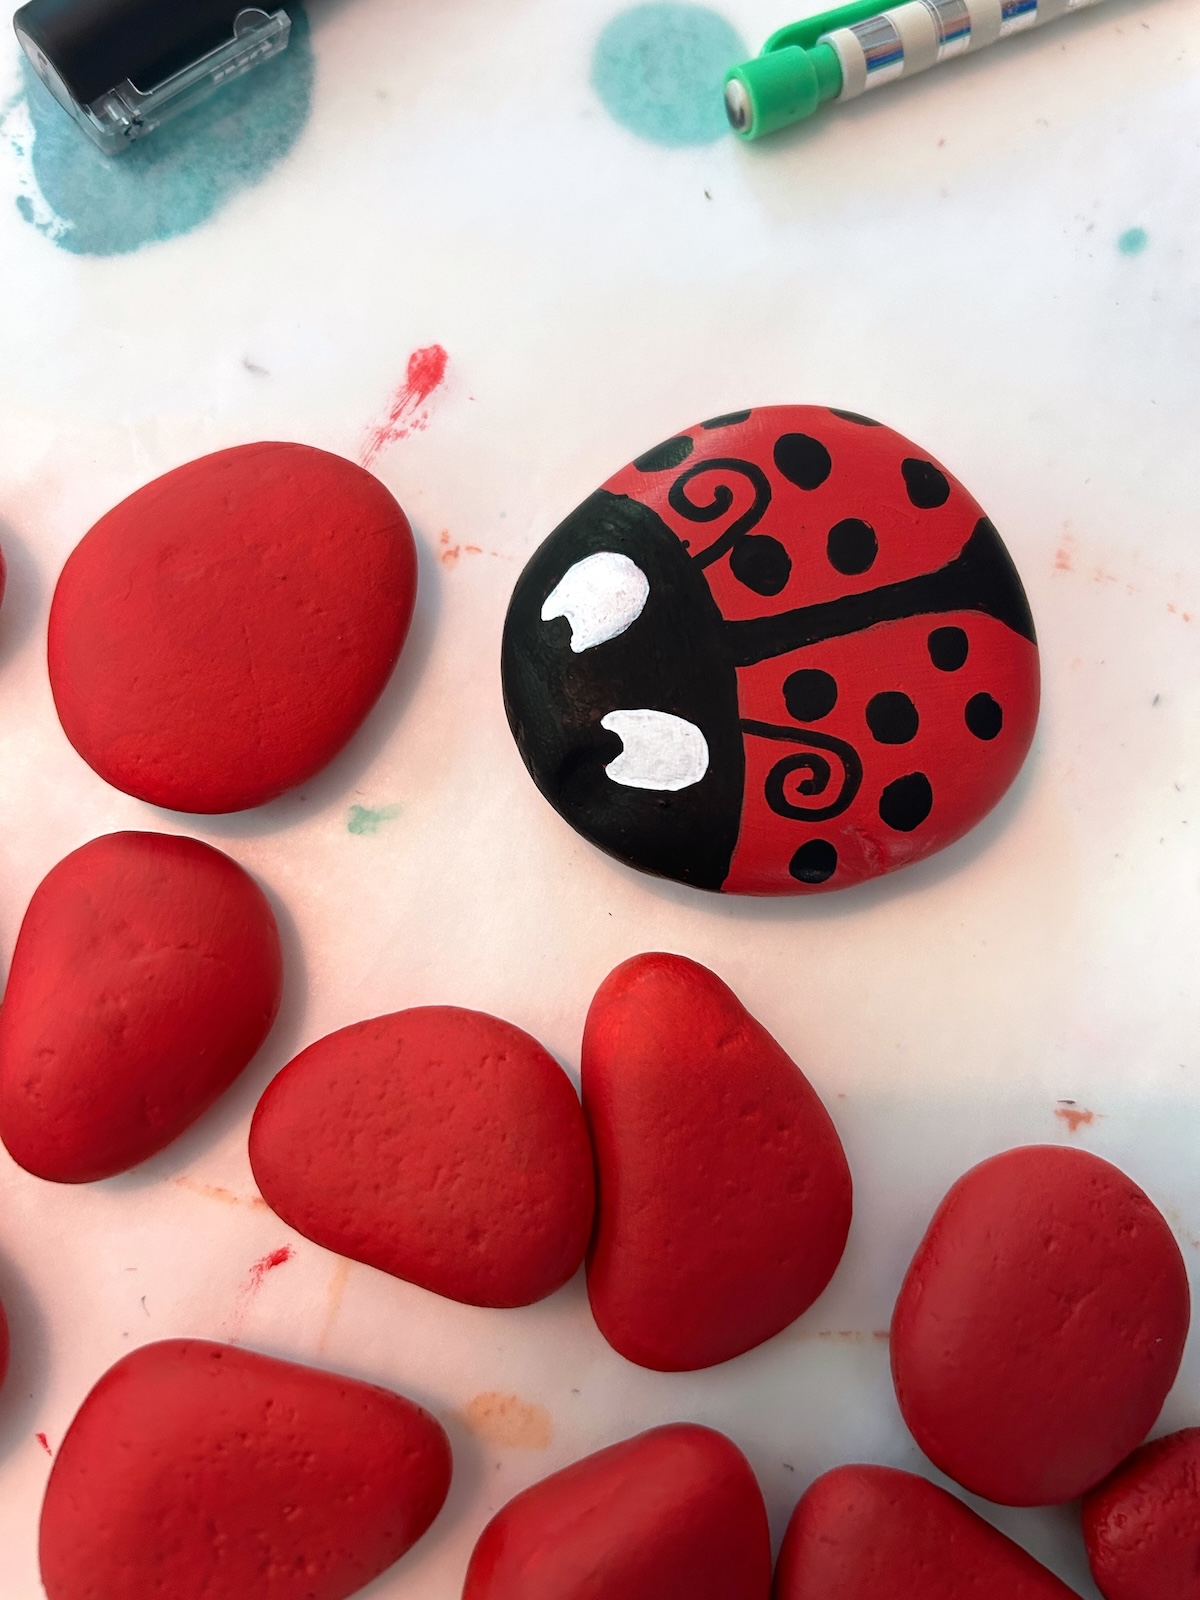
- Draw details on the rocks with paint pens. Begin with the black paint pen and do the eyes, antennae, and stripe down the back. Let dry.
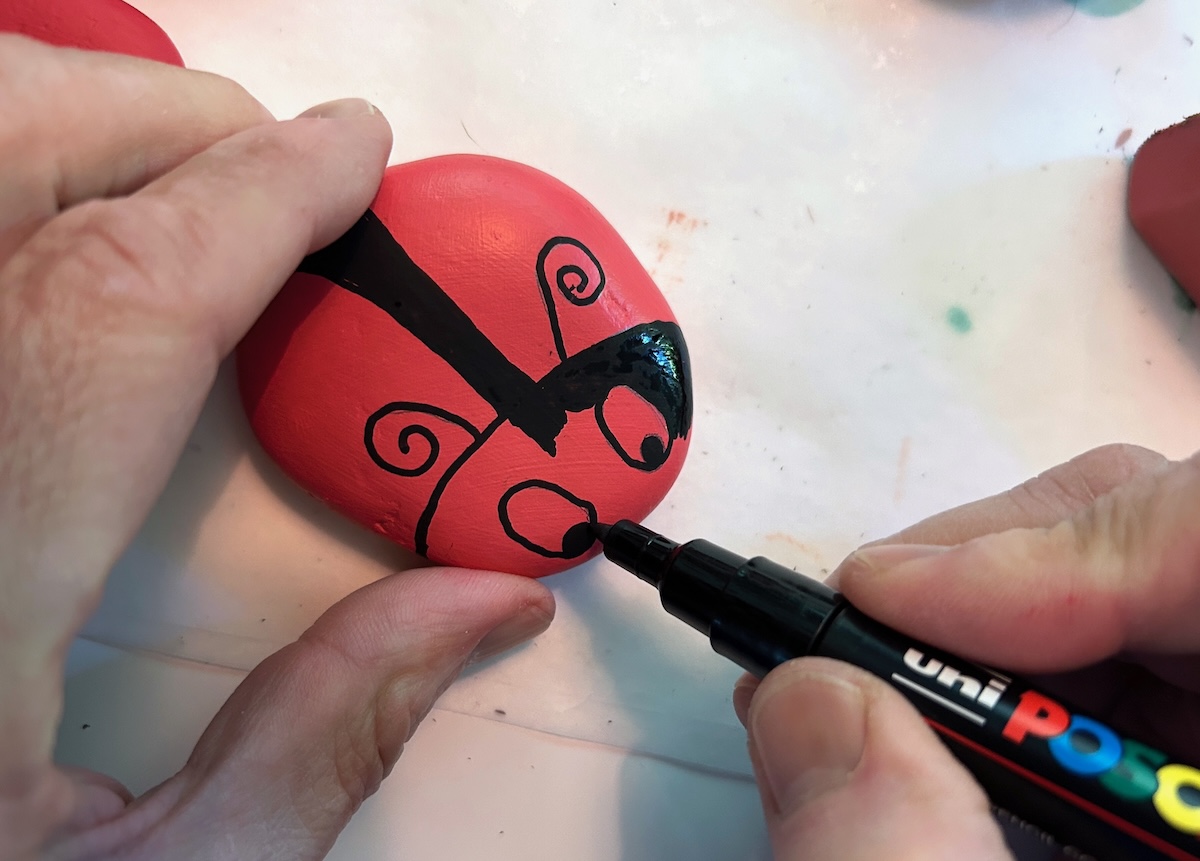
- Fill in the eye areas with a white paint pen. Let dry.
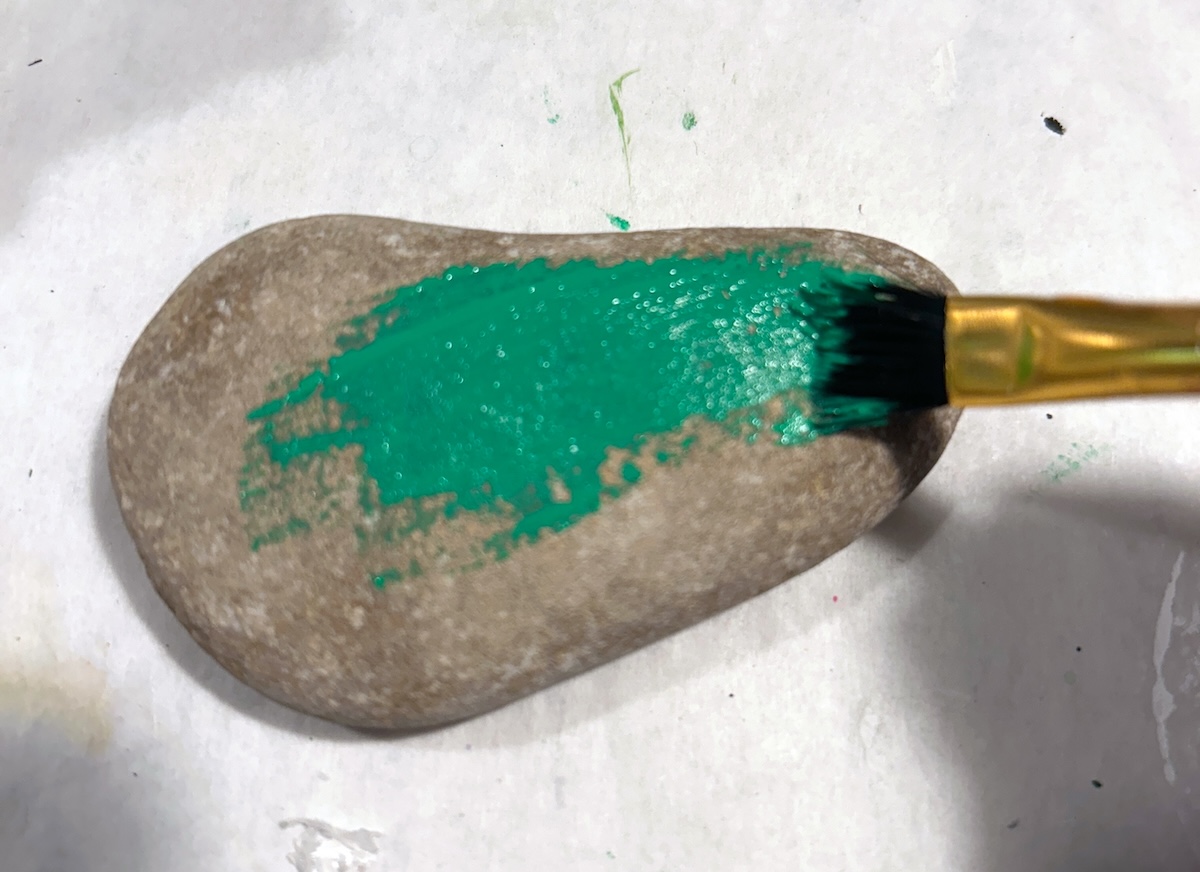
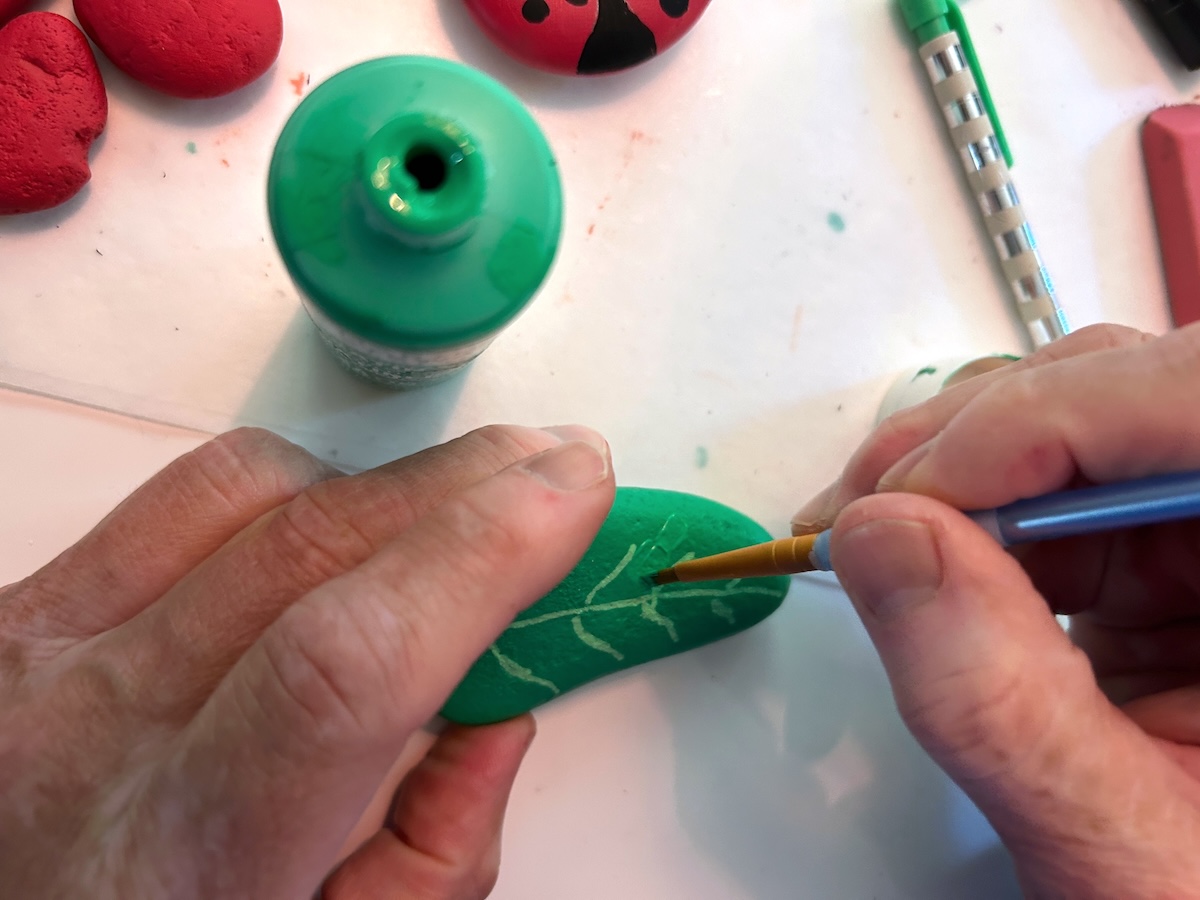
- If you'd like to make a leaf rock, paint a longer rock with medium green. Let dry and add stem accents with a lighter green.
- Use a small paintbrush to touch up any areas on your rocks that need it.
- Seal with several coats of Mod Podge and let dry completely before displaying in your home or garden.
Notes
While spray priming isn't 100% essential for this project, you might find your reds to be brighter. When I painted an unprimed rock with multiple (over 10!) coats of red, I still found the dinginess of the rock to show through.