
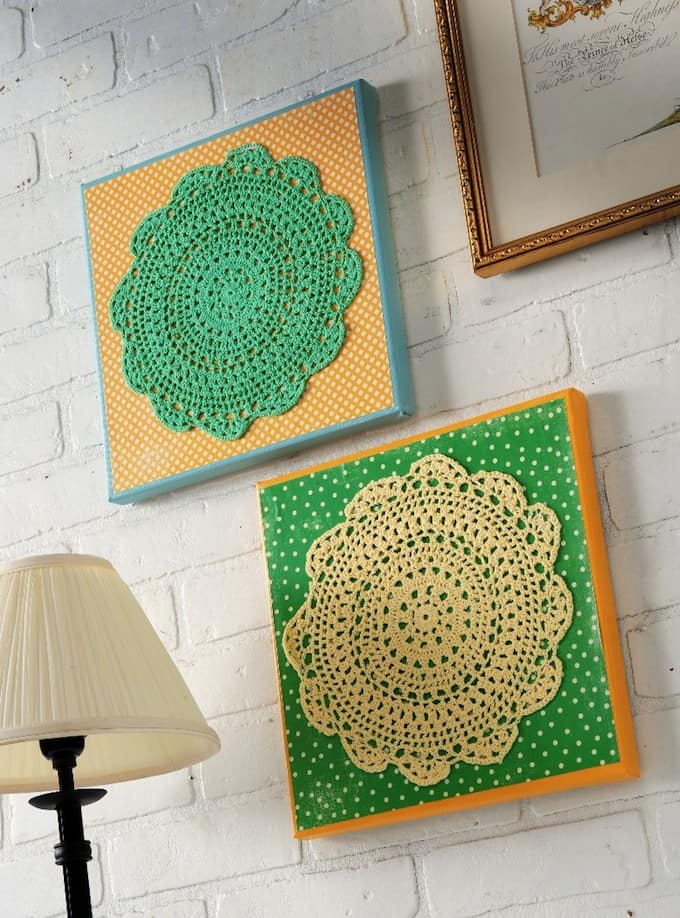
Doilies aren’t just for sitting on the table under a teacup – turn them into doily wall art using Mod Podge, scrapbook paper and canvases.
Skills Required: Beginner. The most difficult part of this project is decoupaging the paper to the canvas without wrinkles, so pay close attention to that part. Even that is relatively easy!
I’ve been wanting to make doily wall art for a long time, especially after I saw this doily art by my friend Jen.
My only problem was that I didn’t have any old doilies, and I didn’t want to use white ones. So I had to wait for the perfect situation to come along for my decoupage idea, and it did!
I found colored doilies in the $1 bin at Michaels this past week. Then I found the perfect paper to match this canvas idea in the scrapbooking aisle. My doily art was born. Here’s how to decoupage your own.
Gather These Supplies
- 12″ x 12″ canvases
- $1 doilies
- Mod Podge Satin (or any Mod Podge formula)
- FolkArt paint – Sky Blue, Turner’s Yellow (or coordinating colors)
- Scrapbook paper – I used Making Memories Spring paper
- Craft knife and mat
- Paintbrush
Hang your doily wall art in a special place. I love my new wall decor, and it’s perfect for spring! The doilies came in pink or purple too, so head to Michaels and get your doily on. Here’s the tutorial below:

Doily Wall Art
Materials
- 2 Canvas(es) 12" x 12" square
- 2 Doilies
- Mod Podge Satin
- Craft paint coordinating colors
- Scrapbook paper
Video
Instructions
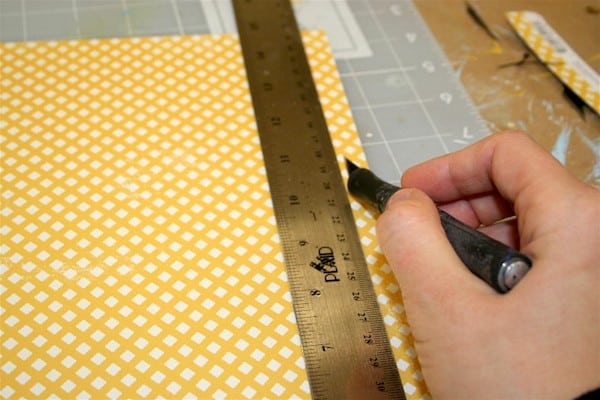
- Trim the paper down to fit the canvases, so a little bit of color will show around the edge. Use the ruler and craft knife to size the paper to approximately 11.5". Set aside.
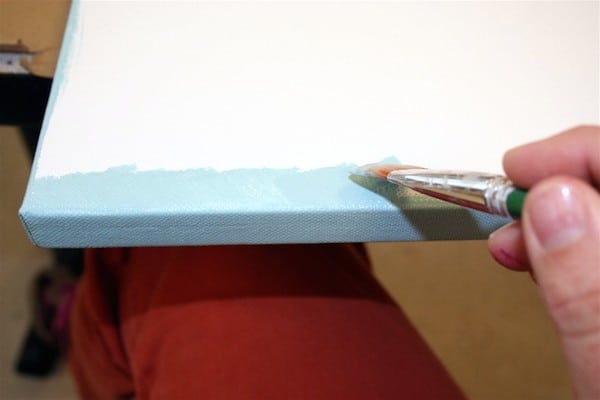
- Paint the edges of the canvases with coordinating paint colors. Give several coats and allow to dry.
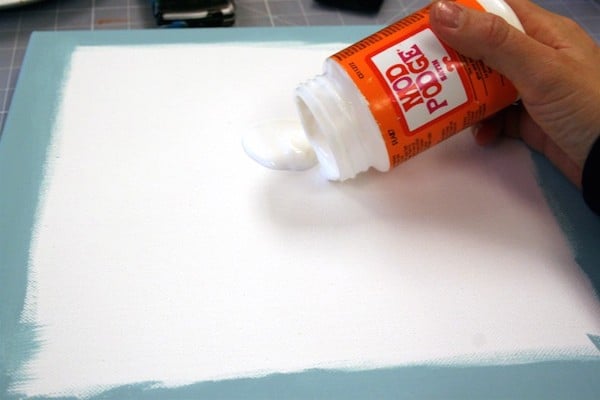
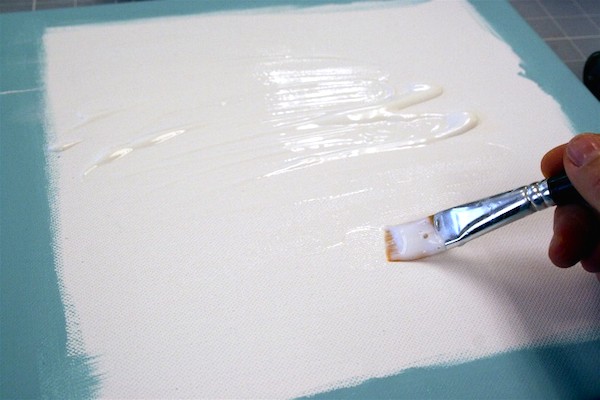
- Pour a bit of Mod Podge into the center of the canvas and spread out a medium layer. Work quickly and get the corners well.
- Lay the paper down and smooth thoroughly – wipe away any Mod Podge that comes out the edges.
- Canvas is flexible, so turn the canvas over and smooth on the backside as well. Allow to dry for 15 – 20 minutes.
- Repeat with your second canvas.
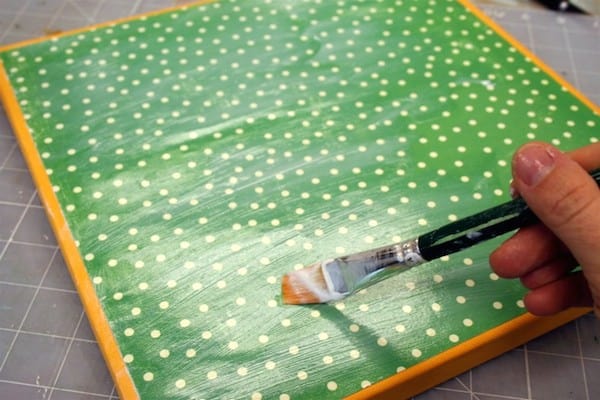
- Decoupage over the top of your paper; coat the sides of the canvas as well. Allow to dry and then give a second coat. Allow to dry.
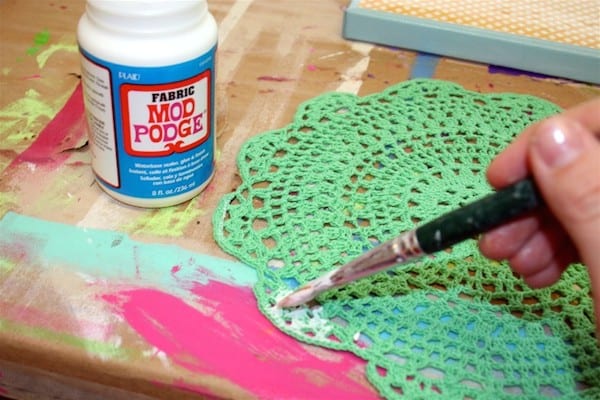
- Add some Mod Podge to the back of the doily.
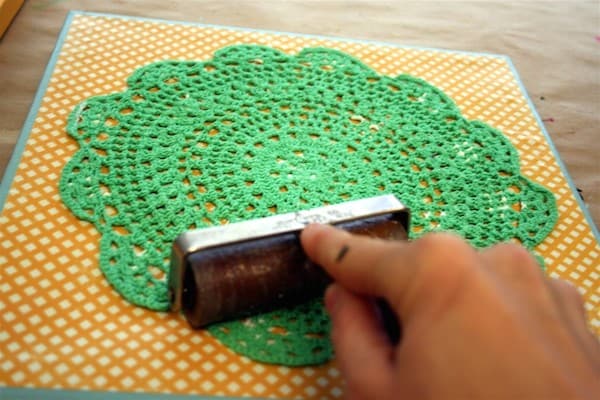
- Place the doily onto the canvas and roll out with a brayer (if you have one) to get it to stick. If you don't have a brayer, use your hands and prepare to get messy. You'll see the Mod Podge through the doily, but don't worry – that will dry clear. Let dry 24 hours before hanging.
Like this wall art with doilies? Let me know in the comments! Here are some other craft projects you might enjoy:


I love these, Amy!! And thanks for taking pictures of your supplies—it helps sometimes to know what to look for when it’s something I don’t normally buy. Sometimes I can roam around the store for an hour looking for something. And, yes. I’m kind of like a guy in this respect—I hate asking….lol
These are lovely and such a great idea.
they look amazing!! I still don’t understand how you work so amazingly with mod podge, I always get bubbles, never fails.
I love them !! You are such a hoot. I’ll have to get to Michaels and get my doily on 🙂 Happy Friday
Super cute! Makes me get sentimental…I really wish I’d valued my grandma’s crochet skills and learned from her before she passed (although I was a foolish teenager then)…or at least kept our pets from attacking the doilies I had from her! I’ll be making a trip to Michael’s soon 🙂
Oh these are nice! I have so many doilies I’ve made & have no idea what to do with them. I love crocheting them, but never know what else to do…I may have to make some of these 🙂
Very cute idea!
these are excellent. I love the colors you chose!
tai @ taidyeoriginal.blogspot.com
Cool, wonder if the paper doilies would work then I could paint those too? Has anyone tried?
Better yet, once this room is organized to find everything, I’ll try cutting one myself and Mod Podge it like this. Thank you so much for this idea, I’ve been trying to think of something for one wall I have this will be perfect.
Love ’em!