
Use the provided printables to make this festive DIY Thanksgiving sign – welcome your guest in style or use it for pretty mantel decor.
Skills Required: Beginner. You’ll be attaching paper to wood with Mod Podge using the iron on method. It’s pretty simple, but some experience with decoupaging usually helps.

I really do love Thanksgiving. It’s one of those holidays that doesn’t try too hard, and maybe that’s why it feels so perfect. There’s no pressure for gifts or big productions, just a table, some familiar recipes, and the kind of laughter that seems to linger a little longer than usual.
Some of my favorite memories are wrapped up in the rhythm of the day too, the chopping and stirring, the last-minute dashes to set the table, and that moment when everything finally comes together.
That’s exactly why I love creating simple, meaningful décor for the day and this DIY Thanksgiving sign is one of my favorites. It’s the kind of project that adds a warm, personal touch to your home without a lot of fuss, and it fits right in with the cozy, welcoming feel that Thanksgiving is all about.
I wanted something that really captured the spirit of the holiday, and when my friend found the perfect Shakespeare quote, everything clicked: “Small Cheer and Great Welcome Make a Merry Feast.”

It’s from The Comedy of Errors, and it feels like it was written for Thanksgiving tables everywhere. It’s not about perfection or over-the-top decorating, it’s about the feeling you create for the people around you.
From there, this DIY Thanksgiving sign turned into something even more fun because I ended up designing three different printable options you can use.
Along with the Shakespeare quote, there’s one that says, “thank you for the food before us, the friends beside us, and the love between us,” which feels like a little moment of gratitude you can display. The third design reads, “may your Thanksgiving be bountiful with reasons to be grateful,” which adds a classic, heartfelt touch.


Each version is designed to be applied to a rustic wood pallet, giving you that farmhouse-style look that pairs perfectly with fall décor. Whether you hang it on the wall, prop it up on a shelf, or incorporate it into your Thanksgiving table setup, it’s an easy way to make your space feel a little more special.
If you’re looking for a simple craft that makes a big impact, this DIY Thanksgiving sign is a great place to start. Let me show you how to make it!
GET THE PRINTABLES HERE: Bountiful & Grateful, Merry Feast, Thank You For Plaid

DIY Thanksgiving Sign
Equipment
- Sandpaper optional, to sand the pallet if desired
- Paintbrush(es) smaller, to fit in the grooves of the pallet
- Scissors or paper cutter
Materials
- 1 10 x 10" square pallet unfinished
- Mod Podge
- Craft paint
- Printable download
- Parchment paper
Instructions
- Print out the downloads of your choice using a laserjet printer. Trim down with a paper cutter.

- Do a test fit of the paper on the pallet – then trim additionally as needed using scissors or a craft knife.

- Paint the edges of the wood pallet with a paintbrush and let dry. Make sure to get inside the grooves and around the edges a bit (anywhere the paper isn't covering).

- Apply a first layer of Mod Podge to the top of the pallet and let dry.

- Apply a second layer of Mod Podge (over the previous layer) to the top of the pallet and let dry.

- Working one slat at a time, place the paper down on the pallet. Put the parchment paper over the top. Using a mini iron at medium heat, iron the paper until it sticks to the Mod Podge. Repeat with the additional slats until finished. Your sign is ready to hang.

Notes
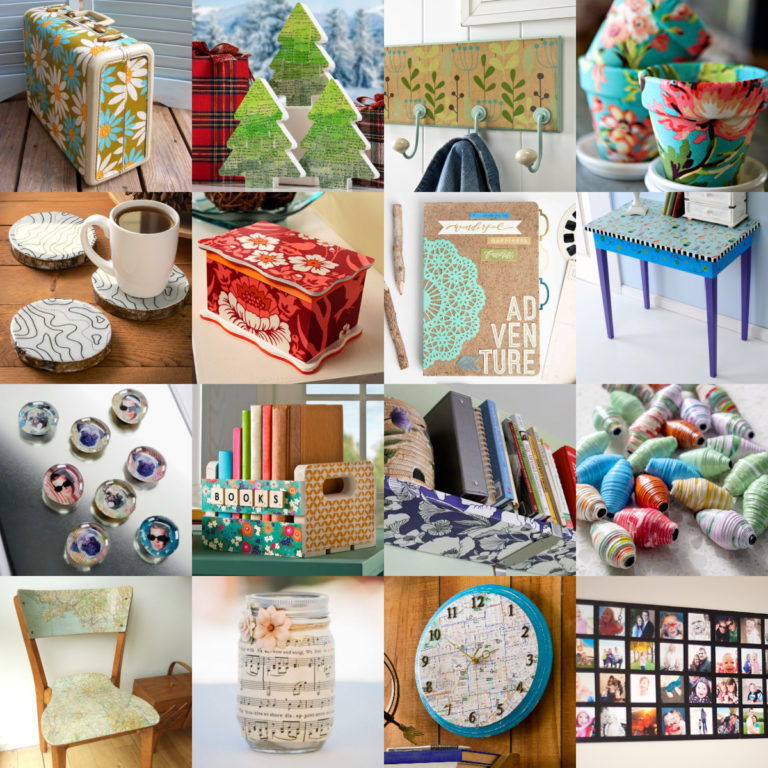
If you’re interested in some additional holiday decor projects, I’d like for you to check out the following posts:


I love this! I love everything from the saying to the colors to the size!!
Nice project