
DIY Thanksgiving Sign
Learn how to make a Thanksgiving sign using pieces of wood, Mod Podge, and a free printable. Make with basic tools!
Yield: 1 sign
Cost: $10
Equipment
- Sandpaper optional, to sand the pallet if desired
- Paintbrush(es) smaller, to fit in the grooves of the pallet
- Scissors or paper cutter
Materials
- 1 10 x 10" square pallet unfinished
- Mod Podge
- Craft paint
- Printable download
- Parchment paper
Instructions
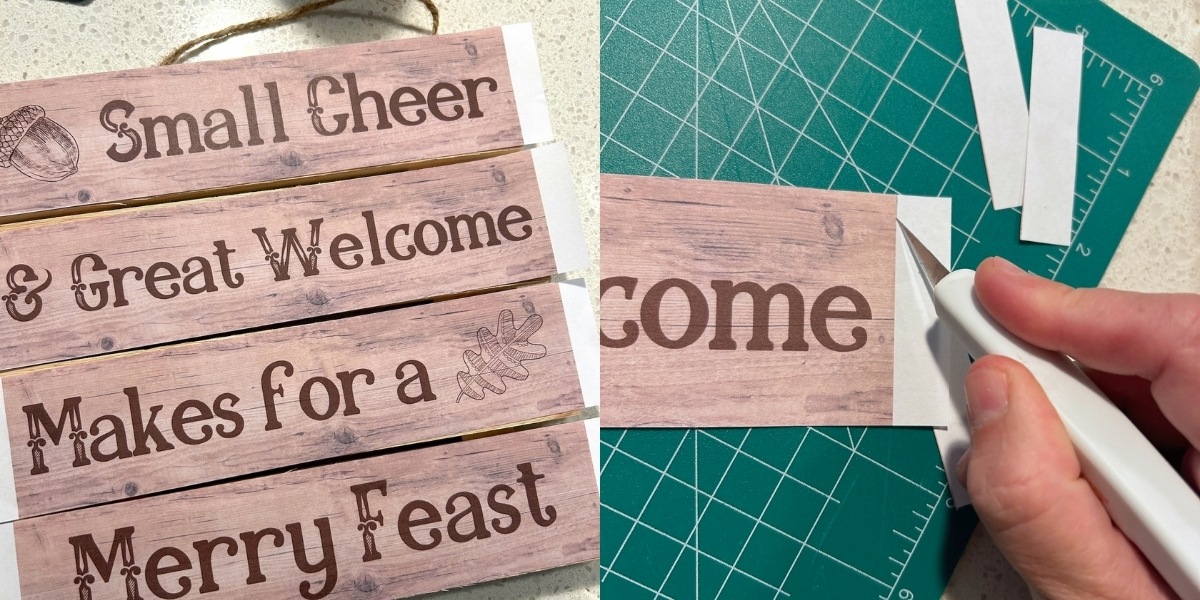
- Print out the downloads of your choice using a laserjet printer. Trim down with a paper cutter.
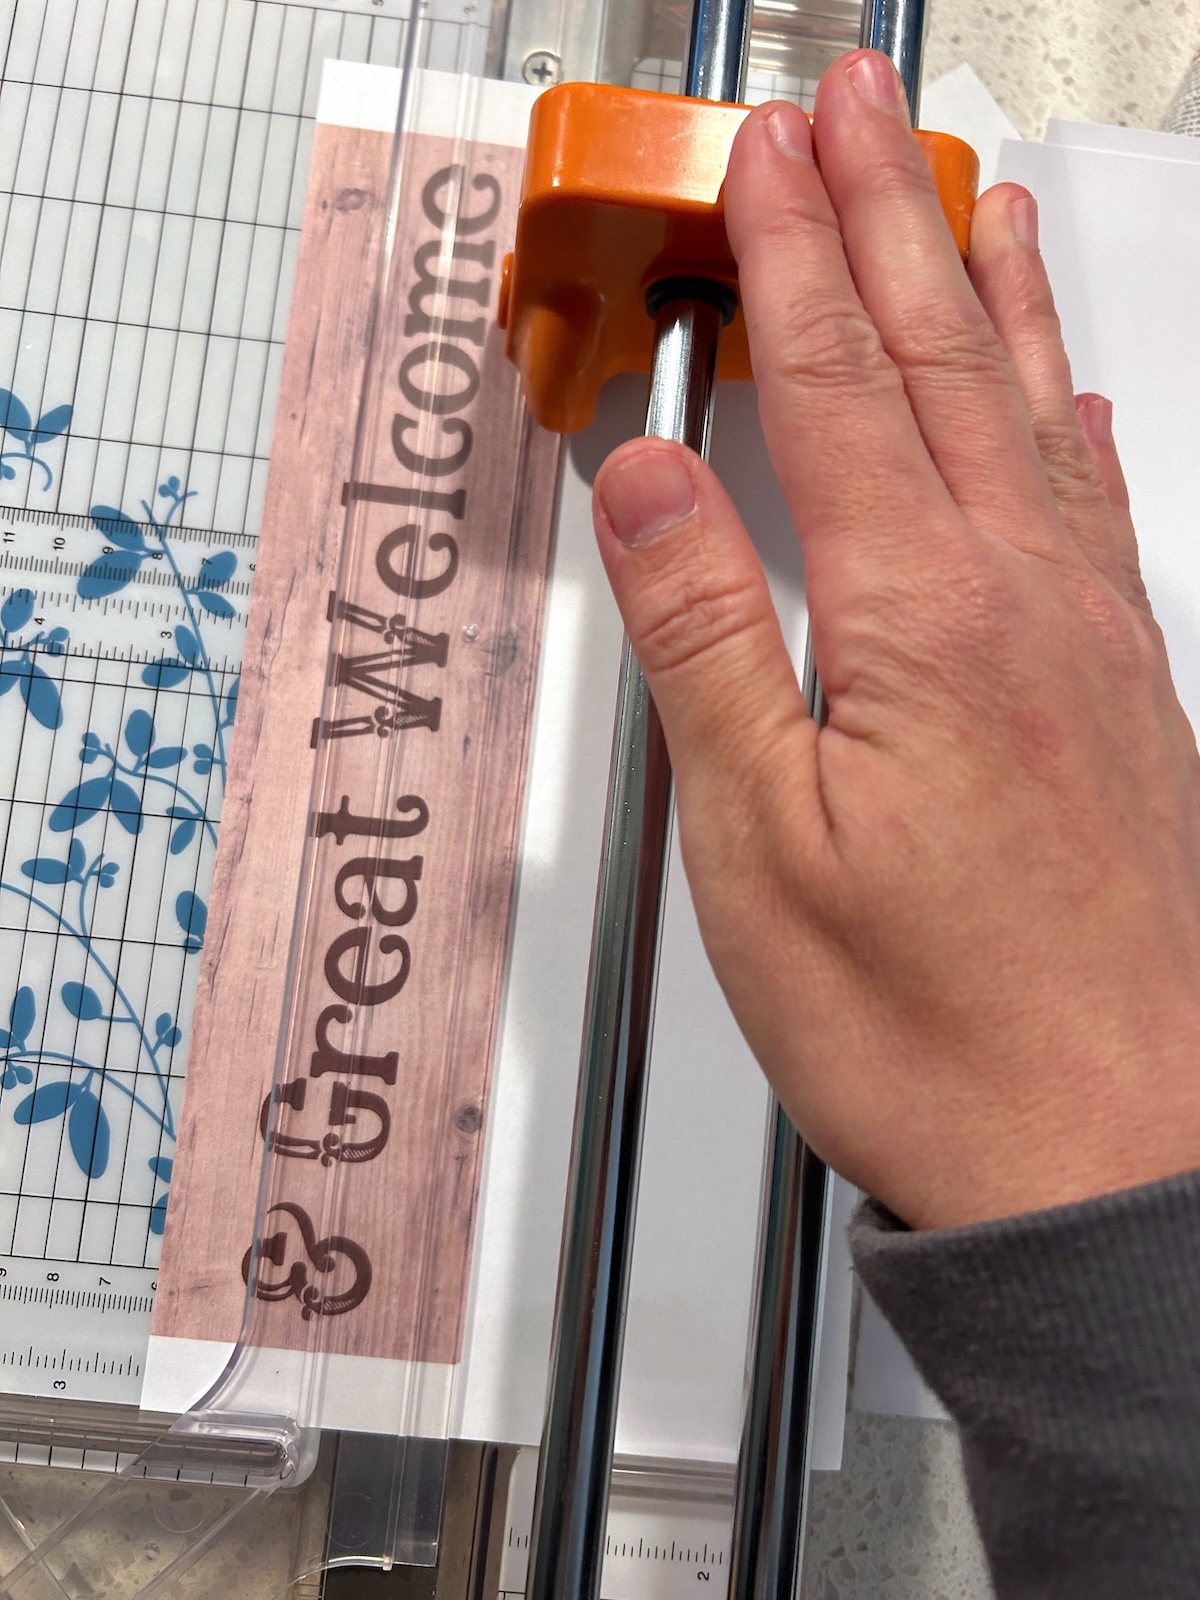
- Do a test fit of the paper on the pallet - then trim additionally as needed using scissors or a craft knife.
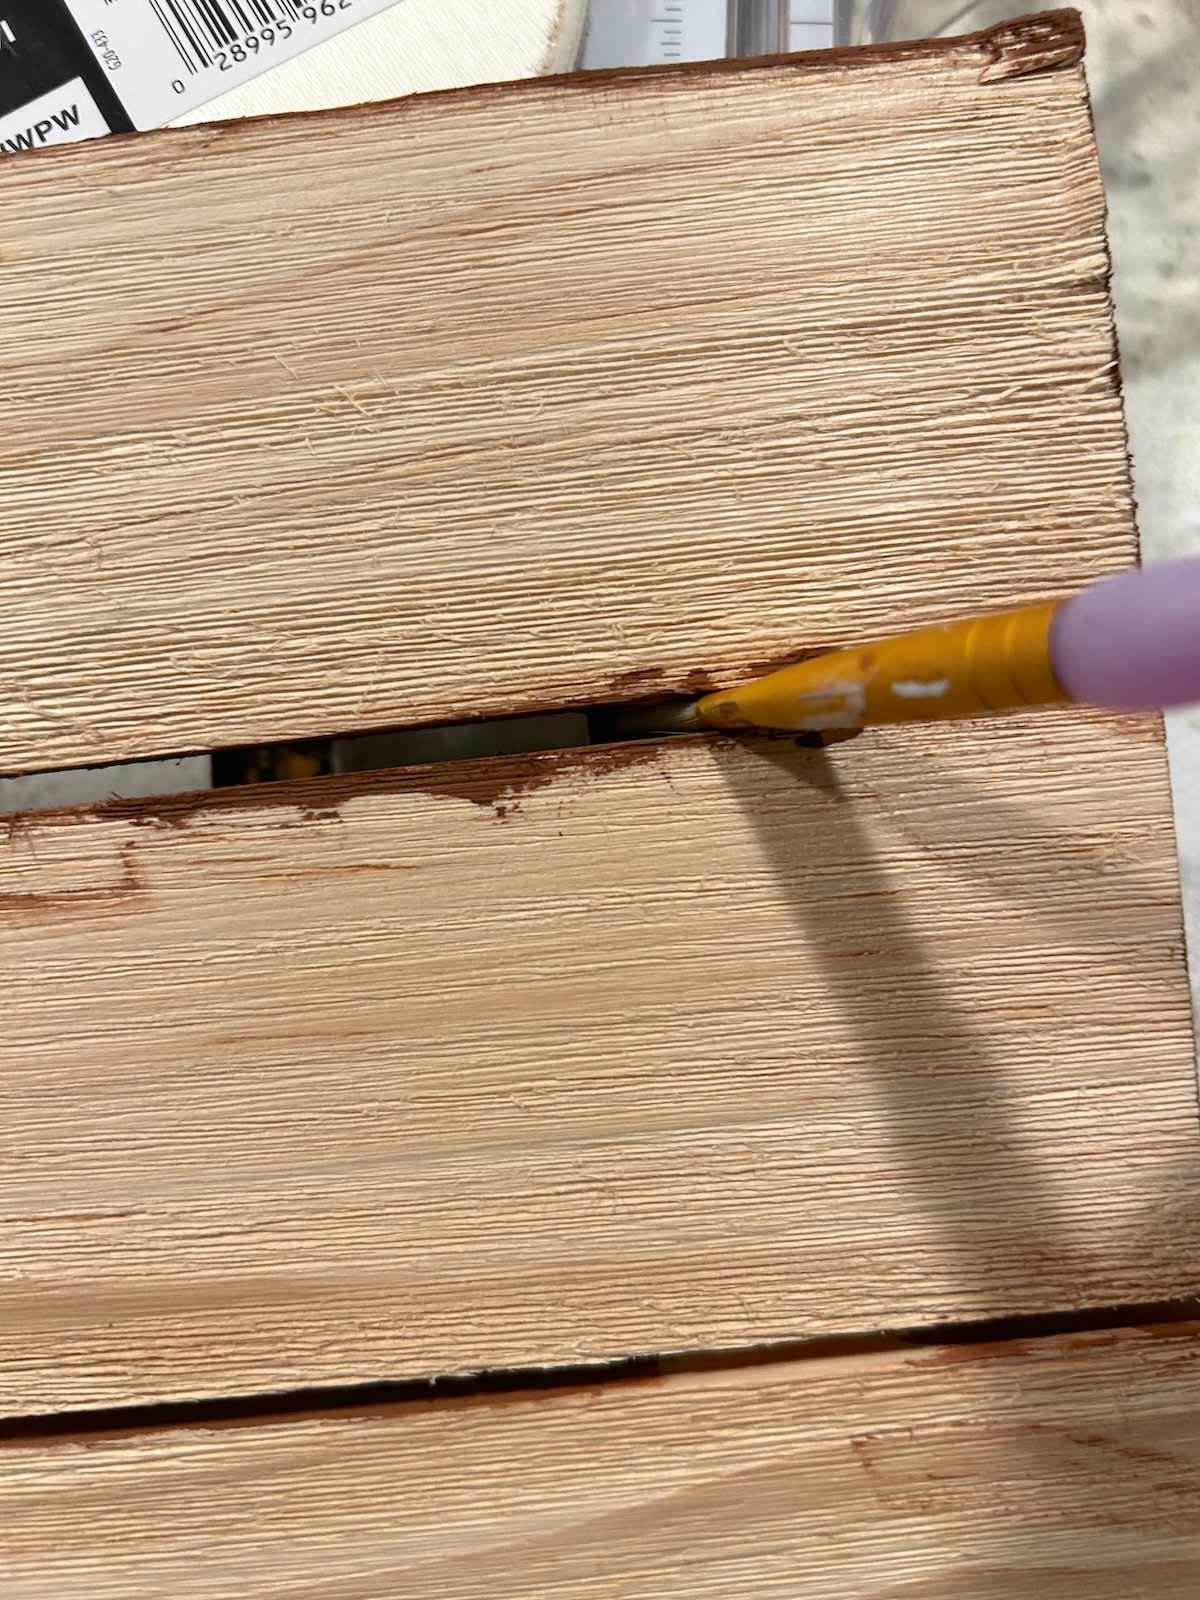
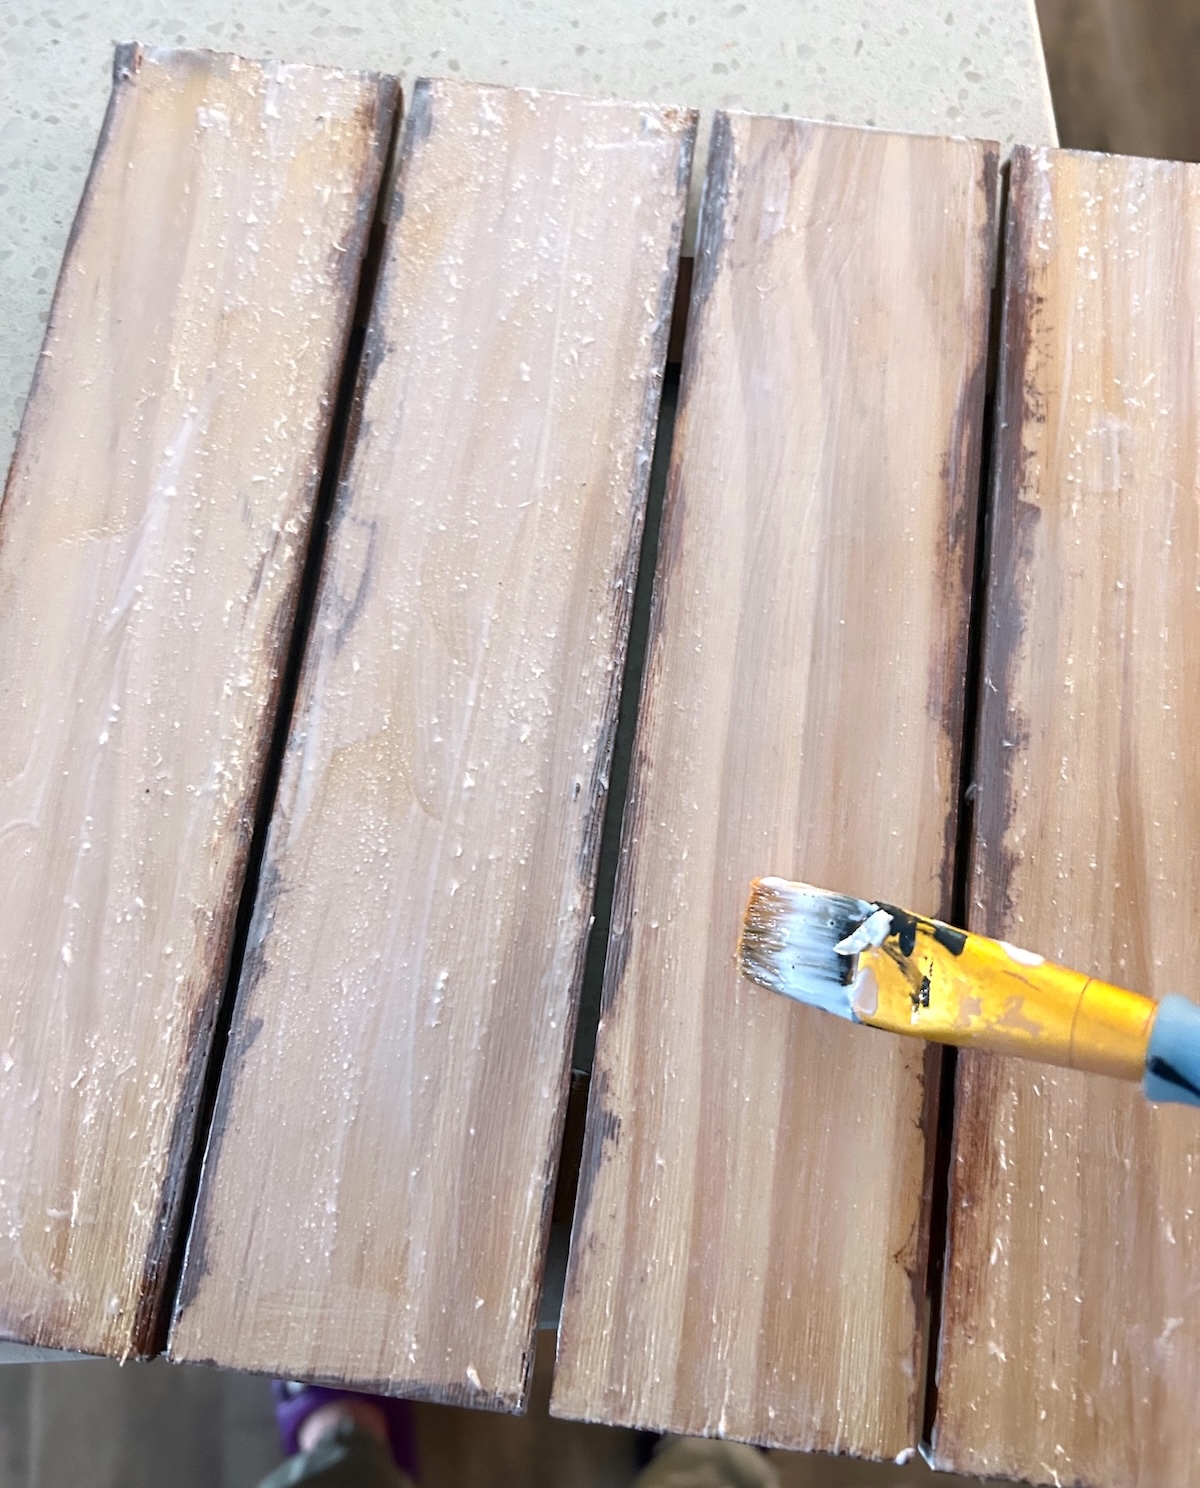
- Paint the edges of the wood pallet with a paintbrush and let dry. Make sure to get inside the grooves and around the edges a bit (anywhere the paper isn't covering).
- Apply a first layer of Mod Podge to the top of the pallet and let dry.
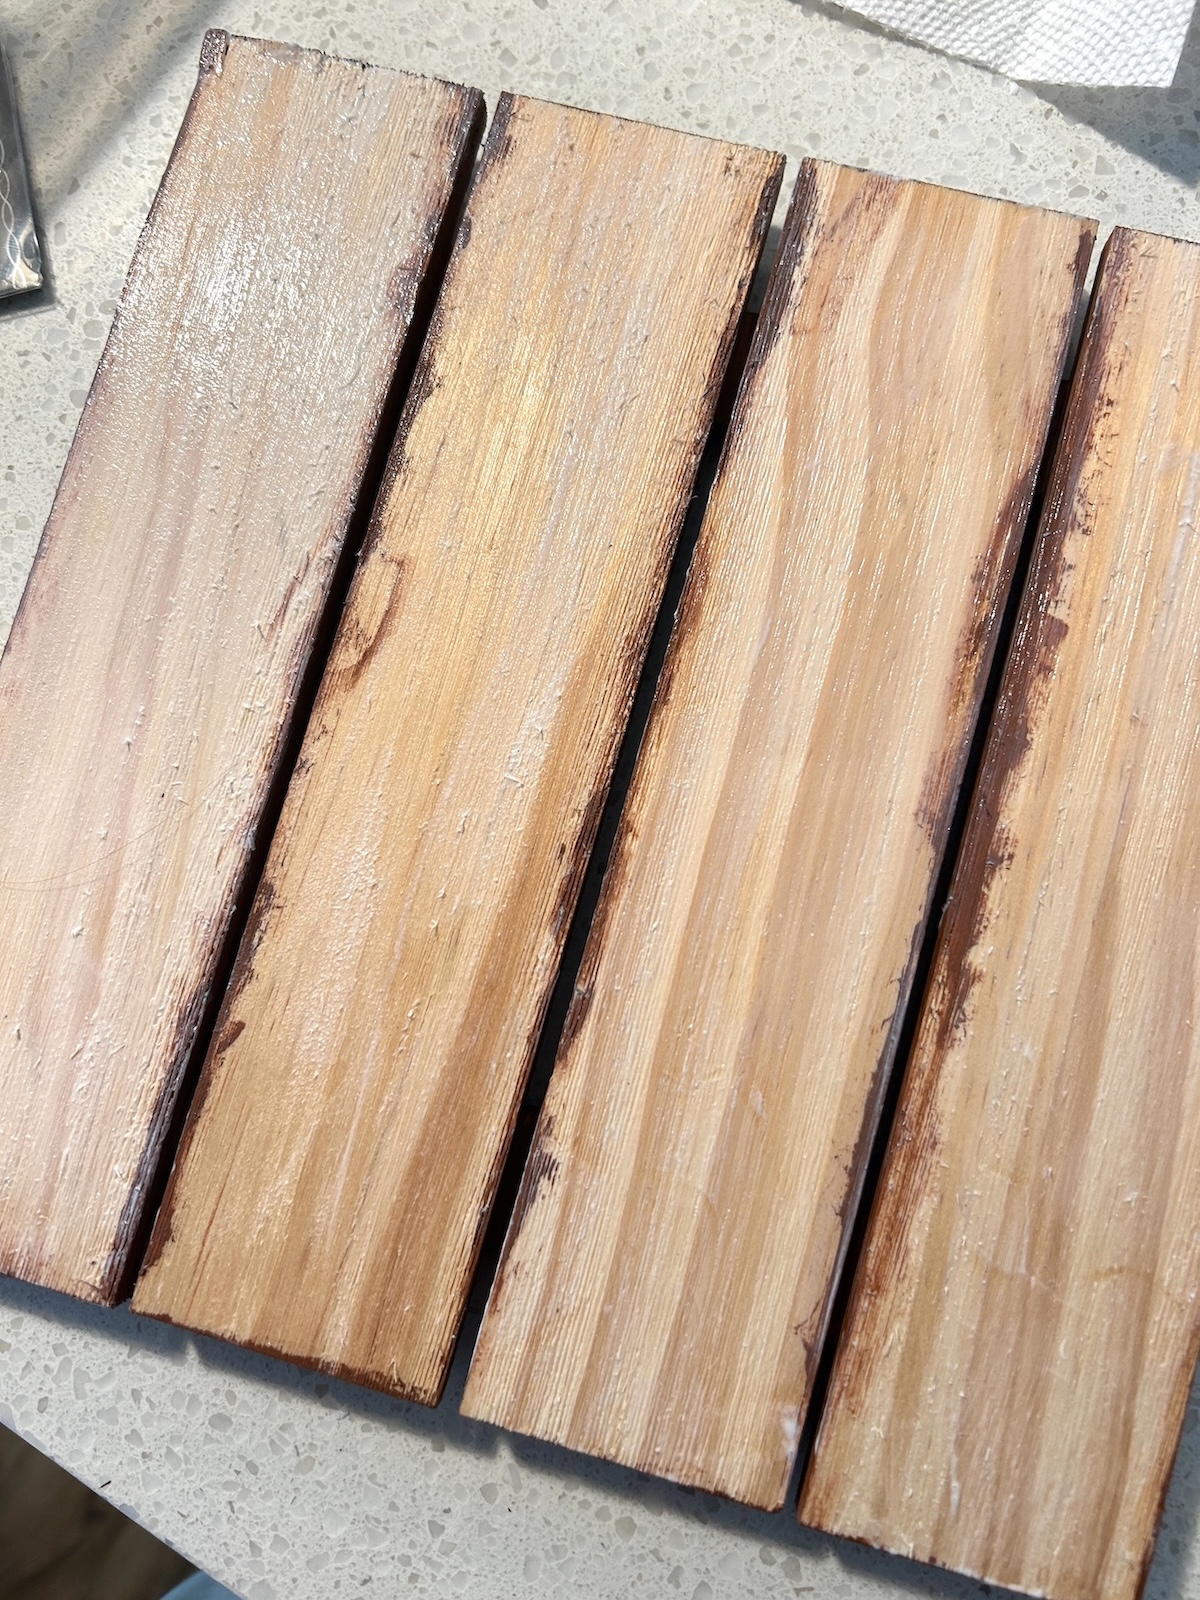
- Apply a second layer of Mod Podge (over the previous layer) to the top of the pallet and let dry.
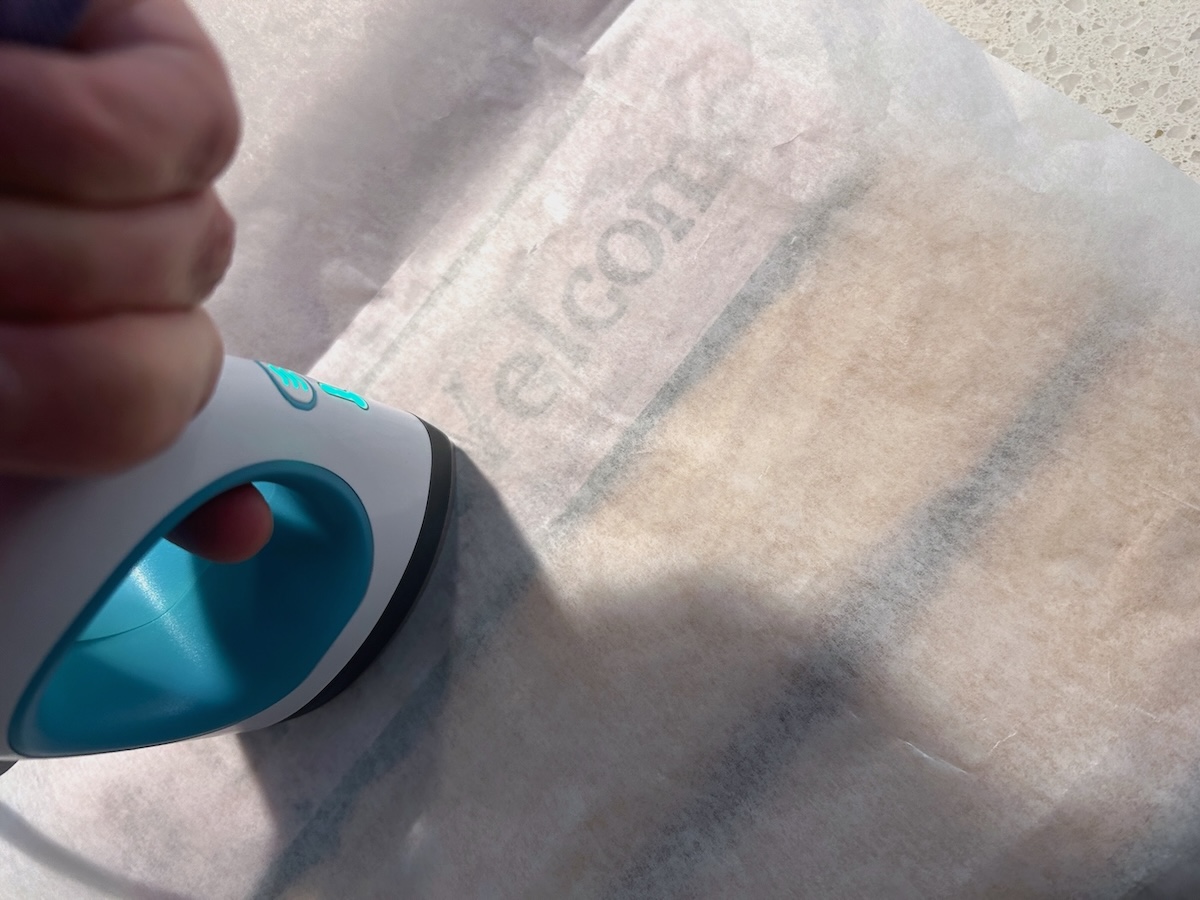
- Working one slat at a time, place the paper down on the pallet. Put the parchment paper over the top. Using a mini iron at medium heat, iron the paper until it sticks to the Mod Podge. Repeat with the additional slats until finished. Your sign is ready to hang.
Notes
If using an inkjet printer, you'll want to follow the instructions in this post to seal the prints so they don't bleed.