This insect identification craft is such an easy kids project or boredom buster. It allows your children (and you!) to learn about the bugs in your environment!
Skills Required: Beginner. Adults can easily do this project, and it’s appropriate for children who are able to cut out a bit more detail. If you use thicker cardstock, you don’t have to worry about any wrinkles.
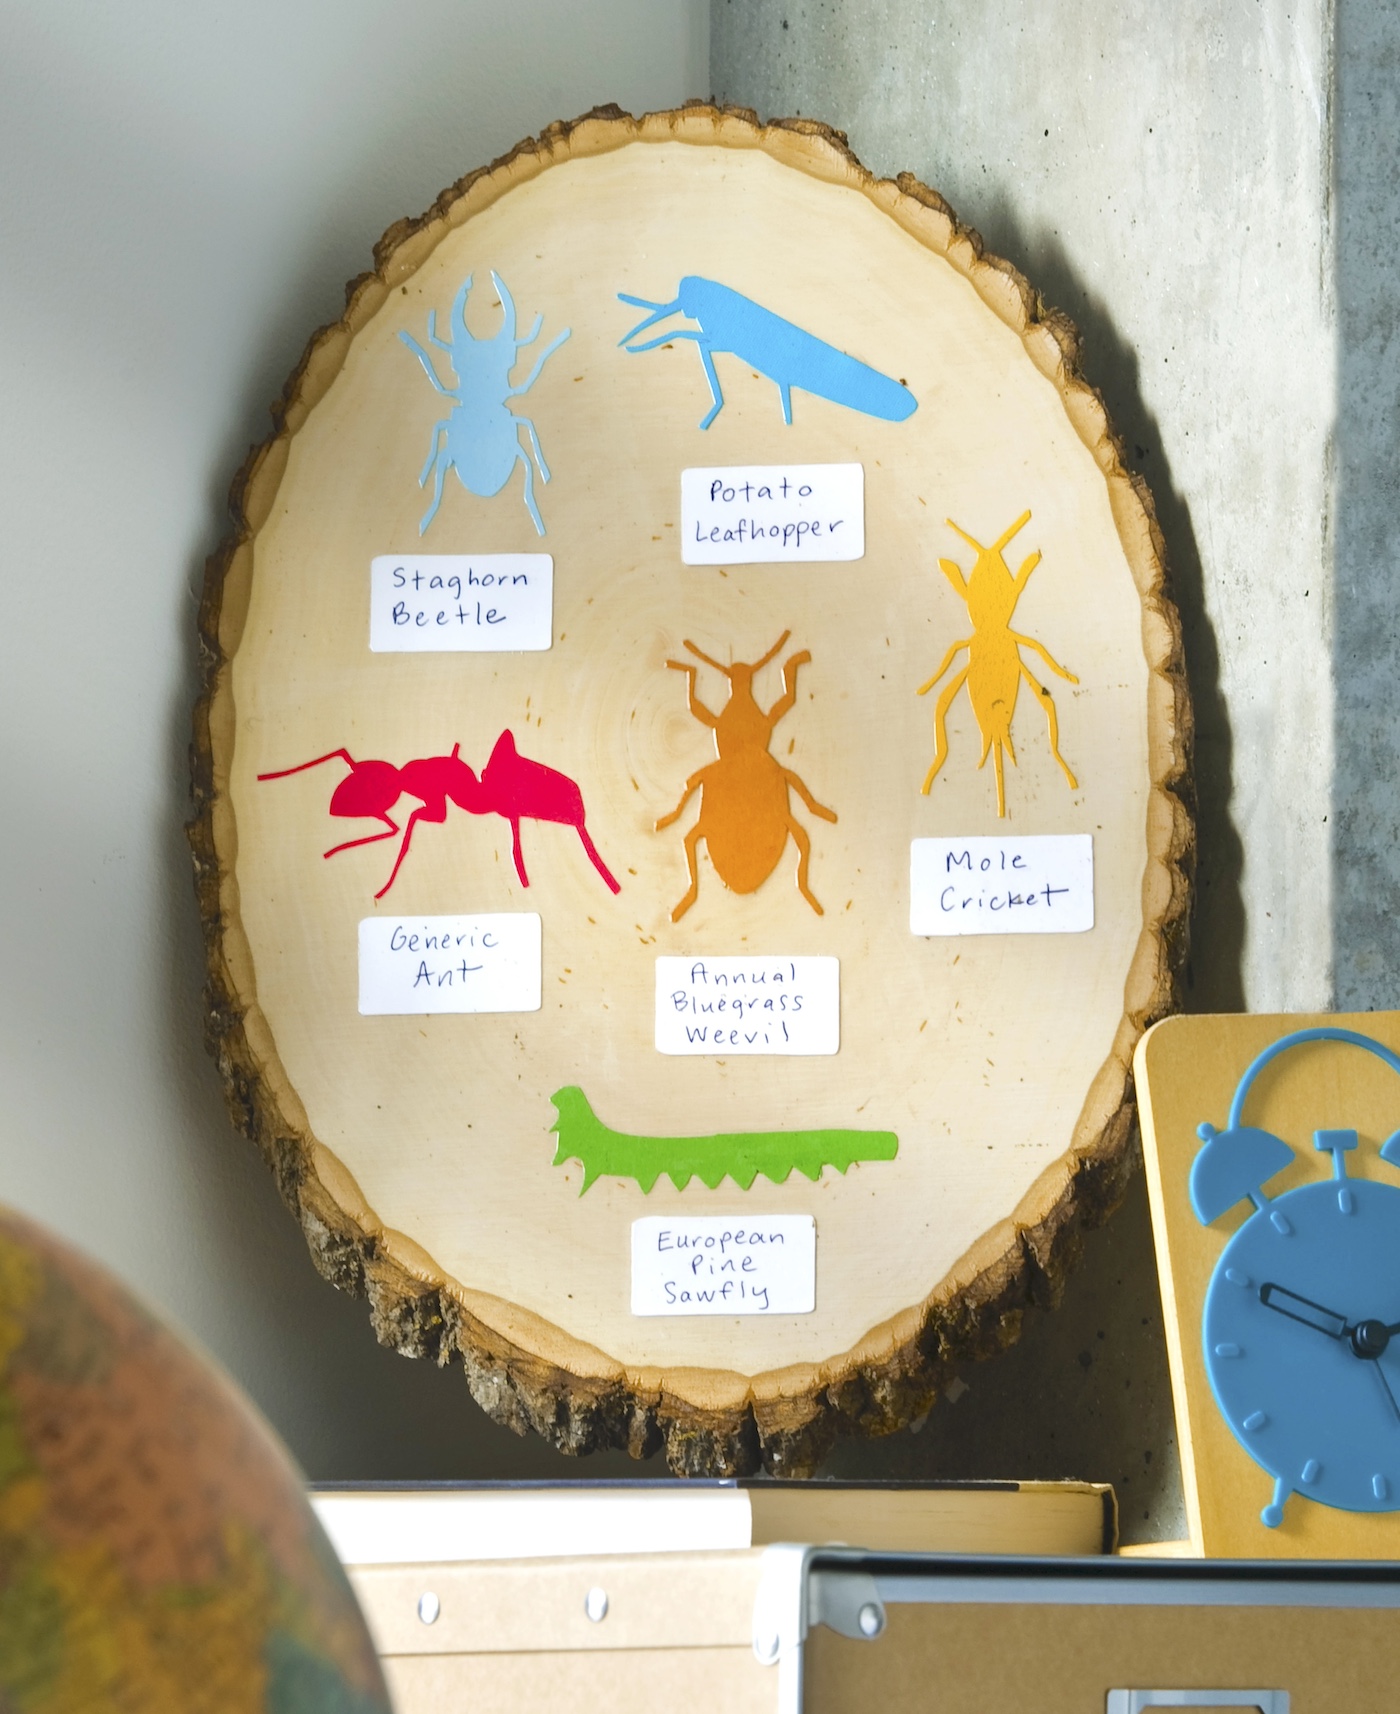
Halloween is right around the corner – the holiday where we celebrate all that is creepy and spooky. And I don’t know about you, but to me there is nothing creepier than insects.
And living in the south means that we have some BIG, scary bugs (I guess they like warmer temperatures?). I see insects running around here all the time and always wonder what they are.
I made this easy insect identification chart project so that you can take the opportunity, with your children, to learn about the bugs in your environment! This would make a great science fair or home school project, and it’s so easy to make. Here’s how I did it.
DIY Insect Identification Chart
Gather These Supplies
- Wood slice – I got this at the craft store
- Mod Podge Matte
- Scrapbook paper – colors of your choice including white
- Die cutter (optional)
- Paintbrush
- Clip art of insects of your choice
- Pen
- Detail scissors
Cut Out the Bugs and the Tags
The first step is to choose your insects and print out silhouettes of them using your printer. You can get more detailed if you are working with older children – it depends on the cutting skills of your child.
Pick 6 – 8 insects to identify (try to focus on your local area!) and cut them out using scrapbook paper.
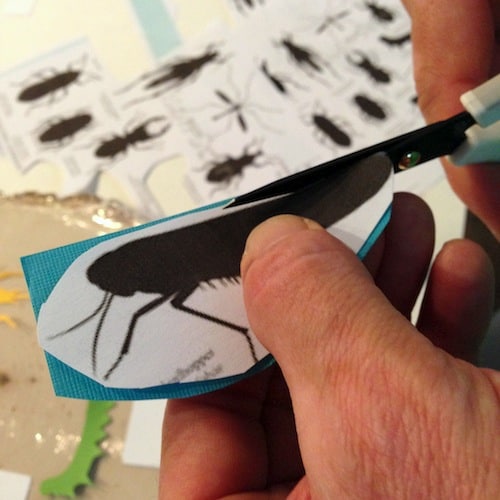
Tip: older children can use detail scissors to get smaller cuts.
Note: If you choose to print your bugs, remember that you should print them out with laserjet ink if you don’t want them to bleed. Otherwise, print them on inkjet, and then spray both sides with clear acrylic sealer. Then let dry. My preference is to use laserjet whenever possible.
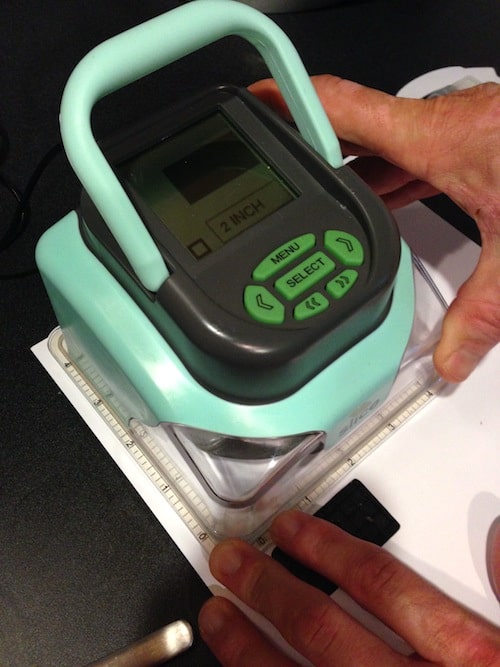
You have a couple choices for cutting out the tags. You can do it by hand, or you can use a die cutter. It might be fun to make the ID cards in fancy shapes?

Make an ID card for each insect that you cut out.
Lay Out the Design and Write the Names
As you cut out your insects, lay them out on your wood slice surface.

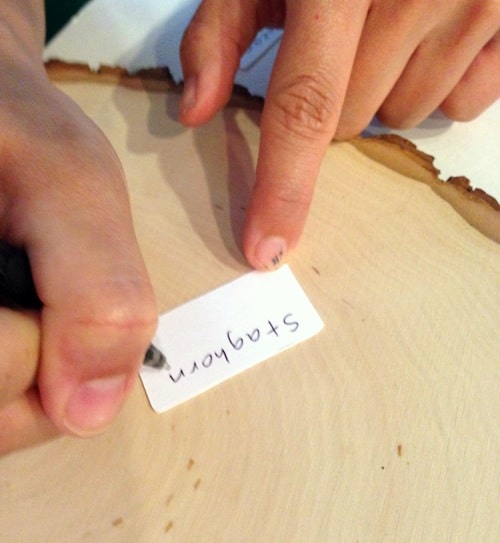
Write the name of each insect on the ID tag. You can use Scientific Names of Insects to get the Latin name.
Mod Podge the ID Chart
Once you have all of the names written on the ID tags, Mod Podge everything down to the surface. Add Mod Podge to the wood slice, place the bugs and tags down and smooth. Let dry for 15 – 20 minutes.

Once the project is dry, give it several coats of Mod Podge over the top and let dry again.

When your insect ID craft is dry, then you’re ready to display.
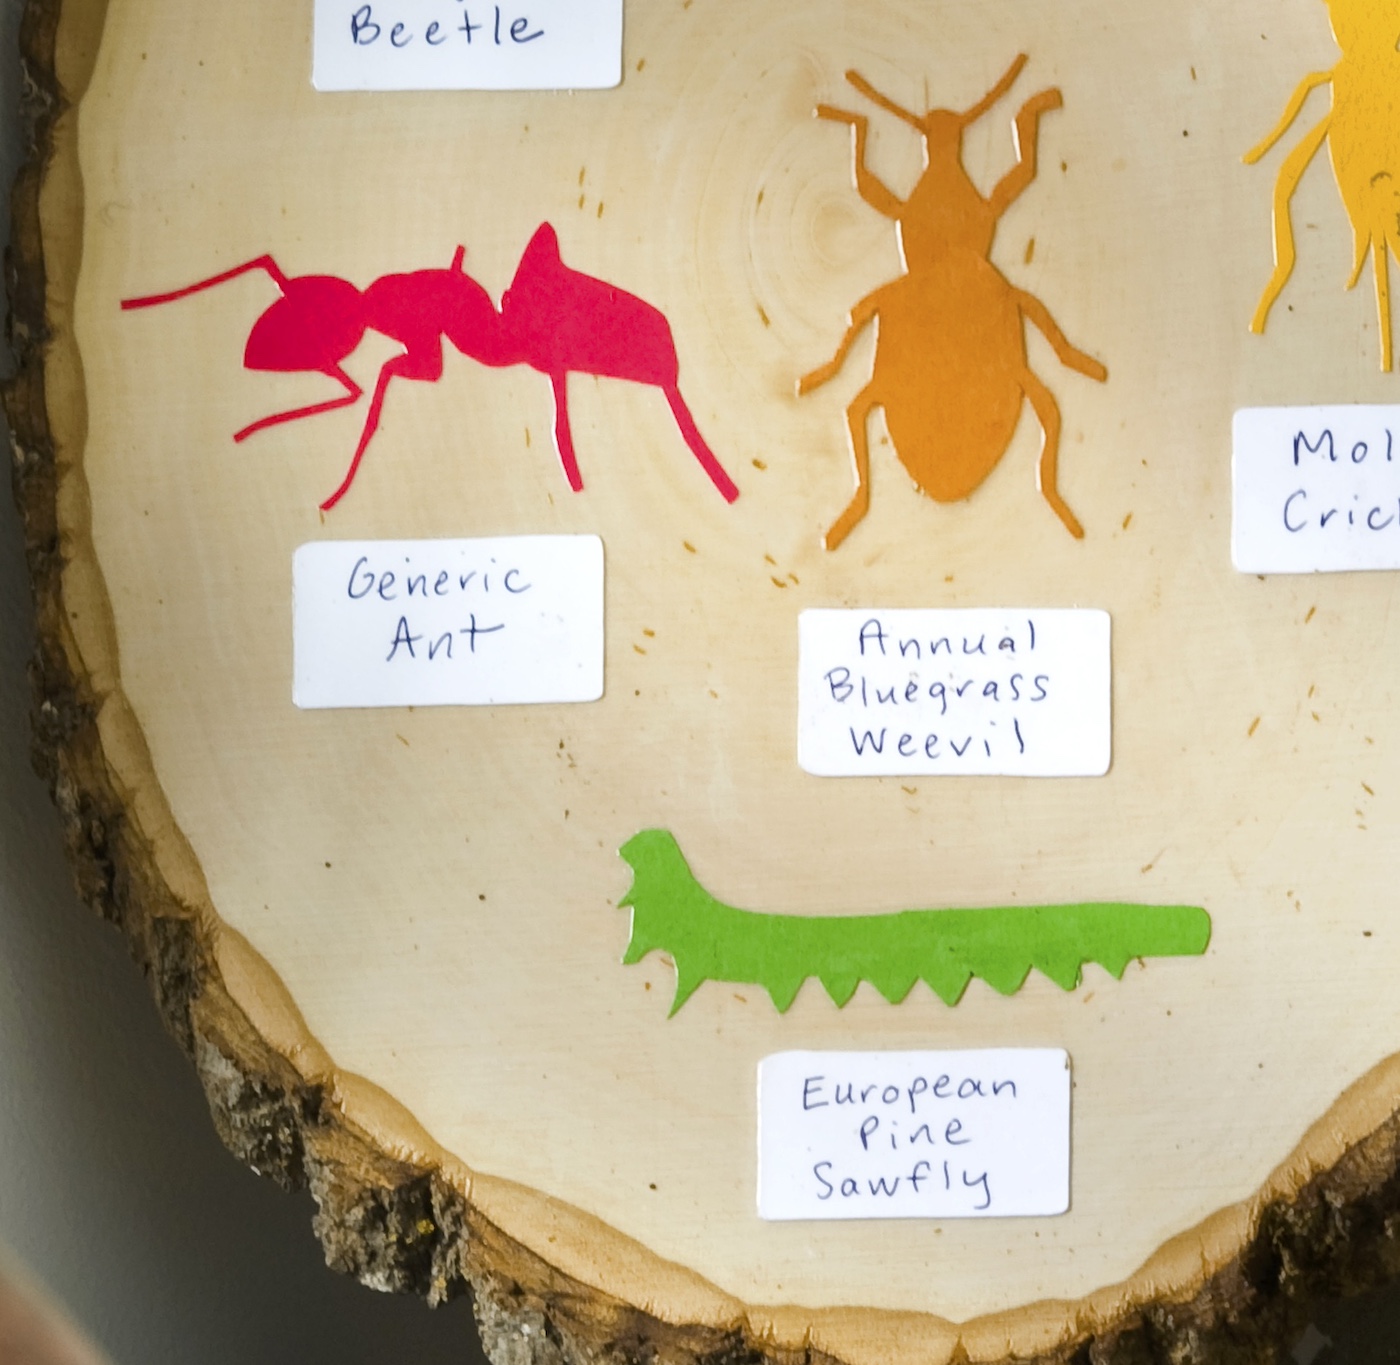
Now you’re official. An official bug identifier, that is!

This is such a fun science activity for kids! For more activities along the same lines, visit 20 science experiments for kids over at Happy Hooligans!
We also have more fun kids’ crafts here on the blog – check out our slime recipe, our toothpick cactus craft, our birdhouses, and of course our Mod Podge crafts for kids.


This is SO CUTE. i love the wood slice! I would totally hang this in my boys’ bedroom.
This is such a great idea. I love this project. My boys love the Orkin site so much. I think they’ve been on it everyday this week.
I thought it had a ton of great info on insects! Icky and cool at the same time!
I love the layout with the bright pictures and I found it to be very informative!
love the giant spider web!
I loved the article on stink bugs… we’ve been seeing more and more of them in our area so it was great to learn more about them!
I like they have great posts and information to learn.
I liked the giant spider web!
I like all of the animal facts on the site.
Funny, I was at the Orkin site just a few days ago. Thought it was a great site.
I like the cool bugs pictures
I looked at the Orkin site and could only think”Eeeewwwww!”
Scary! The giant spider on Orkin’s homepage kinda freaks me out 🙂
I thought the site very interesting and educational. I found interesting, that forensic entomology dates back to the 13th and 14th centuries in China.
It is a very informative site, I like all the pictures
very cool and visual website!
i like the giant spider web
It is a really cool but creepy site. I don’t like bugs.
I read the comments above and not sure I want to go to the Orkin page – I’m TERRIFIED of spiders. But this is a great project! One that my son will eventually want to do, and I hope he asks his dad!
The site is very informative.
I loved the pictures and learned some awesome facts. My son would love it.
cool site for those who like bugs (I do not). Also didn’t like seeing the giant spider on the home page! Euwwww! L:)
love the article on entomotherapy.
I liked the post on stink bugs numbers increasing …i’ve noticed too!
It is funny that Dung Beetles gallop!
The orkin site is awesome! I think teachers would find this craft/exercise helpful to the students!
The “bug of the month” – the Goliath Bird-Eating Spider – is quite creepy!
What a great site! I had no idea Orkin had a site geared to kids (and teachers!).
What a creative idea! Also, I really enjoyed the article at Orkin about how grasshoppers helped solve a case.
This is adorable!!!! I would have totally hung something like this up in my biology classroom too! So cute!
Oh wow….what a neat site they have! So much information! I love the build a spider web! The Science fair ideas is to great for kids! Very educational site! I think I will spend hours here!
The site has clever edu ideas and lots of info about bugs!
This would be a great project to do with my little boy!!
Visited and found it interesting, I was surprised by Stink Bugs On The Rise In The U.S.
I visited the site and found it to be very informative! I especially love the bug of the month feature!
My boys would love that site! I really like the mix of learning and fun for the kids and adults as well. 🙂
I think it is a great way for kids to get involved in learning about bugs and not being afraid of them. If they know more they can look at the bugs in a different light.
The giant spider web is very cool. Just in time for today!
Cute and fun facts, makes bugs and pests less creepy and more interesting to learn…and the craft ideas are cute–like building your own spider web
I learned that dung beetles creep me out and that they gallop to poop!
I loved all the fun facts!
I hate bugs! But I guess kids don’t so its fun for them…I do love gift cards tho…would love to win one…would help a lot!
They have a lot of good information but the bird eating spider really scared me! lol
We are always looking for new & exciting educational crafts that are a creative way to learn about our ecosystem & all things Lowcountry. We teach kiddo art classes thought The Chalreston area schools as well as in Summerville. Great post! Love o promote other businesses that incorporate creativity! Thanks!
I opened the Orkin page, but had to close it again immediately. I’m scared of spiders, they totally freak me out!
Thanks for sharing this site. I find bugs interesting. They have great info and the photos are awesome.
I will have to use this site for my pre-schoolers!! I love the interesting facts!
Very interesting website! We have our share of insects and lots of animals in our area. Lots of great information.
Thanks so much for the chance to win!
Sue
Since this is a family-friendly site, I can’t say what my first reaction was to the giant spider. and the rats But the site is very informative. I like it!
Very informative, gave me the creeps since I hate bugs but many times I have had questions about different spiders, etc. I’ve seen and this site could answer them
I Love the animal facts there
beside the fact I have the creepy crawlies now. the sight is kid friendly with all the big bright pictures and easy to navigate
Its an awesome site with lots of cool facts.
I like that it comes with a lot of learn and fun project for kids.
Rohit