If you’re looking for fun and easy Halloween crafts for toddlers, these handprints are perfect! There’s a pumpkin handprint, spider handprint, and ghost footprint too.
Skills Required: Beginner. These are Halloween crafts for toddlers . . . but parents will have to assist! Mom or dad will need to roll out the dough, and kids can imprint their hands. Kids can paint easily.
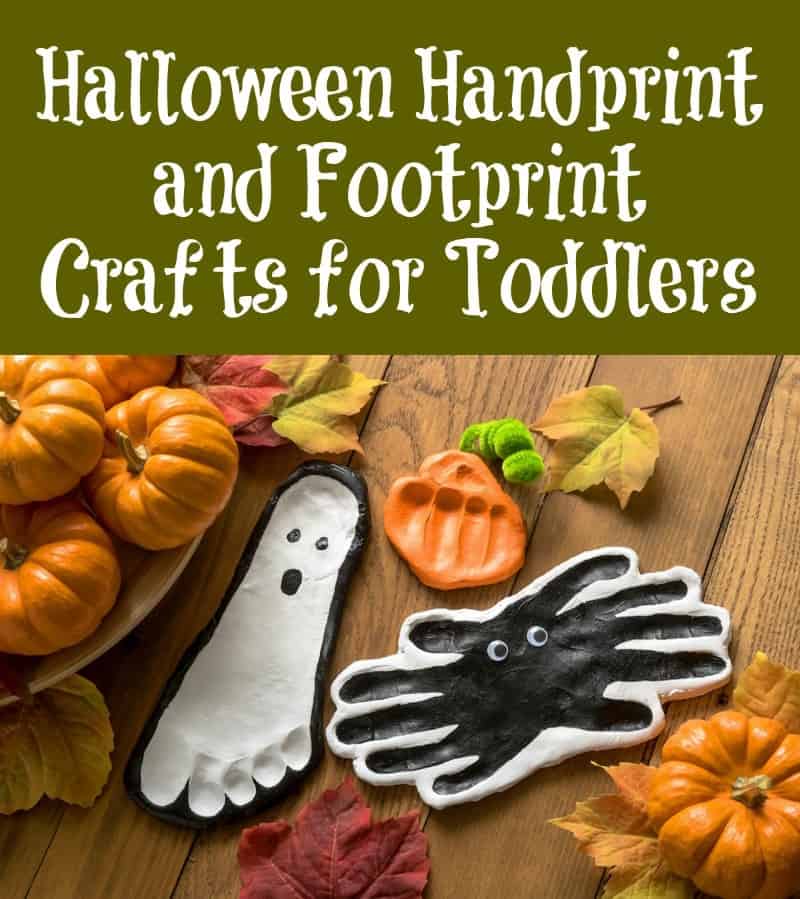
Recently I got together with a few neighborhood kids (well, their moms too) to do some handprints for Halloween. The moms had asked me what some fun Halloween crafts for toddlers would be, and these handprints were the first thing on my mind!
We had SUCH a blast making these – and the kids did too – so these are a winner in my mind. They’re perfect for preschool age and kindergarten too! Here’s how we made our handprint crafts (and a footprint too).
Halloween Crafts for Toddlers
Gather These Supplies
- Crayola air dry clay
- Rolling pin
- Acrylic paint – washable/kid safe like Apple Barrel
- Mod Podge Gloss, Matte, or Satin (to seal)
- Paintbrushes
- Knife or craft knife
- Wiggly eyes (optional)
- Glue (optional)
- Sharpie (optional)
You’ll also want a cookie sheet and wax paper – trust me on this one.

First thing you’ll do is grab a “hunk” of the air dry clay and place it on the wax paper. The amount you’ll need just depends on the size of the hand or foot you’re imprinting. You’re going to roll out the air dry clay to about 1/2″ thick.
If you find the air dry clay you’ve rolled out isn’t big enough, add more! I actually picked the clay up, adding more, and rolled it out again as opposed to smushing another piece on the end and creating a line. But that’s just me!

Place the hand down into the air dry clay and push. You’ll probably want to help your toddler with this by pushing each individual finger and then the base of the palm down.
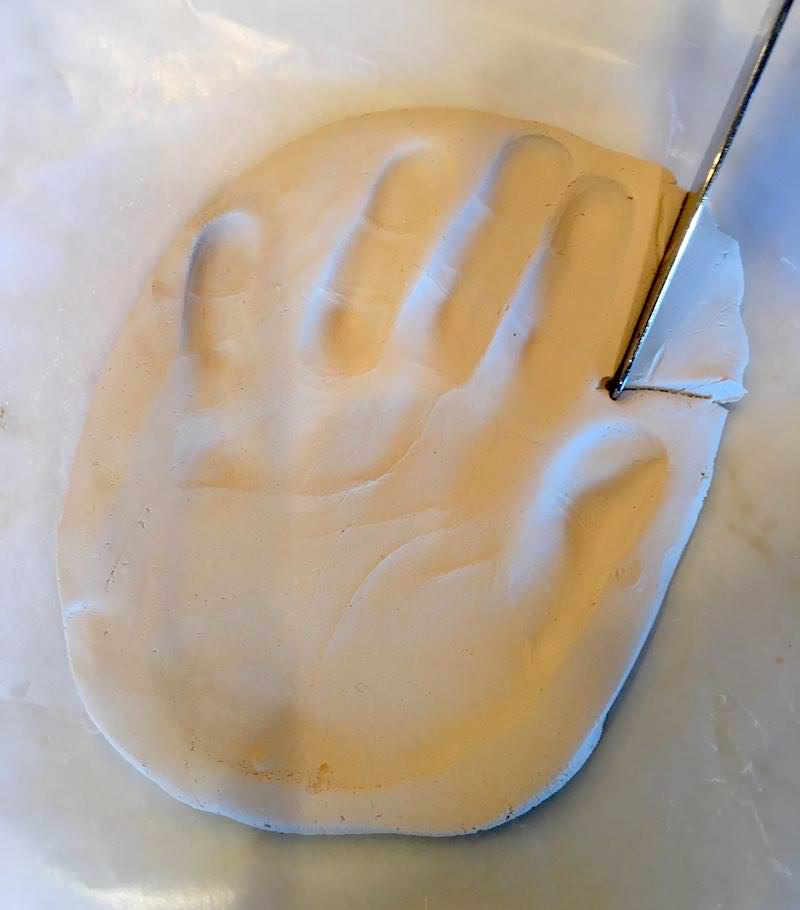
Pull the hand out of the clay and then cut around the edge. Now – you can give your littles non-sharp knives and let them do this part depending on their ages. Otherwise, mom or dad or another adult should be cutting.
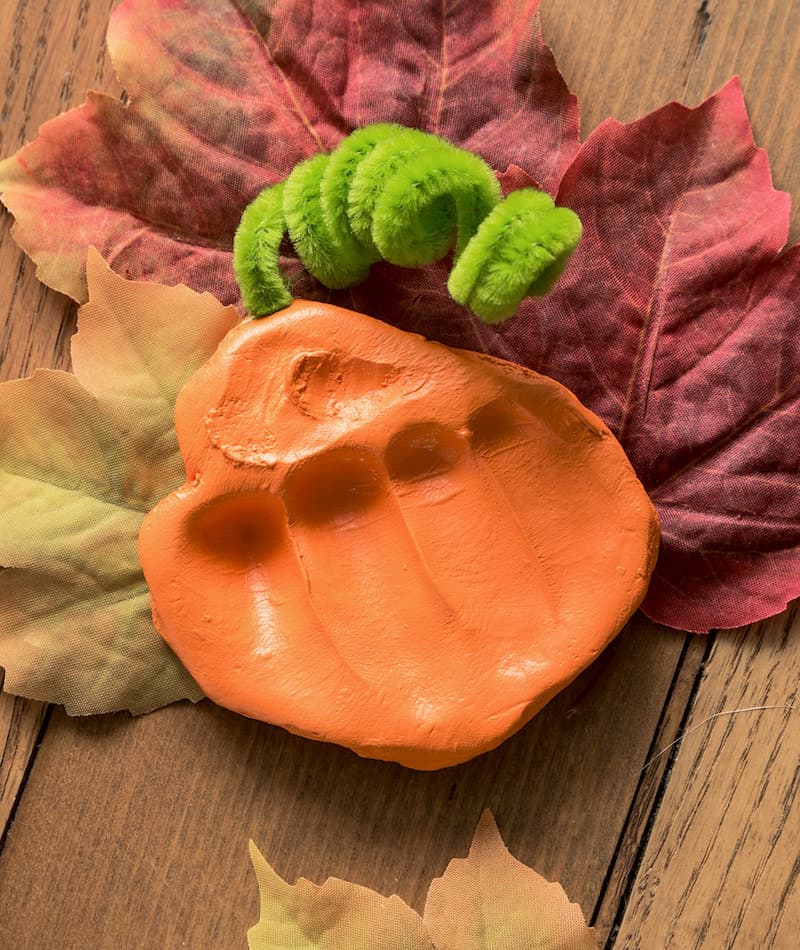
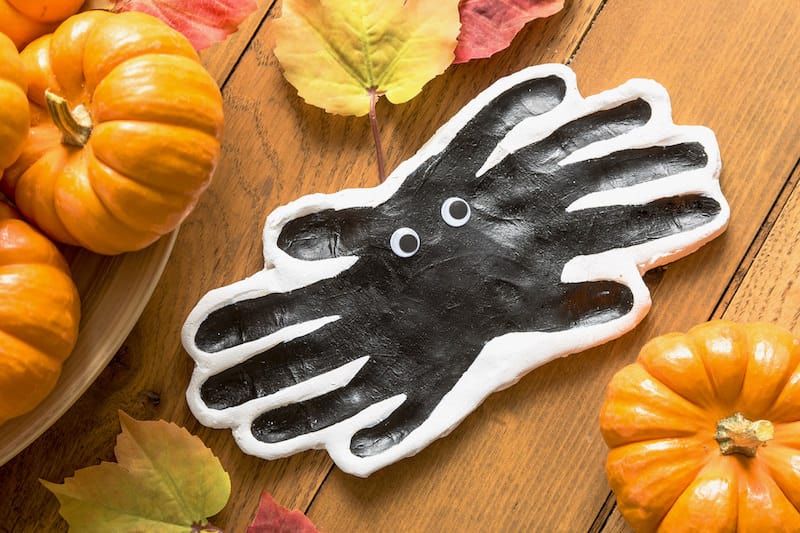
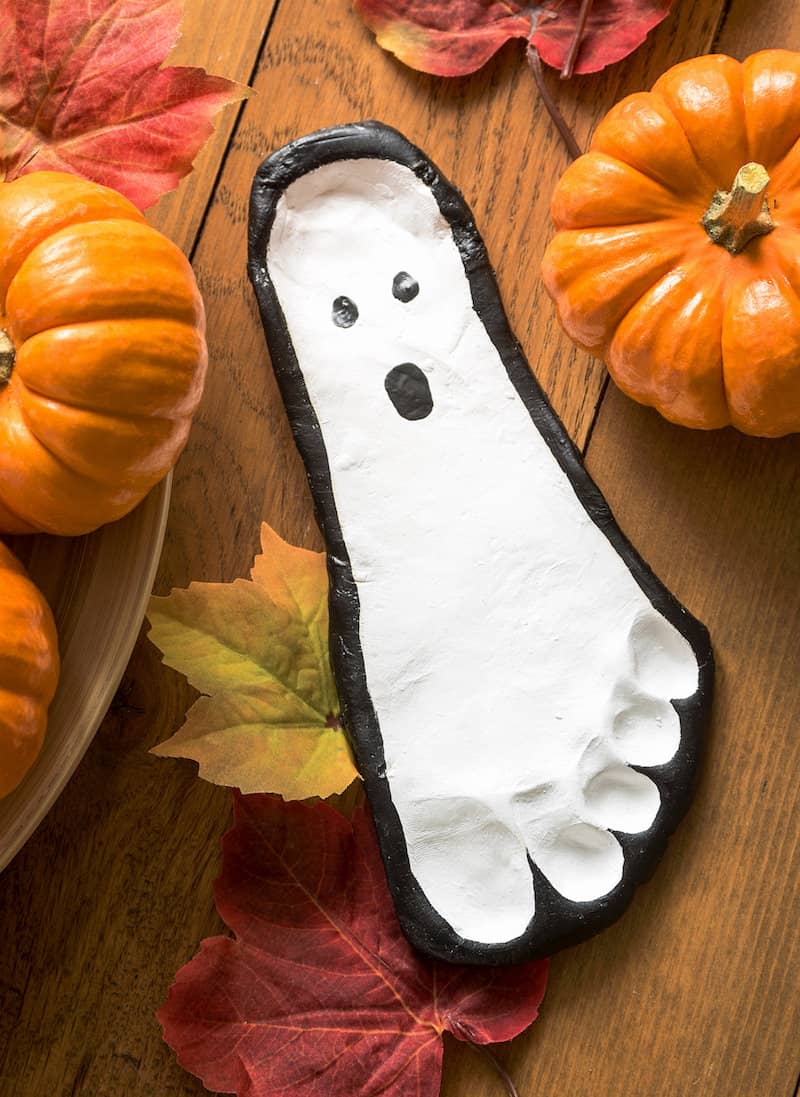
We did a handprint spider (two hands palm to palm), a fist pumpkin, and a foot ghost.
THEN let your clay dry. This is the long part that takes at least overnight and can take longer if you live in a humid area. Instructions on my container said DO NOT BAKE!! That’s where having the wax paper and cookie sheet came in handy.
I simply laid all the handprints (and the one footprint) on the wax paper and slid them onto the cookie sheet where I could easily transport them from location to location if needed.
Also if you need to stick anything into the shapes (like I did with the green pipe cleaner and the pumpkin), do it right away before they dry.

When dry, let your toddlers paint with the acrylic paint!

Now – I realize some of you will want to turn this into Halloween memories and write you kids’ name on the back and you will want them to look perfect.
In that case, let your child do the base color and you can handle the detail work. Or if you want your child to go all out and paint it themselves, let them!
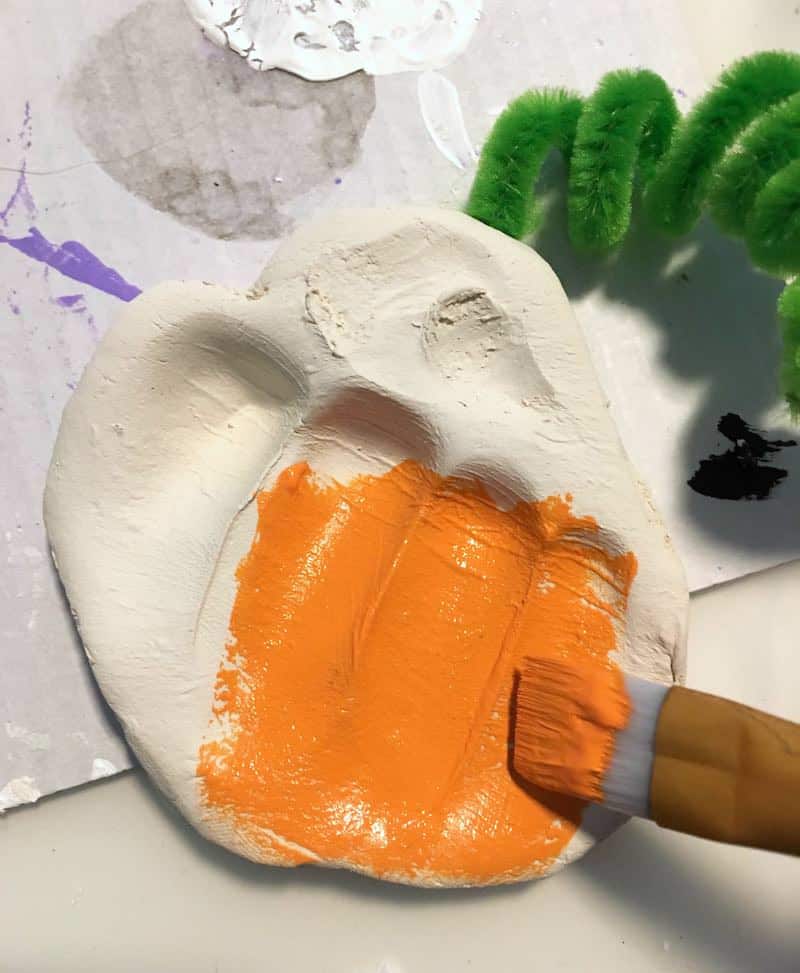
Paint in your favorite colors with a couple of coats and let dry.

Let your child seal their creation with Mod Podge. You can use Gloss, Matte, or Satin depending on the finish you want.
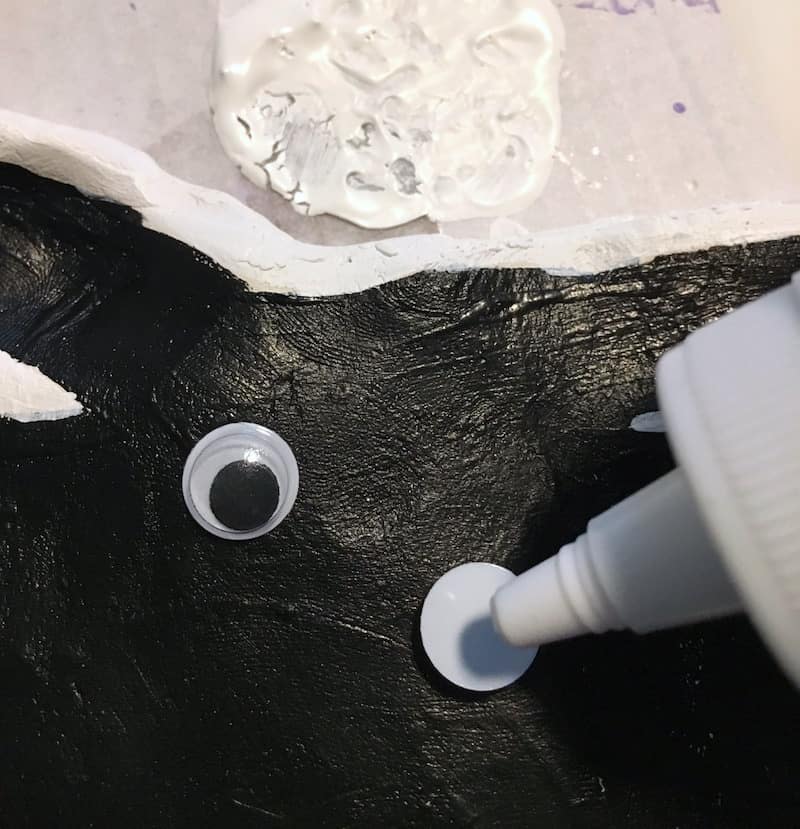
Don’t forget the wiggly eyes for your handprint spider. I feel like all Halloween crafts for toddlers need wiggly eyes.
If you want to write on the bottom of these with a Sharpie, indicate the name (if you have more than one child) and date.
I thought this was kind of silly until my mom and I were going through a box of mine and my brothers’ things the other day and we couldn’t figure out who made which craft projects 😮 Happy Halloween!
Did you enjoy these handprint Halloween crafts for kids? Check out these other Halloween handprint crafts! I’d also love for you to visit these other ideas:




These are the cutest ever. Totally pinned this!
thank you!! xo
This is really a cute idea. Kids gonna love it. I am pinning 🙂 Thanks for sharing!