
Create beautiful button wall art on a budget! This easy DIY project is fun, affordable, and the perfect way to add charm to your home decor.
Skills Required: Beginner. Even if you don’t have much crafting experience, you should be able to complete this project. You’ll be spray painting and attaching paper to a background with Mod Podge.

When I say this is the EASIEST button wall art project you’ll ever try – I mean it! I love kitschy little home decor items/wall hangings, because a little color goes a long way to spice up a room.
ESPECIALLY when you live in an apartment (hello Mod Podge Command Central) and you can’t paint the walls.
I have a love affair with buttons; I would marry them if I could. So I decided to spice up a boring wall in my room with this cute little button art piece, incorporating my very favorite buttons and, of course, Mod Podge.
Here’s how to make my simple button wall art.
Gather These Supplies
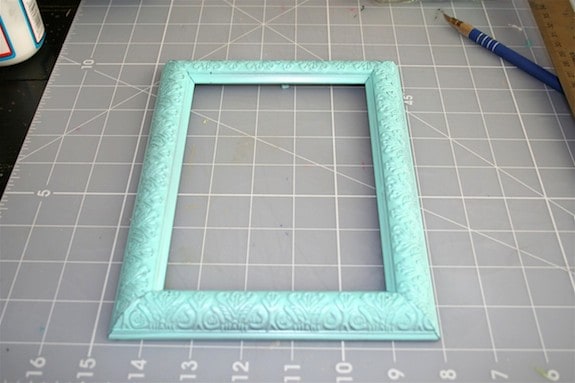
- Frame – mine is from the Dollar Tree
- Spray Paint or Acrylic Paint
- Mod Podge Gloss
- Flat paintbrush
- Scrapbook paper – one sheet
- Buttons – as many as you want; I used 15
- Craft glue
- Craft knife and mat
- Pencil or pen
Need a lead on some cool buttons? Go here for some great selection and deals. Always try thrift stores and clearance bins of craft stores too. Get the printable how to card below:

Button Wall Art
Equipment
- Pen or pencil
Materials
- 1 Frame mine is from the Dollar Tree
- 1 can Craft paint or spray paint
- Mod Podge Gloss
- 1 sheet Scrapbook paper
- 15 Buttons or as many as you want
- Craft glue
Instructions
- Remove the frame back and spray paint or paint your frame with acrylic paint (color of your choice).
- Remove the backer of your frame that you can use to create a background. If your frame doesn't have one, create it with cardboard and a craft knife.
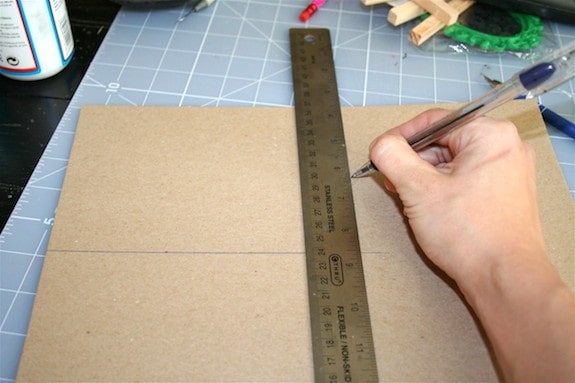
- Lay your frame back down onto your sheet of scrapbook paper and trace. Cut it out with your craft knife.

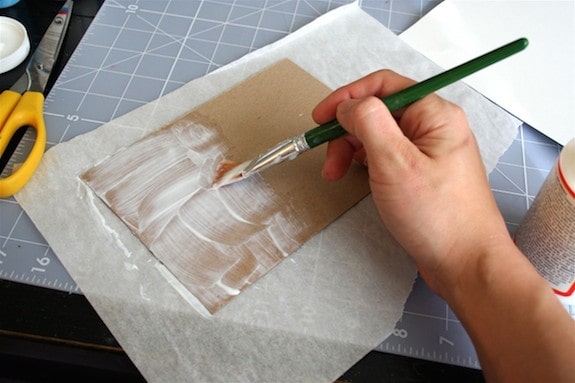
- Use your flat paintbrush to paint a medium layer of Mod Podge onto your frame back. Coat thoroughly.
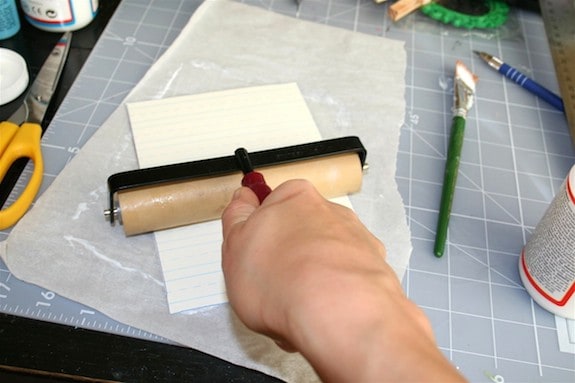
- Quickly place down your scrapbook paper and SMOOTH. Keep smoothing until all of the bubbles are removed. You can use your hands – you see that I am using a brayer. Love this tool; great investment if you don't have one! Allow to dry for 15 – 20 minutes.
- Once the paper is dry, paint over the top with Mod Podge. Apply a medium coat and allow to dry again.

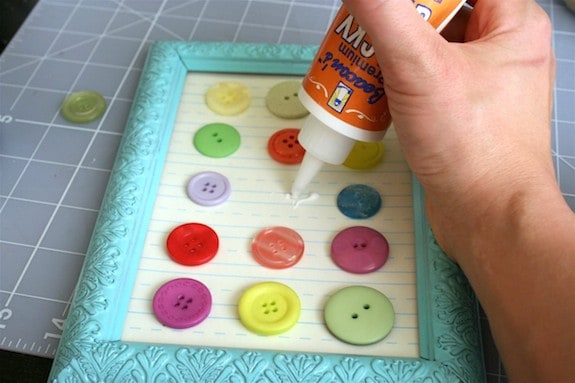
- Place the back into the frame and glue down the buttons using craft glue. Let dry before hanging.
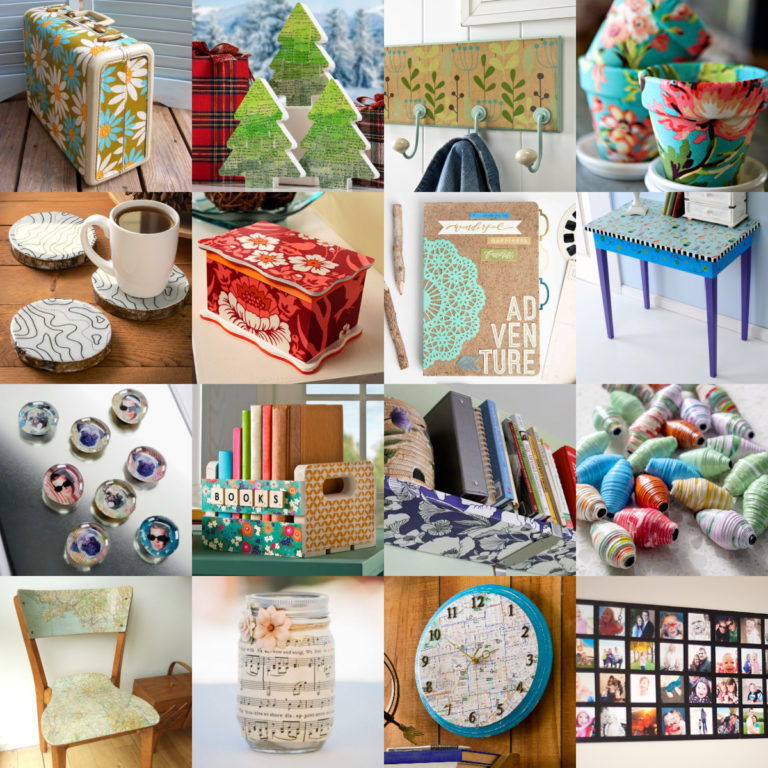
Want to see some related ideas? Check out these posts:

I so love this. H
ave started getting materials together. Soooooooooooo neat!!
Such a fun way to display buttons!!
This is perfect! My friend has a 3yo daughter who is moving into a “big girl room”. When asked how she wanted her room to look, she said she wanted BUTTONS all over. Thanks for a great project!
Love it. I did something similar but used similar old buttons (pearlized,same colour,etc) and used card stock solid colour and pasted buttons on. Was able to put glass back on (had to use duct tape on some to keep together . Have a full wall of these in bedroom. Looks great
love love love this!
I featured you this week!
https://www.houseofhepworths.com/2010/07/07/hookin-up-with-hoh-11/
Thanks for sharing your project!!!
Thanks so much for joining us for our 13th Anything Related party!
How cute !
Happy 4th to you & yours
hugs from Savannah, Cherry
This is so adorable!!