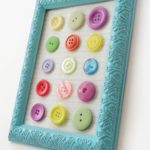
Button Wall Art
This button art is really easy to make! Great for using up leftover buttons, or for when you want a funky piece of wall art.
Yield: 1 wall art
Cost: $2
Equipment
- Pen or pencil
Materials
- 1 Frame mine is from the Dollar Tree
- 1 can Craft paint or spray paint
- Mod Podge Gloss
- 1 sheet Scrapbook paper
- 15 Buttons or as many as you want
- Craft glue
Instructions
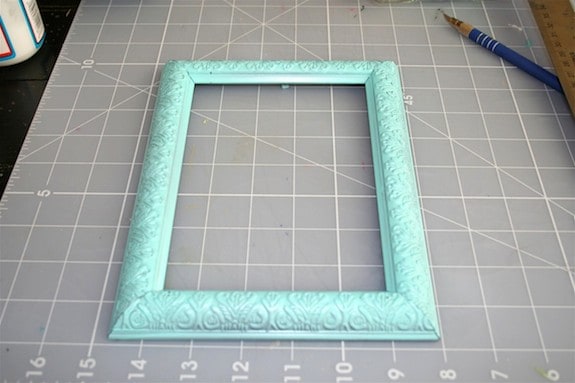
- Remove the frame back and spray paint or paint your frame with acrylic paint (color of your choice).
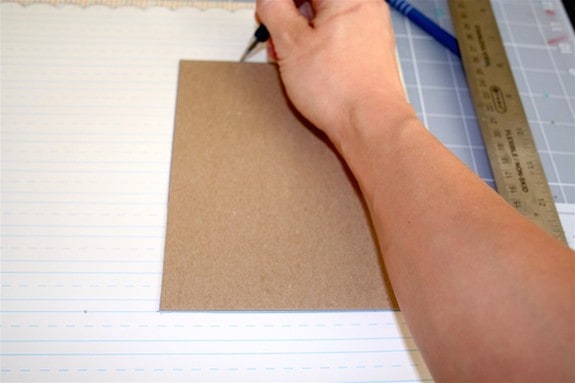
- Remove the backer of your frame that you can use to create a background. If your frame doesn't have one, create it with cardboard and a craft knife.
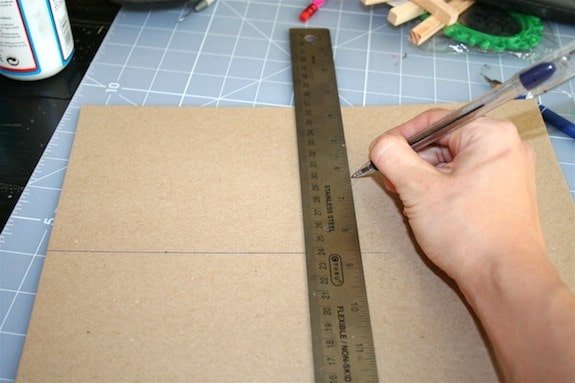
- Lay your frame back down onto your sheet of scrapbook paper and trace. Cut it out with your craft knife.
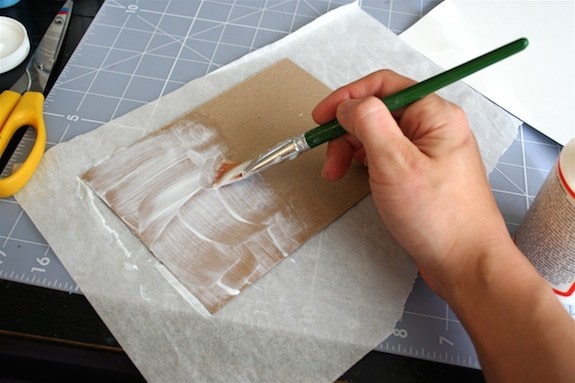
- Use your flat paintbrush to paint a medium layer of Mod Podge onto your frame back. Coat thoroughly.
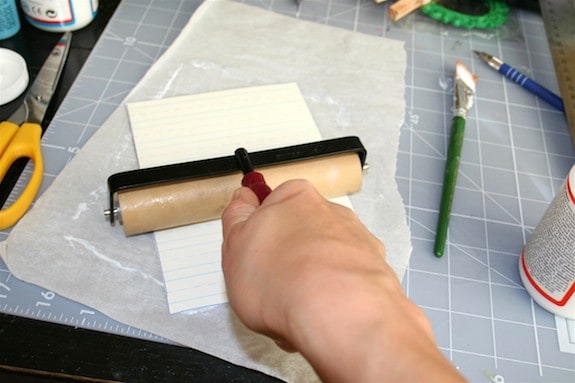
- Quickly place down your scrapbook paper and SMOOTH. Keep smoothing until all of the bubbles are removed. You can use your hands - you see that I am using a brayer. Love this tool; great investment if you don't have one! Allow to dry for 15 - 20 minutes.
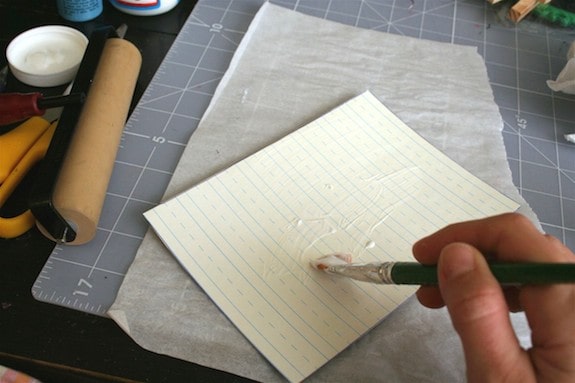
- Once the paper is dry, paint over the top with Mod Podge. Apply a medium coat and allow to dry again.
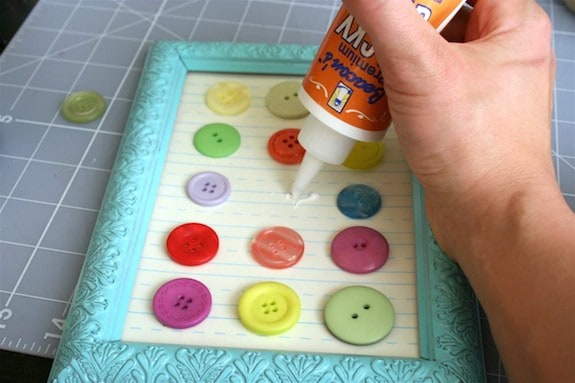
- Place the back into the frame and glue down the buttons using craft glue. Let dry before hanging.