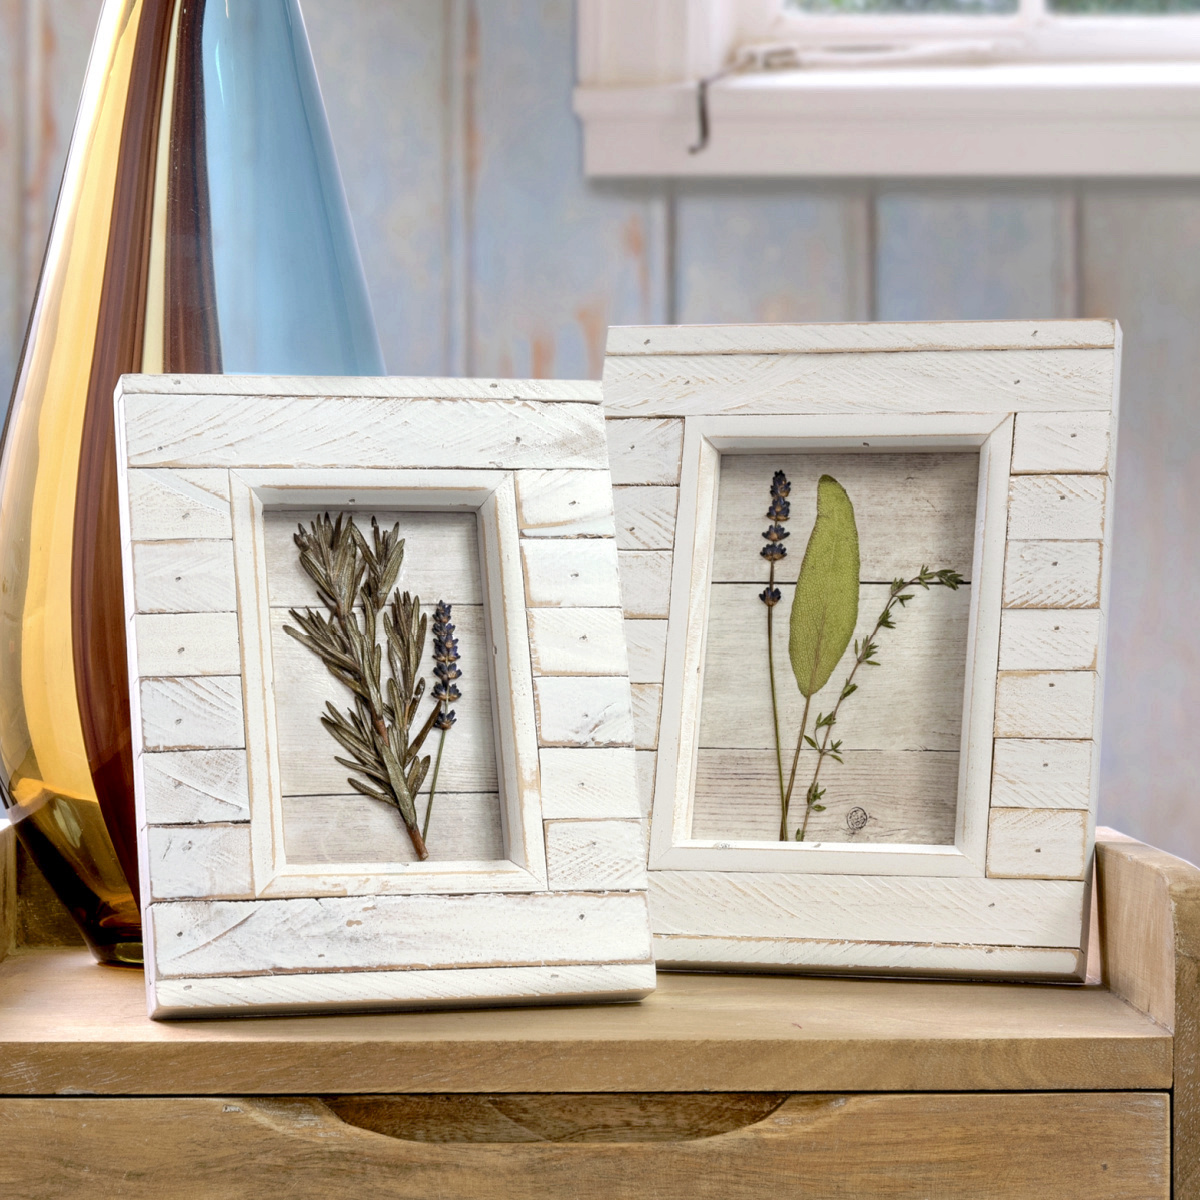
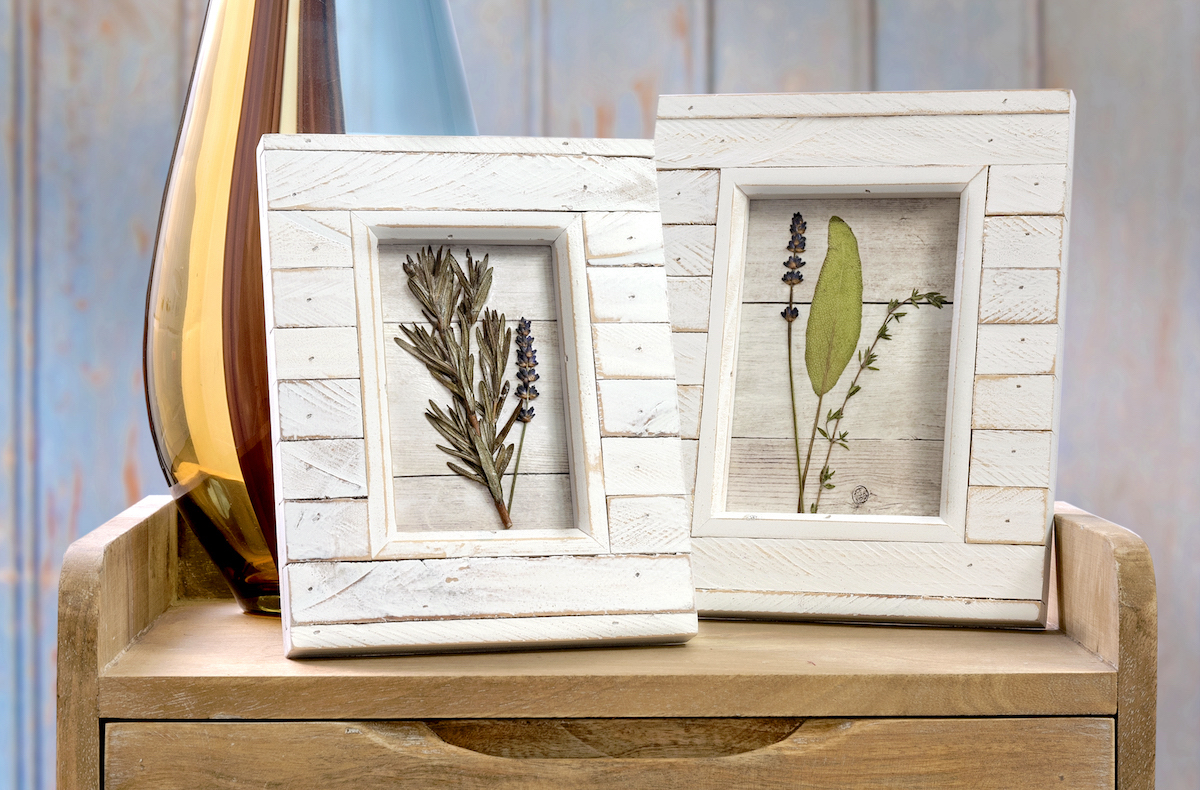
Make art using DIY pressed flowers and Mod Podge! It’s easy to dry flowers and preserve them in a frame – this tutorial shows you how.
Skills Required: None. Even if you’ve never used Mod Podge before, this pressed flower art is simple. You’ll be sealing flowers, attaching them to paper, and placing them in a frame.
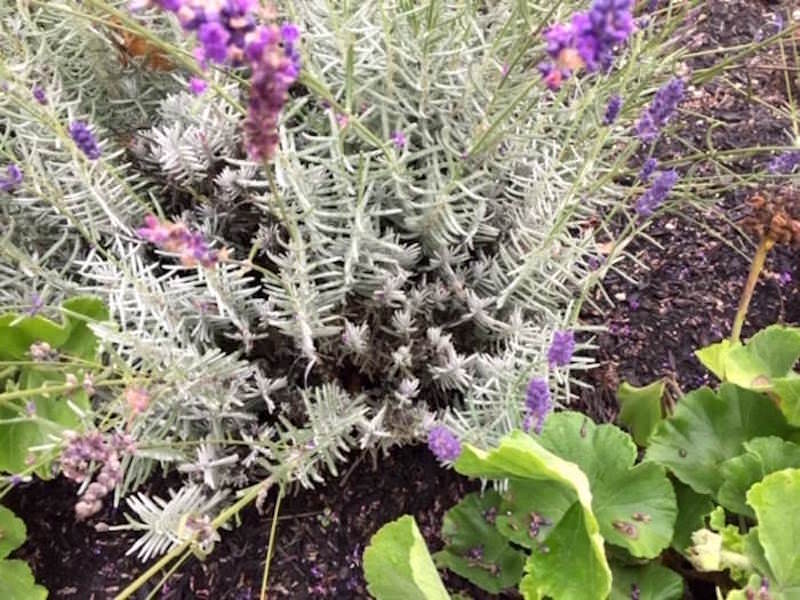
My mom has a crazy beautiful garden. This is because she’s one of those people that are often referred to as “plant ladies.” I am her only daughter, and unfortunately did not inherit this same skill set.
While I love playing in the dirt, and enjoy weeding and planting, I’m not good at the planning or care portion. Execution is where I excel.
As a result, my mom has planned both her landscaping and mine (as well as the landscapes and gardens of many others). My landscaping is definitely more low maintenance while my mother has ALL the flowers and blooming plants. It’s actually quite impressive.
We decided one day that due to the sheer volume of pretty flowers that we would do a DIY pressed flower project and make some simple art in a frame for spring.
Mod Podge was used to keep the flowers secure to the paper and prevent from breaking. I’m excited to show you how it’s done!
Pressing and Preserving Flowers
These flowers in a frame are really easy to make with Mod Podge. Before we jump into the tutorial, I did want to answer a few frequently asked questions. If you just want the how-to, scroll past this section. Otherwise, here’s a little education for you!
Can I preserve fresh flowers with Mod Podge?
Mod Podge is best for preserving dried flowers so that no moisture reaches them and they won’t fall apart. Mod Podge does not keep fresh flowers from losing their color.
What is the best way to press flowers?
There are several methods to press flowers. None of them are necessarily better than others
- Wooden flower press – two pieces of wood screwed together at all four corners
- Between the pages of books – place flowers in the pages of books, close and weight down
- Ironing – flatten between a book and press with a dry iron
- Microwave – flowers stay between two ceramic tiles held together with rubber bands
We used method #2. It takes a minute, but if you aren’t in the rush with the project it’s perfect. You’ll have DIY pressed flowers in a few weeks.
How do you press flowers without losing color?
You can’t. Flowers are going to do what they are going to do. You can’t really tell what colors you’re going to end up with when preserving flowers.
You’ve probably seen beautiful dried flowers online for sale or in stores, and keep in mind, those are dried using special equipment. Sometimes they use chemicals also.
One strategy some use is to cut the flowers before they fully bloom, and that helps. But flowers will not retain their original color when you press and dry them.
Reds, maroons, oranges, and purples tend to keep their color best. Ideal you pick the flowers and dry them right away without exposing them to much sunlight. Light is a killer for this project until the flowers are dry!
Which Mod Podge formula should I use for this project?
You’ll be fine with Gloss, Matte, or Satin depending on the finish you like – you could even use Hard Coat. I used Gloss.
DIY Pressed Flower Art
Gather These Supplies
- Photo frames – of any type or size
- Mod Podge Gloss
- Fresh flowers
- Heavy books (or other flower pressing method above as described in the FAQs)
- Paper towels
- Scrapbook paper
- Scissors or paper trimmer
- Paintbrush
Before you do anything else, you need to get those flowers pressin’. If you’re using the heavy book method, it takes a few weeks for drying. Start by picking your fresh flowers and leaves and laying them out on paper towels.
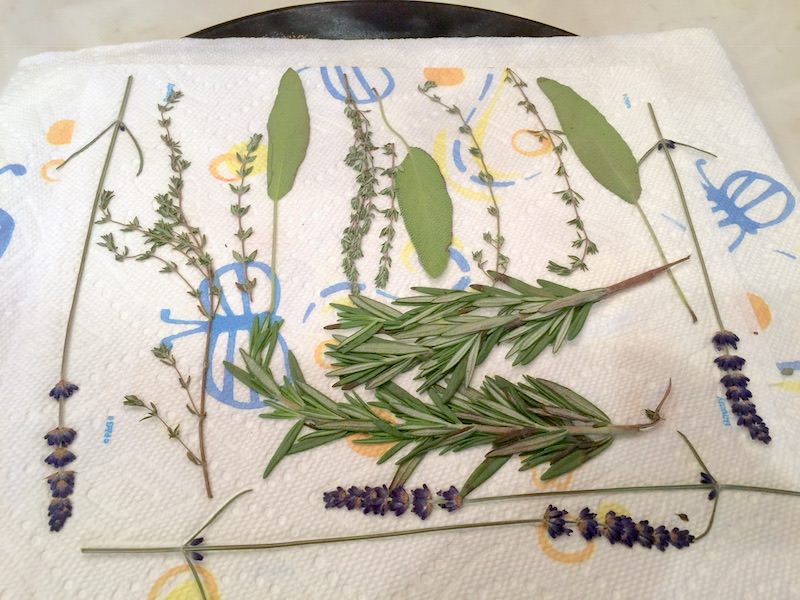
Place them on a flat surface and place additional paper towels on top.
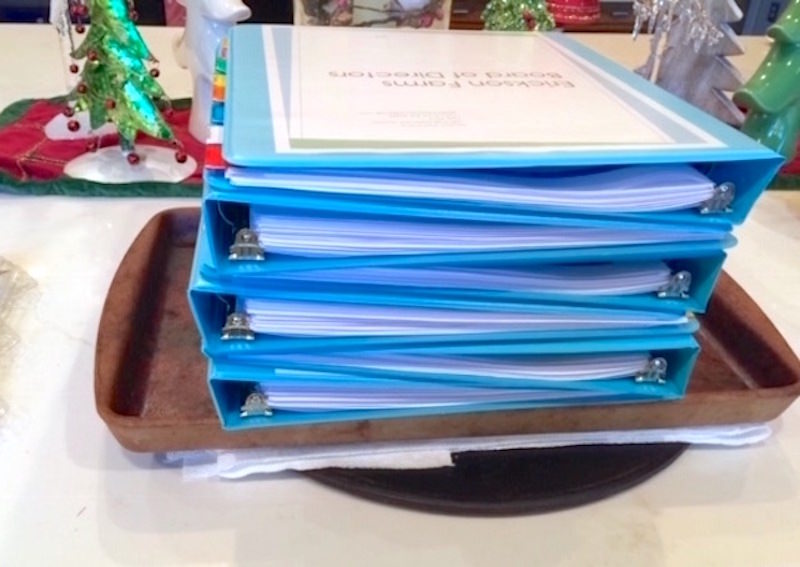
My mom made this interesting flower pressing contraption using a very heavy sheet pan (what is that made out of??) and some binders from her days as a teacher. The point is, you need weight. Then you need to wait 2 – 3 weeks until they are fully dry (we waited two weeks).
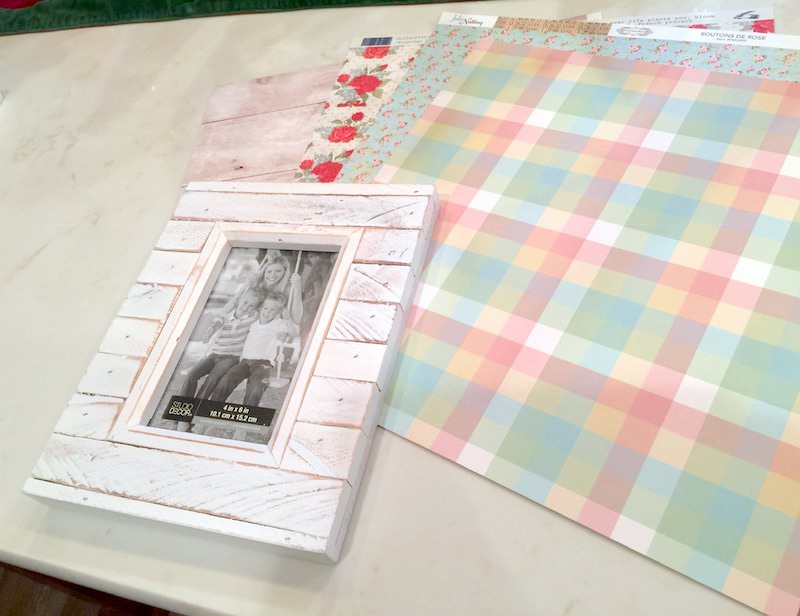
When you’re ready to create your pressed flower art, choose your frame and papers for your background.
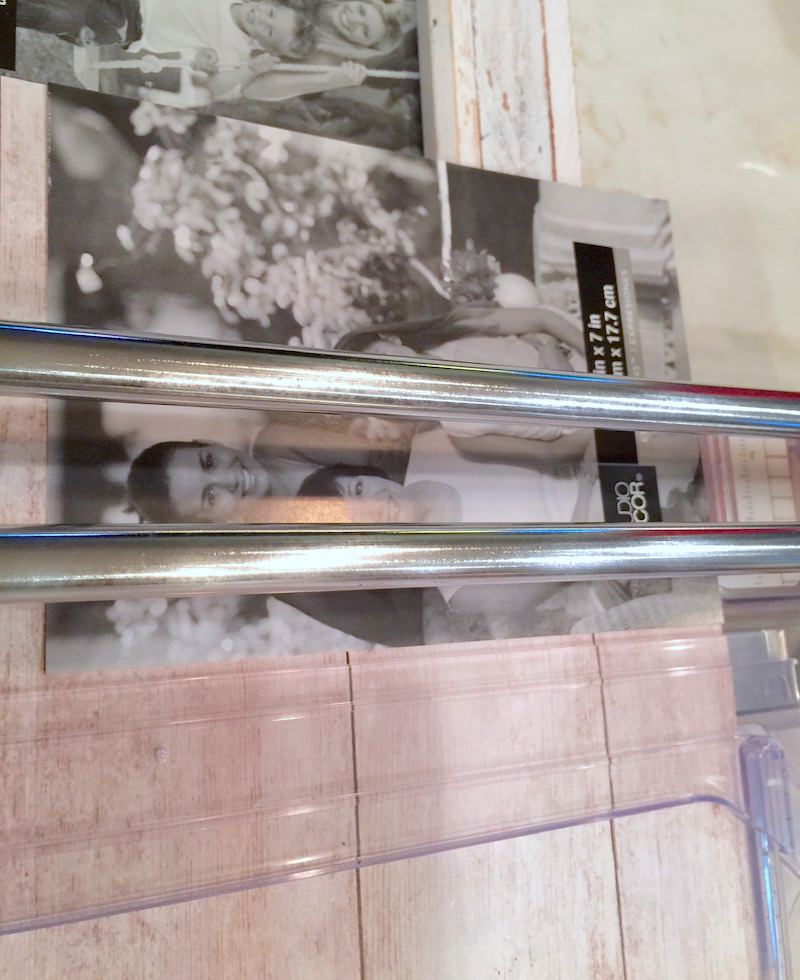
Remove the frame backer and trim down the papers to fit using a paper cutter or scissors.
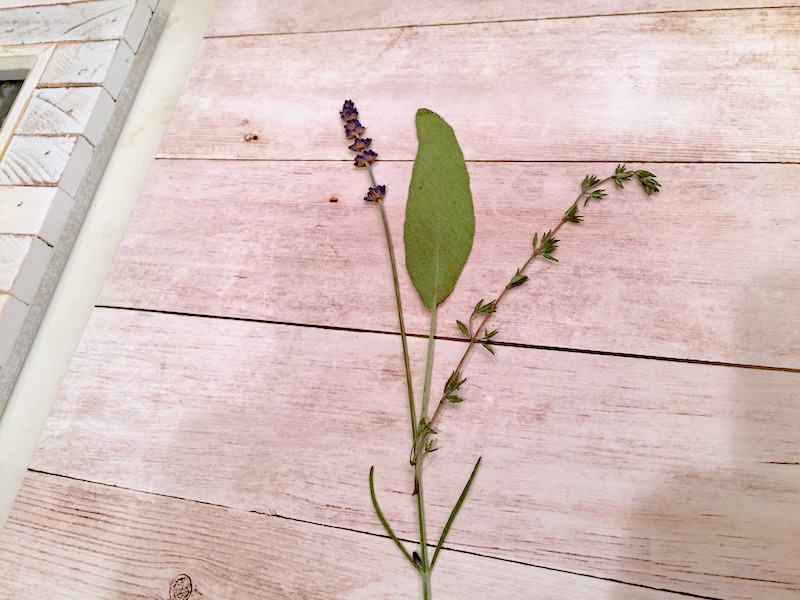
Remove your flowers and leaves from the press very gently, using tweezers if necessary. Lay them out on the scrapbook paper in a way that you like.
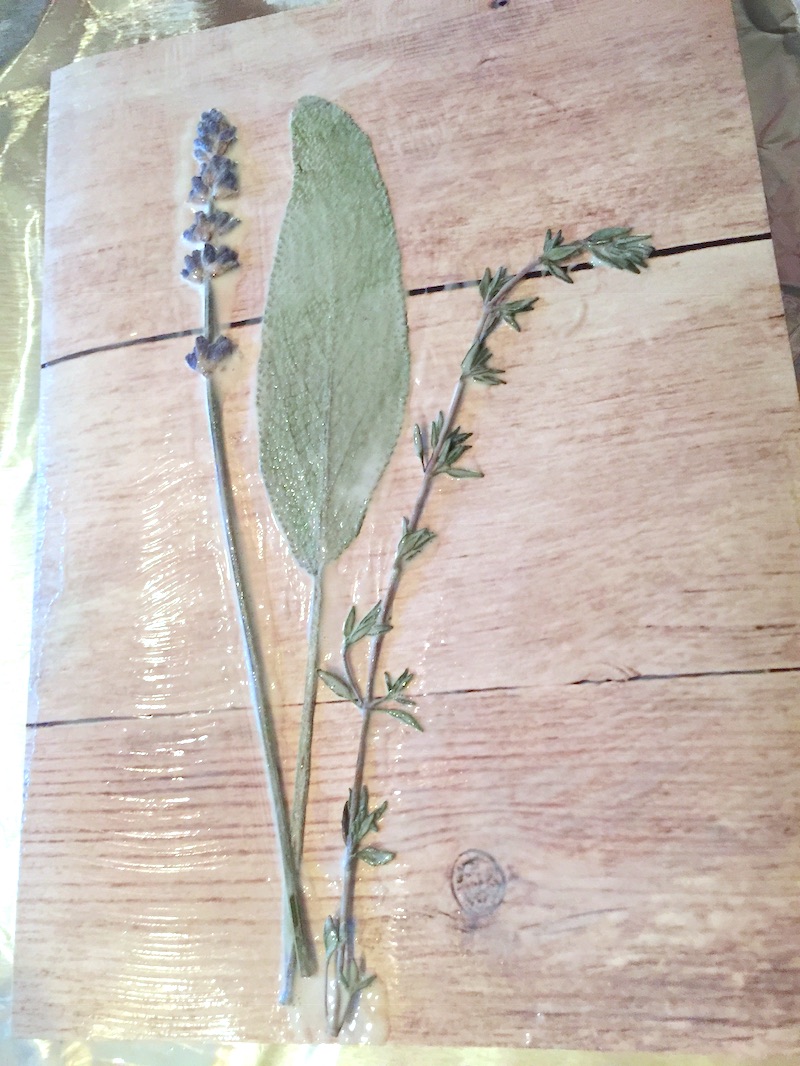
Cover your work surface. Gently add a layer of Mod Podge to the top of the dried flowers. You can spounce a layer on first (this is a spouncer).
Let dry and then apply a second coat of Mod Podge. Let dry.
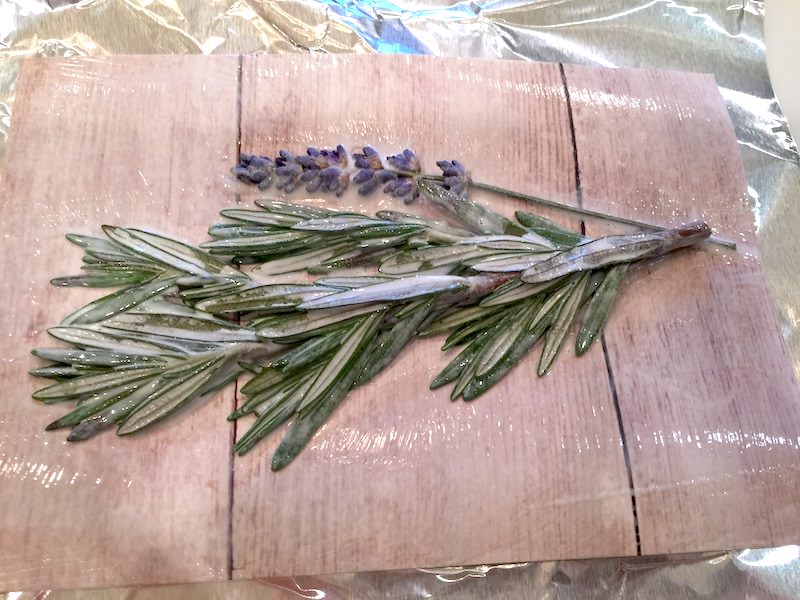
Repeat with any other pressed flowers and leaves. We ended up doing with rosemary.
Now your paper might curl a bit and that’s okay. If that happens, you can let it dry and then place wax paper and a book on top to flatten. Honestly we didn’t do anything because it straightened out once we put it in the frame.
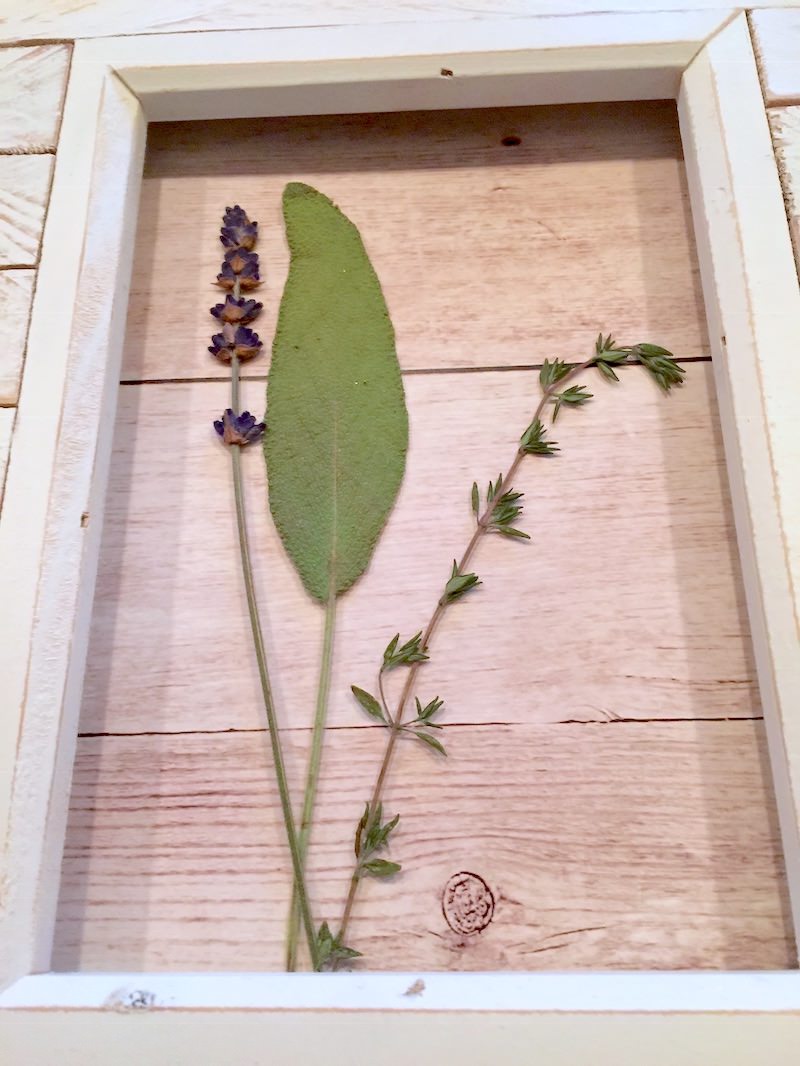
Final step – place your DIY pressed flowers in their frame. You can use the glass that came with your frame, or leave it out. That’s really all there is to it . . .
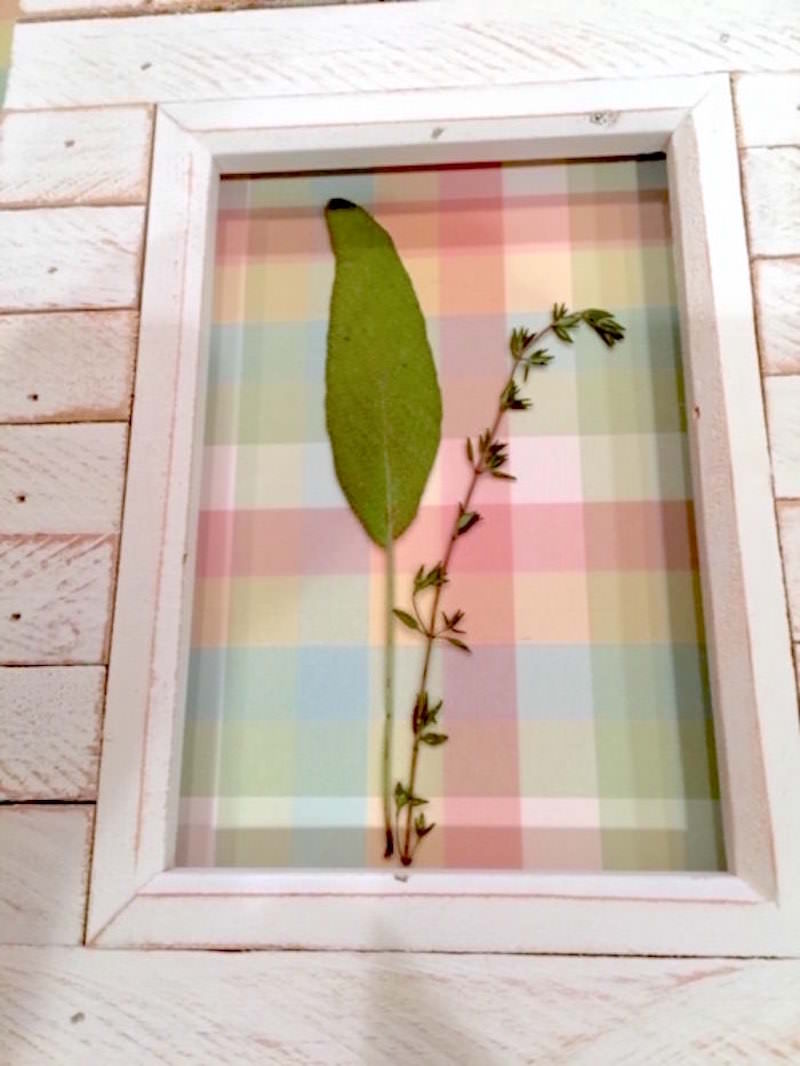
It’s fun playing around with different combinations of flowers and papers. Too cute for spring and summer, right?
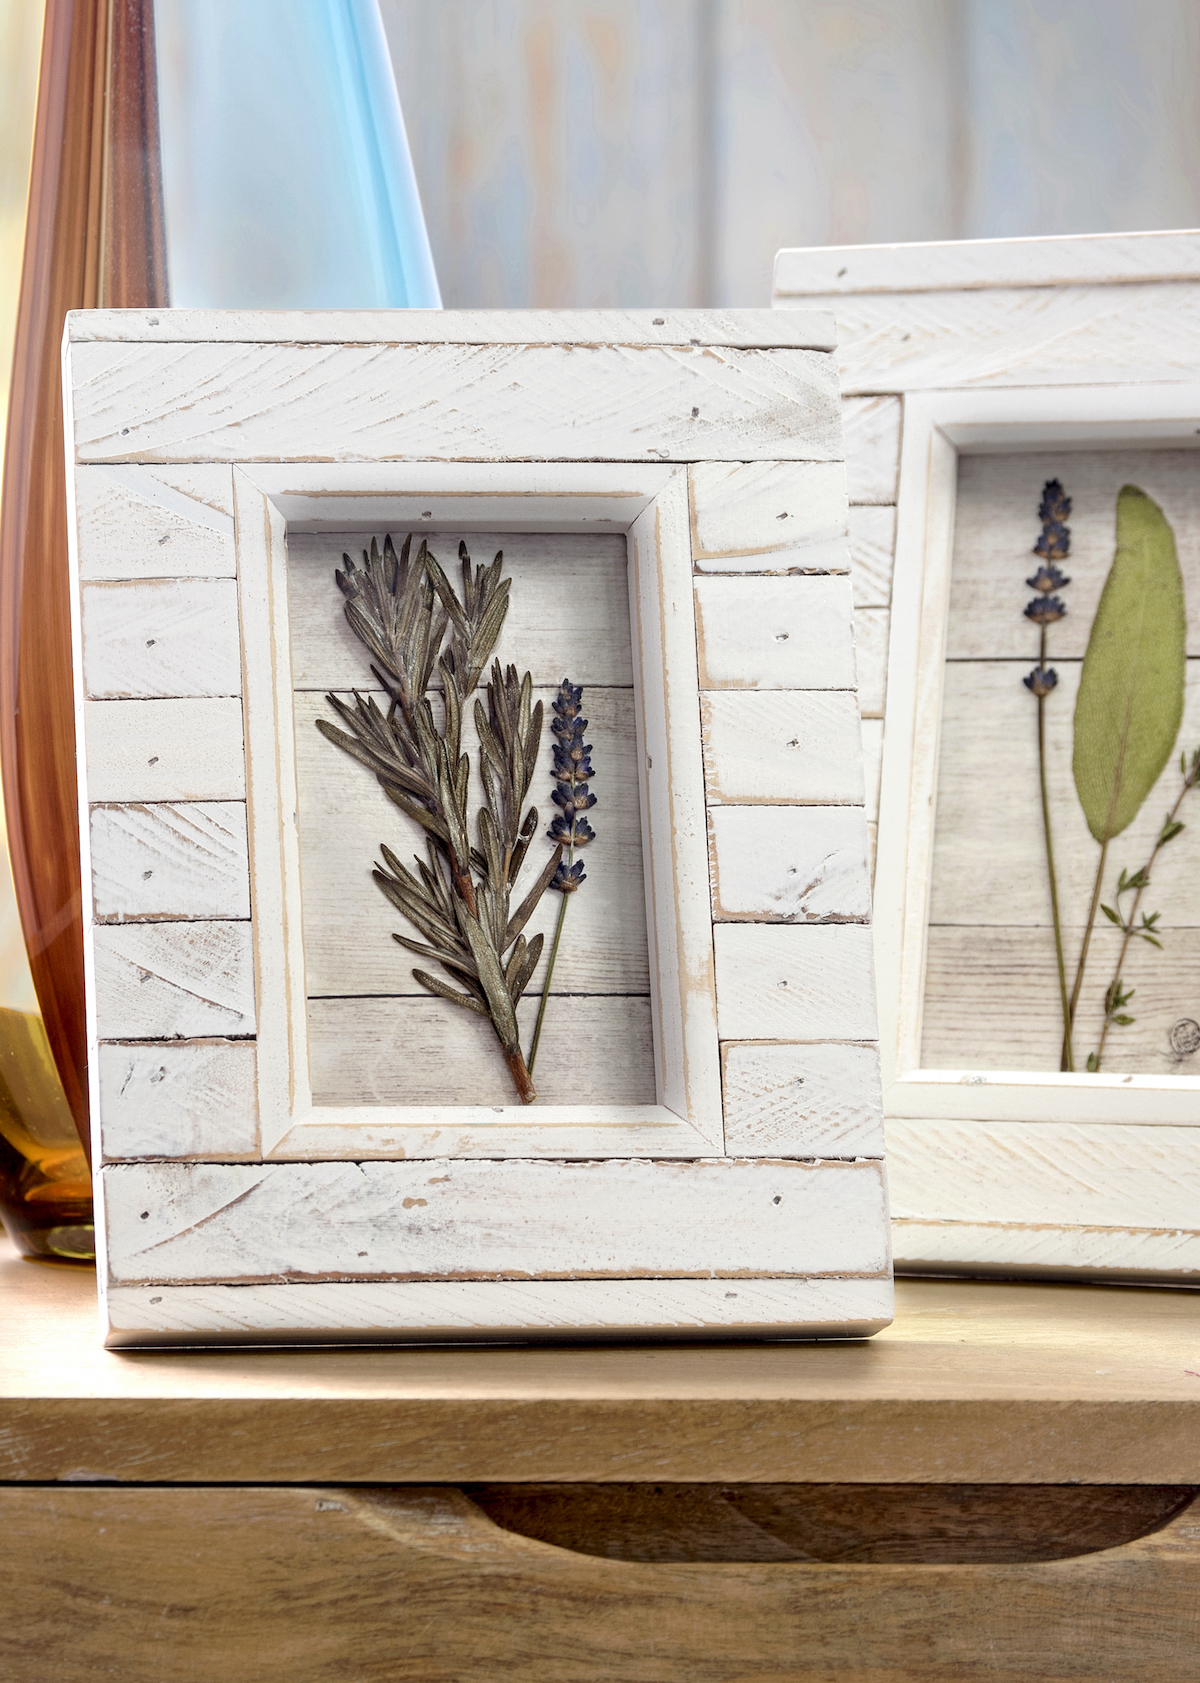
Mod Podge guarantees your pressed flowers won’t be hit with moisture (and degrade) or crumble apart in your frame. This pressed flower art will last for years and years!

What do you think about the end result? I think it would look great as some cute DIY farmhouse decor. I’d love to hear your thoughts in the comments.




This is pretty awesome. Now I want to go pick some wildflowers. Maybe even smush a dandylion cause thats all I have in my yard right now. lol
Love these beautiful dried flowers.
I’m going to create a lamp shade with flowers and leaves mod podged to Mulberry Paper.
Would you think a second layer of paper to sandwich the flowers and leaves would help in presenting them with light behind them? Or, would a single layer of paper be better? I’d love your thoughts about one layer, and which side of the exposure would you place the flowers/leaves?
Do u still spray a sealant over ur work before u frame it?
Hi Ellen! No this was not sprayed! Though you can if you like 🙂
Hi!
I’m making a shadow box out of my wedding bouquet. I cant do the method above since I will have a lot of delicate flowers like roses. Would I be able to use the acrylic spray to seal the flowers?
Yes you can! Just make sure the flowers are totally dry or they could rot underneath any sealer depending on the environment you live in (like if it’s humid). I recommend getting a flower drying silica from the craft store or Amazon if your wedding was recent. That way you can make sure they are COMPLETELY dry. Then you can spray them. Do a test first on a small portion of the bouquet before just spraying the whole thing, since it’s a momento and there aren’t two of them!
Do you put MP first on the surface where you’re placing the flowers or just on top of the flowers? I did not see that mentioned in the tutorial.
Yes, sorry – place on the surface after brushing the Mod Podge down. Then you can go over the top.
Find it awesome going to try but can i put a layer of mod podge over Autumn leaves i pasted into a book
Yes you can!
Have an unusual question: with a garden with very few flowers, where would you suggest me find fresh flowers to press. Or would I have to order ready-made dried flowers through online.Thanks.
The craft stores usually have some dried flowers in the floral section, in the jewelry section, or with the resin! I recommend checking there. You can also get dried flowers on Etsy. Or you can buy grocery store flowers when they put them on sale because they don’t sell and press them yourself!
I am so happy I found this page! I got a beautiful vase of flowers from friends of mine when Mom passed away and I want to be able to save some of them. I’ll definitely make them a picture frame with the flowers as a thank you gift. Thank you for a great read! 🙂 Can’t wait to hit up Dollar Tree to get supplies
Very awesome thank you🙏 so excited to try, I love botany and art so this is perfect
I love the idea and actually did it with volunteer pansies. I picked them and dried them in a book between wax paper. Left them there for quite awhile. them brought them out and they still had their color so just glued them with mod podge on card stock that was prepared with an oval cut out for the top of the card so you could see the pansy’s through it and they turned out fantastic, the pansy’s kept their color, purple, yellow and white. I used them for cards and sent to people.
Thank you for giving me better ideas.
Your pansies sound beautiful! Thank you for reading Lora!
Does MP or a spray sealer keep the colors of the pressed flowers from fading?
Hi Irene! It does not. Flowers are going to fade for the most part regardless of what you do. Some flowers have better color retention than others. I did a post about it and I haven’t posted it yet but I got the best color retention from pressing the flowers in the microwave.
They look fab! Thank you for sharing your ideas. Very helpful.
Karen 🙂🌻
I used mod podge to put pressed flowers on glass for a candle. Overnight the brilliant purple color faded away! Why did this happen? What can I do to stop it?
Thanks