Who doesn’t want a set of pretty DIY personalized pencils to start a new school year? These also make great gifts – and are easy to do with Mod Podge.
Skills Required: None. Even if you’ve never Mod Podged before, this will be an achievable project for you. It’s simple enough for kids or adults.
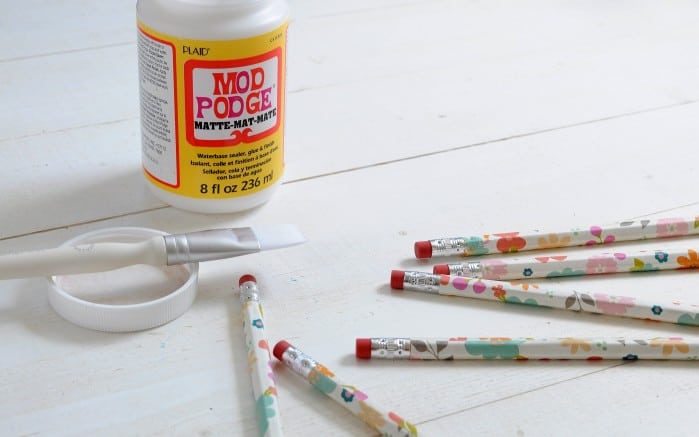
Ever since I was a little girl, I’ve had a love of fresh, brand new school supplies. The actual going back to school part . . . not as much . . . but new No. 2 pencils and blank notebooks always make me swoon!
Who doesn’t want a set of spiffy pencils to start a new school year? These pencils are one of my favorite crafts for teens or tweens. They also make great gifts – and are easy to do with Mod Podge.
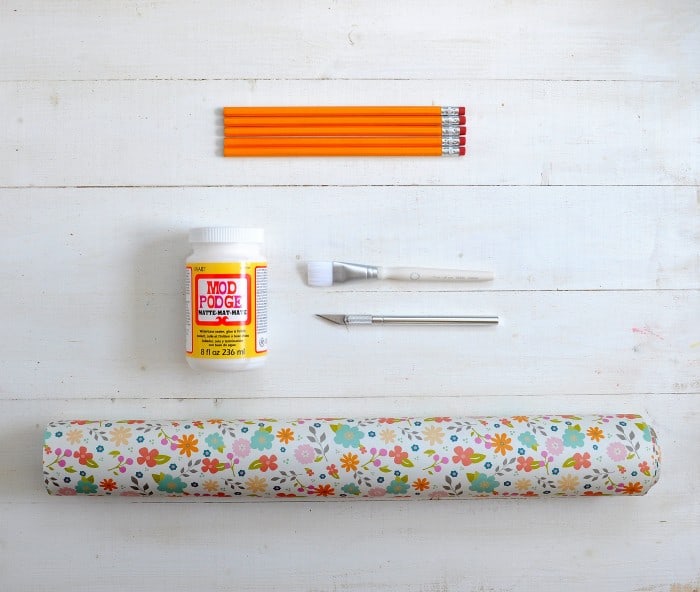
Paper to Use
The only caveat I have is that you’re going to want to pick a thinner paper. Standard scrapbook paper is definitely too thick and not going to work – you want the pencil to fit into a sharpener!
Wrapping papers are typically thin enough, as well as the thinner rolls of kraft paper. Napkins and tissue paper will work, but it can take some practice so that they don’t wrinkle. I like to stick with the thinner wrapping papers.
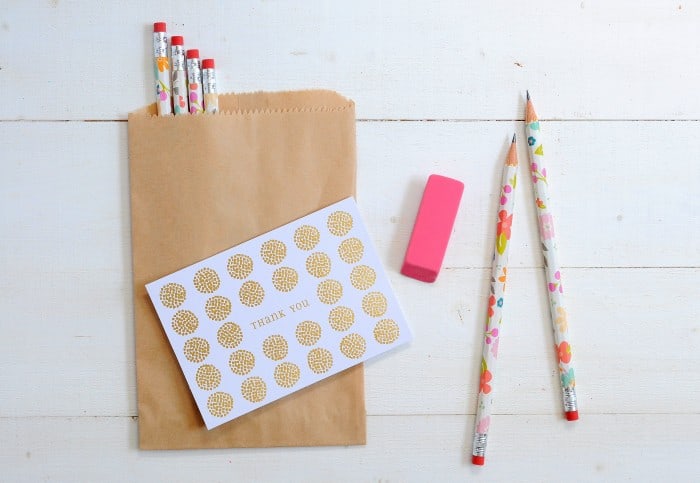
You can easily make these at home. Keep reading to jump into the project!
How to Personalize Pencils
Equipment
- Scissors or craft knife and mat
Materials
- Pencils
- Thin patterned paper
- Mod Podge Matte
Instructions
- Start by cutting the paper into strips, 6 1/2 inches by 1 1/2 inches (or whatever measurement you need; use your ruler).
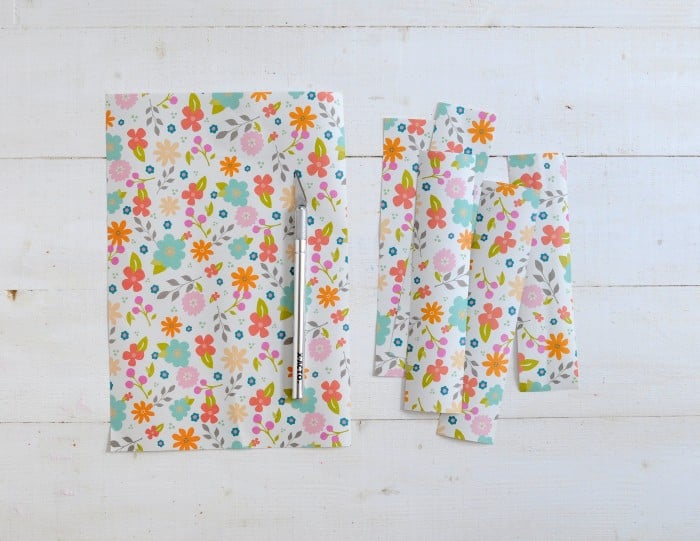
- Brush a thin layer of Mod Podge onto the back of the paper strips. Be careful not to oversaturate the paper.
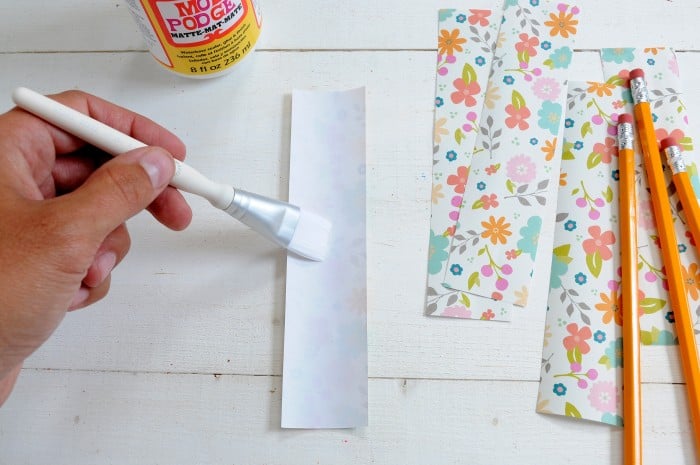
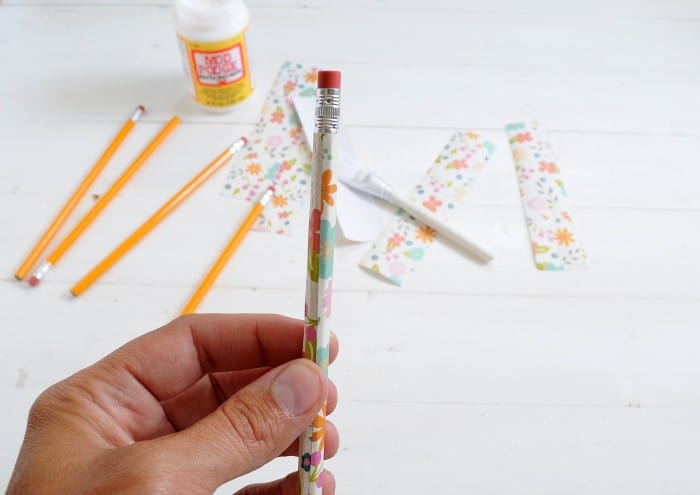
- Lining up the paper at the eraser end, tightly wrap the paper around the pencil by slowly rolling it around and smoothing any bumps or air bubbles if necessary. Let the pencils dry completely before sharpening.
Notes
If you enjoy these cool personalized pencils, I’d love for you to check out these other related projects for school or office:
Backpack Charms • Cute DIY Pencil Holders • Decoupage Postcard Desk • DIY Clipboard • DIY Desk Organizer • DIY iPad Case • DIY Paperweights • DIY Perpetual Calendar • Fabric Covered Bins • Glitter Phone Case • Make a Mousepad • Notebook Covers



Fun! My daughter will love this one. I only have plain origami paper, I need to pick up some patterned ones.
What a fun project… thanks for sharing…
i love theideas but i can not do this stuff at home maybe add more easy stuff love the idea though