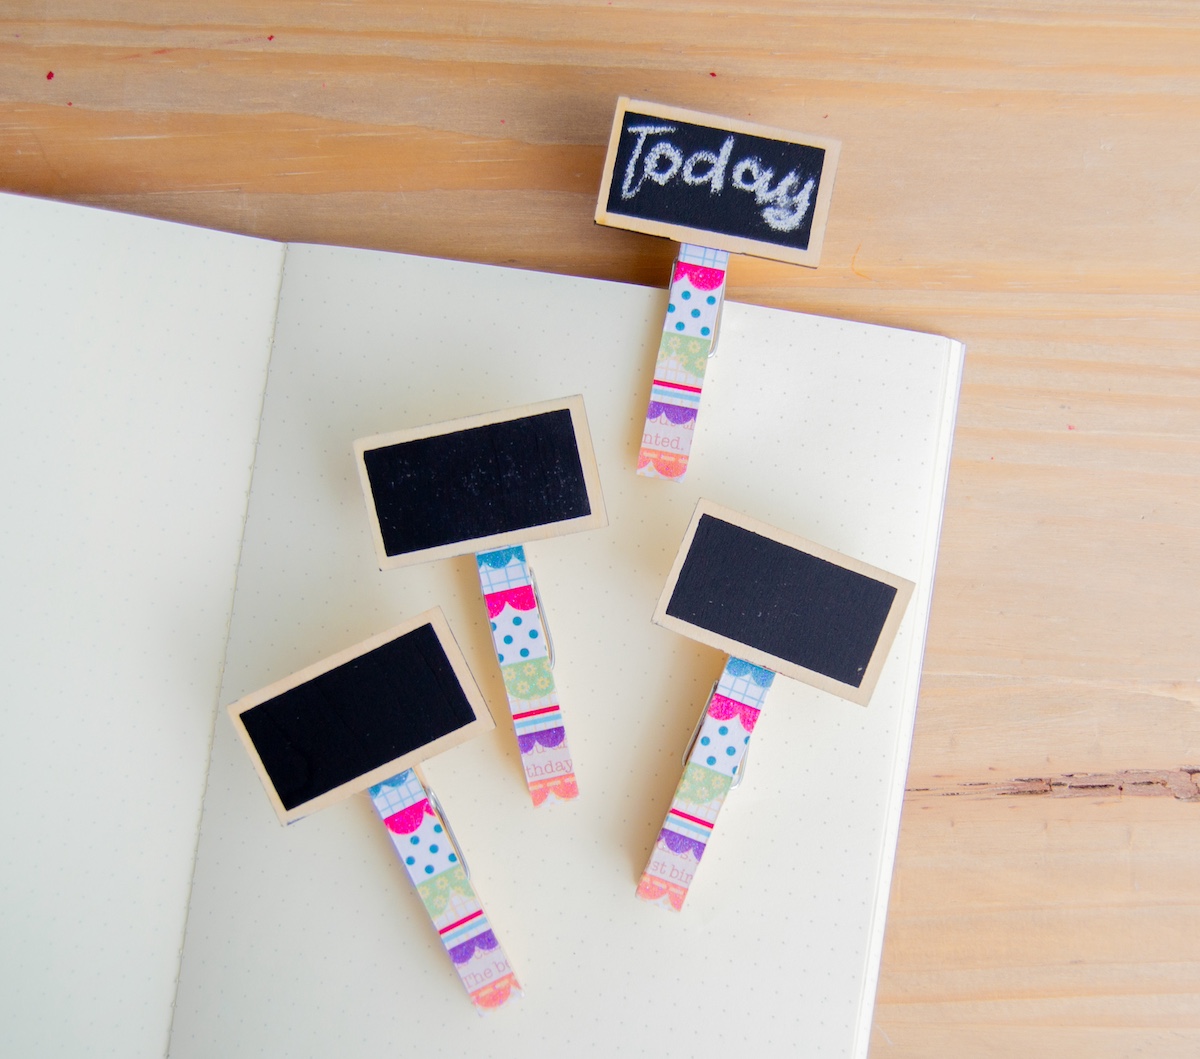
Learn how to turn clothespins into chip clips! This DIY project is SO easy that even a kid can do it. Budget friendly and customizable.
Skills Required: None. This is simple, and cheap, and great for people who have never crafted before. You don’t need much experience; just using scissors and a paintbrush.
In the world of DIY and crafting, it’s often the simplest projects that bring the most satisfaction. This was exactly my thought when I looked around my kitchen recently and noticed something quite mundane yet essential missing – chip clips.
If your household is anything like mine, these handy little items have a way of disappearing almost as quickly as a pair of socks in the laundry. Faced with the prospect of buying more of the same plain plastic clips, I had a lightbulb moment: Why not create my own?
As someone who believes in the power of personal touch and the charm of handmade items, I decided to tackle the shortage with creativity and Mod Podge.
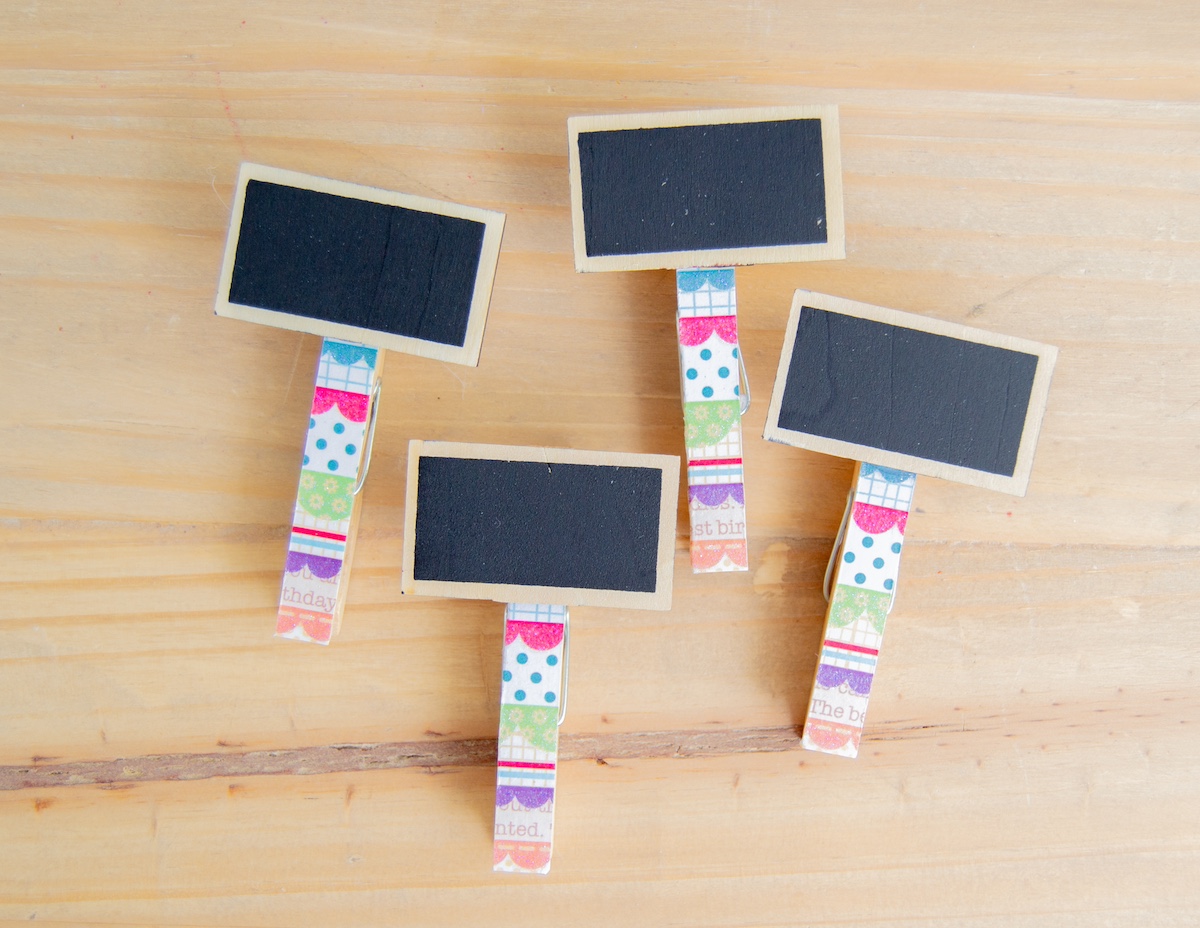
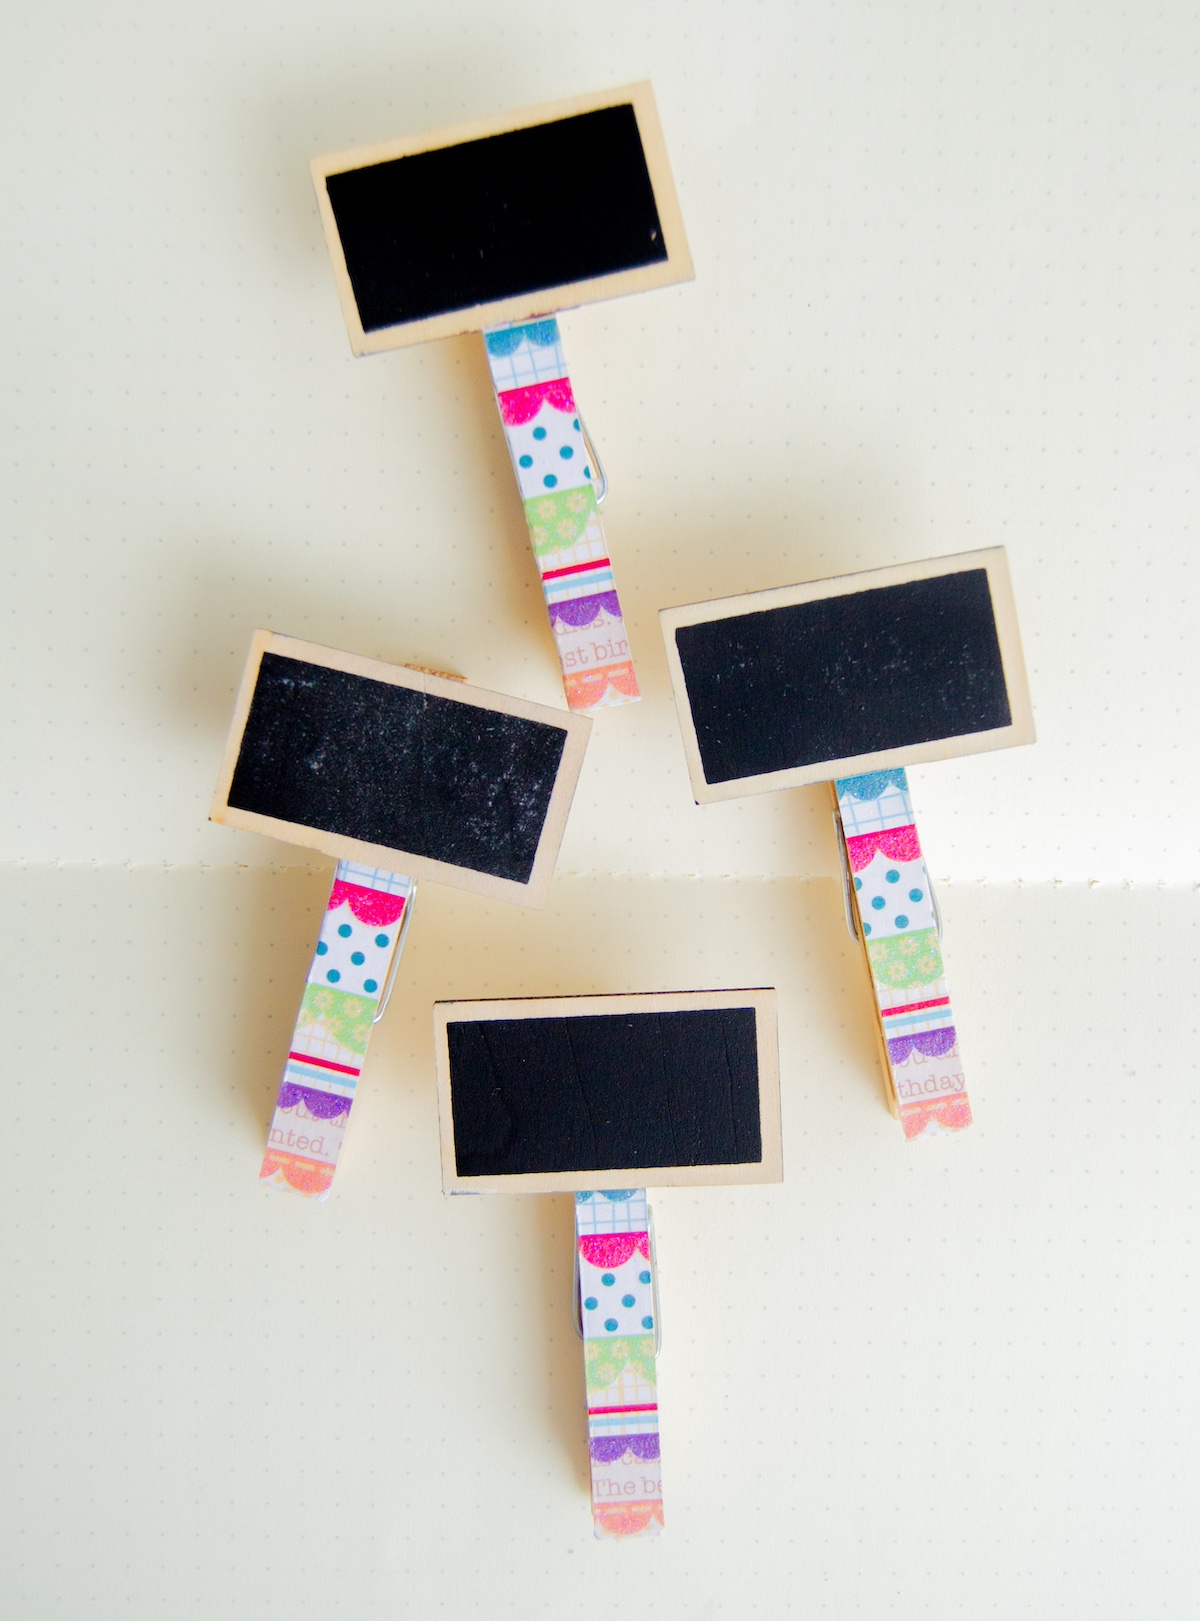
Using nothing more than everyday clothespins, some scrapbook paper, and chalkboard markers, I set out to transform these simple tools into something both cute and practical.
You might wonder, “Are clothespin clips really that easy to make?” The answer is a resounding yes. Even if you’ve never picked up a bottle of Mod Podge in your life, this project is incredibly accessible and, dare I say, quite fun.
It’s the kind of craft that’s perfect for beginners or anyone looking to dip their toes into the DIY world without committing to a complex project.
With a bit of creativity and some basic supplies, you can turn a simple necessity into an opportunity to express yourself and add a personal touch to your home.
So, if you’re ready to upgrade your snack storage game and inject a bit of handmade charm into your kitchen, join me as we explore how to make these delightful DIY chip clips.
Whether for yourself or as a thoughtful gift for a friend, these clothespin clips are sure to bring a smile to anyone’s face every time they reach for their favorite bag of chips.
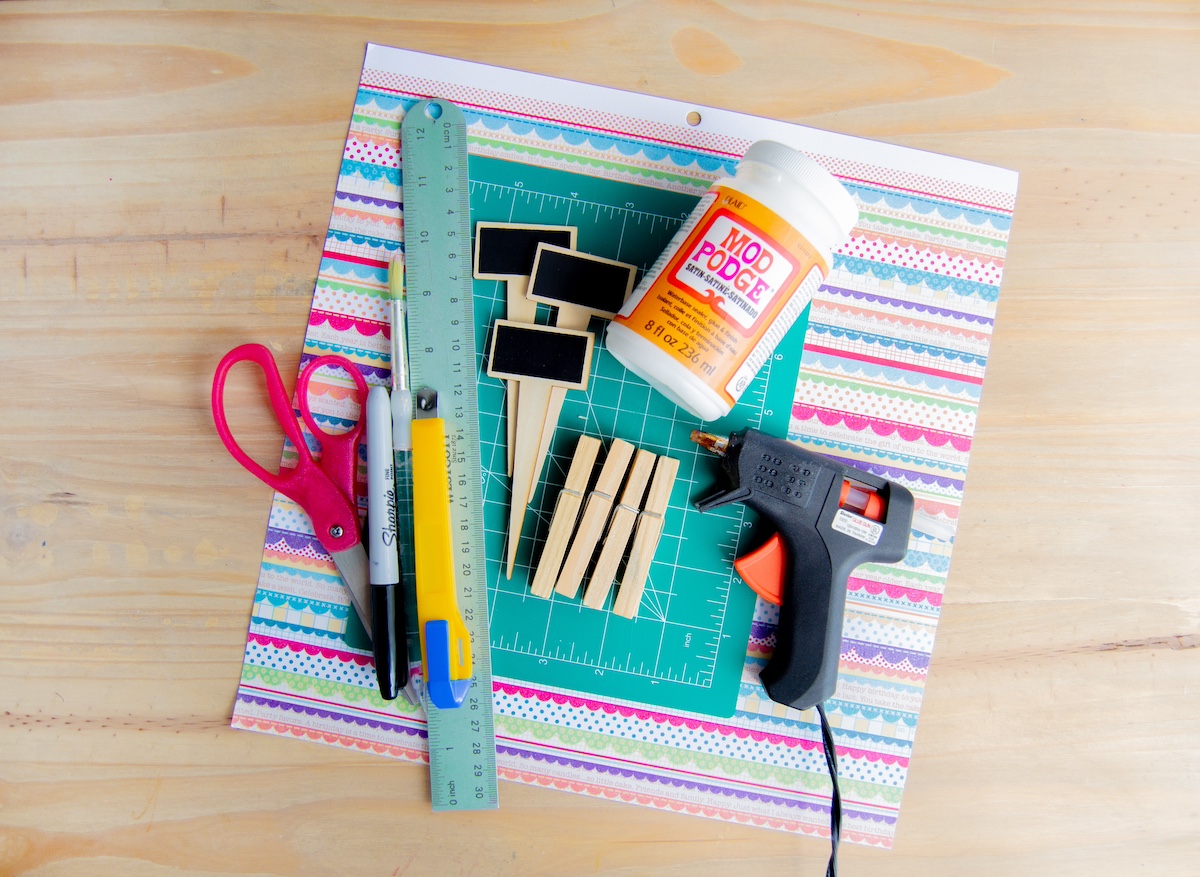
Here’s what you’ll need to make this cute clothespin craft idea:
- Wood clothespins
- Chalkboard garden labels – Dollar Tree
- Mod Podge Gloss or Satin formula
- Scrapbook paper
- Scissors or craft knife and mat
- Hot glue gun and glue sticks
- Paintbrush
- Ruler
- Sharpie, optional
Use your fancy new clips to keep your food fresh… or to organize paperwork . . . or anywhere else you might use a clip or closure.
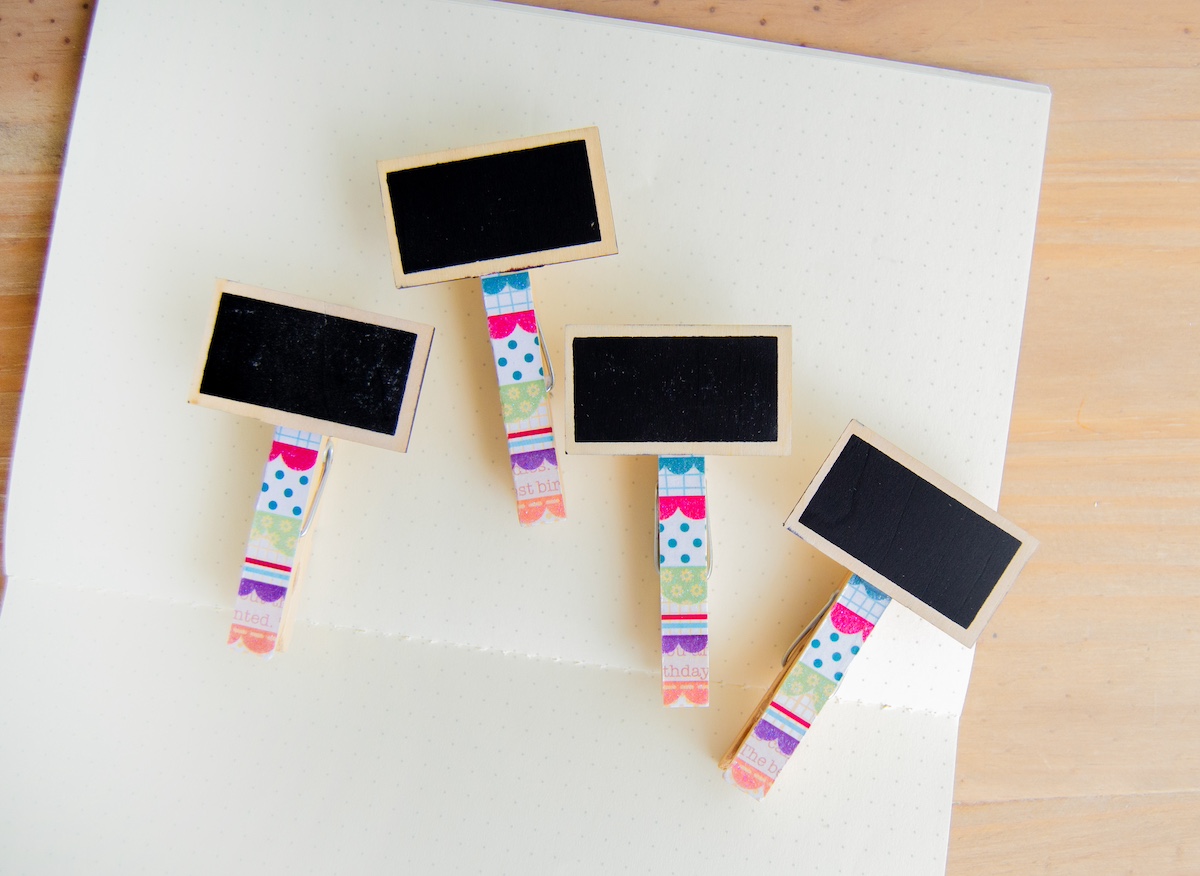
Functional and pretty . . . these clothespin clips are a storage idea that is easy to make and easy to live with. Get the printable how to card for this project below:
DIY Chip Clips
Equipment
- Scissors or craft knife and mat
Materials
- Wood clothespins
- Chalkboard garden labels
- Mod Podge
- Scrapbook paper
- Sharpie optional
Instructions
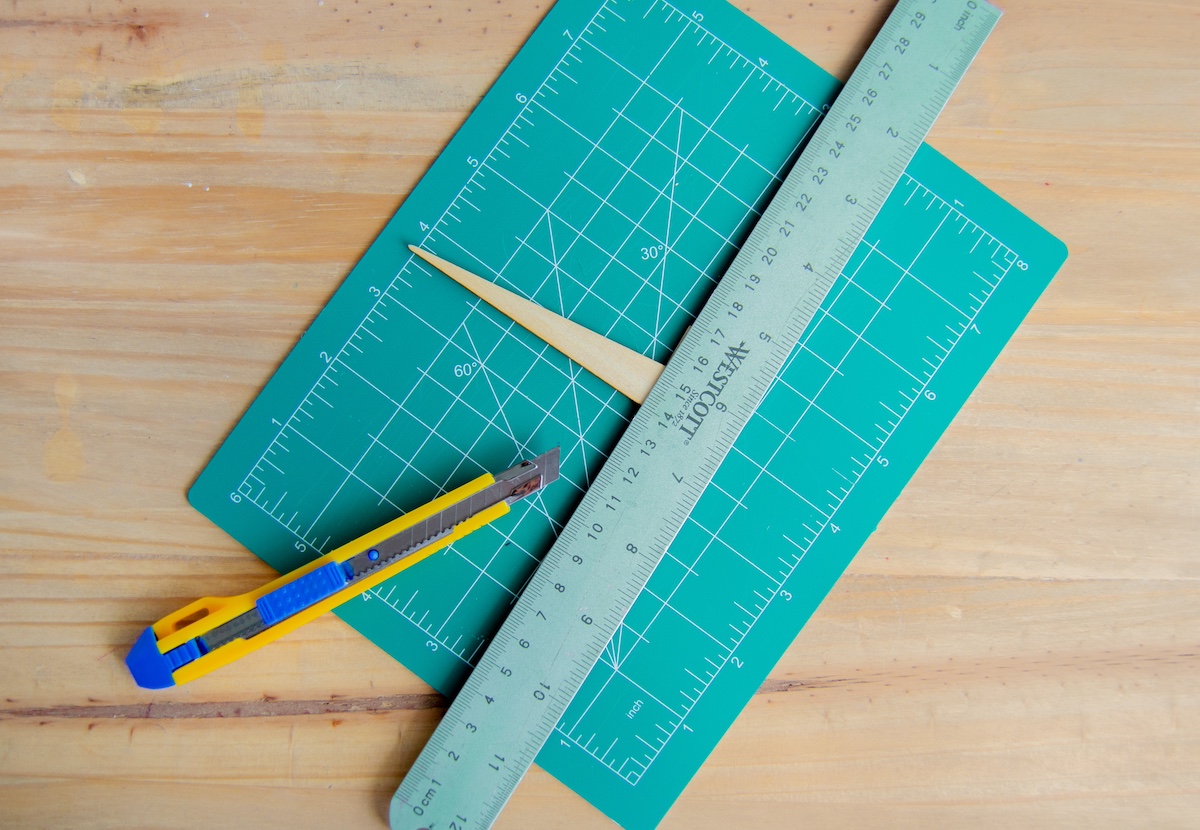
- Begin by cutting the ends off of the chalkboard markers. You're only going to need the tops.
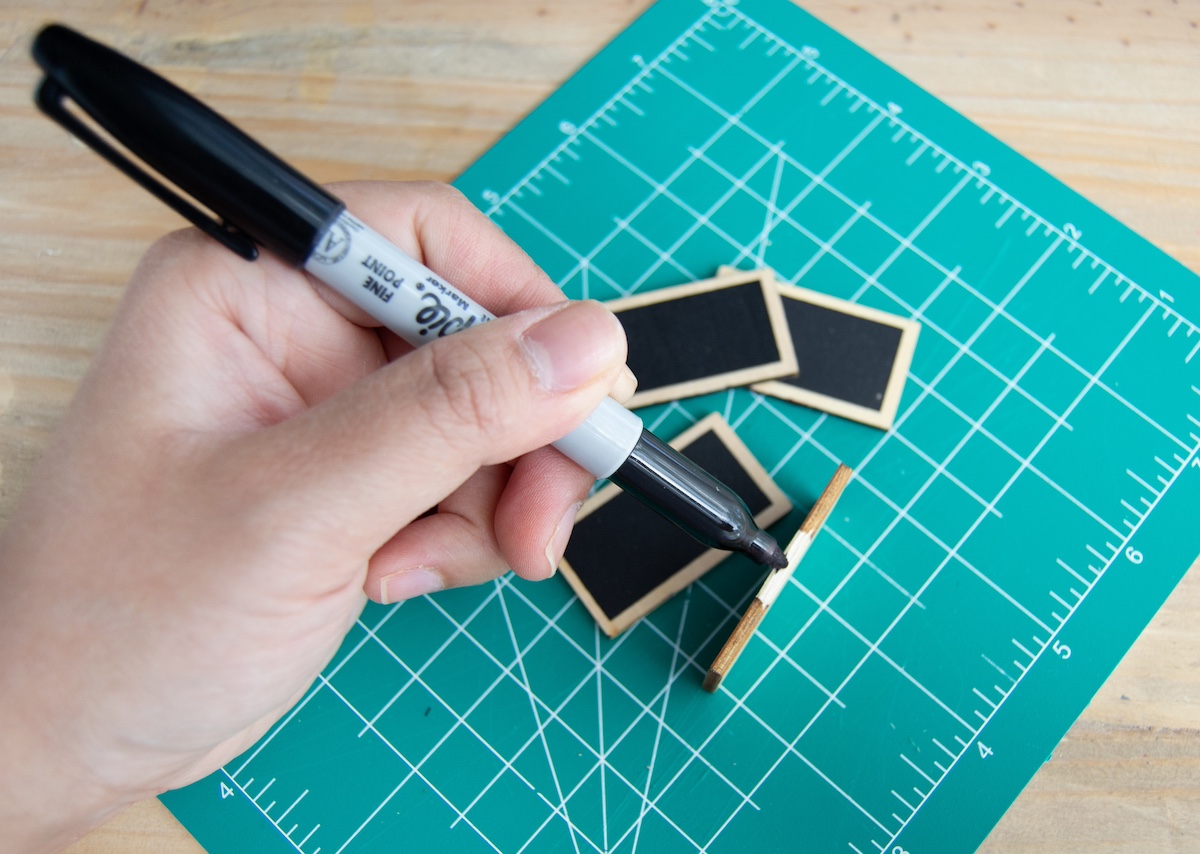
- If desired, use the Sharpie to color the edges of the chalkboard labels to clean them up and make them look even.
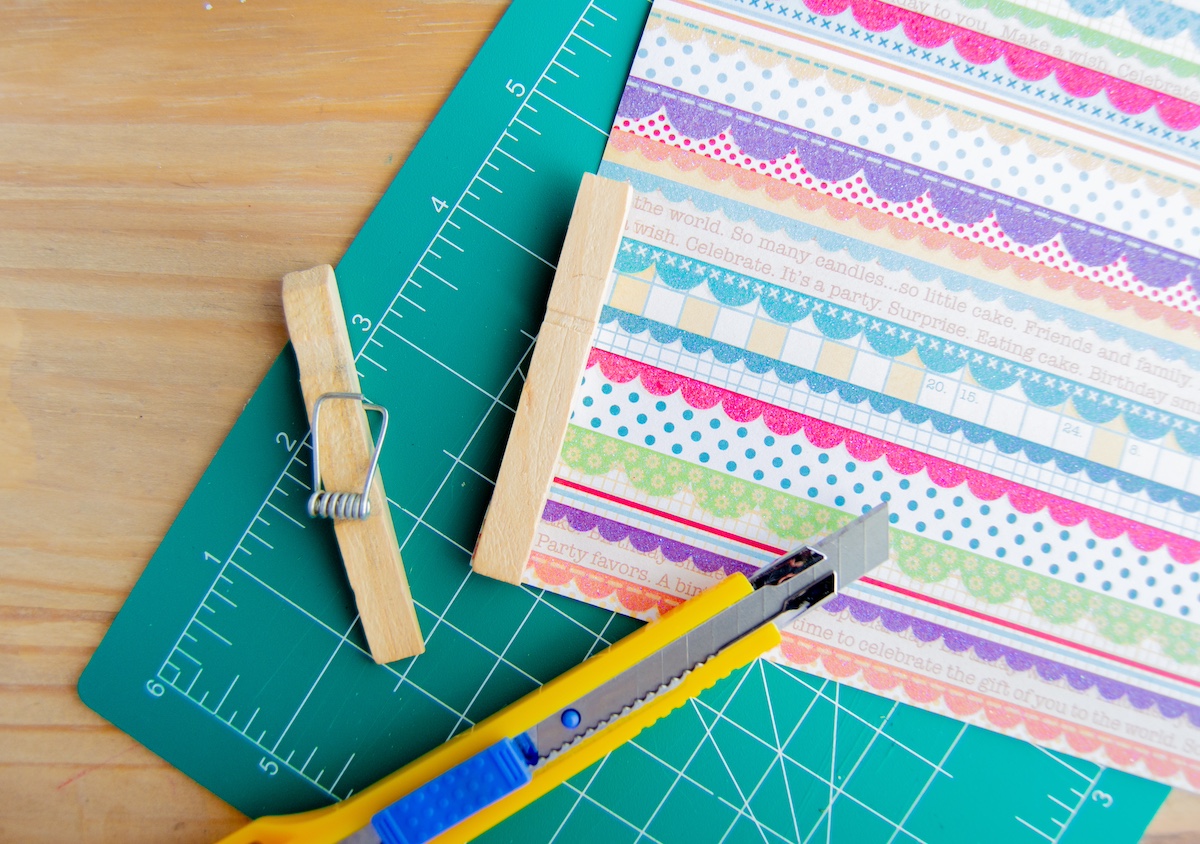
- Cut strips of paper the same width or slightly smaller than the width of the clothespins. Trim pieces to fit at the top and bottom of each side of the pin.
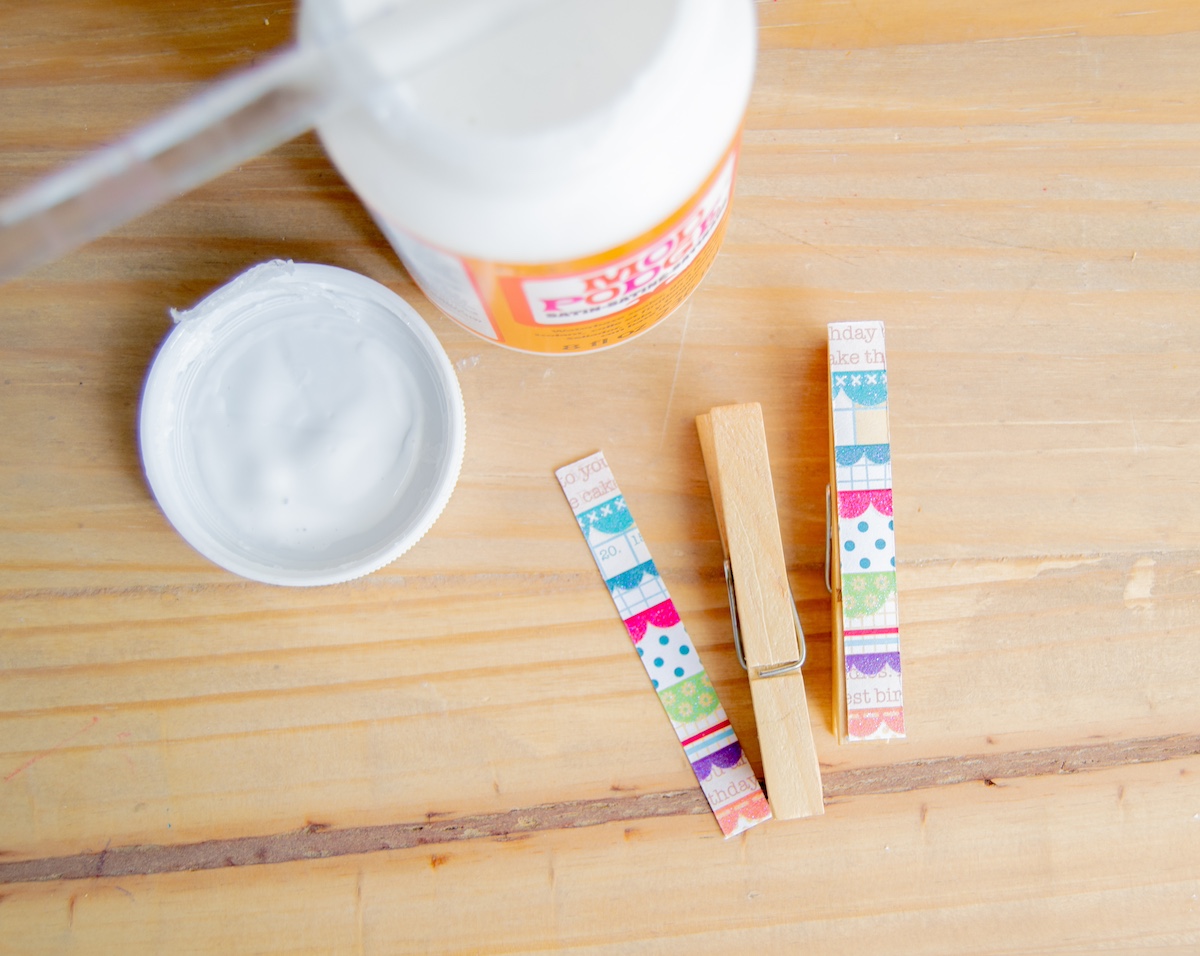
- Brush a medium coat of Mod Podge over the wood on the pins. Press the matching paper piece over that section of the clothespin and smooth it down to remove any bubbles. Repeat on the other side and let dry.
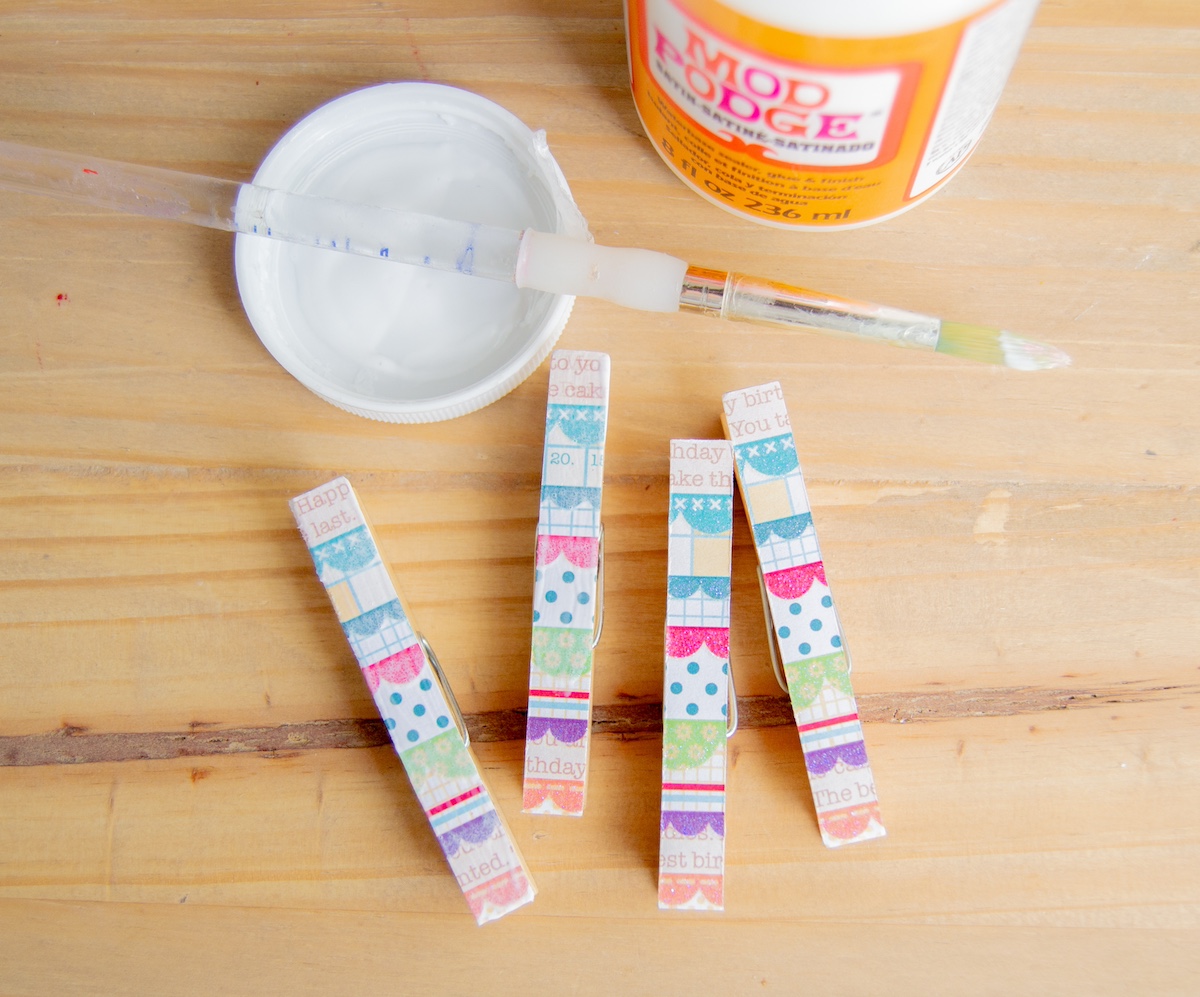
- Once that glue dries, apply two protective coats of Mod Podge over top of each section of paper, allowing it to dry between coats. Repeat on the other side of the clothespins.
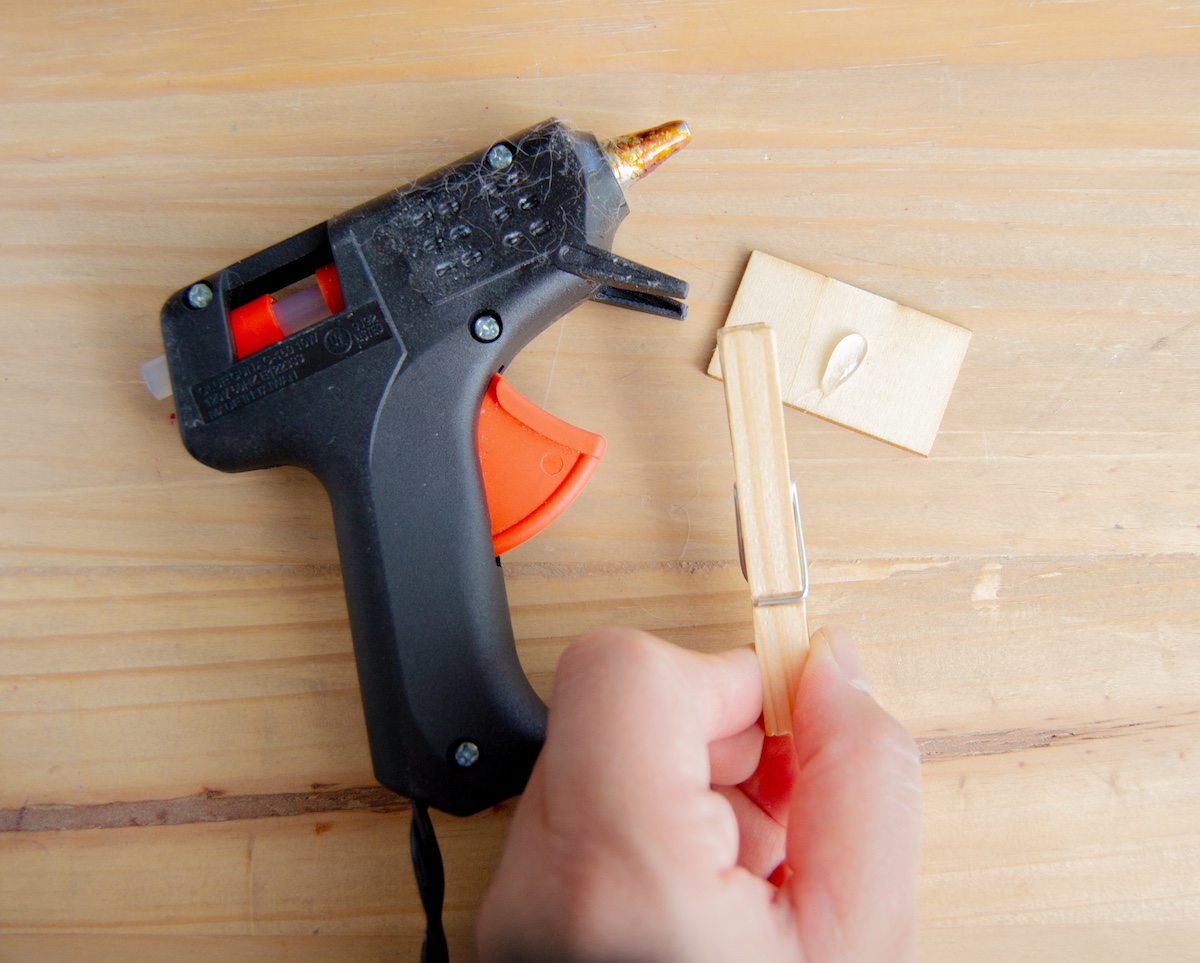
- Hot glue the chalkboard labels on the opposite end of the clip side. Repeat with the other clothespins. Let set before using.
If you enjoyed these DIY clothespin clips, take a peek at these other related craft posts I think you’ll also like:


