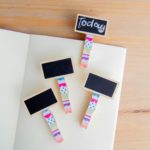
DIY Chip Clips
Make cute and functional clothespin clips that are great for holding chip bags, marking journal pages, or a variety of uses around the house.
Yield: 4 clips
Cost: $3
Equipment
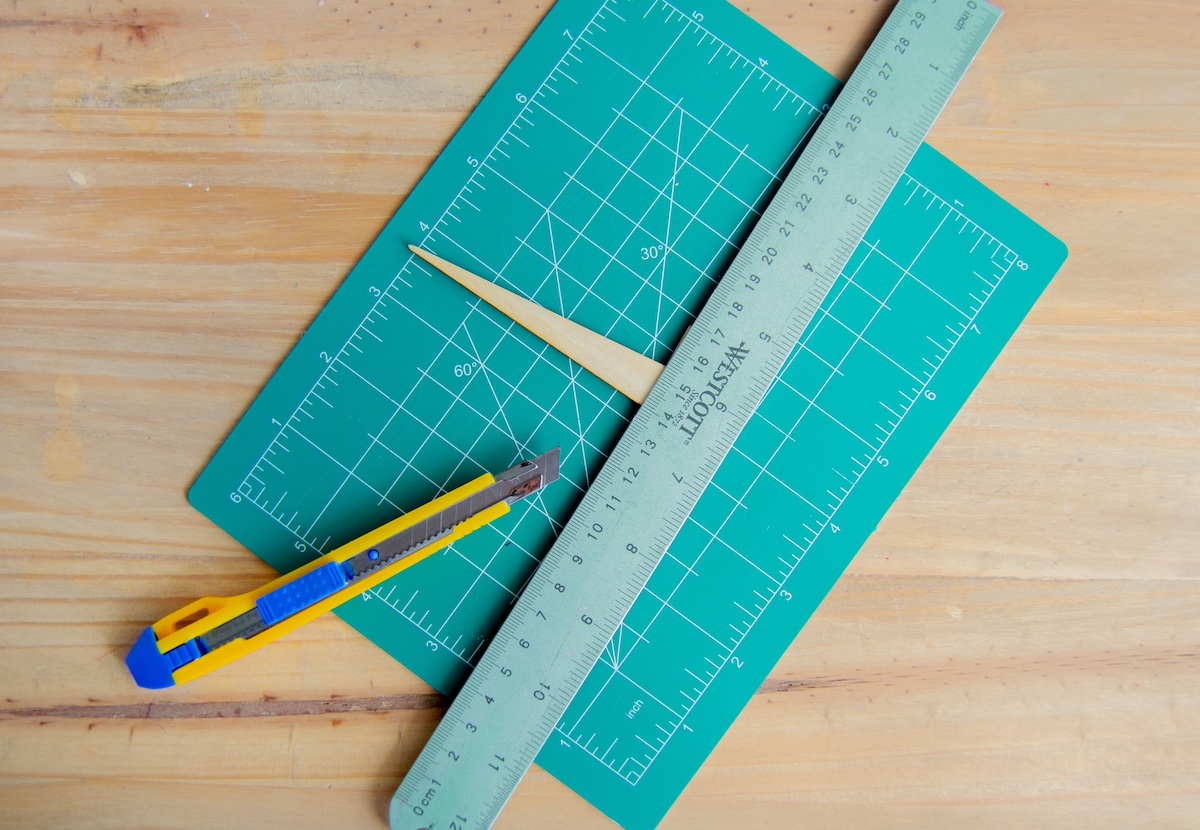
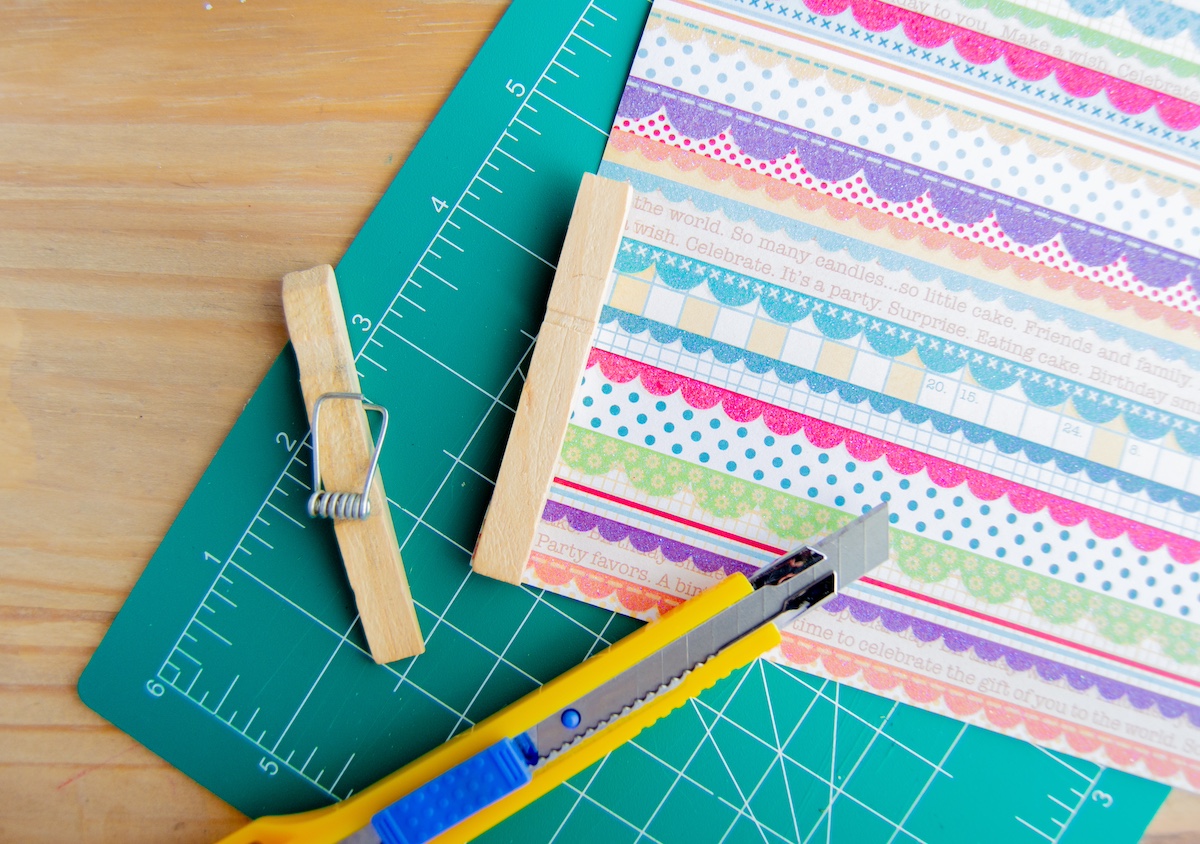
- Scissors or craft knife and mat
Materials
- Wood clothespins
- Chalkboard garden labels
- Mod Podge
- Scrapbook paper
- Sharpie optional
Instructions
- Begin by cutting the ends off of the chalkboard markers. You're only going to need the tops.
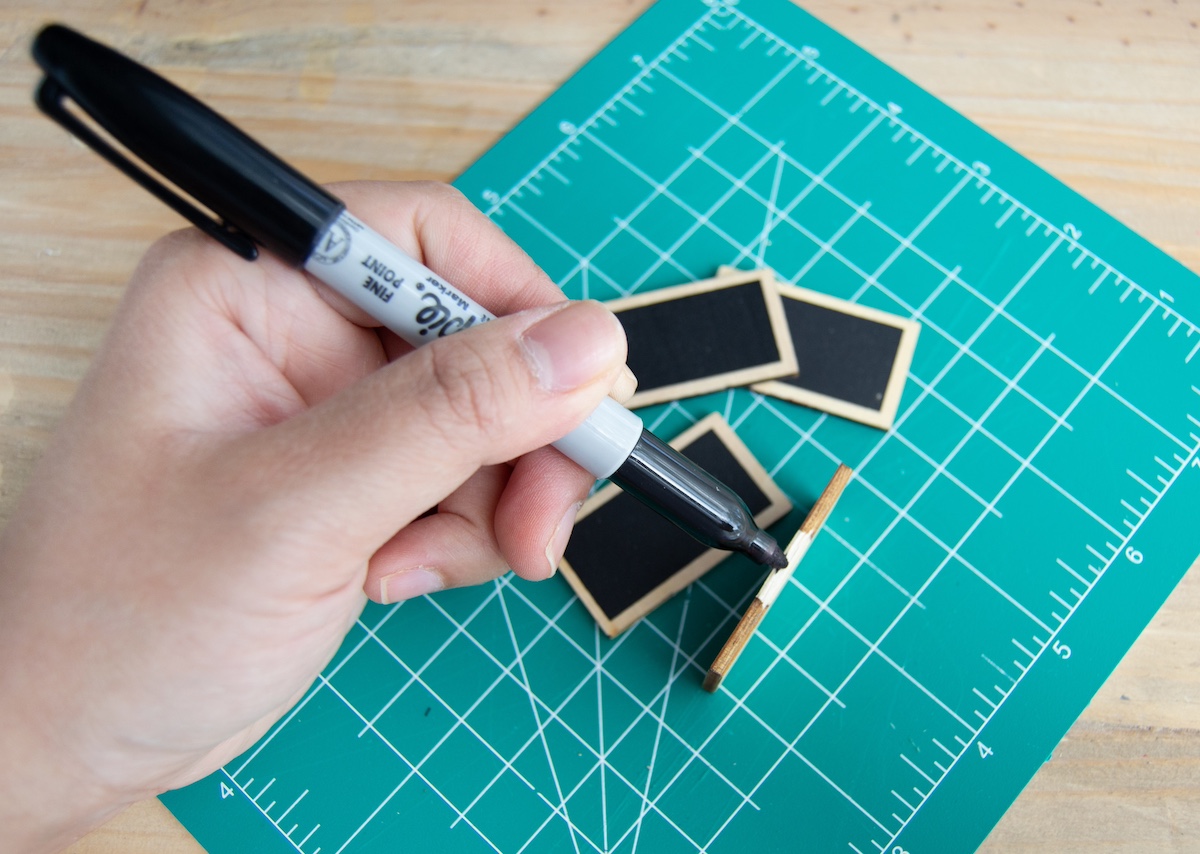
- If desired, use the Sharpie to color the edges of the chalkboard labels to clean them up and make them look even.
- Cut strips of paper the same width or slightly smaller than the width of the clothespins. Trim pieces to fit at the top and bottom of each side of the pin.
- Brush a medium coat of Mod Podge over the wood on the pins. Press the matching paper piece over that section of the clothespin and smooth it down to remove any bubbles. Repeat on the other side and let dry.
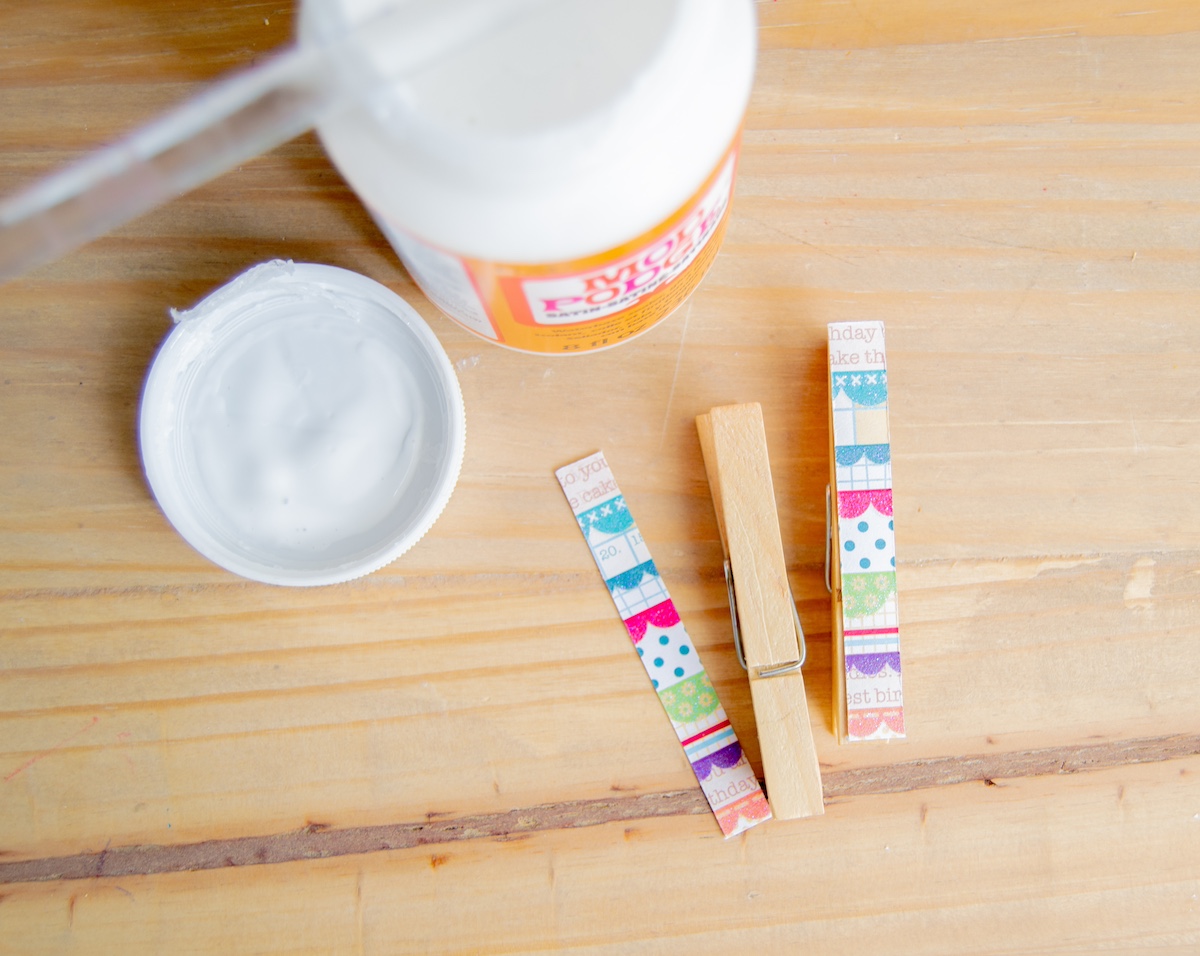
- Once that glue dries, apply two protective coats of Mod Podge over top of each section of paper, allowing it to dry between coats. Repeat on the other side of the clothespins.

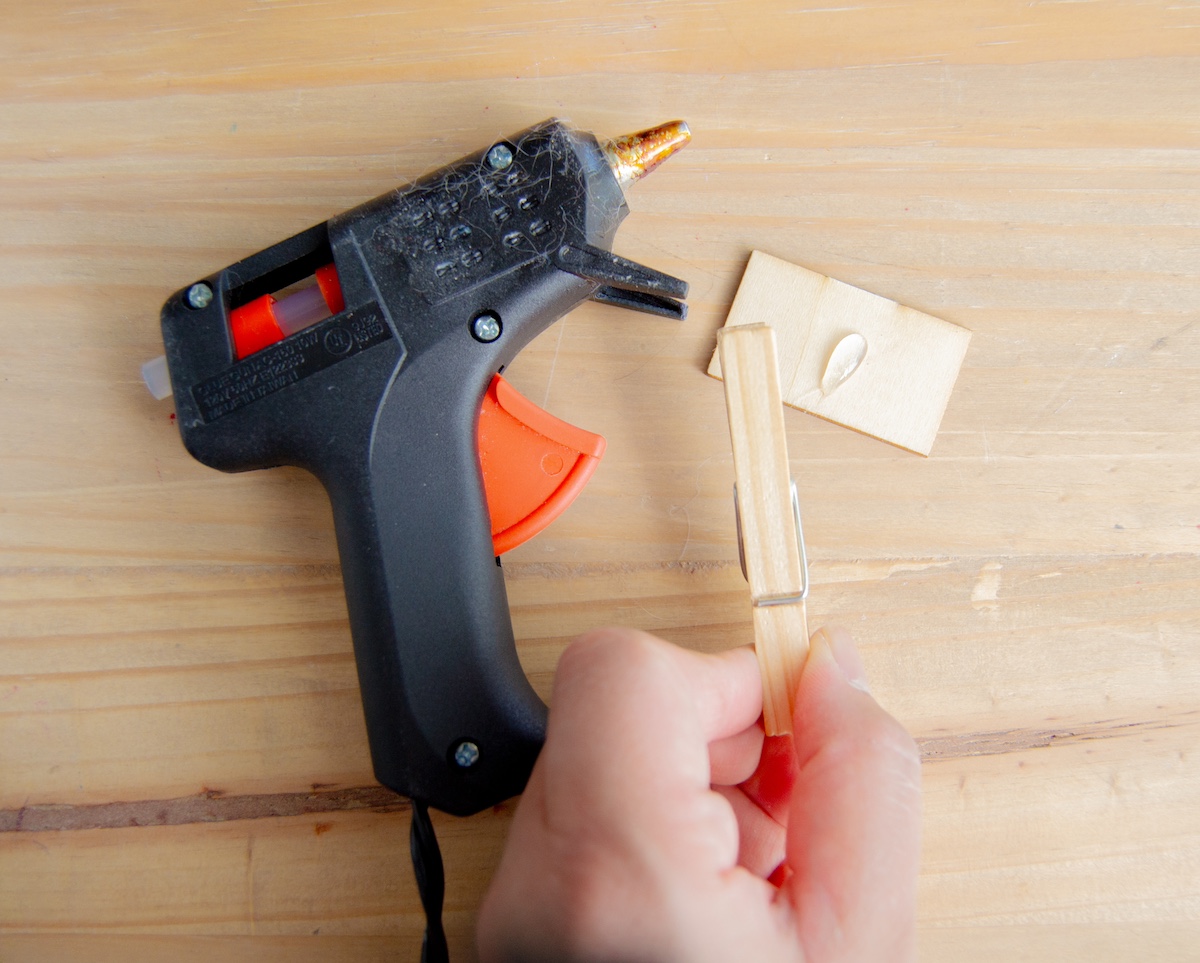
- Hot glue the chalkboard labels on the opposite end of the clip side. Repeat with the other clothespins. Let set before using.