
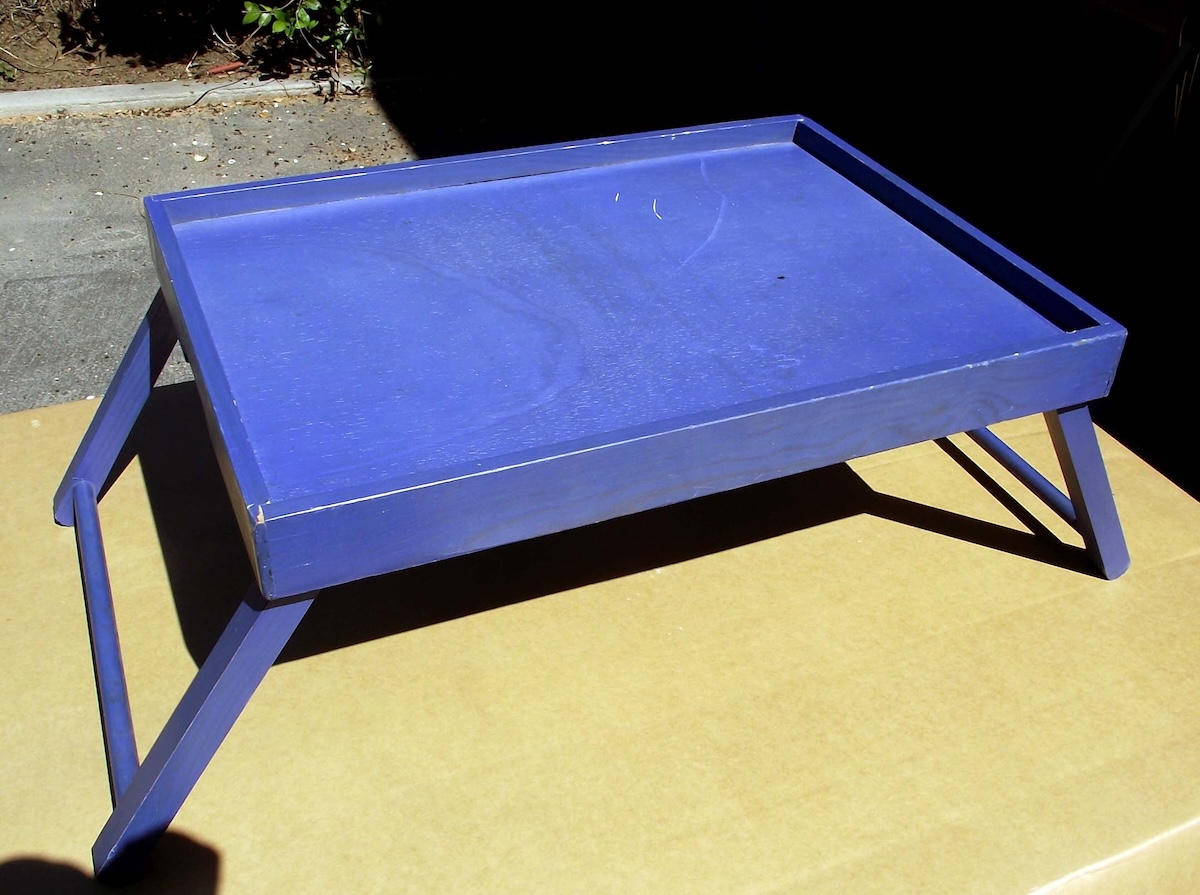
This DIY breakfast in bed tray was created with a $2 thrift store find! Top with a vintage graphic and resin to personalize and make it beautiful.

When I saw this breakfast in bed tray marked down to $2.00 at a local thrift store, I knew I had to get it for a resin project.
Furthermore, in a rare moment of clarity, I knew exactly what I wanted to do with it and it involved Mod Podge Transfer Medium. There was also going to be a red theme to go along with my kitchen tool shadow box, rolling pin bookends, and kitchen cabinet hardware.
Did I mention that croissants and coffee were in my vision as well? Here’s what I did to revamp this breakfast in bed tray. Once you try this you’re going to have to paint a tray of your own ASAP!
Gather These Supplies
- Spray paint
- Envirotex Lite 2-part resin kit
- Sander
- An old candle (not pictured)
- Sandpaper (220-grit and 100-grit)
- Mod Podge Photo Transfer Medium
- Mod Podge Furniture (you can use Hard Coat as well)
- Brush
- Rags
- Printed design
- Trisodium Phosphate (TSP) (optional)

There’s my CROISSANT! (and coffee . . . I really needed some coffee).
Get the printable how to below:

DIY Bed Tray
Equipment
- Sander
- Towel
Materials
- Spray paint
- 1 box Envirotex Lite
- Wax candle
- Sandpaper 220 grit and 100 grit
- Mod Podge Photo Transfer Medium
- Mod Podge Hard Coat
- Rags
- Printed design
- Trisodium Phosphate TSP (optional)
Video
Instructions
- Clean your surface with TSP and sand, if necessary. This allows the next layer of paint to stick effectively. Wipe away any sanding dust.

- Rub a wax candle on the edges. A quick rub creates a barrier that prevents the spray paint from sticking in those spots. Give the tray two light coats of spray paint and set aside to dry for several hours.

- Run the 100-grit sandpaper over the waxed edges to remove some paint here and there, giving an antique look.

- Print out the image of your choice using a laserjet printer. If you use any words – you'll need to reverse them when printing so they show up correctly when transferred.
- Apply Mod Podge Transfer Medium to the printed side of the graphic and lay down on the tray. Smooth out bumps and clean up any excess medium that has squeezed out the sides of the paper. Leave to dry overnight.

- Lay a wet towel over the image for several minutes. Begin to rub away the layers of paper. Repeat until your image is completely revealed and no more paper is left.

- Use the 220-grit sandpaper to distress the tray and graphic to desired levels.
- Cover the tray with a coat of Mod Podge and let dry for a few hours.
- Mix and pour the Envirotex Lite according to package instructions. Give at least 12 hours of cure time before using.
Notes
If you have any questions about this tutorial, please don’t hesitate to ask – I’ll monitor the site and try to get back to you as quickly as possible. Plus check out these other photo transfer ideas here:
Christmas Napkins • Family Reunion Centerpiece • How to Transfer Photos to Wood • Inkjet Transfer • Photo Keychain • Photo Transfer to Canvas • Transfer Paper to Fabric • Transfer Photos to Fabric • Transfer to Furniture • Transfer to Glass • Transfer to Metal


What a great project! I’m so in love with the way this turned out! Pinning it!
I am about to attempt a mod podge covering on an old brown/faux wood grain office table. The wood grain is peeling off. Any suggestions on whether I should prime it 1st? and do you think the envirotex would be a good sealing layer?I live in AZ and this table usually lives outside. I am hoping to not have to deal with stickiness in the heat. Still would like to bring it in to use as a craft table too. Thanks for the help! Love your blog…
Hi Beth. Priming the top though not absolutely necessary would be a good choice particularly if the table top is a dark color. If you left it the dark color there is a chance that that color would bleed through or just darken whatever paper you’re Mod Podging onto the top. Envirotex would work as a sealant but if your table has no edges (like a tray) then the job can get a bit messy. Mod Podge Outdoor Formula would be easier to work with and is designed to hold up to the elements – you’ll want to do a few coats and give it lots of time to fully cure. Hope that helps. David.
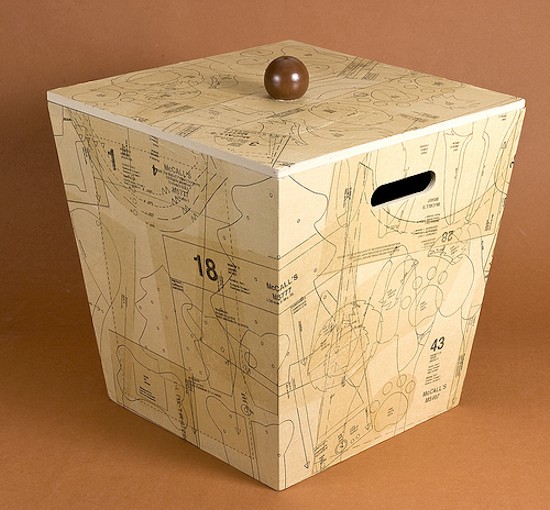
thanks for the tips David. When I get it all finished, I will be sure to send you some pictures. I think maps will be a great topping for this table. I have a couple stashed away just ready to tear up and mod podge!
Beautiful job and tutorial. I left you a question on your website regarding the thickness of paper and a problem I have.