
DIY Bed Tray
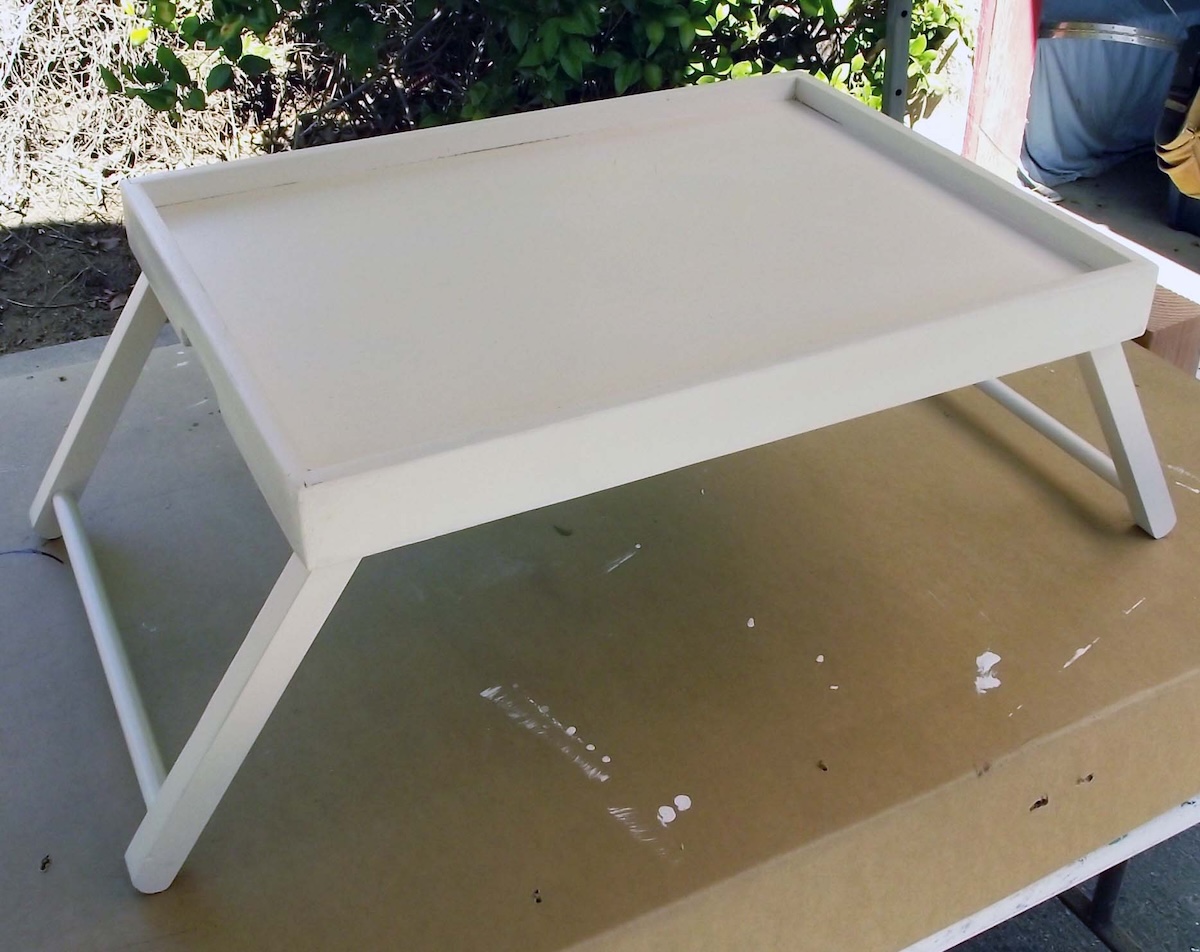
Learn how to decorate a thrift store find in this DIY bed tray table project. Resin makes the perfect waterproof coating for your tray.
Yield: 1 tray
Cost: $12
Equipment
- Sander
- Towel
Materials
- Spray paint
- 1 box Envirotex Lite
- Wax candle
- Sandpaper 220 grit and 100 grit
- Mod Podge Photo Transfer Medium
- Mod Podge Hard Coat
- Rags
- Printed design
- Trisodium Phosphate TSP (optional)
Video
Instructions
- Clean your surface with TSP and sand, if necessary. This allows the next layer of paint to stick effectively. Wipe away any sanding dust.
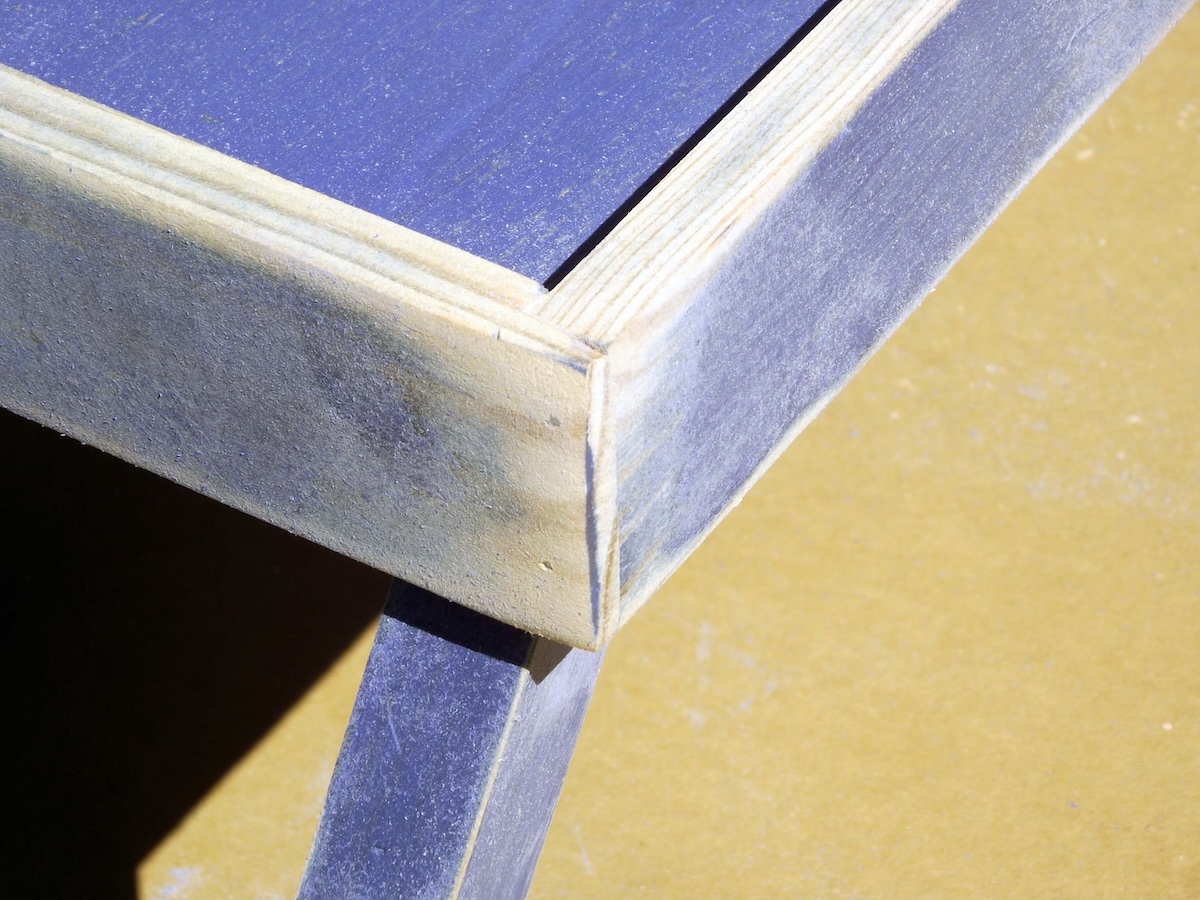
- Rub a wax candle on the edges. A quick rub creates a barrier that prevents the spray paint from sticking in those spots. Give the tray two light coats of spray paint and set aside to dry for several hours.
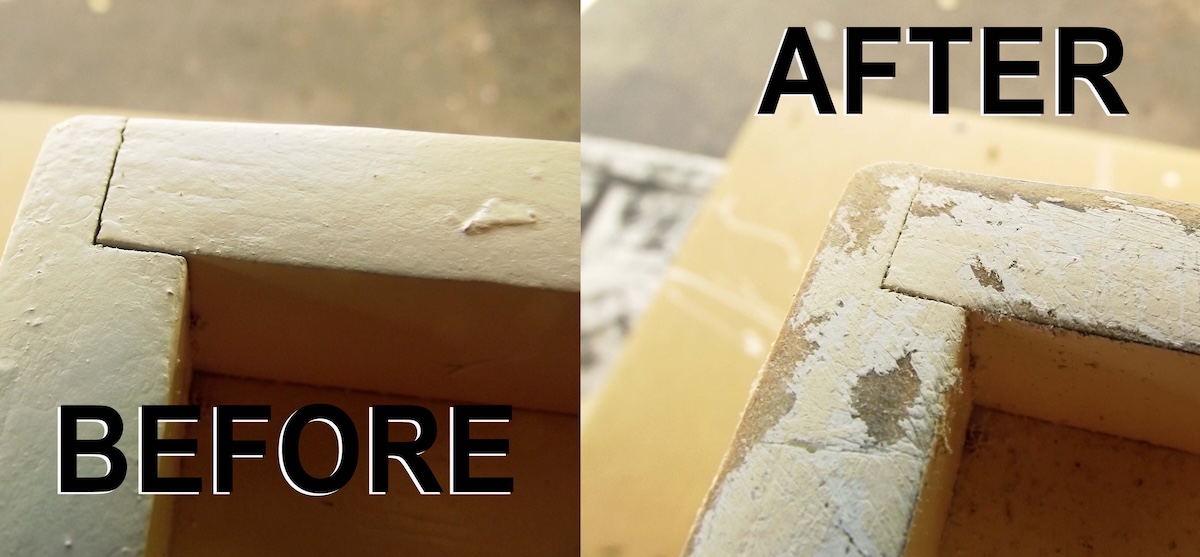
- Run the 100-grit sandpaper over the waxed edges to remove some paint here and there, giving an antique look.
- Print out the image of your choice using a laserjet printer. If you use any words - you'll need to reverse them when printing so they show up correctly when transferred.
- Apply Mod Podge Transfer Medium to the printed side of the graphic and lay down on the tray. Smooth out bumps and clean up any excess medium that has squeezed out the sides of the paper. Leave to dry overnight.
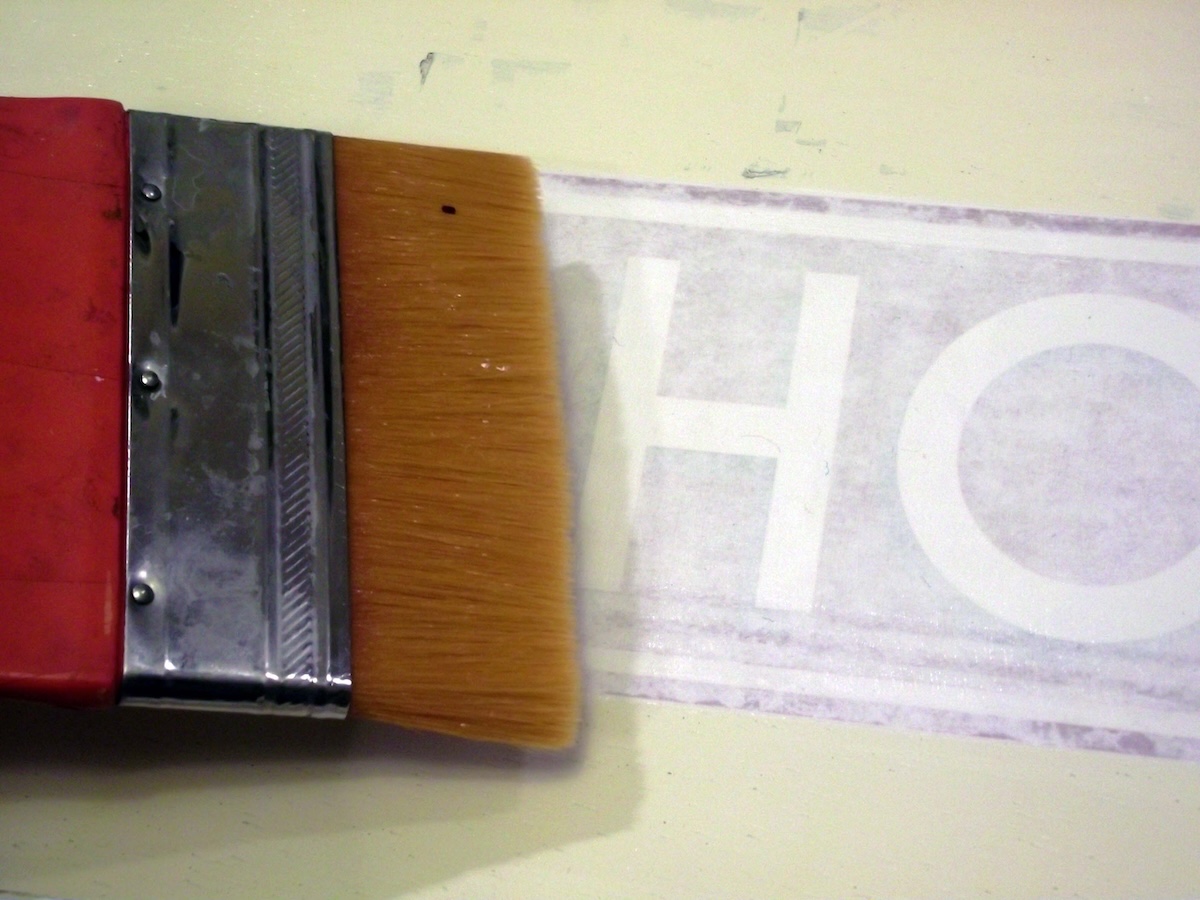
- Lay a wet towel over the image for several minutes. Begin to rub away the layers of paper. Repeat until your image is completely revealed and no more paper is left.
- Use the 220-grit sandpaper to distress the tray and graphic to desired levels.
- Cover the tray with a coat of Mod Podge and let dry for a few hours.
- Mix and pour the Envirotex Lite according to package instructions. Give at least 12 hours of cure time before using.