Decorate a 4th of July fireworks plaque using craft supplies like Mod Podge, napkins, wood stars, and glitter paint! Perfect holiday decor.
Skills Required: Beginner. You’ll be painting a wood plaque and some stars, applying a napkin using Mod Podge and an iron, and using glitter paint. It helps to have experience with Mod Podge for this project.
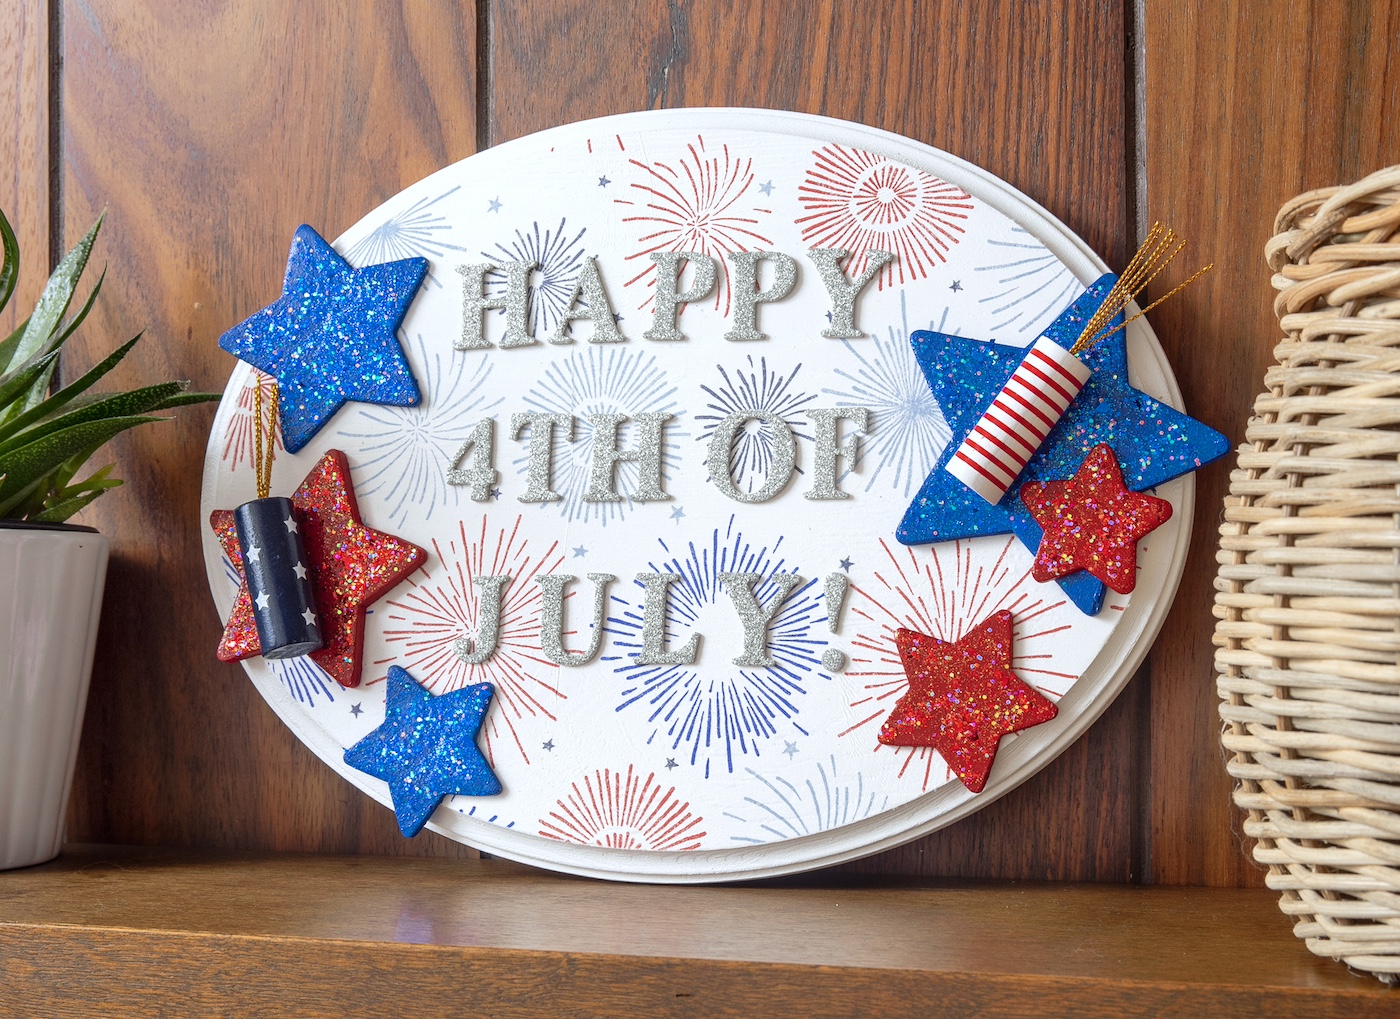
I have to make a full confession which is that this project was made for one reason and one reason only – to use my red and blue glitter paint.
Yep, I was at the craft store recently and I squealed. I noticed a seasonal display for Fourth of July crafts so of course I had to go over and see what all the sparkle was about.
To my absolute surprise and joy, there was red, white, and blue sparkle paint! Now I have used white and gold glitter paint before . . . I’ve even used black and orange for Halloween.
But red and blue? This was a whole new ball game! I grabbed a pack of various sized wood stars, some little firework embellishments, and headed home to grab the rest of my supplies.
I knew that I wanted to make this 4th of July fireworks plaque. With LOTS of sparkle!
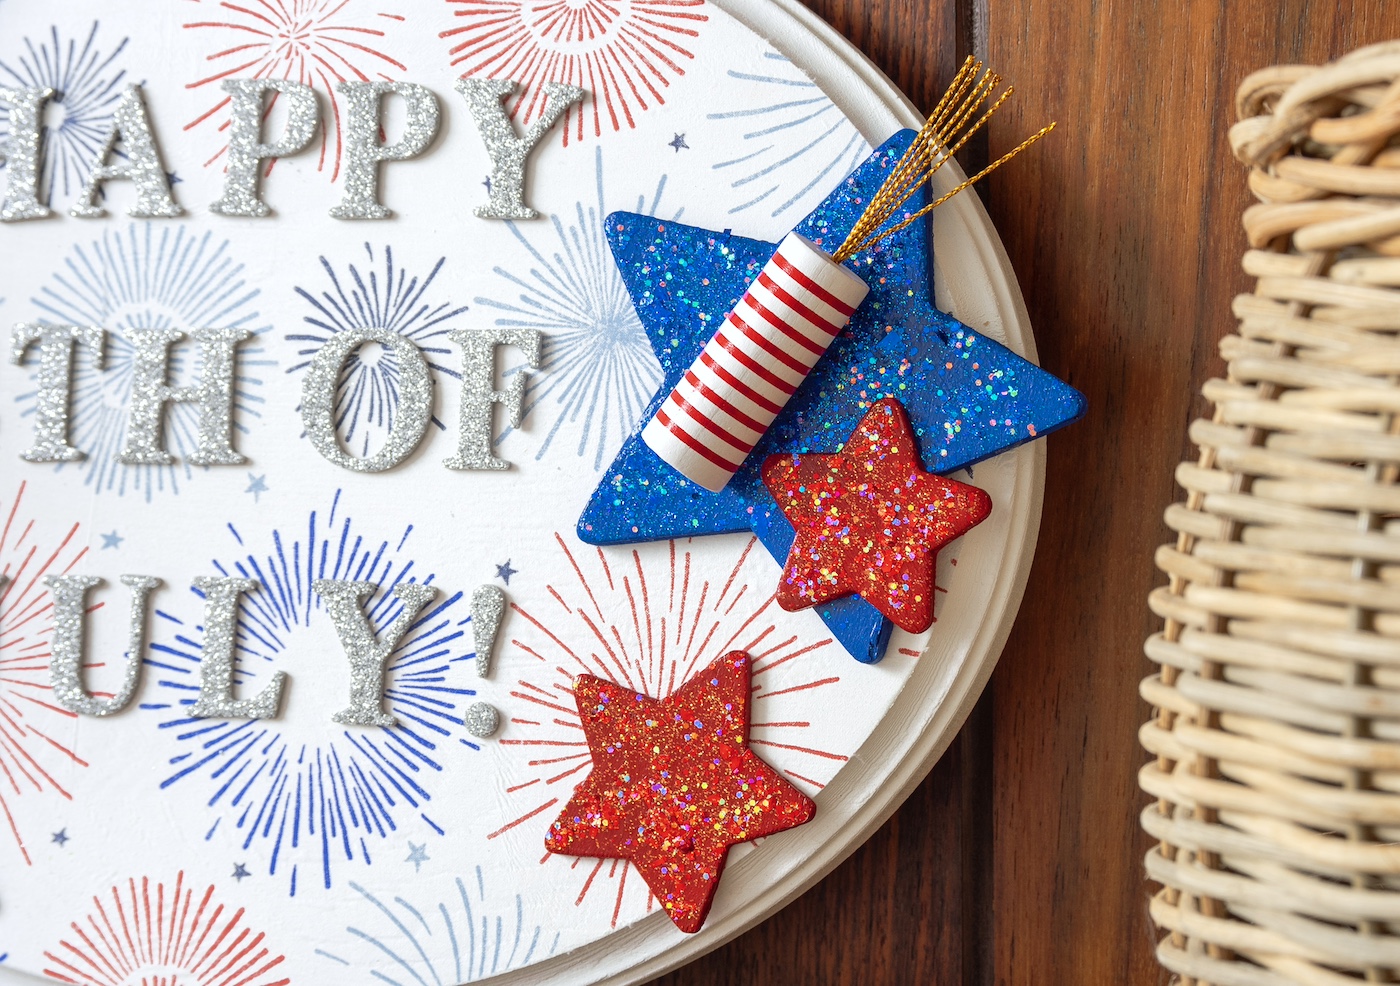
Part of the craft is some very fun paper napkin decoupage – where you apply Mod Podge to the wood, let it dry, then iron on the napkin to adhere it. It’s a great process to avoid wrinkles in thin papers such as napkins.
The iron on method is something you’ll be able to use in a variety of crafts, not just for this Fourth of July decor. I’m so happy with how my 4th of July fireworks plaque turned out and I hope you’ll try here.
Here’s what you’re going to need!
Gather These Supplies
- Wood oval plaque
- Wood stars – various sizes
- Craft paint – white, bright blue, bright red
- Glitterific paint – red, dark blue
- Mod Podge – any formula
- Fireworks napkin – purchased at JoAnns (tissue paper works too)
- Glitter adhesive letters
- Craft glue
- Paintbrushes
- Spouncers
- Mini craft iron
- Parchment paper
- Emery board
- Ruler
- Clear acrylic sealer (optional)
Tips and Thoughts for This Project
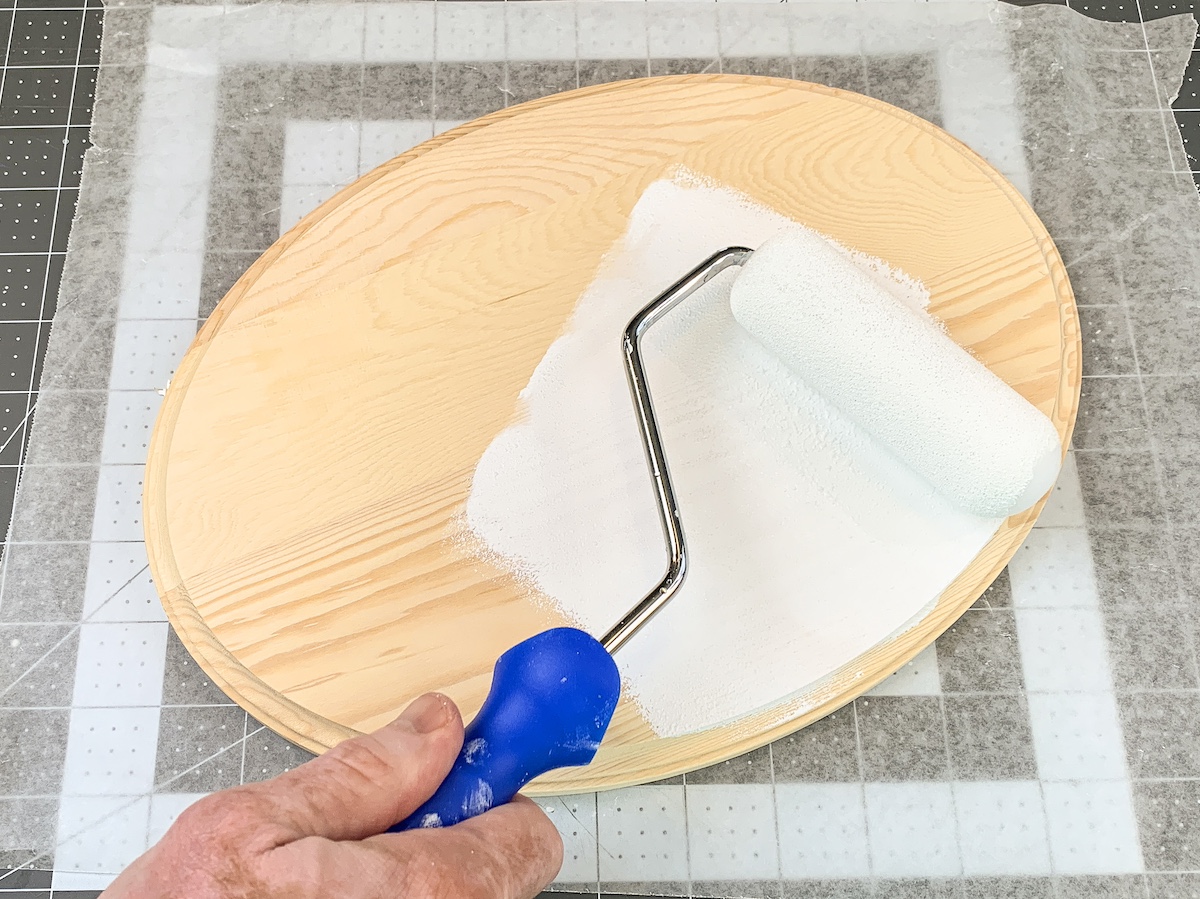
You don’t *have* to paint the wood white, however, it makes the colors of the napkin pop. It’s also easy to do, so I always do it. You can use spray paint, but craft paint is cheaper and just as fast with a roller.
Use a basic formula of Mod Podge. The finish is below the napkin, so it doesn’t matter which one because you won’t see it. I recommend Gloss, Matte, or Satin.
I didn’t seal the napkin on top with Mod Podge. You can, but it might wrinkle. If it does, you can re-iron it (use the parchment paper again). Another option is to use a clear acrylic sealer on top (spray). Apply after the napkin sets and then let dry.
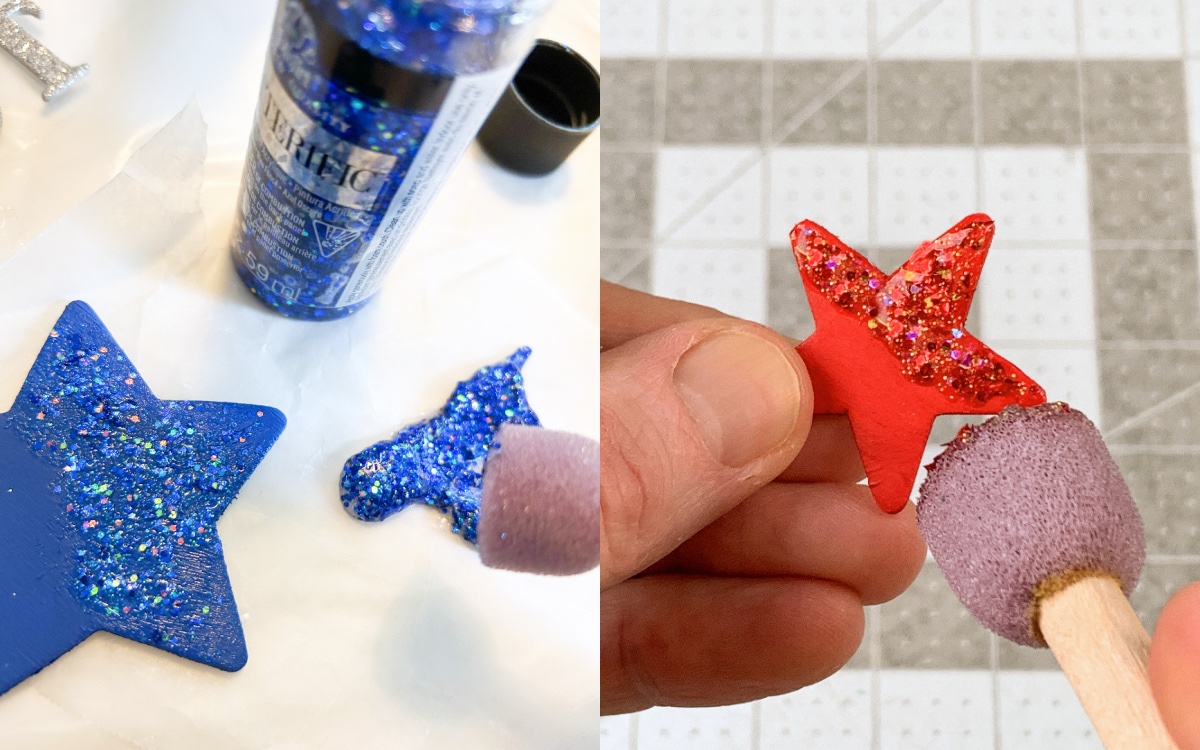
If you use glitter paint, I highly recommend using a spouncer. A brush just moves the glitter particles around while a small foam spouncer makes it easier to “place” the paint.
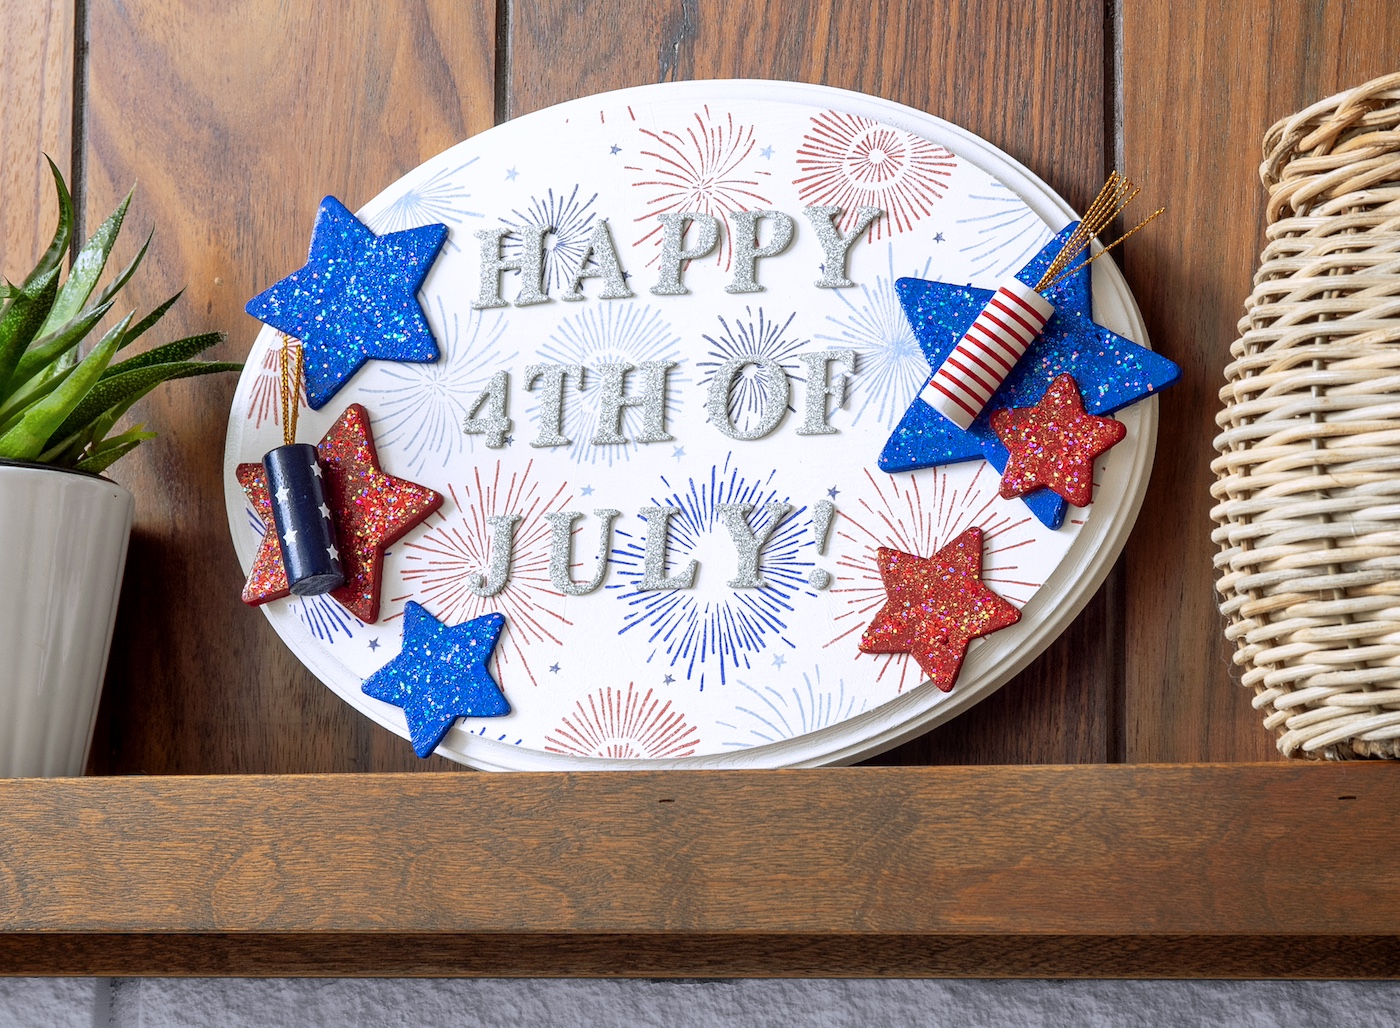
Get the printable how to for this patriotic project below:
4th of July Fireworks Plaque
Materials
- Wood oval plaque
- Wood star(s) various sizes
- Craft paint white, bright blue, bright red
- Glitterific paint red, dark blue
- Mod Podge any formula
- Fireworks napkin
- Adhesive letters glitter
- Craft glue
- Parchment paper
- Clear acrylic spray sealer optional
Instructions
- Paint the wood using white craft paint. Roll on one side, let dry, and flip over. Paint other side and let dry.
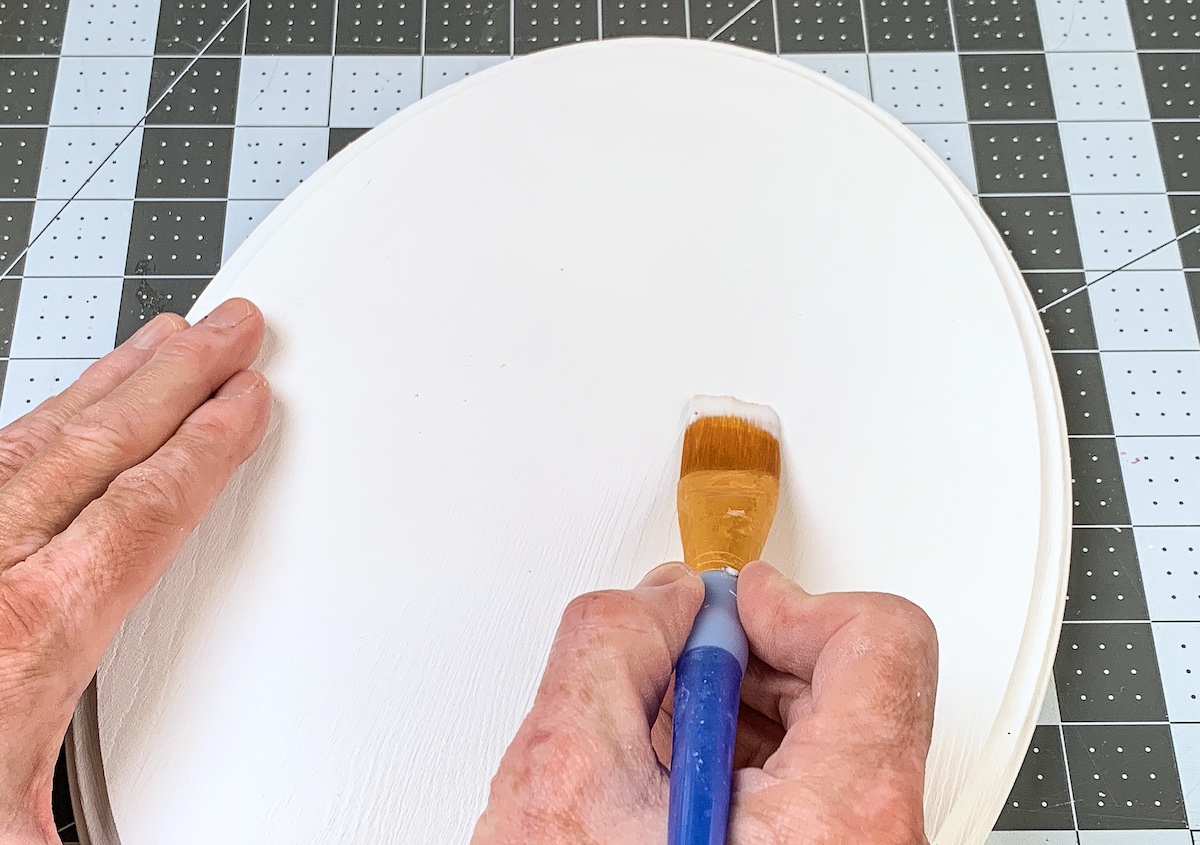
- Apply a coat of Mod Podge to the wood; don't do the edges. Let dry 15-20 minutes and repeat.
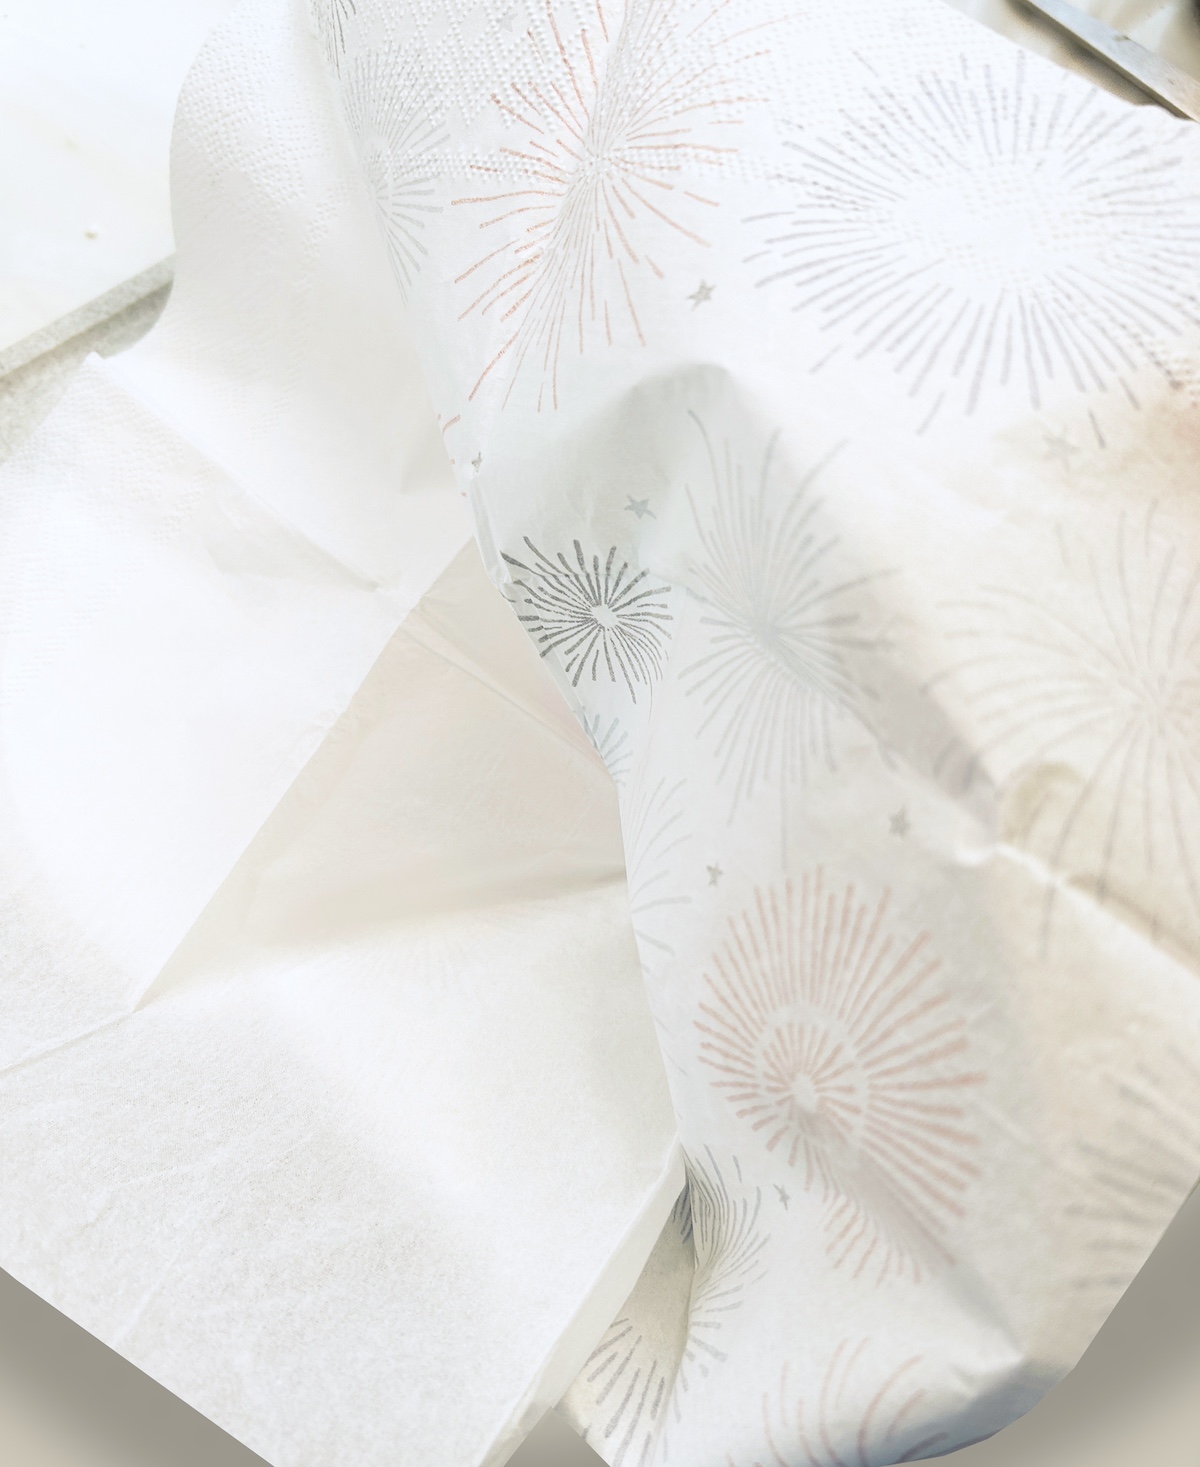
- While the Mod Podge is drying, separate the napkin from the bottom layers. You can use tape to help. You just want the top layer with the design.
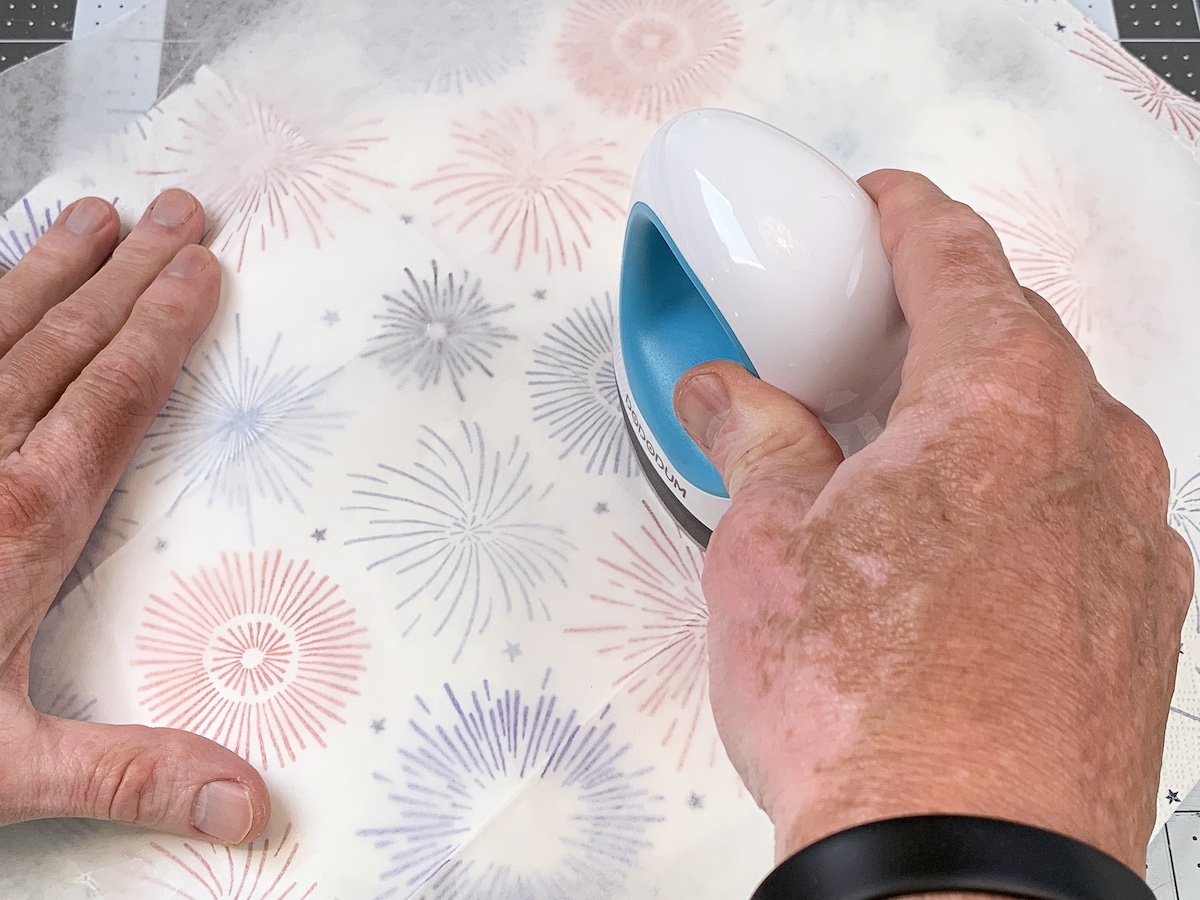
- Place the napkin down onto the plaque and align. Place a piece of parchment paper on top of the napkin, and run the craft iron across the top several times. While you are doing this, the Mod Podge is melting below the napkin, and the napkin is adhering. Keep going until the napkin is fully adhered. Sand excess napkin off the edges with the emery board.
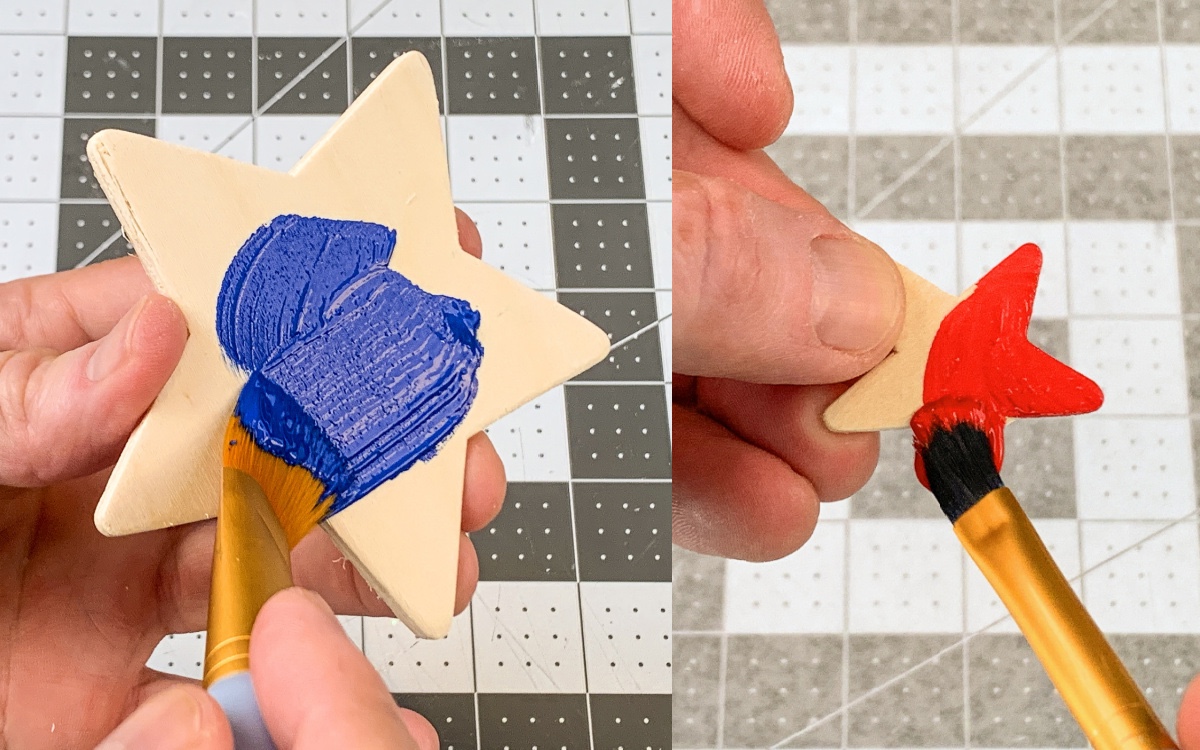
- Paint the wood stars with the craft paint colors of your choice. Don't forget to paint the edges. Let dry.
- Use a spouncer to apply glitter to the top of the stars. Let dry and apply as many coats as desired.
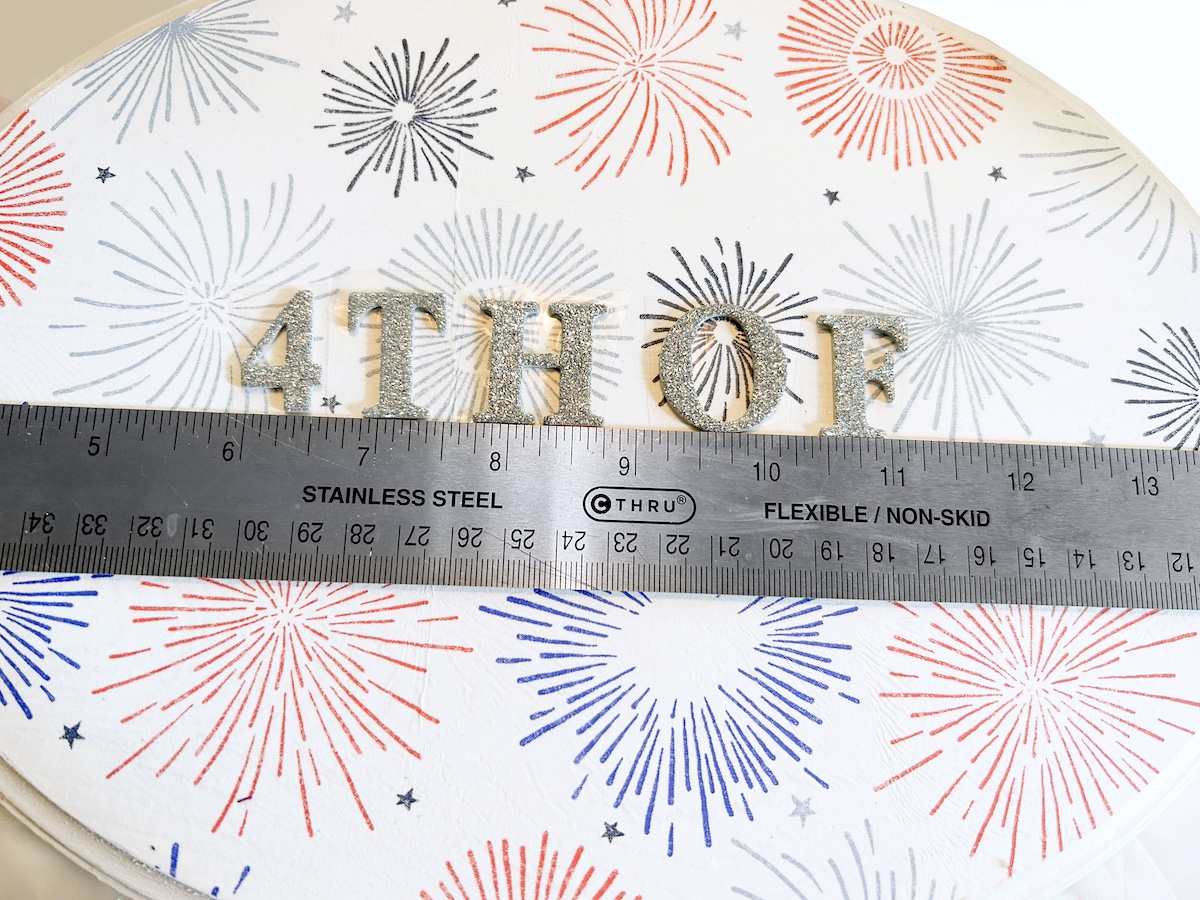
- Use the ruler to help with placement of the adhesive letters. Attach evenly across the front.
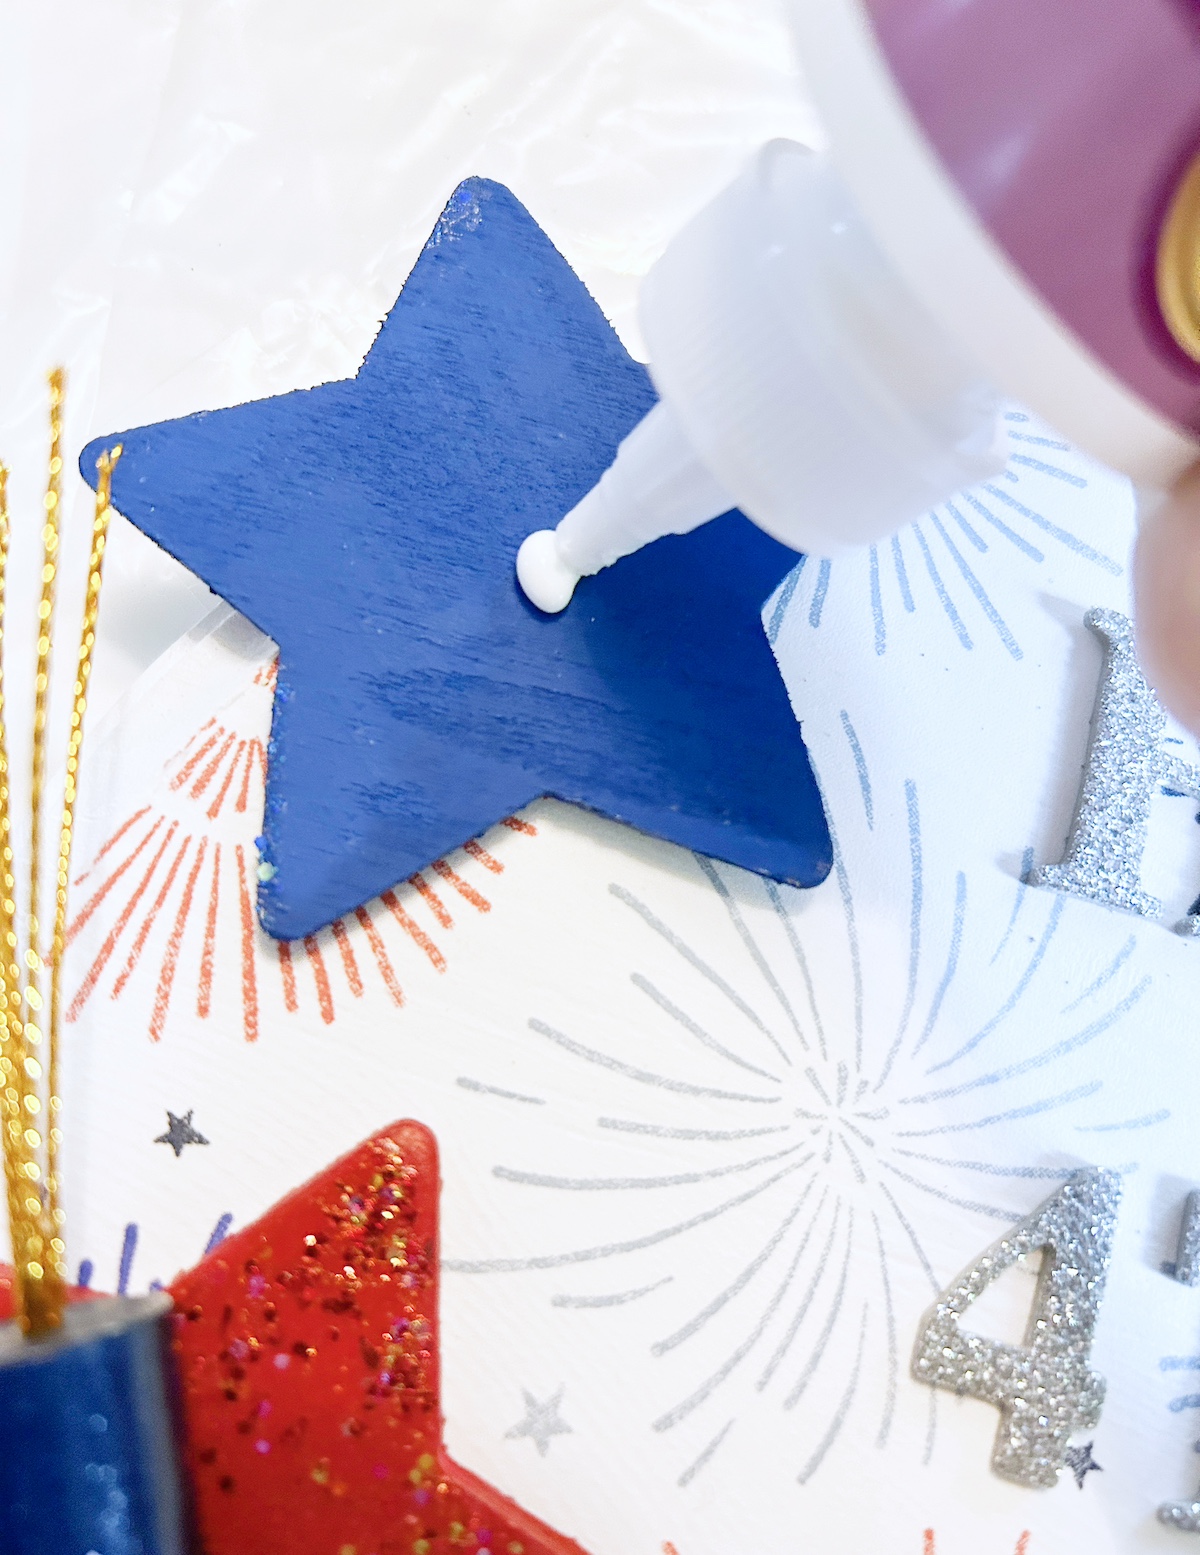
- Adhere all stars to the front with glue. I also added two little firecracker embellishments to the front and let dry before hanging or displaying.
Did you enjoy this craft? Let me know if you have any questions in the comments, or just tell me what you thought. I’d love for you to check out these other projects!


