Learn how to make this EASY DIY trick or treat bag – two ways – with Duck Tape! One of the versions is glow in the dark!
Skills Required: None. You don’t need prior crafting skills to accomplish this project. It’s really easy to use Duck Tape, even if you’ve never crafted before.
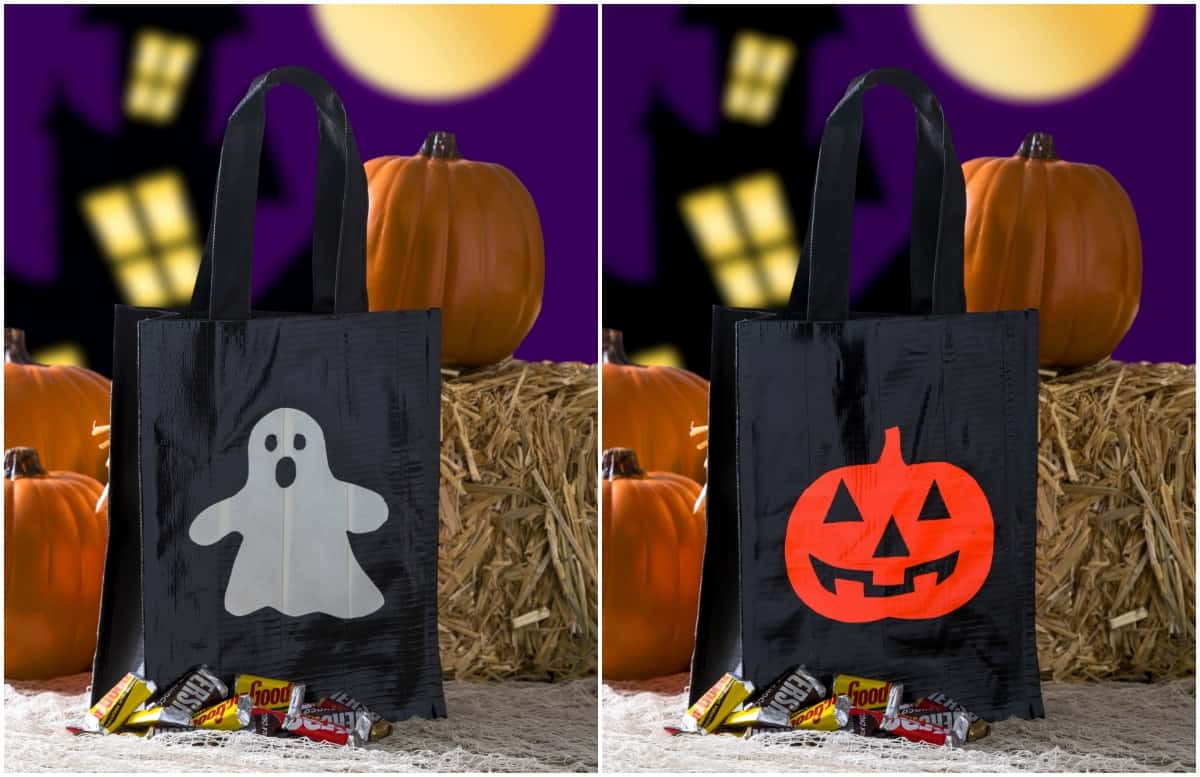
Are you ready for a super easy craft for Halloween – that the kids are going to love – and you are going to love as well?
Try this DIY trick or treat bag made from a recycled surface and Duck Brand Duck Tape! It all started when I discovered that there is Glow in the dark Duck Tape:
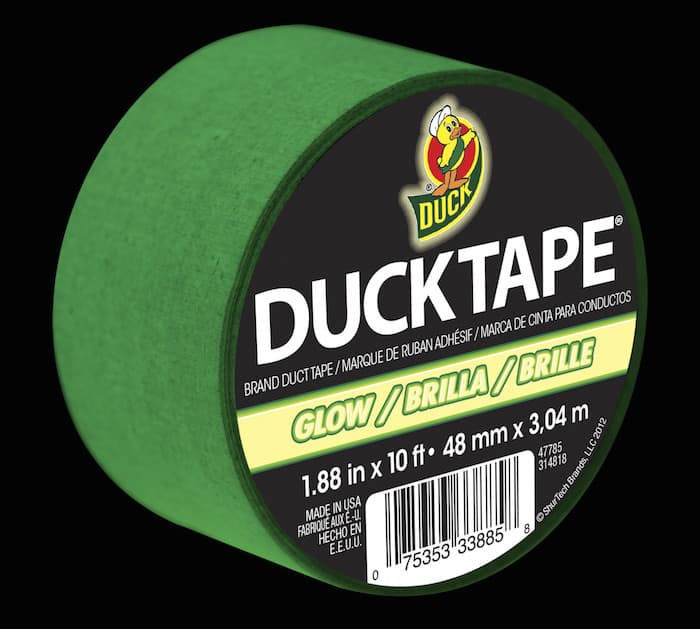
And while you might think this picture is doctored to make it look amazing while it barely glows in person, this could not be further from the truth. Coincidentally I left a roll of this tape in the car while running errands, exposed to sun.
This baby GLOWS, and strong! I knew that I’d have to make a trick or treat bag out of it with a leftover black cloth bag I already had in my stash. You could also make this with fabric pieces, or a small grocery bag.
I picked a ghost pattern, but then also decided to show you how to make a jack o’ lantern on the other side. Either design is easy.
I’m offering the printables for both, for free, so I’ll let you choose what tickles your fancy. Learn how to make a DIY trick or treat bag in minutes!
Trick or Treat Bag
Gather These Supplies
- Grocery or other cloth bag
- Duck tape – Black, Glow in the dark, Neon Orange
- Printable templates – ghost or jack o’ lantern
- Wax paper
- Fiskars Duck Edition Scissors
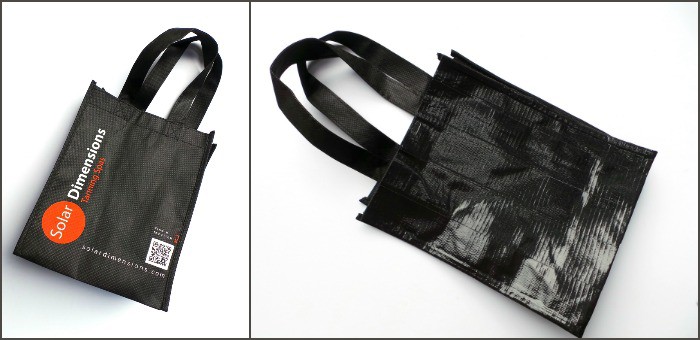
First step is to select the bag of your choice. It doesn’t have to be cloth and it doesn’t have to be black, that’s just what I used. I cut black Duck Tape and placed it vertically on both sides of the bag to cover up the designs.
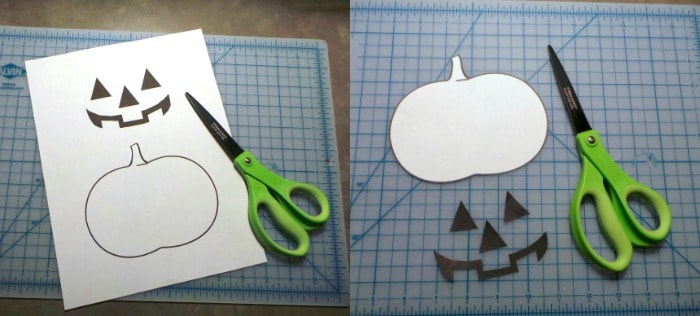
I printed out the pumpkin template and set it aside – don’t forget the face!
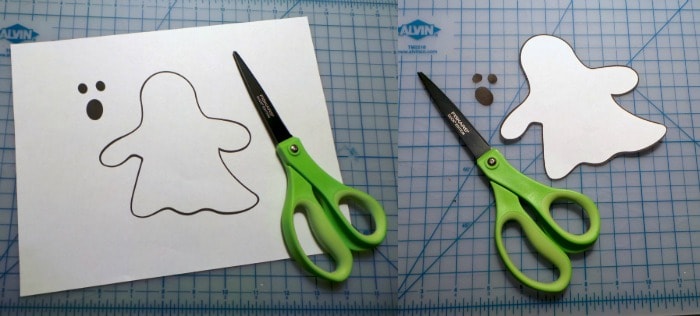
Do the same with the ghost.
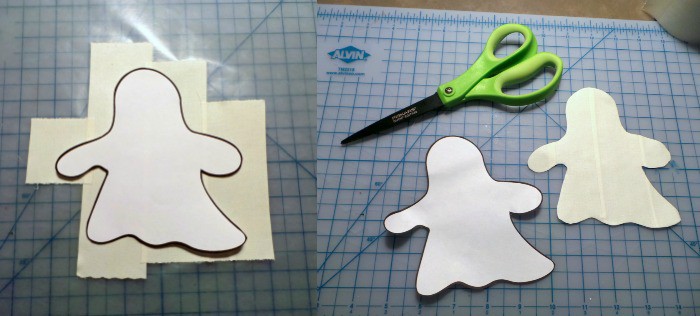
Now this is a fun little trick I think you’re going to enjoy! Place strips of Duck Tape (glow in the dark in this case) down on waxed paper, slightly overlapping. Use the ghost body template to cut out the shape from the tape/waxed paper.
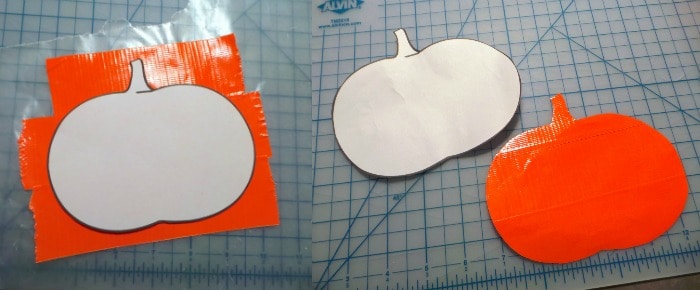
Do the same with the pumpkin.
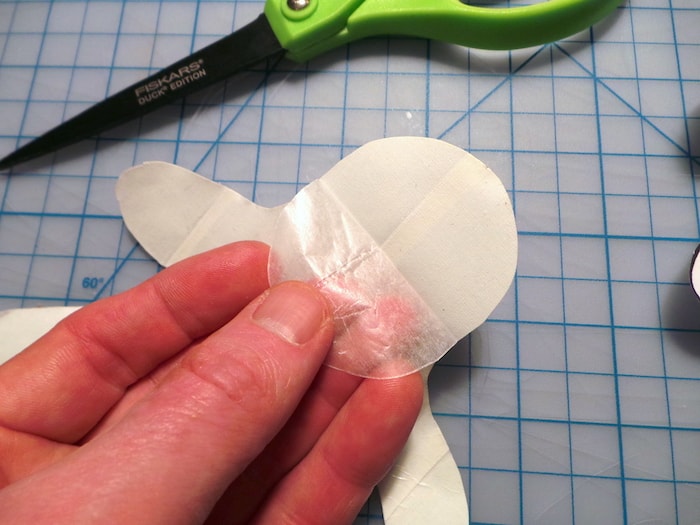
What you’ve actually done is create stickers from your Duck Tape. Now you can peel the tape from the wax paper!
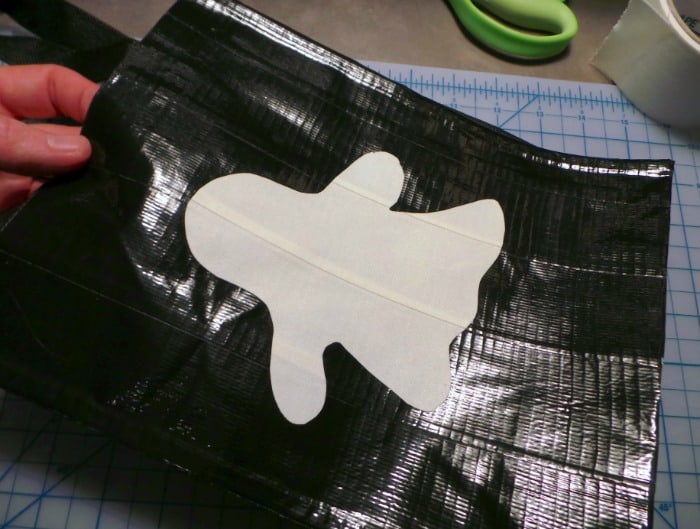
Peel and stick to the bag! Do the same with the eyes for the ghost and the face for the jack o’ lantern. Fun, right?
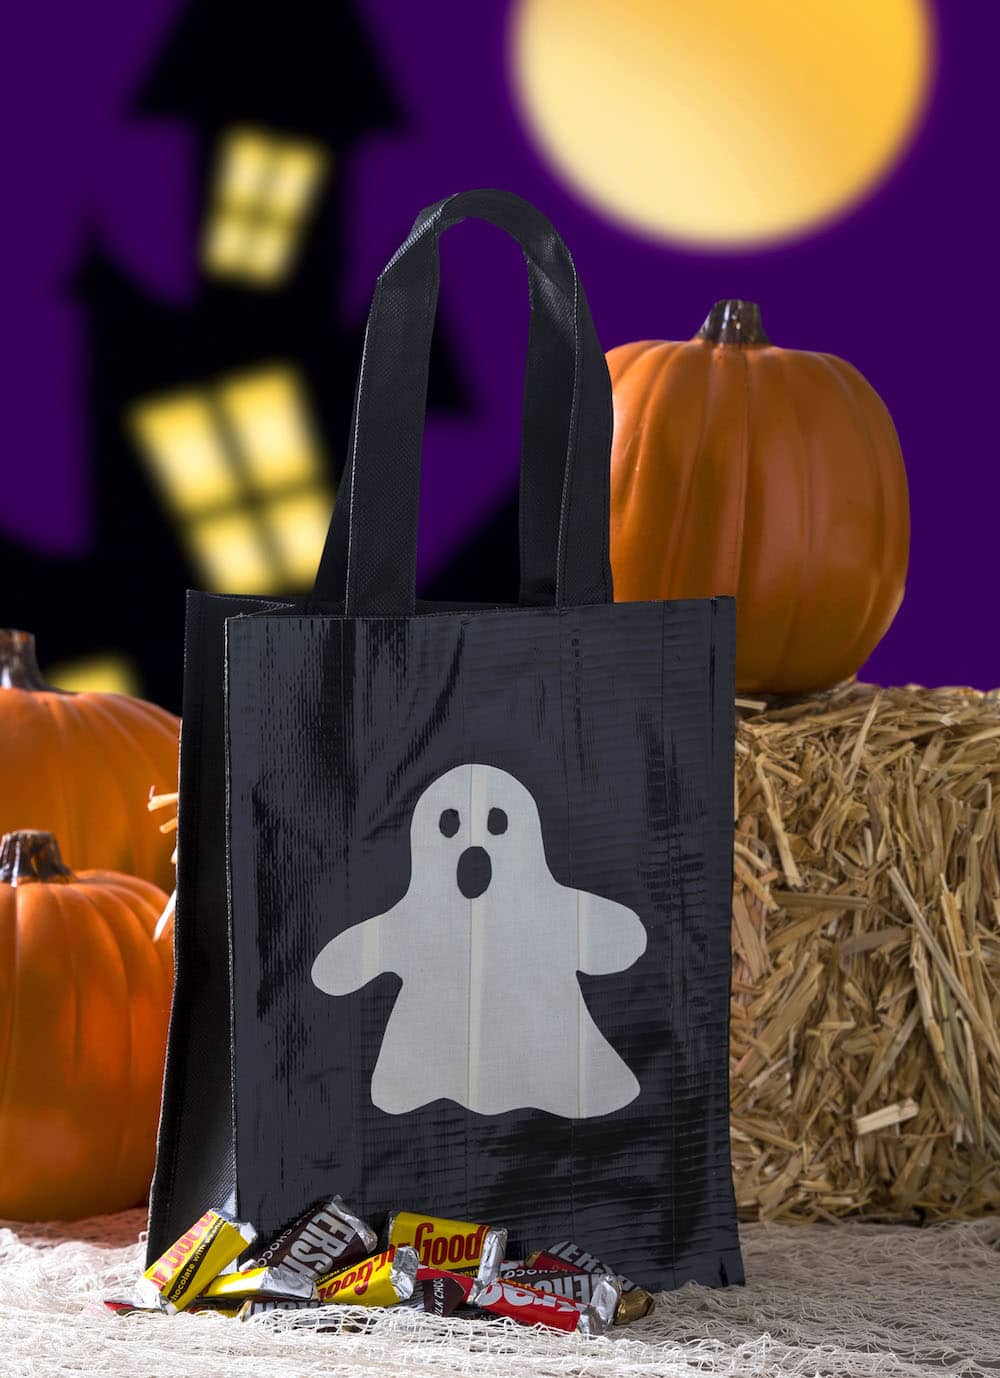
Admire your handiwork . . .
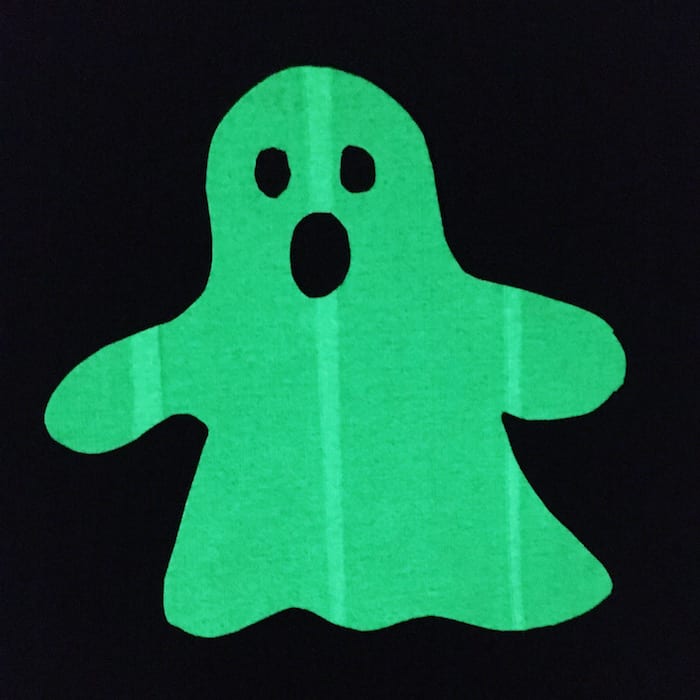
and admire the glow! This is a picture I took with my cell phone – unedited – after I charged the bag in the (bright) sun for a few minutes. Cool, right?
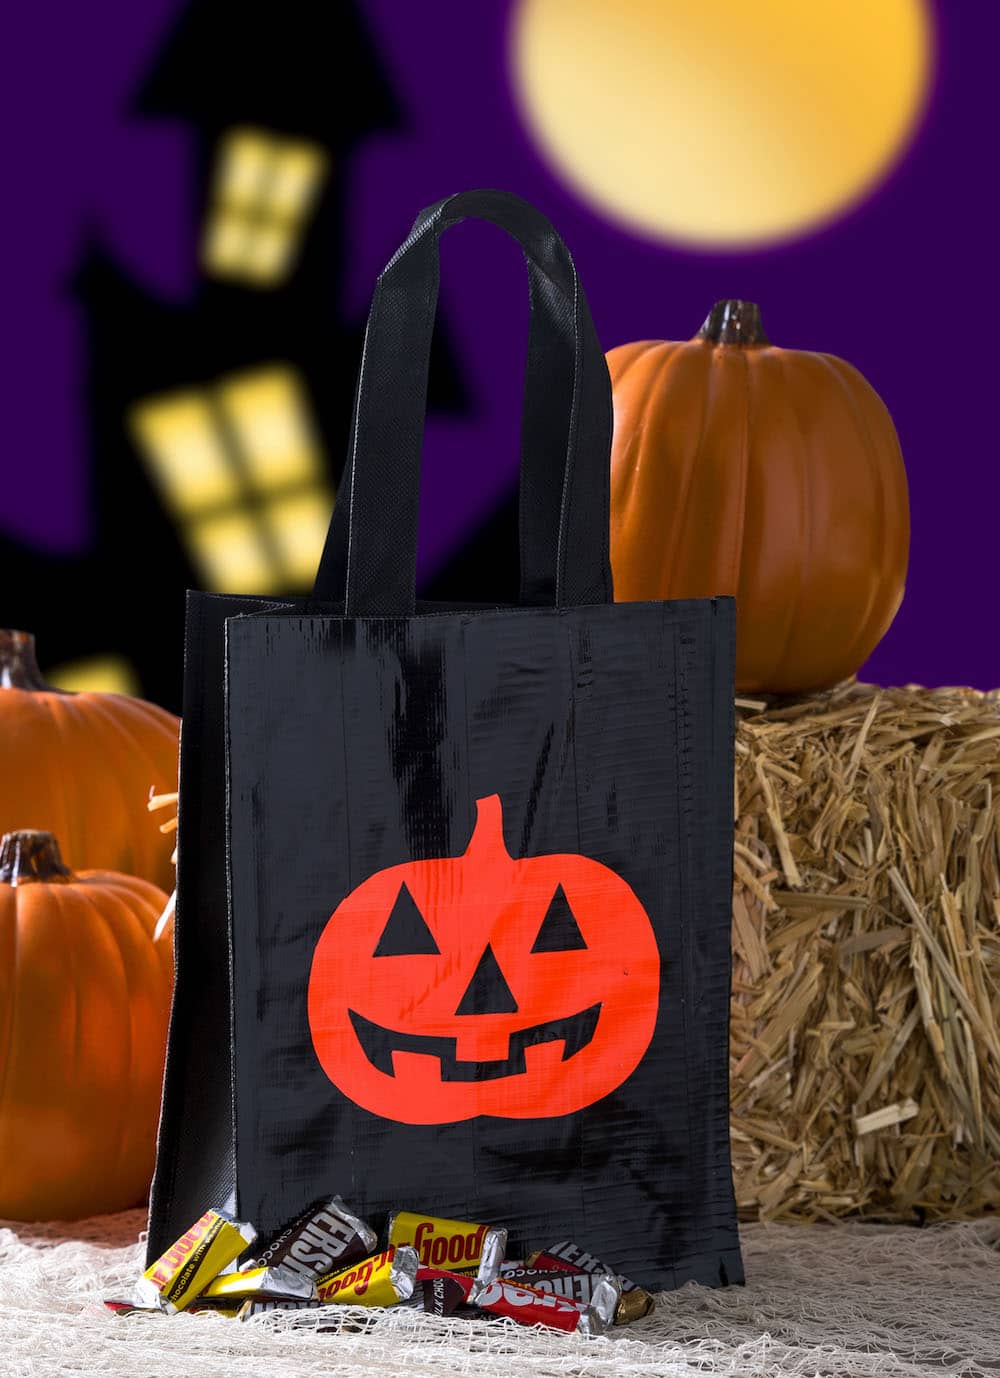
I think this is such a great Halloween craft for kids. Are you ready to make your own DIY trick or treat bag with Duck Tape? Let me know in the comments!
I’d also love for you to check out these other Halloween projects, when you have a chance:





Omg tysm for this awesome idea I still go truck or treating at 35 with my now 15 yr old daughter thank goodness we have neighborhood that gives to adults without being mean with exception to one house they give but are mean you they were to me a few years ago when I was Snow White I’ll be it a long haired over weight version but one little girl really thought I was her and her daddy and I didn’t tell her any different she was like 5 anyway will hr she ra this year list a kit of weight 🙂 will be making our own bags too thanks to you I love duck tape and all ye little projects you post i save lit of them 🙂
its really a lovely idea!!! and the tape is definitely amazing…. wish i could get my hands on it