Use old thrift store spoons, Mod Podge, and cute papers to make DIY plant markers your neighbors will be jealous of. These garden markers are so inexpensive and look so cute!
Skills Required: Beginner. Even if you’ve never crafted before, these will turn out fine. You’ll be hitting spoons with a hammer (fun!), spray painting, and Mod Podging.

I’m so jealous of those of you that have fabulous outdoor gardens. Sure, I love the place I live and my patio, but I wish I had a better garden for sure. Gardening, especially weeding, relaxes me – I feel accomplished.
I believe outdoor spaces are just an extension of your indoor spaces, so naturally I like to decorate outdoors as well. I remember from my childhood that my mom used to make garden markers out of old silverware, so I decided to try it myself (well, for some of my patio plants).
She used to etch in the metal somehow, but my “skillz” aren’t that advanced, so I just decided to improvise with Mod Podge Outdoor. I thought I could make a really cool recycled craft using spoons from the thrift store.
It’s perfect for decoupage projects that need to last in the sun and rain. So what I’m saying is, these will hold up for a long time.

I can I say, all I paid for was the spoons. The rest of the supplies were procured from stash diving. Whee!! Get the printable how to for this spring craft below.
DIY Garden Markers
Equipment
- Hammer
Materials
- 2 Spoons
- Mod Podge Outdoor
- Spray paint
- Scrapbook paper
- Stickers
Instructions
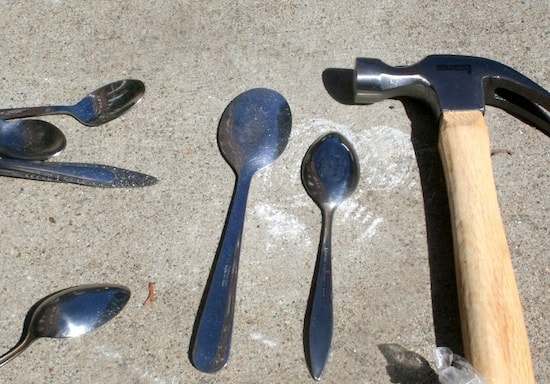
- This is a project all of your neighbors are sure to love! Go outside and hammer the spoons to flatten them (just the round end). It makes a loud pinging sound, which is pleasant. Better yet, do this at 2am.
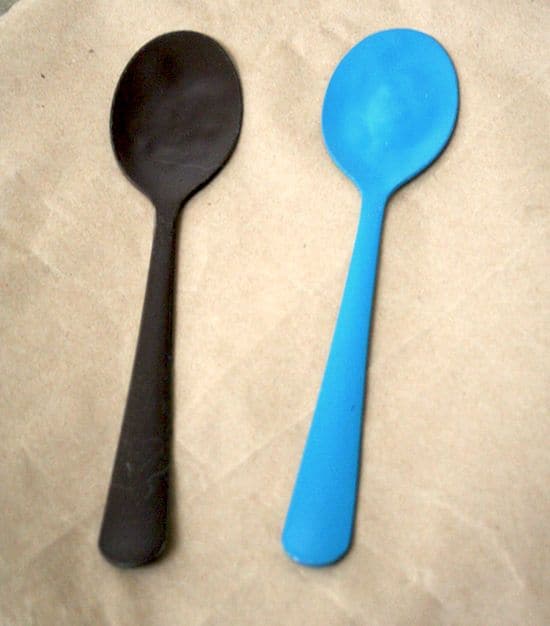
- Let the spoons out and spray with outdoor spray paint. Spray light coats until both sides are covered. Let dry.
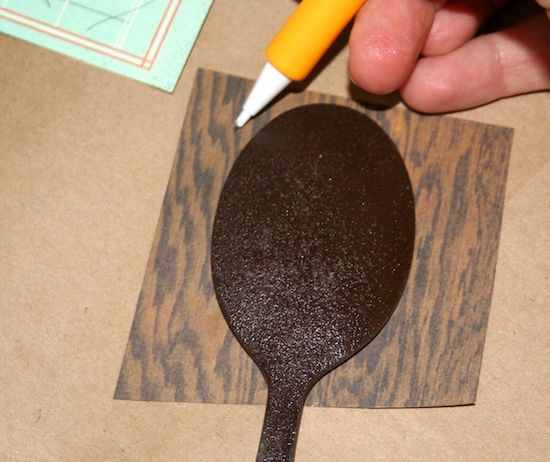
- Trace your garden markers onto some scrapbook paper.
- Cut out the paper to fit. I cut a little bit inside the pencil line so that some of the painted spoon could show around the edge.
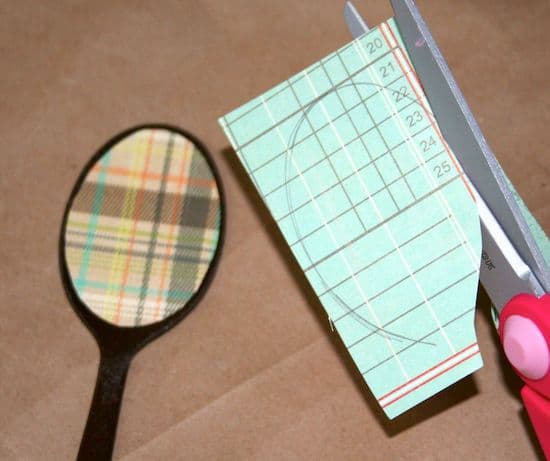
- Decoupage the paper to the spoons with Outdoor Mod Podge and let dry.
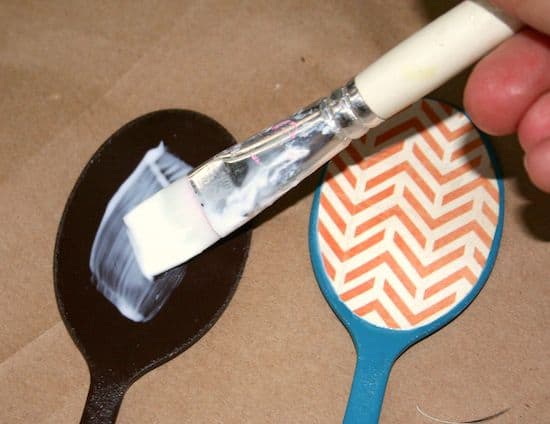
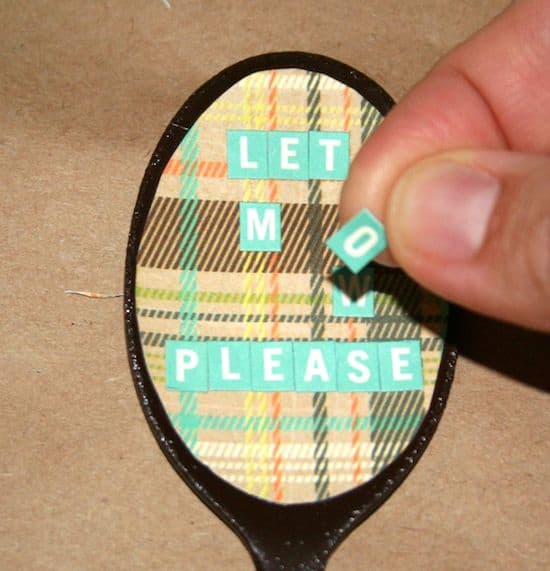
- Add any embellishments you like – adhesive letters in my case – and then paint a layer of Mod Podge Outdoor over the top. Give it several coats so it's really durable! Let dry for 24 hours before putting outside.
If you enjoyed this spring idea, I’d love for you to check out these other related crafts:




The spoons would be great to identify your plants with. I never keep the Information that come with them. My idea mark spoons ” romas, beefsteak, big boys.
Good idea!!