
Make mason jar centerpieces out of recycled jars – using tissue paper and Mod Podge! Grab items from your stash to make this project completely free.

I’m pleased to have Aimee from Fancy Little Things as a guest today to share her lovely tissue paper mason jar centerpieces. They are easy and pretty – and I love the addition of the stamps. Did I mention this is a great recycled craft idea?
I’ll let her share this party craft tutorial with you. Once you see it, you’re going to have to try making these lanterns immediately!
So, let’s get right to it . . . this past October was a darling little project in BH and G magazine that turned glass jars into jack-o-lanterns by adding tissue papers and some fun faces.
For some, this might have been a perfect addition to your Halloween decor – but for me, it inspired this.
This mason jar centerpiece is currently gracing my table and I couldn’t be more excited to share this simple project with you today! If you want to Mod Podge on glass, this is a perfect way to get started. Learn how to do it below.
Mason Jar Centerpieces
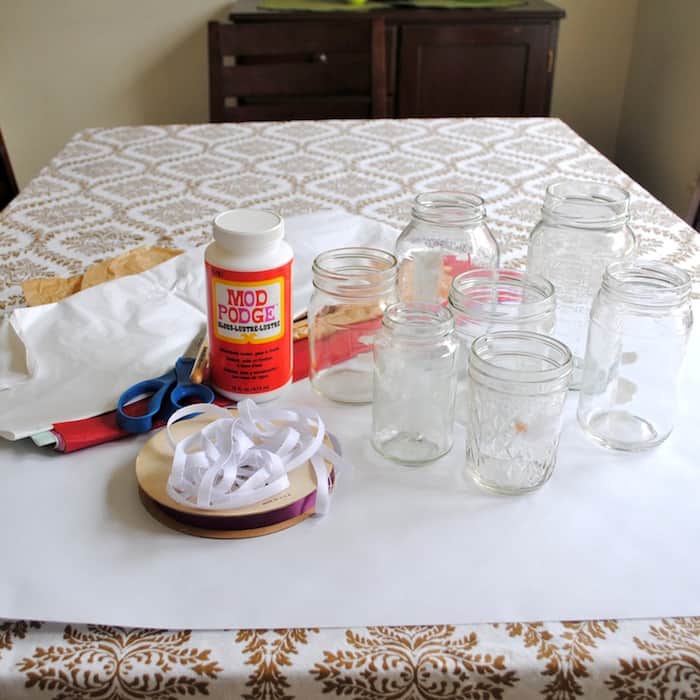
Gather These Supplies
- Glass jars {I used applesauce, jelly, salsa and jam jars}
- Tissue paper {brand new or recycled}
- Mod Podge Gloss
- Ribbon
- Stamps and ink (visit this article to see which inks work well with Mod Podge and don’t smear!)
- Scissors
- Paintbrush
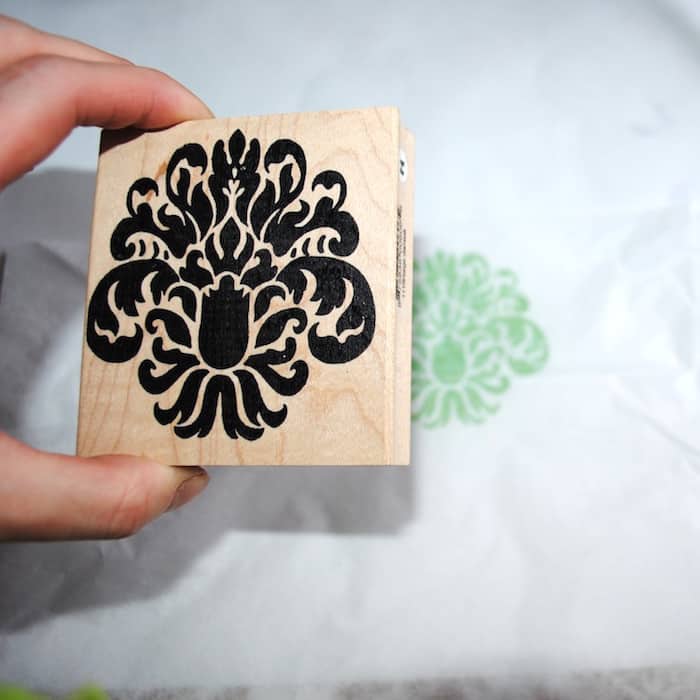
Step 1: Cut your tissue paper to size to wrap around your first jar . . . and in my case, I stamped a few green designs.
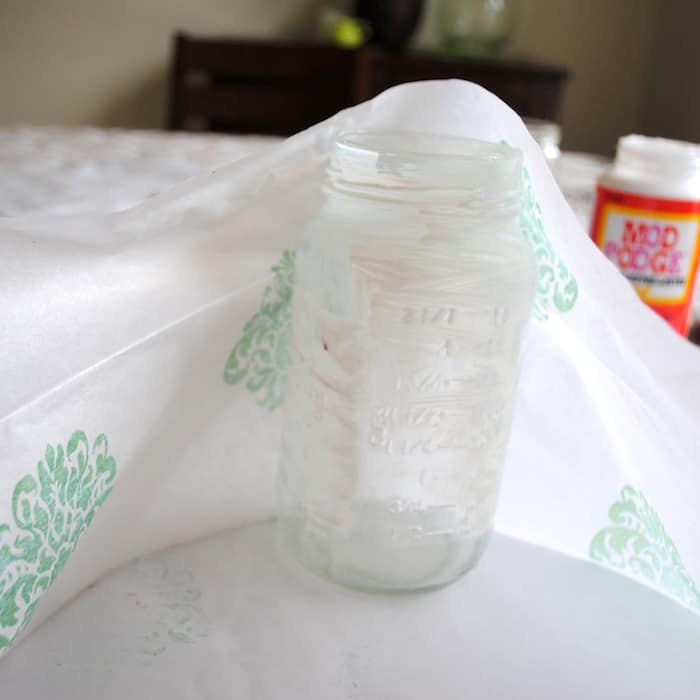
Step 2: Using a brush, cover the jar with a thin layer of Mod Podge and begin wrapping the pre-cut paper around the jar.
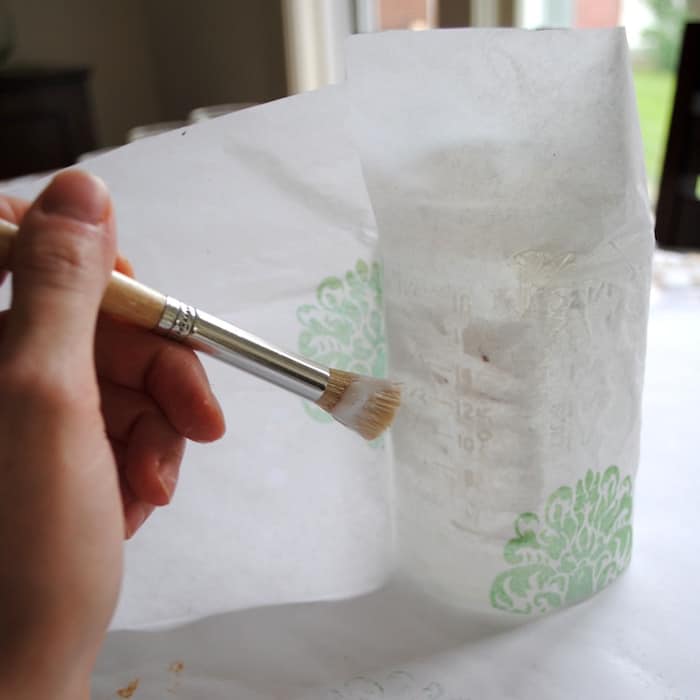
Step 3: Keep your brush full of Mod Podge and begin “painting” the glue on as your adhering the paper ensuring that the paper is completely damp as you’re wrapping . . .

Step 4: Let the jar dry completely while you cover your next one!
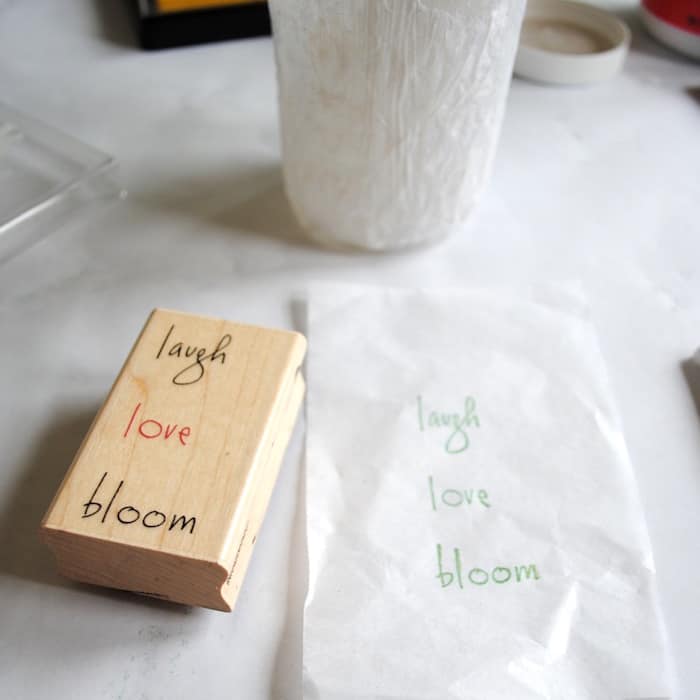
Step 5: Repeat . . . the second time I covered the whole jar in plain white paper and then added a saying on the front.
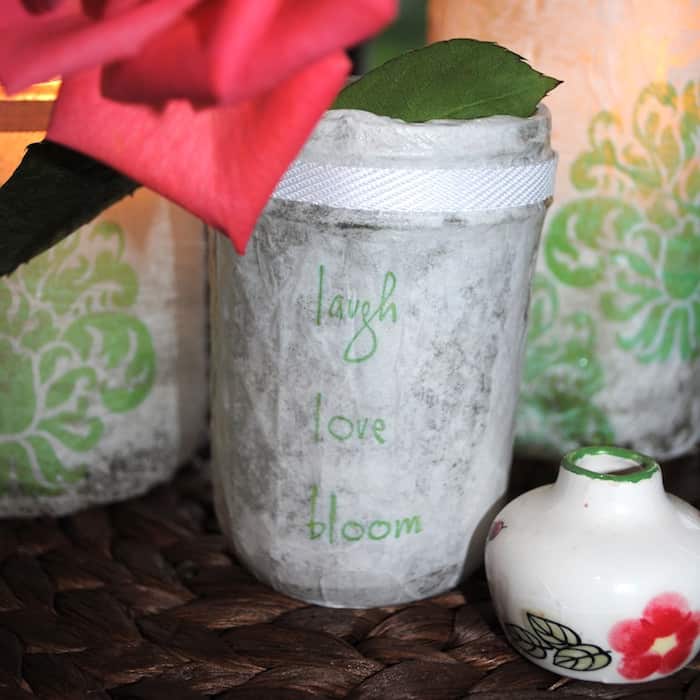
Step 6: I added a bit of white ribbon around the tops of each jar to finish them off – be creative with your ribbon color. These tissue paper mason jar centerpieces would be perfect for a wedding or party!
So, every time you wash out a glass jar to recycle this week, decide if you can fit a tea light or small candle inside — if so, grab some tissue paper and some brush-on glue and make your own mason jar centerpieces. I dare you to be creative!
Don’t forget to visit Aimee on her blog Fancy Little Things – also check out these other posts I think you’re going to enjoy:


Love this! I’m going to do this NOW for a Halloween baby shower I’m hosting.
these are beautiful! cute blog!
http://www.sultanassanctuary.blogspot.com
GORGEOUS!! I love the stamped paper! That’s a fantastic idea!!! 🙂
@Lisa, because the project is so cheap & easy to make, I did add water and then when you’re done, just make a new jar! I didn’t add any paper or glue to the inside of the jar other than tucking it over the lip about a 1/4 of an inch… and no, they are not washable!
Oh the stamped paper idea is great. Very pretty!!
Your photo shows a rose in your jar…Is there water in it? When finished, are these “waterproof”? I know you wouldn’t want to throw them in the dishwasher but are they hand washable/rinseable? Thanks! I have tons of glass jars and bottle of all shapes and sizes and I am so inspired to make some of these!
These are so cute! 🙂 I have a ton of pint size mason jars I was making redneck wine glasses from, but now I have to make some of these!