Decorate a paper mache tree for the holiday season! This Christmas tree was made with doilies, paint, and Mod Podge. It’s REALLY easy!
Skills Required: Beginner. It helps to have experience with Mod Podge to avoid wrinkles in the dollies. I will say I have a few wrinkles of mine and it just adds to the product.
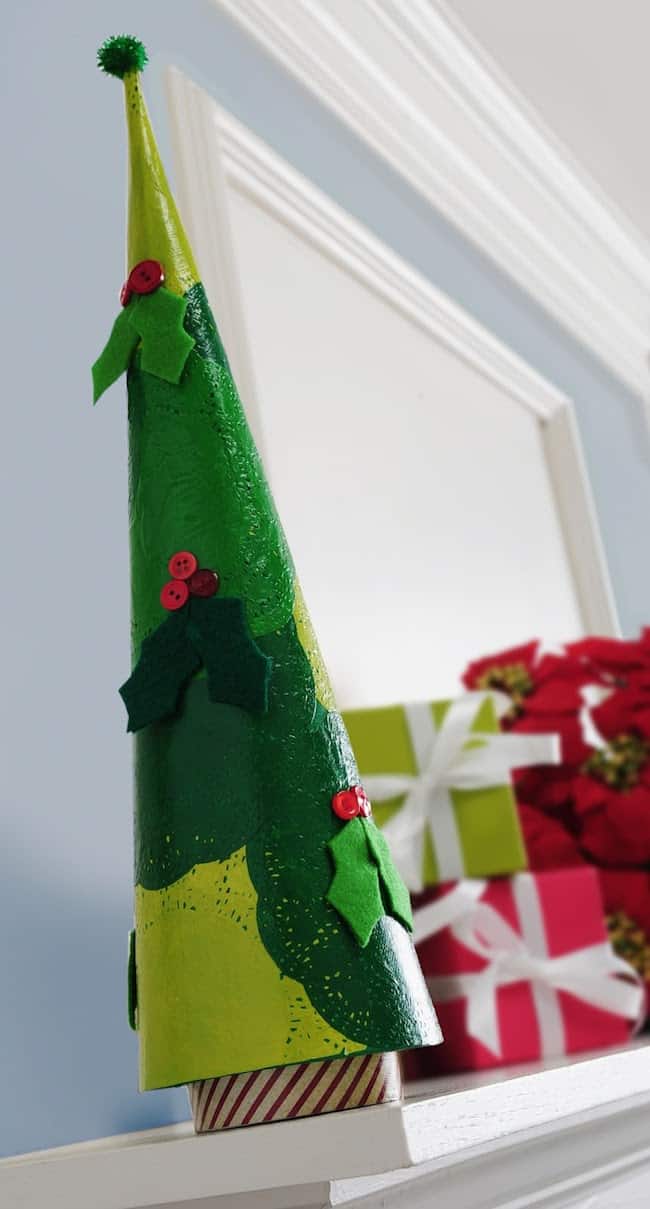
I’m not even close to finished crafting with paper doilies. It could be because I have so many, but it’s also because they are cute and easy to Mod Podge. I always love the results I get with them, and so I decided to take Christmas crafting to the next level by decorating a paper mache tree.
It reminds me of Whoville, which is really where I want to live, especially during the holidays. This tree is easy to create, so you could definitely bust one out this weekend. You can also do a winter version that stays past Christmas. Here’s how I made this homemade Christmas decor.
Decorate a Paper Mache Tree for Christmas
Gather These Supplies
- Paper Mache Tree with Base – mine is from Hobby Lobby
- Paper doilies
- FolkArt Acrylic Paint – Bright Green, Holly Leaf, Kelly Green, Titanium White, Yellow Citron
- Mod Podge Gloss
- Felt in two shades of green – you can use small scraps
- Peppermint striped scrapbook paper – a strip to cover the base
- Sparkle pom pom for the top of the tree
- Red buttons – about 12
- Craft knife and mat or scissors
- Craft glue
- Paintbrush

Paint the cone tree Kelly Green. You need a base color because the doilies have holes, and you don’t want to see paper mache through them. Allow the cone to dry.
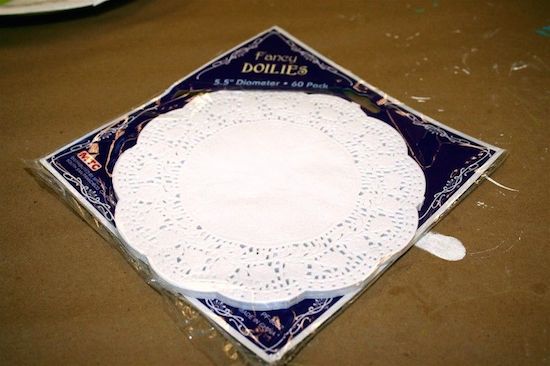
Here are the paper doilies are used – note that they are “fancy” doilies. I guess this is opposed to non-fancy doilies? They are paper and you can get them for cheap at a dollar store or party supply store.
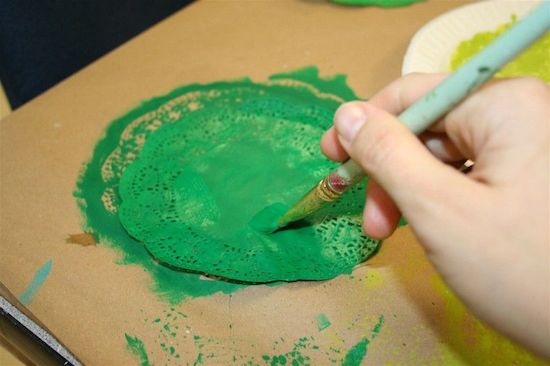
Paint several of the doilies with your other shades of green; give several coats and allow to dry.
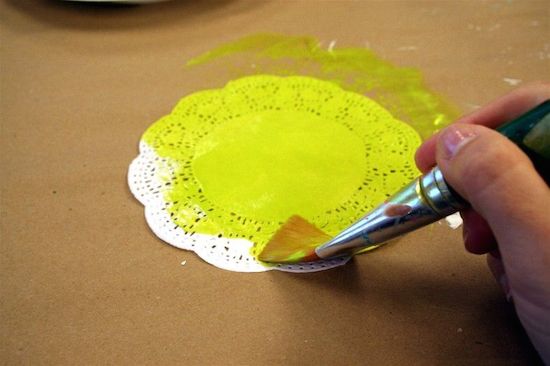
I added some Yellow Citron doilies because it’s a great color, and it complements well the other shades of green. It also adds the Cindy-lou-who touch that I’m going for.
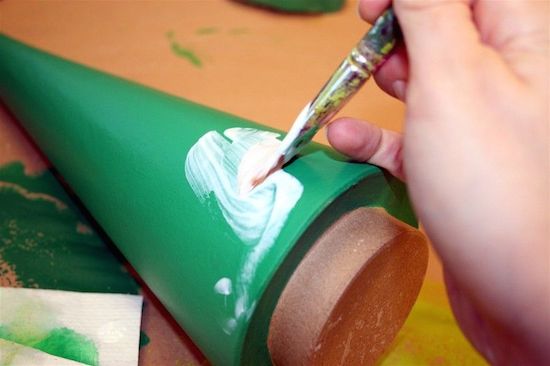
Add Mod Podge to the tree (a medium layer), and smooth your doilies flat onto the surface. Work with one doily at a time. I would smooth each doily thoroughly and allow to dry for several minutes before adding another doily layer, or you are going to get major wrinkles.
Once all your doilies are layered, allow the project to dry for 15 – 20 minutes.
Note that on the top Yellow Citron doily, I had to trim it with my craft knife so that it only wrapped around once and not several times. The top is skinny!
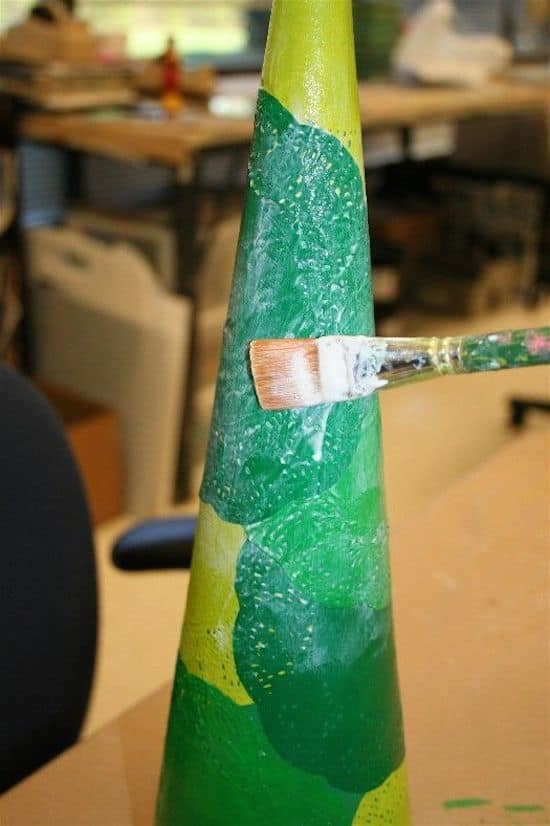
Give the entire doily tree a coat of Mod Podge. Allow to dry and give another coat. When the tree is completely dry, trim the doilies that overlap the base of the tree.
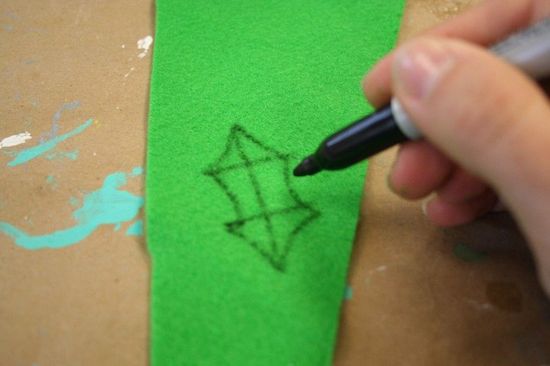
Use the special “double-cross” method to draw some holly leaves on the back of your felt. Draw a straight line and two cross lines, then add the swoops of the holly leaves to finish. Cut these out.
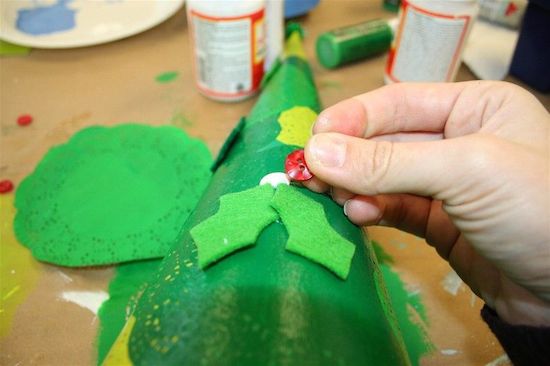
Glue the leaves, buttons and sparkle pom pom topper onto the tree with craft glue. Allow to dry.
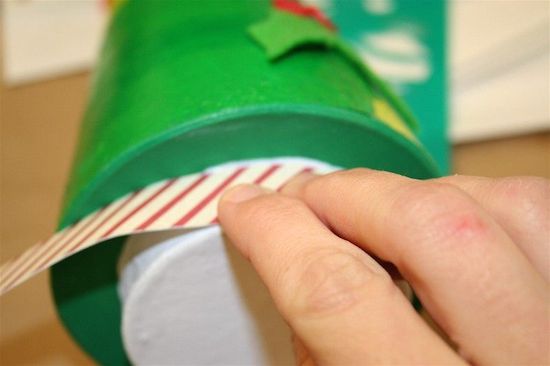
My friend Holli and I eyeballed the tree and I asked her for suggestions on the base. Knowing me and my Whoville ways, she suggested striped paper! Brilliant.
I painted the base of the tree Titanium White, cut a strip of striped paper and then Mod Podged it on. Done and done.

After having decorated my first paper mache tree, I’m off to make more. I can picture a winter one for sure, maybe even a Halloween one next year . . . hmmm . . . .
If you enjoyed decorating this paper mache tree for Christmas, you might also like these other projects:





Halloween cone tree? Awesome. I see a witchipoo hat….hmmm…
Cute and easy for little hands! Off to get my supplies now!!
OMG! that is just toooooo flipping cute!!! i love it!! and looks so simple too!!! thanks for the tutorial!
This is darling I can’t wait to try it!
Megan
I am so in love with this idea!
Ooh pretty! I love the doilies! Tanks so much, I’ll be linking.