
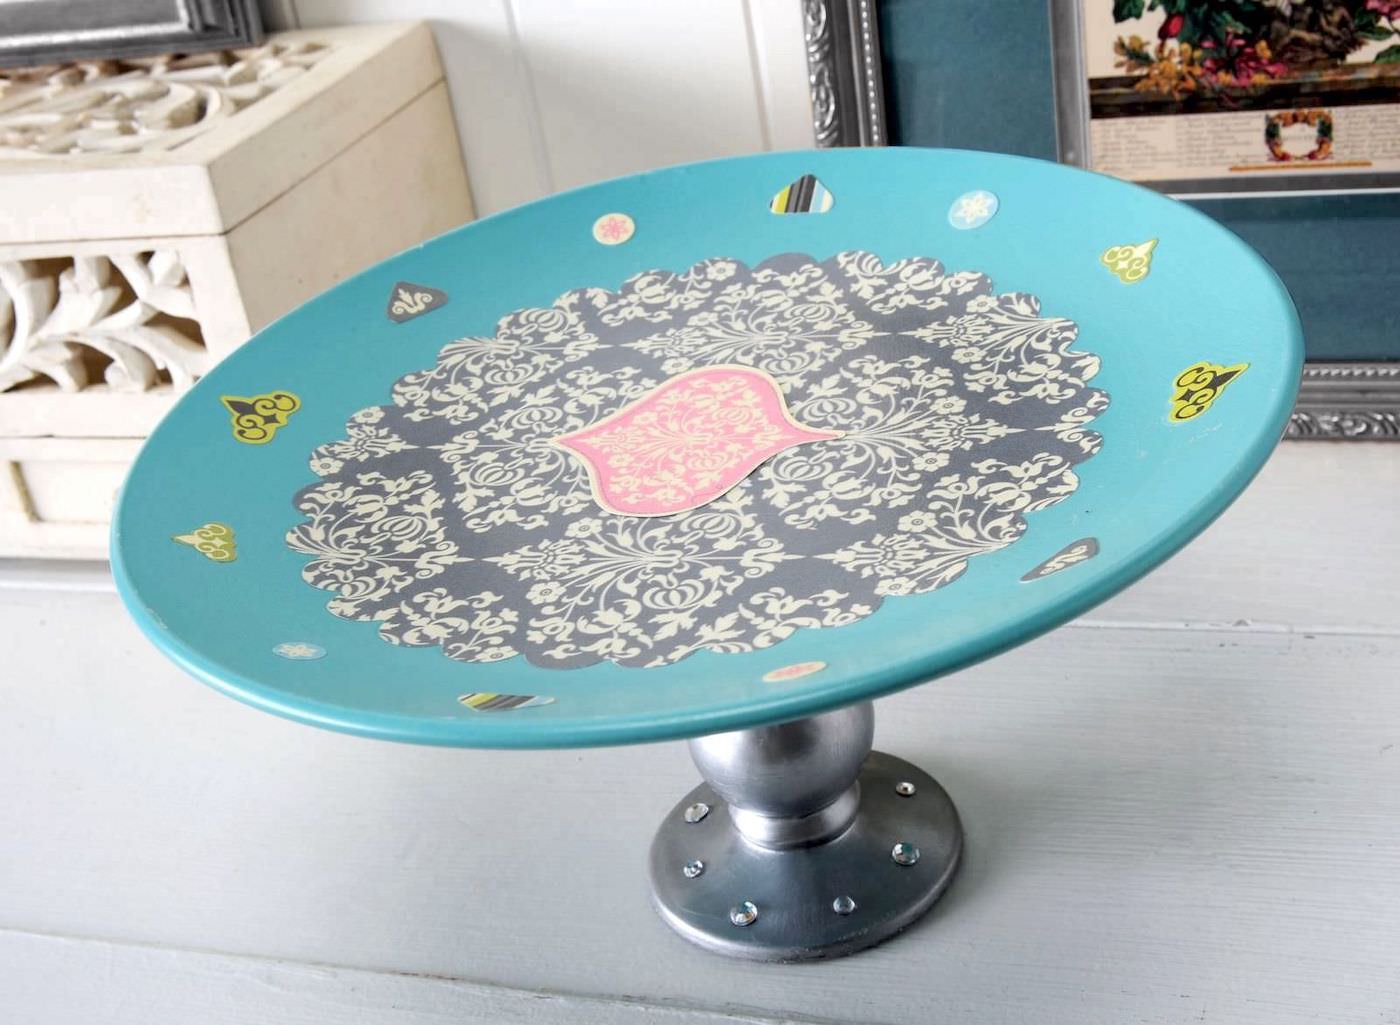
I created this DIY cake stand using a plate from the dollar store and an old candlestick. This is the perfect budget craft idea for a party!
Skills Required: Beginner. It’s a very easy project for those with basic crafting experience. You’ll be painting, gluing, and Mod Podging.
If you’ve ever shopped for cake stands, you know they can be surprisingly expensive. The good news? You can make a beautiful dollar store cake stand for just a few dollars using simple supplies and a little creativity.
What I love about this dollar store cake stand DIY is that it’s completely customizable. Choose any plate color, scrapbook paper pattern, paint finish, or embellishments to match your party theme, holiday decor, or special occasion.
Whether you’re hosting a birthday party, bridal shower, baby shower, or holiday gathering, this project adds a handmade touch without blowing your budget.
This easy DIY cake stand combines a dollar store plate with a candlestick base for an elevated look that feels much more expensive than it actually is. I went with vintage-inspired blue and silver tones, but you can create one in virtually any style.
The best part? It’s beginner-friendly. If you can paint, glue, and use Mod Podge, you can make this project in an afternoon.
Why You’ll Love This Dollar Store Cake Stand DIY
There are plenty of ways to make a cake stand, but this version is one of my favorites because it’s inexpensive, easy to personalize, and looks great on a dessert table.
Use your finished stand for:
- Birthday cakes
- Cupcakes and cookies
- Brownies and dessert bars
- Tea party treats
- Holiday desserts
- Bridal and baby shower displays
You don’t even have to stop at desserts. This DIY cake stand also works beautifully for displaying candles, seasonal decorations, small plants, or decorative accents around your home.
Because the plate is decorated with paper and Mod Podge, I recommend placing a cake doily or clear plate underneath food before serving. That keeps your stand looking great and helps protect the finish for future parties.
Dollar Store Cake Stand DIY FAQs
Can I use a plate and candlestick from Dollar Tree?
Yes! In fact, this project is perfect for mixing and matching inexpensive dollar store finds. Look for sturdy plates and glass candlesticks that have a flat surface for gluing.
What glue works best?
I recommend E-6000 because it creates a strong bond between the plate and candlestick base. Be sure to allow it to cure completely before using the stand.
Can I customize the design?
Absolutely. That’s one of the best things about this dollar store cake stand DIY. Use different paint colors, patterned paper, rhinestones, vinyl decals, or seasonal embellishments to create a unique look.
Can I put food directly on the cake stand?
Since the decorative elements are decoupaged onto the plate, it’s best to place a cake doily, parchment paper, or clear serving plate between the food and the stand.
Get the easy how to below!

DIY Cake Stand
Equipment
- Circle cutter (optional)
- Scalloped scissors (optional)
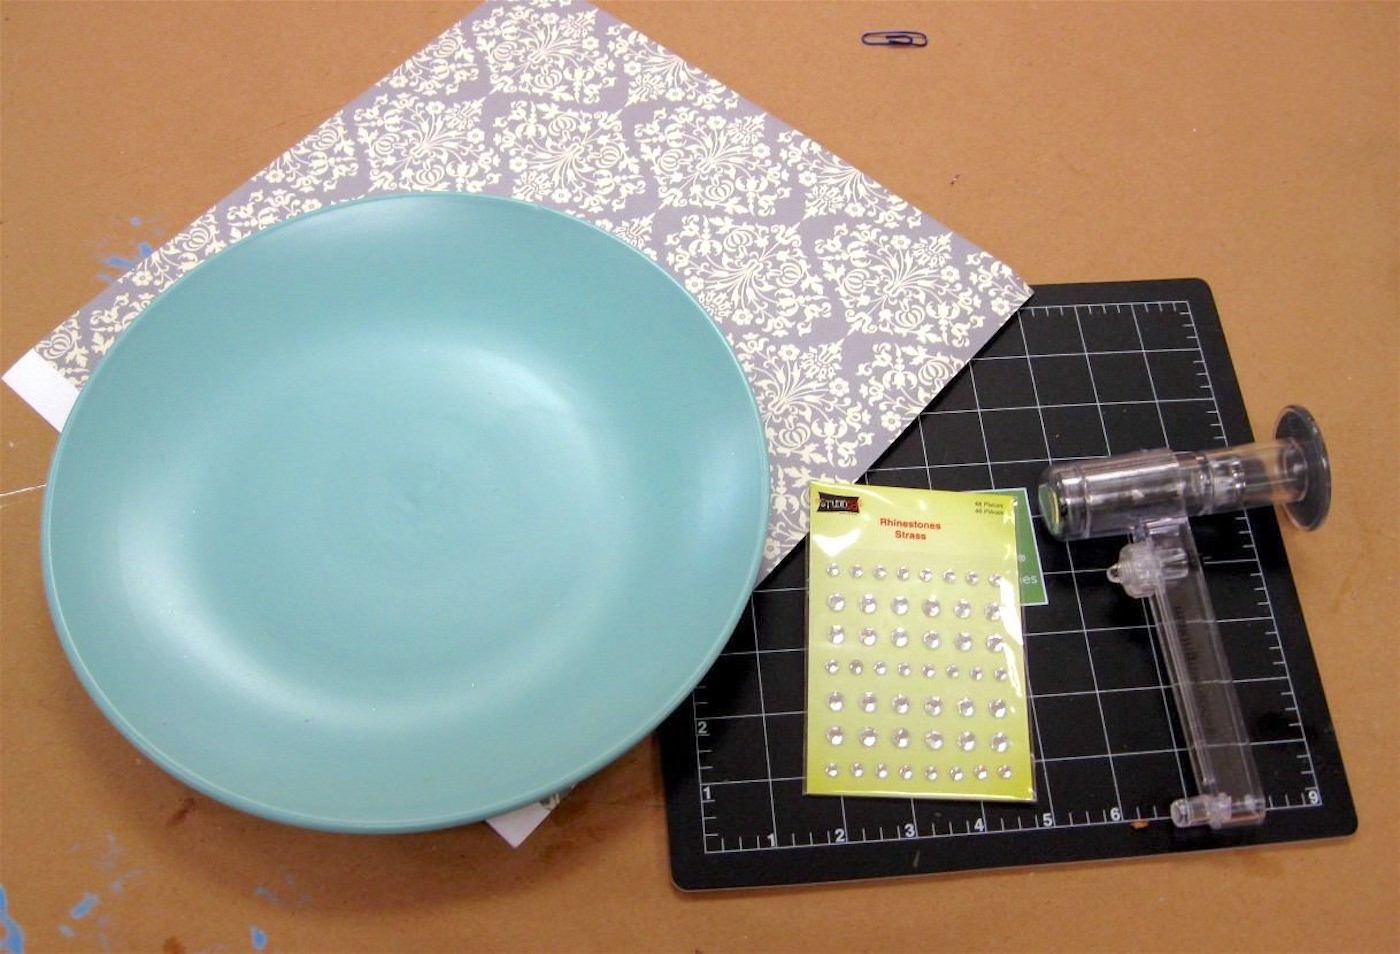
Materials
- 1 Plate 11"
- Mod Podge
- FolkArt Enamel paint I used metallic silver
- Candleholder
- Scrapbook paper
- E-6000
- Clear rhinestones
Instructions
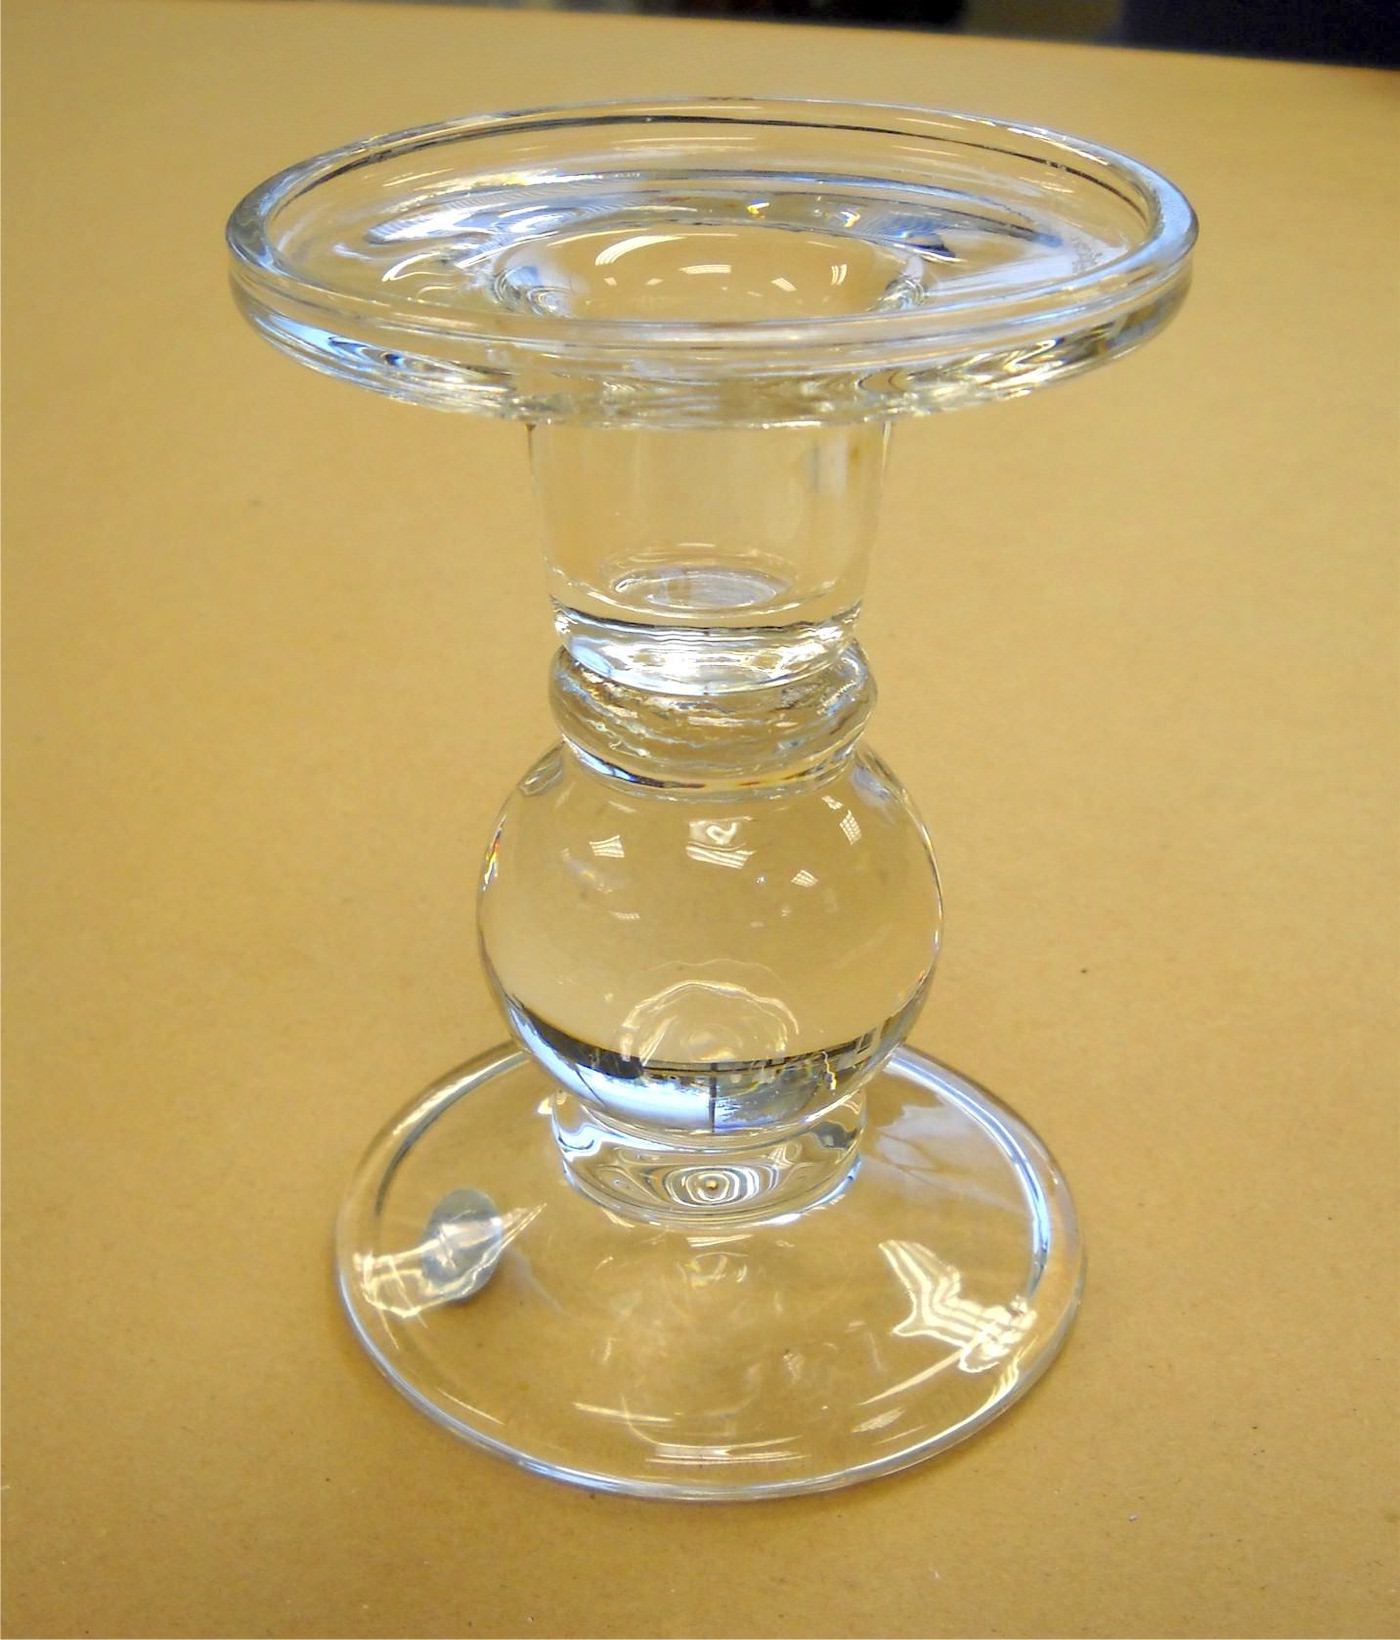
- Clean the glass candlestick with mild soap and water or rubbing alcohol and cotton pads. Let dry.
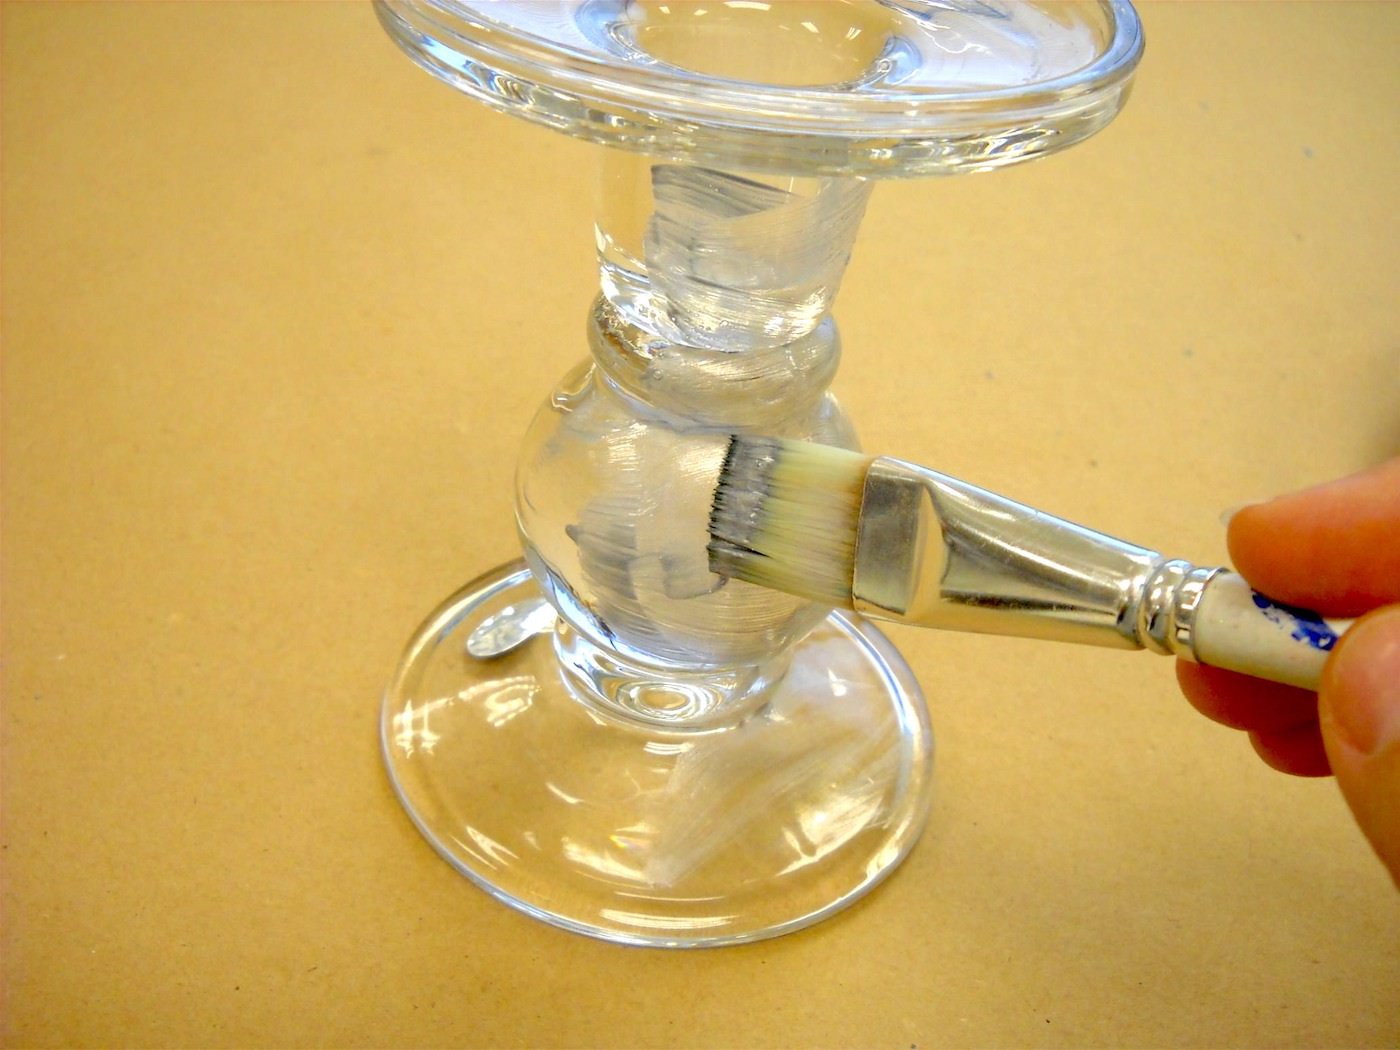
- Paint the candlestick using glass paint. Give several coats until desired color is reached, letting dry between coats. Set aside to dry.
- Cut paper to fit the center of the plate, including embellishments for the edges.
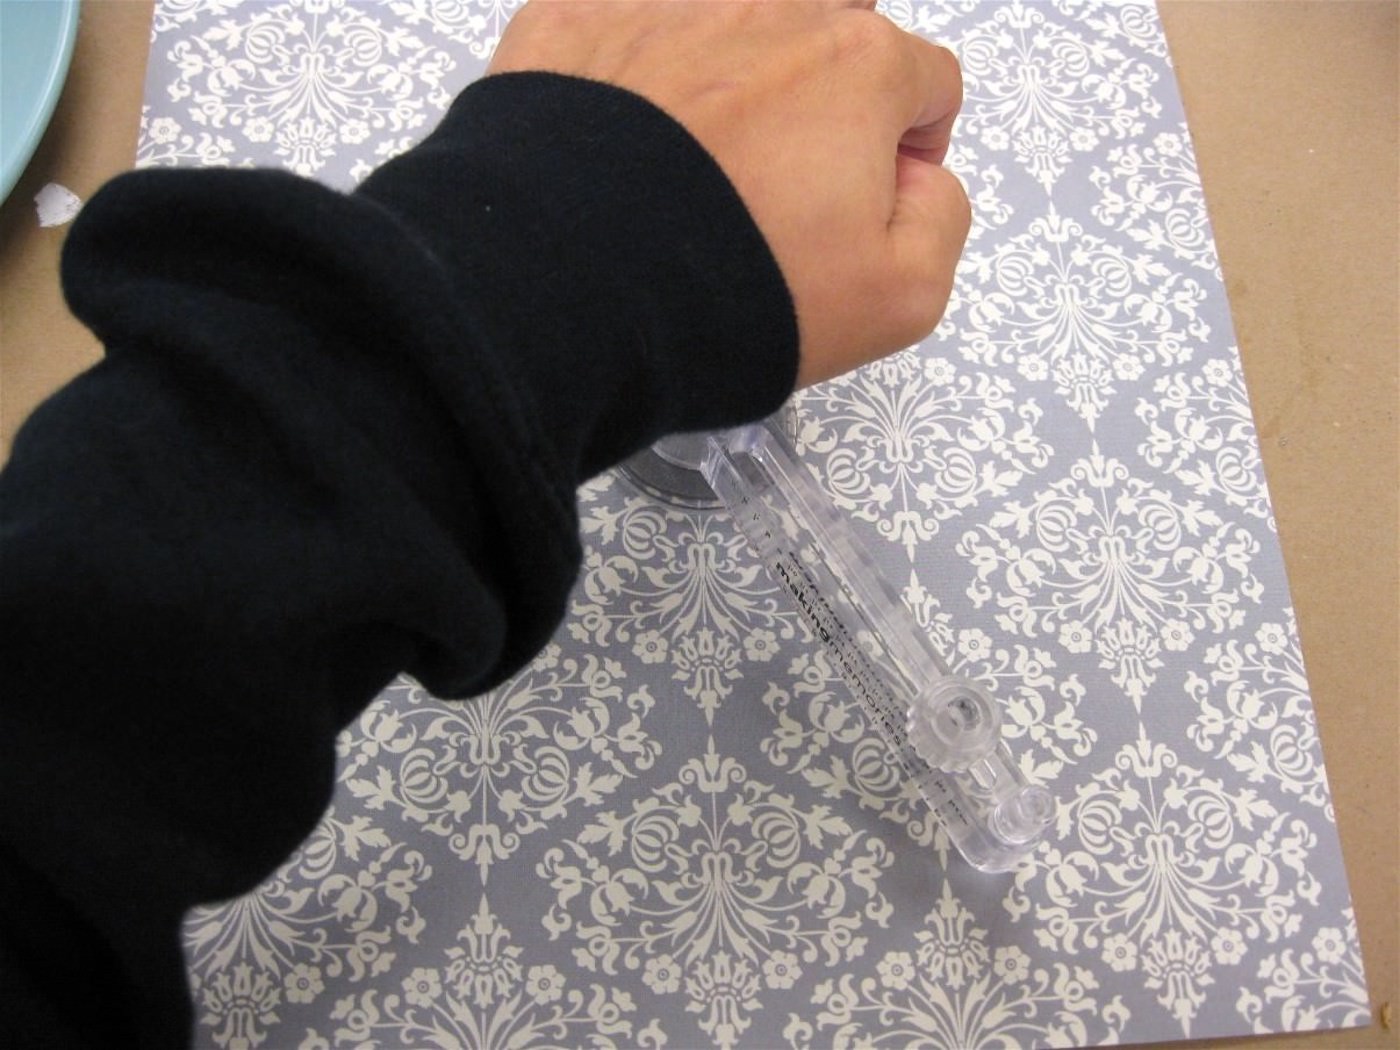
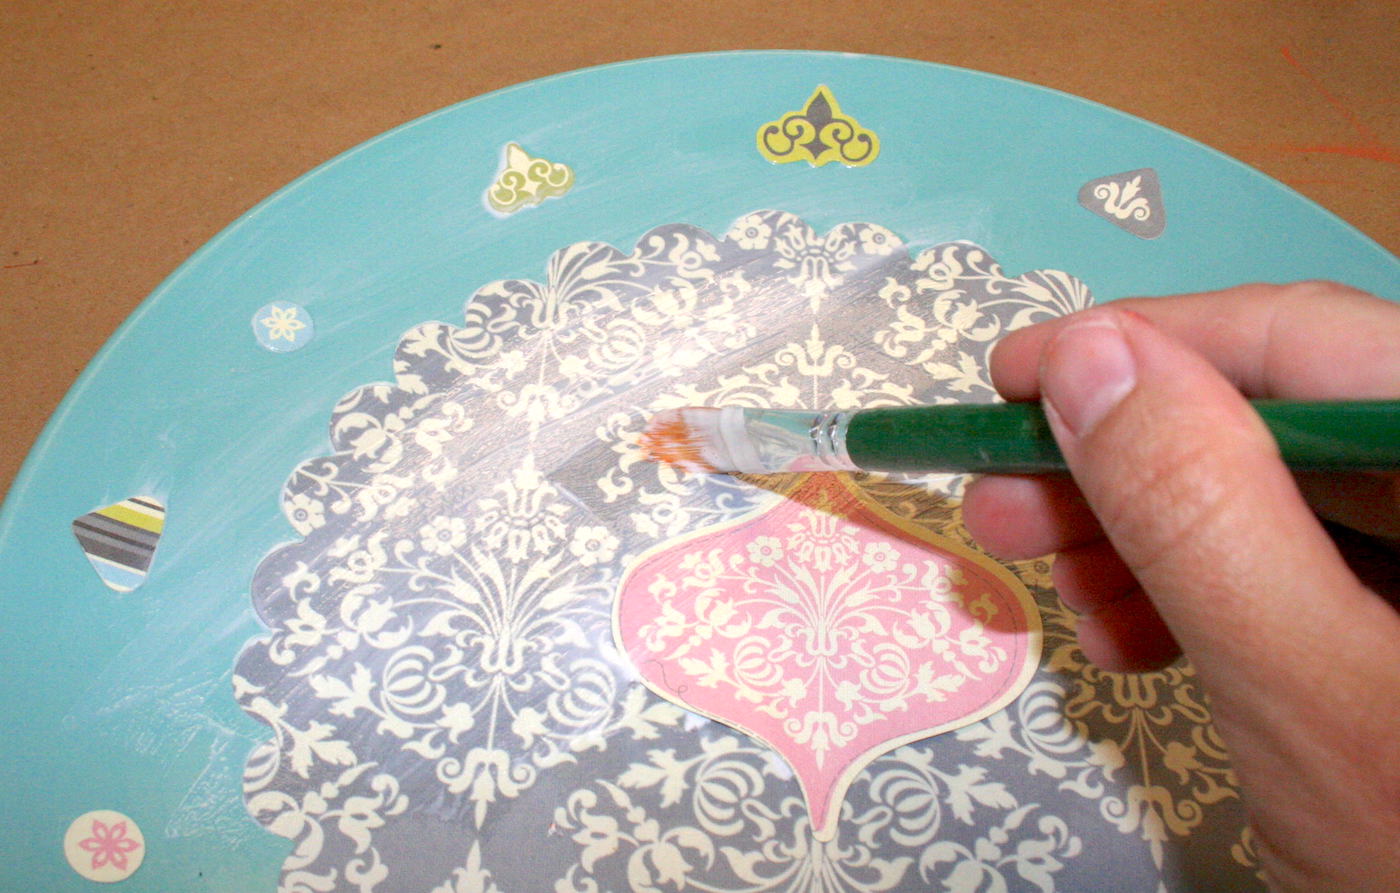
- Add Mod Podge to the back of the paper and then smooth onto the plate. Repeat with the embellishments. Let dry for 15-20 minutes.
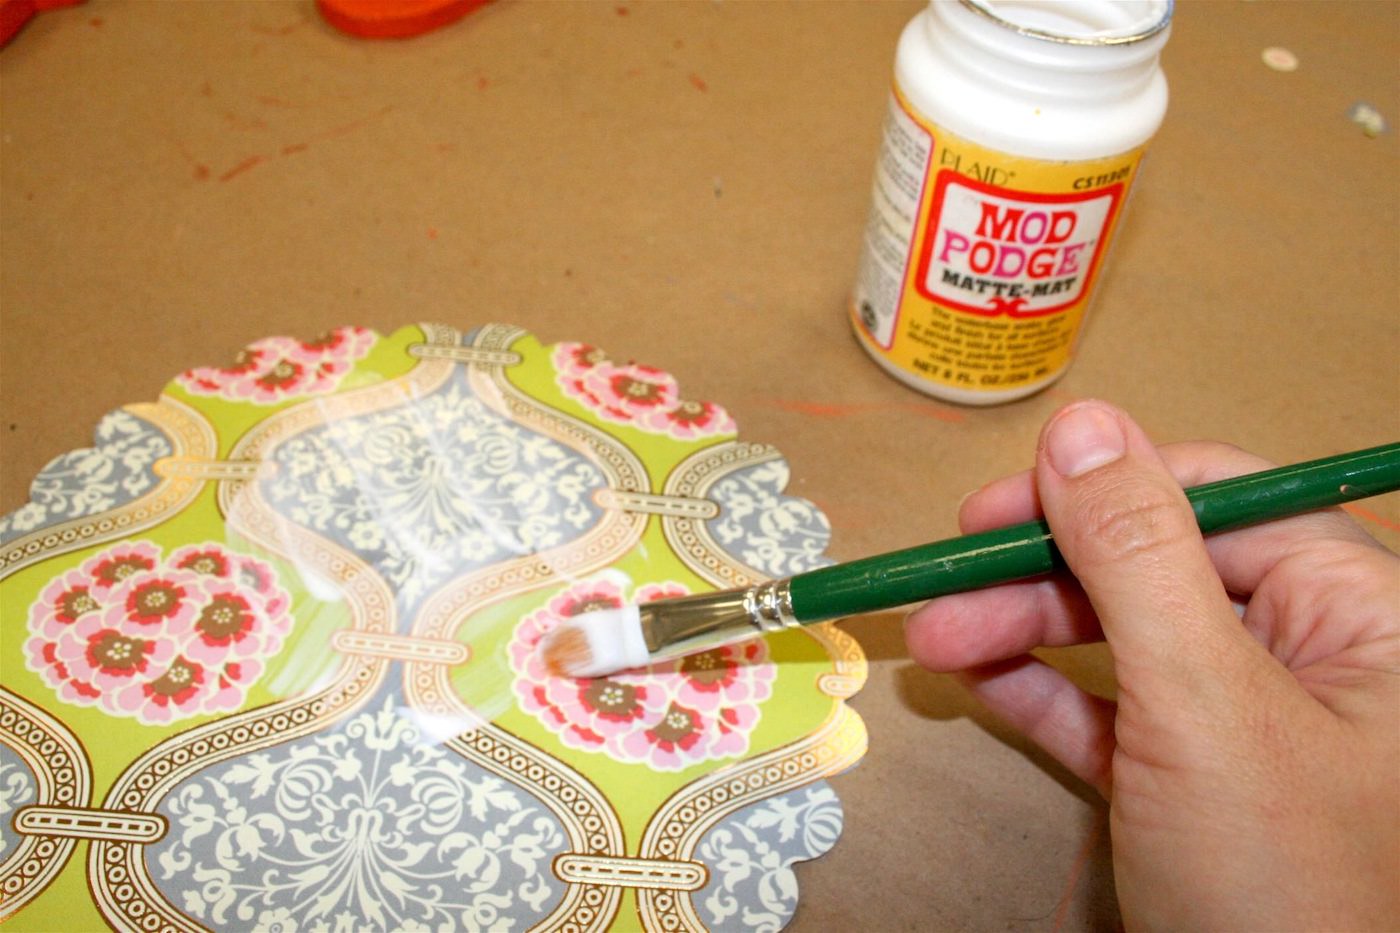
- Coat the top of the plate with Mod Podge. Let dry.
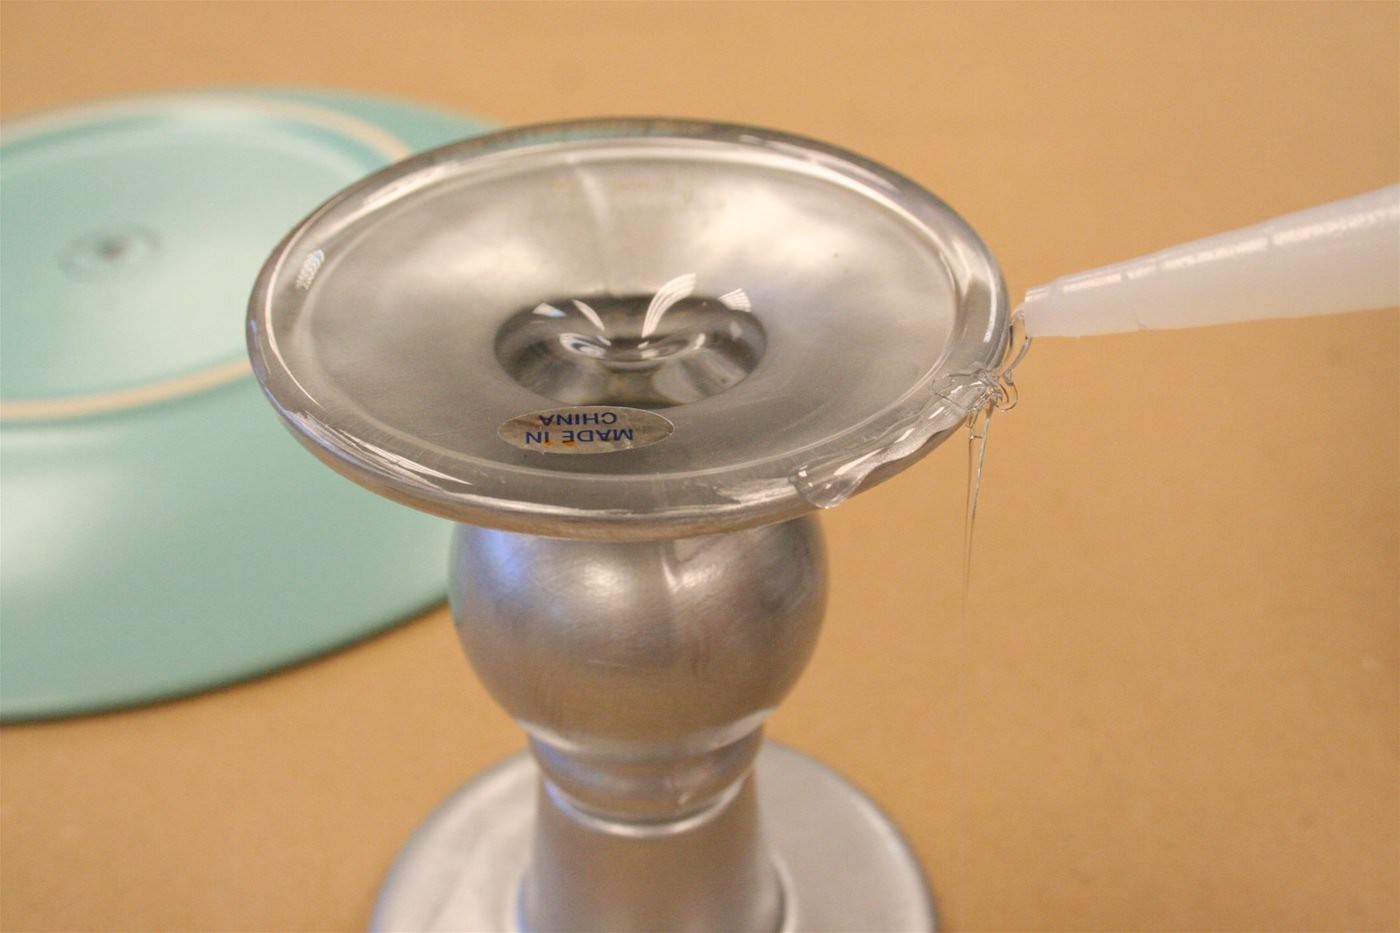
- Glue the plate to the top of the candlestick using the E-6000. Add a bead of glue to the edge, press the candlestick down in the middle of the bottom of the plate, and let dry.
- Add rhinestones to bling the base using E-6000 if desired. Let dry completely before using.
Notes
Let me know what you think of this project in the comments! I’d also love for you to check out these other party posts:
Confetti Candle Holders • Confetti Coasters • Confetti Tray • Decorate Plates • DIY Cake Pop Stand • DIY Cupcake Stand • DIY Drink Stirrers • DIY Food Picks • DIY Glitter Glasses • DIY Place Cards • DIY Wine Charms • Glitter Candles • Glitter Candle Holders • Glitter Champagne Bottles


Can this plate be washed, or will the modge podge wash off?
No, it can’t be submerged in water. That is another reason to use a clear glass plate on top. Then you can wash that 😀