
DIY Cake Stand
Learn how to make a dollar store cake stand DIY with inexpensive items! This is easy and you can customize it for any celebration.
Yield: 1 stand
Cost: $3
Equipment
- Circle cutter (optional)
- Scalloped scissors (optional)
Materials
- 1 Plate 11"
- Mod Podge
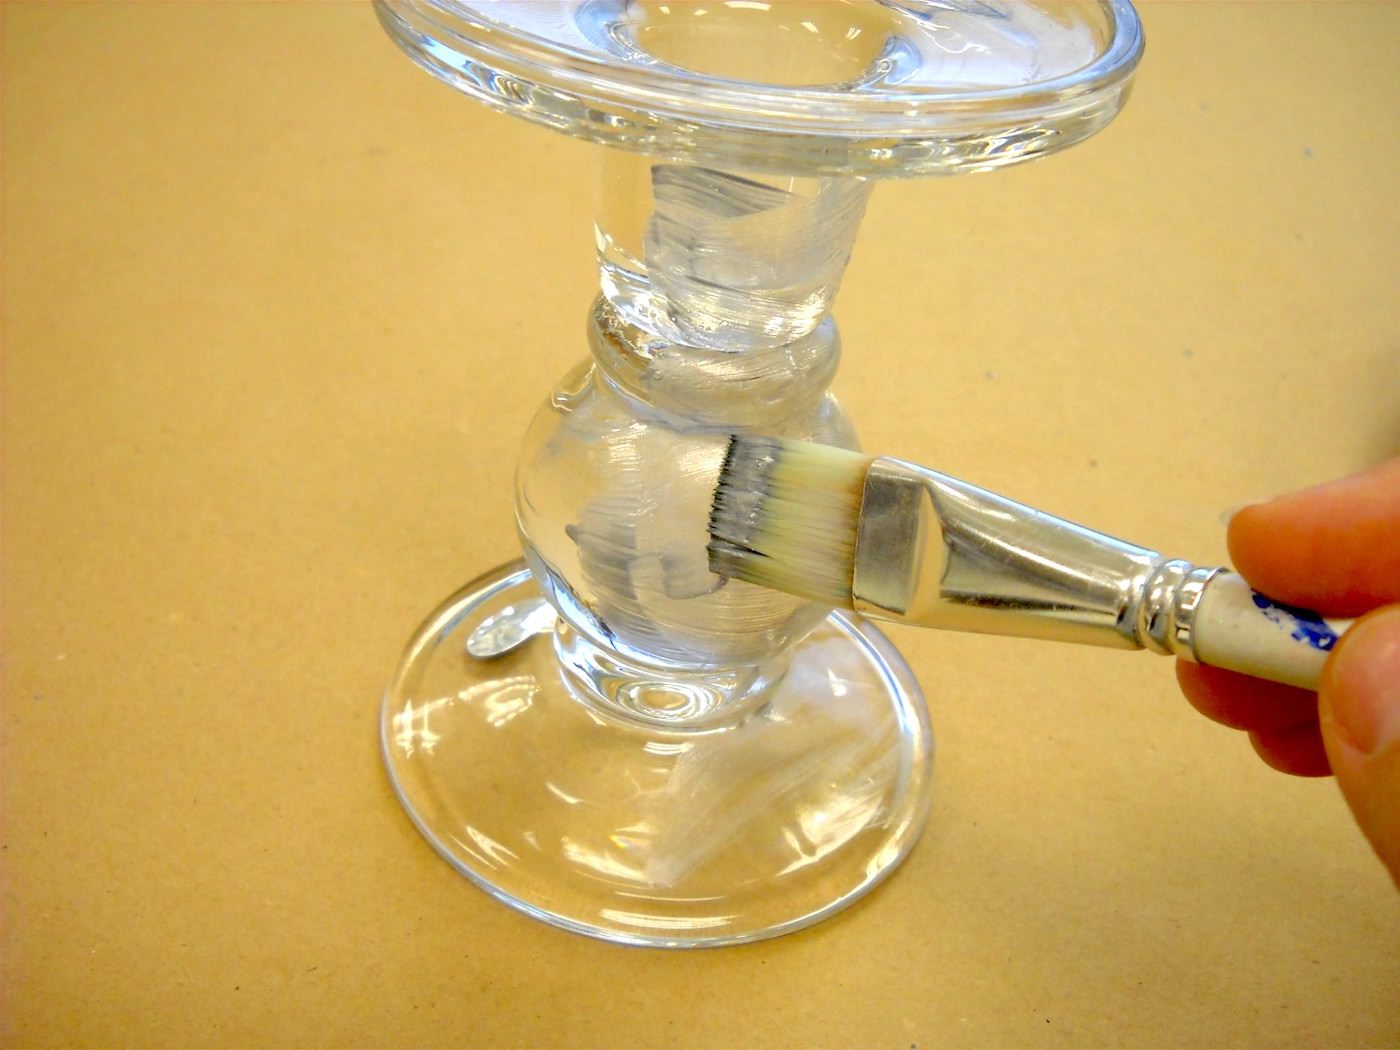
- FolkArt Enamel paint I used metallic silver
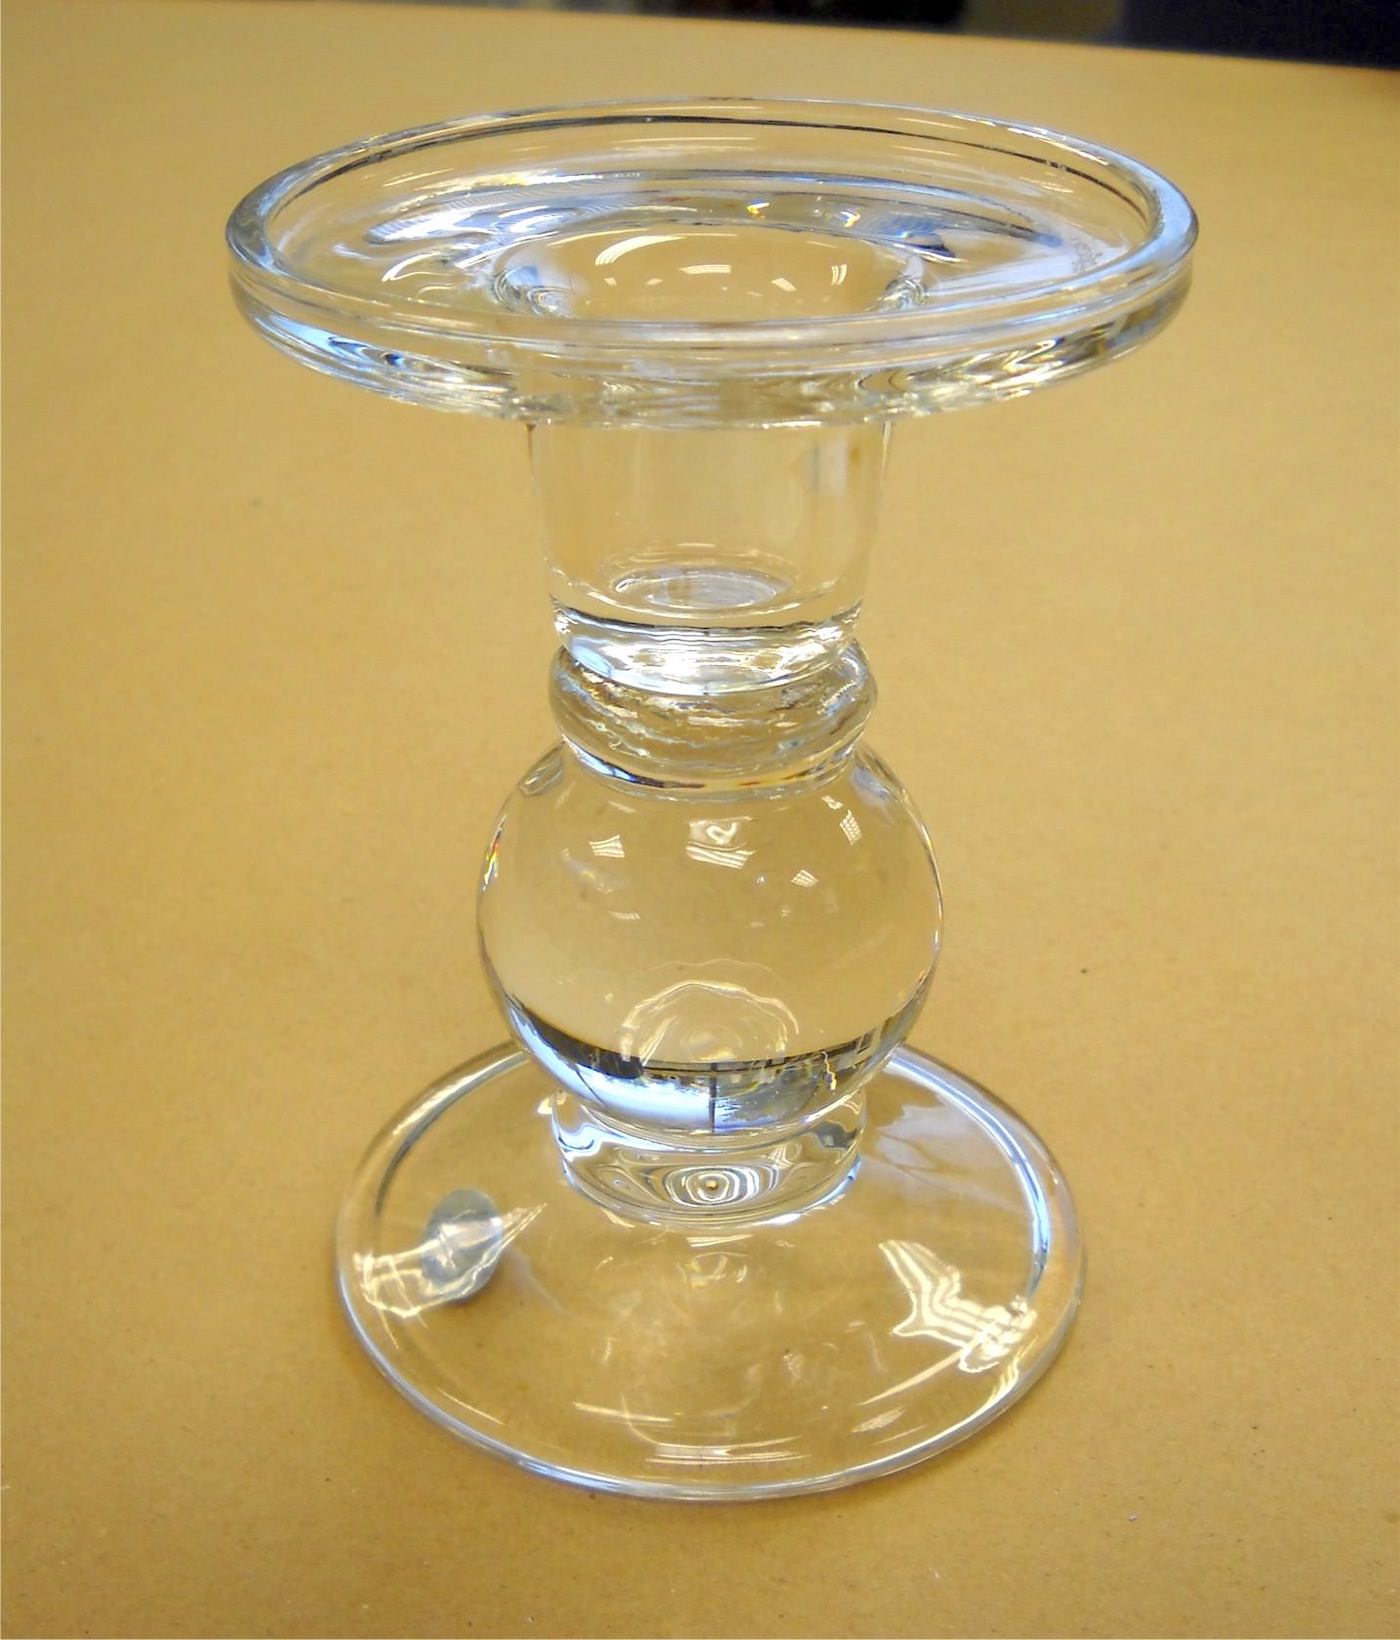
- Candleholder
- Scrapbook paper
- E-6000
- Clear rhinestones
Instructions
- Clean the glass candlestick with mild soap and water or rubbing alcohol and cotton pads. Let dry.
- Paint the candlestick using glass paint. Give several coats until desired color is reached, letting dry between coats. Set aside to dry.
- Cut paper to fit the center of the plate, including embellishments for the edges.
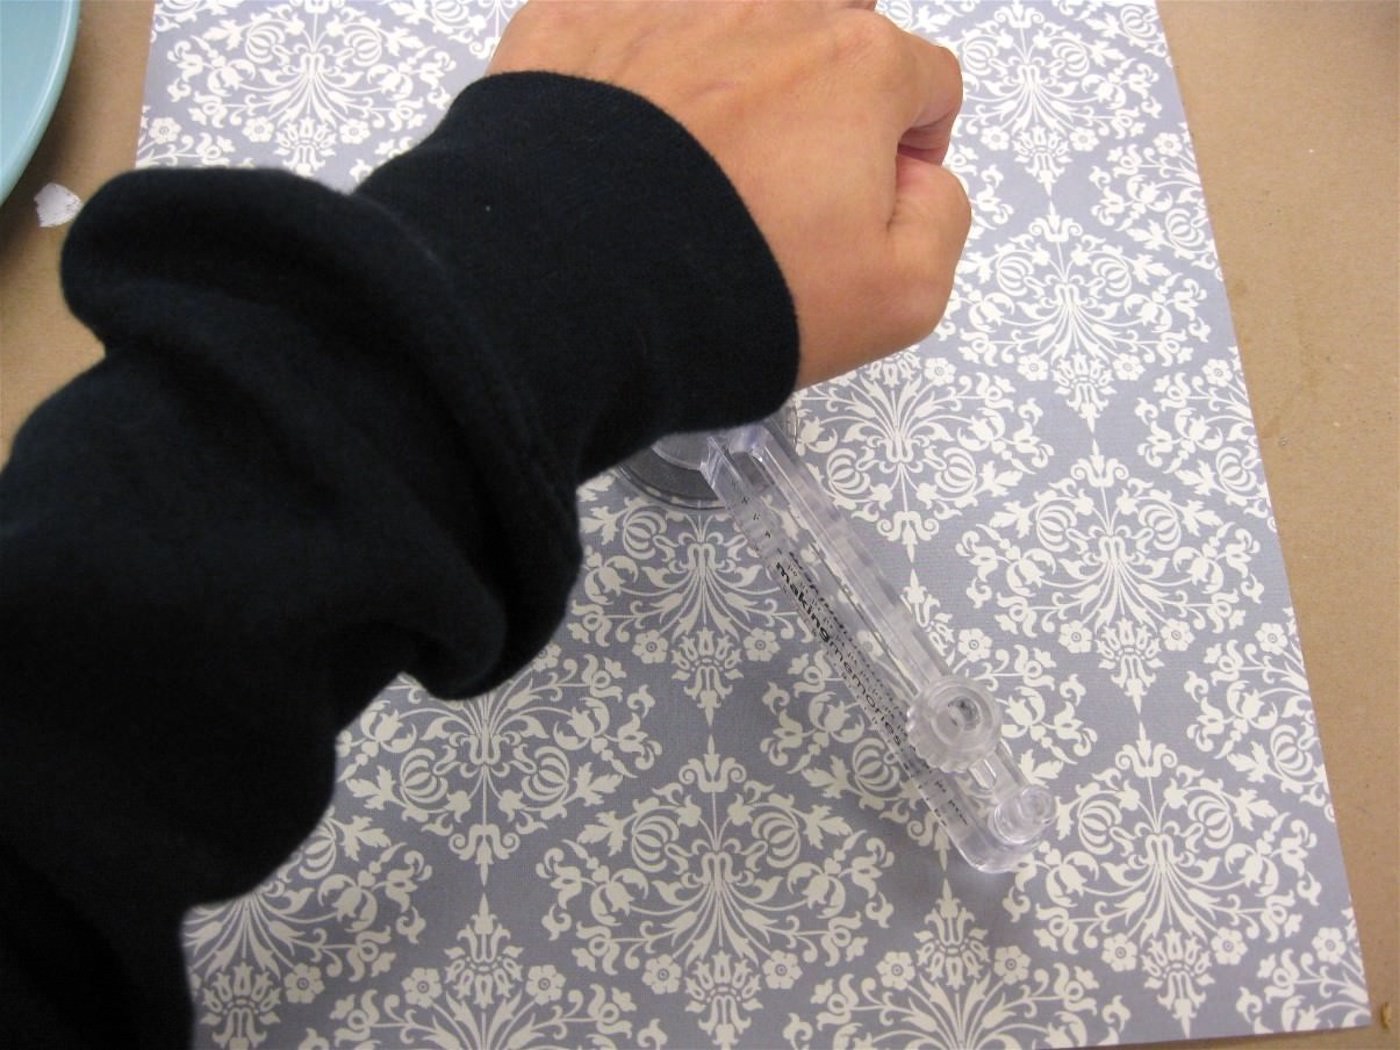
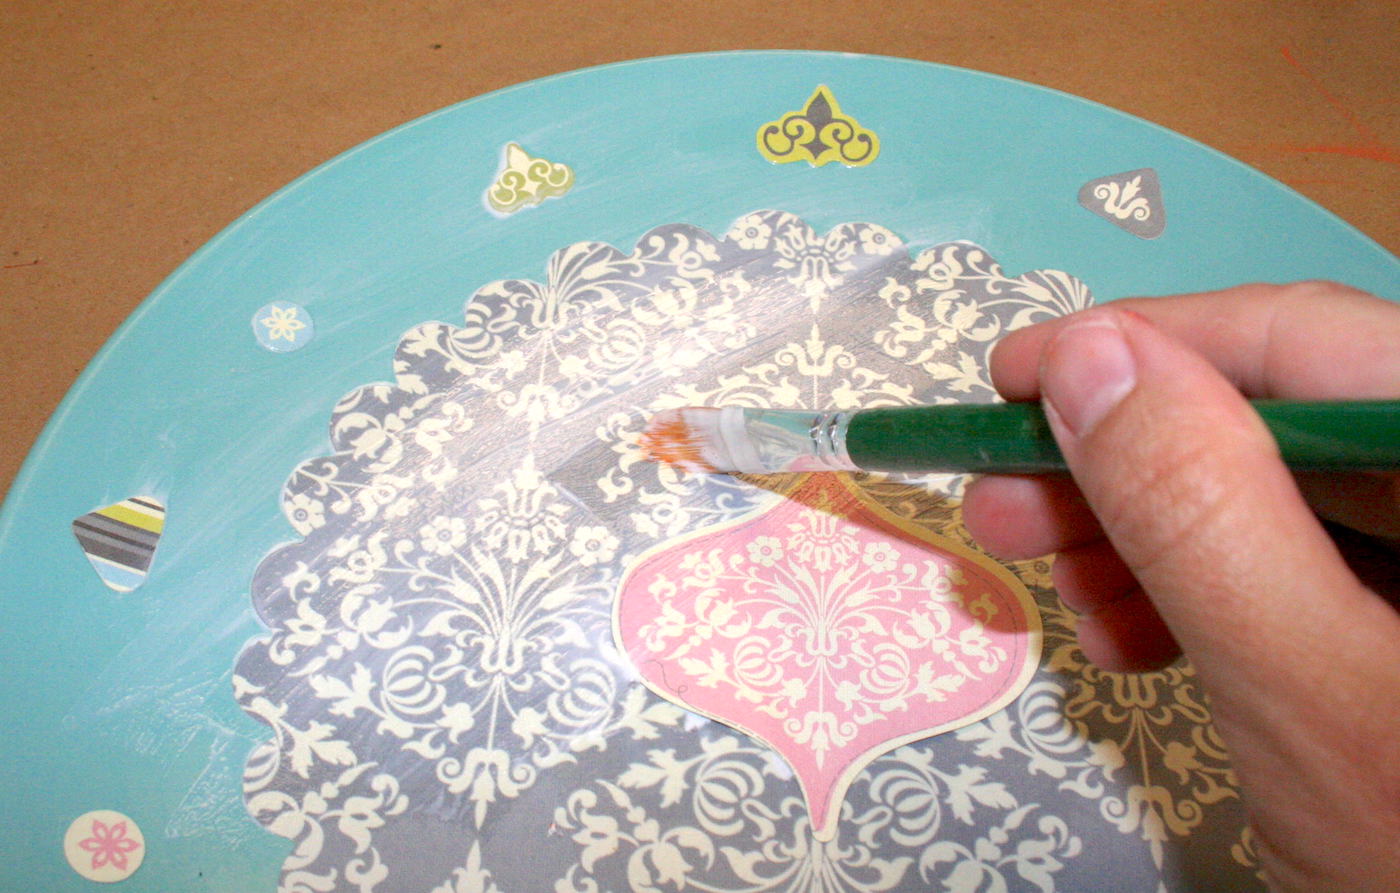
- Add Mod Podge to the back of the paper and then smooth onto the plate. Repeat with the embellishments. Let dry for 15-20 minutes.

- Coat the top of the plate with Mod Podge. Let dry.
- Glue the plate to the top of the candlestick using the E-6000. Add a bead of glue to the edge, press the candlestick down in the middle of the bottom of the plate, and let dry.

- Add rhinestones to bling the base using E-6000 if desired. Let dry completely before using.

Notes
Set the cake on a clear plate or cake doily when using this stand.