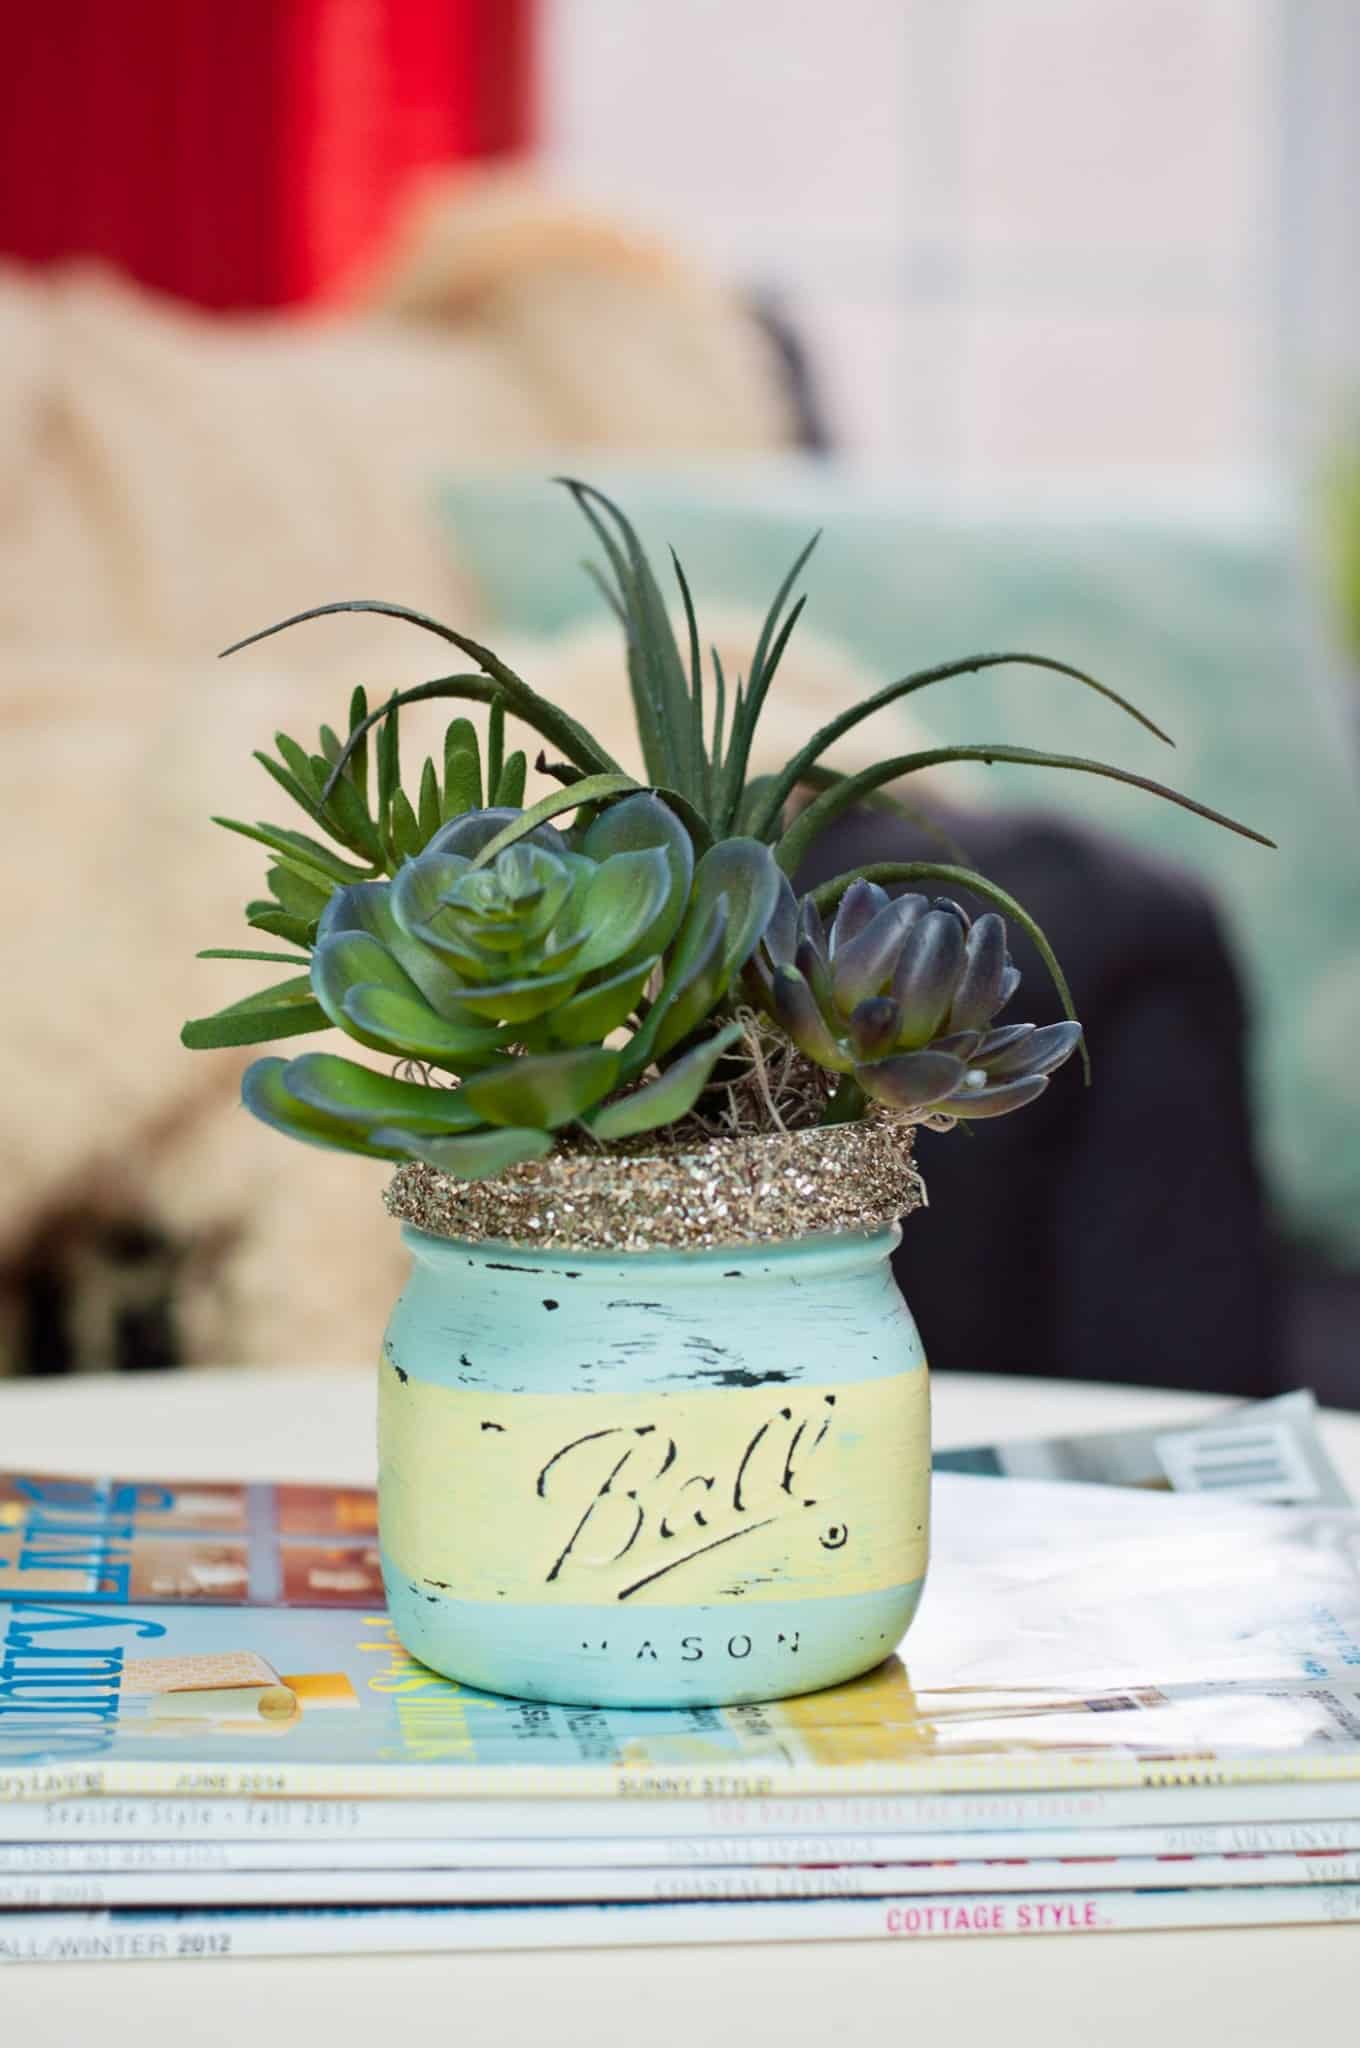
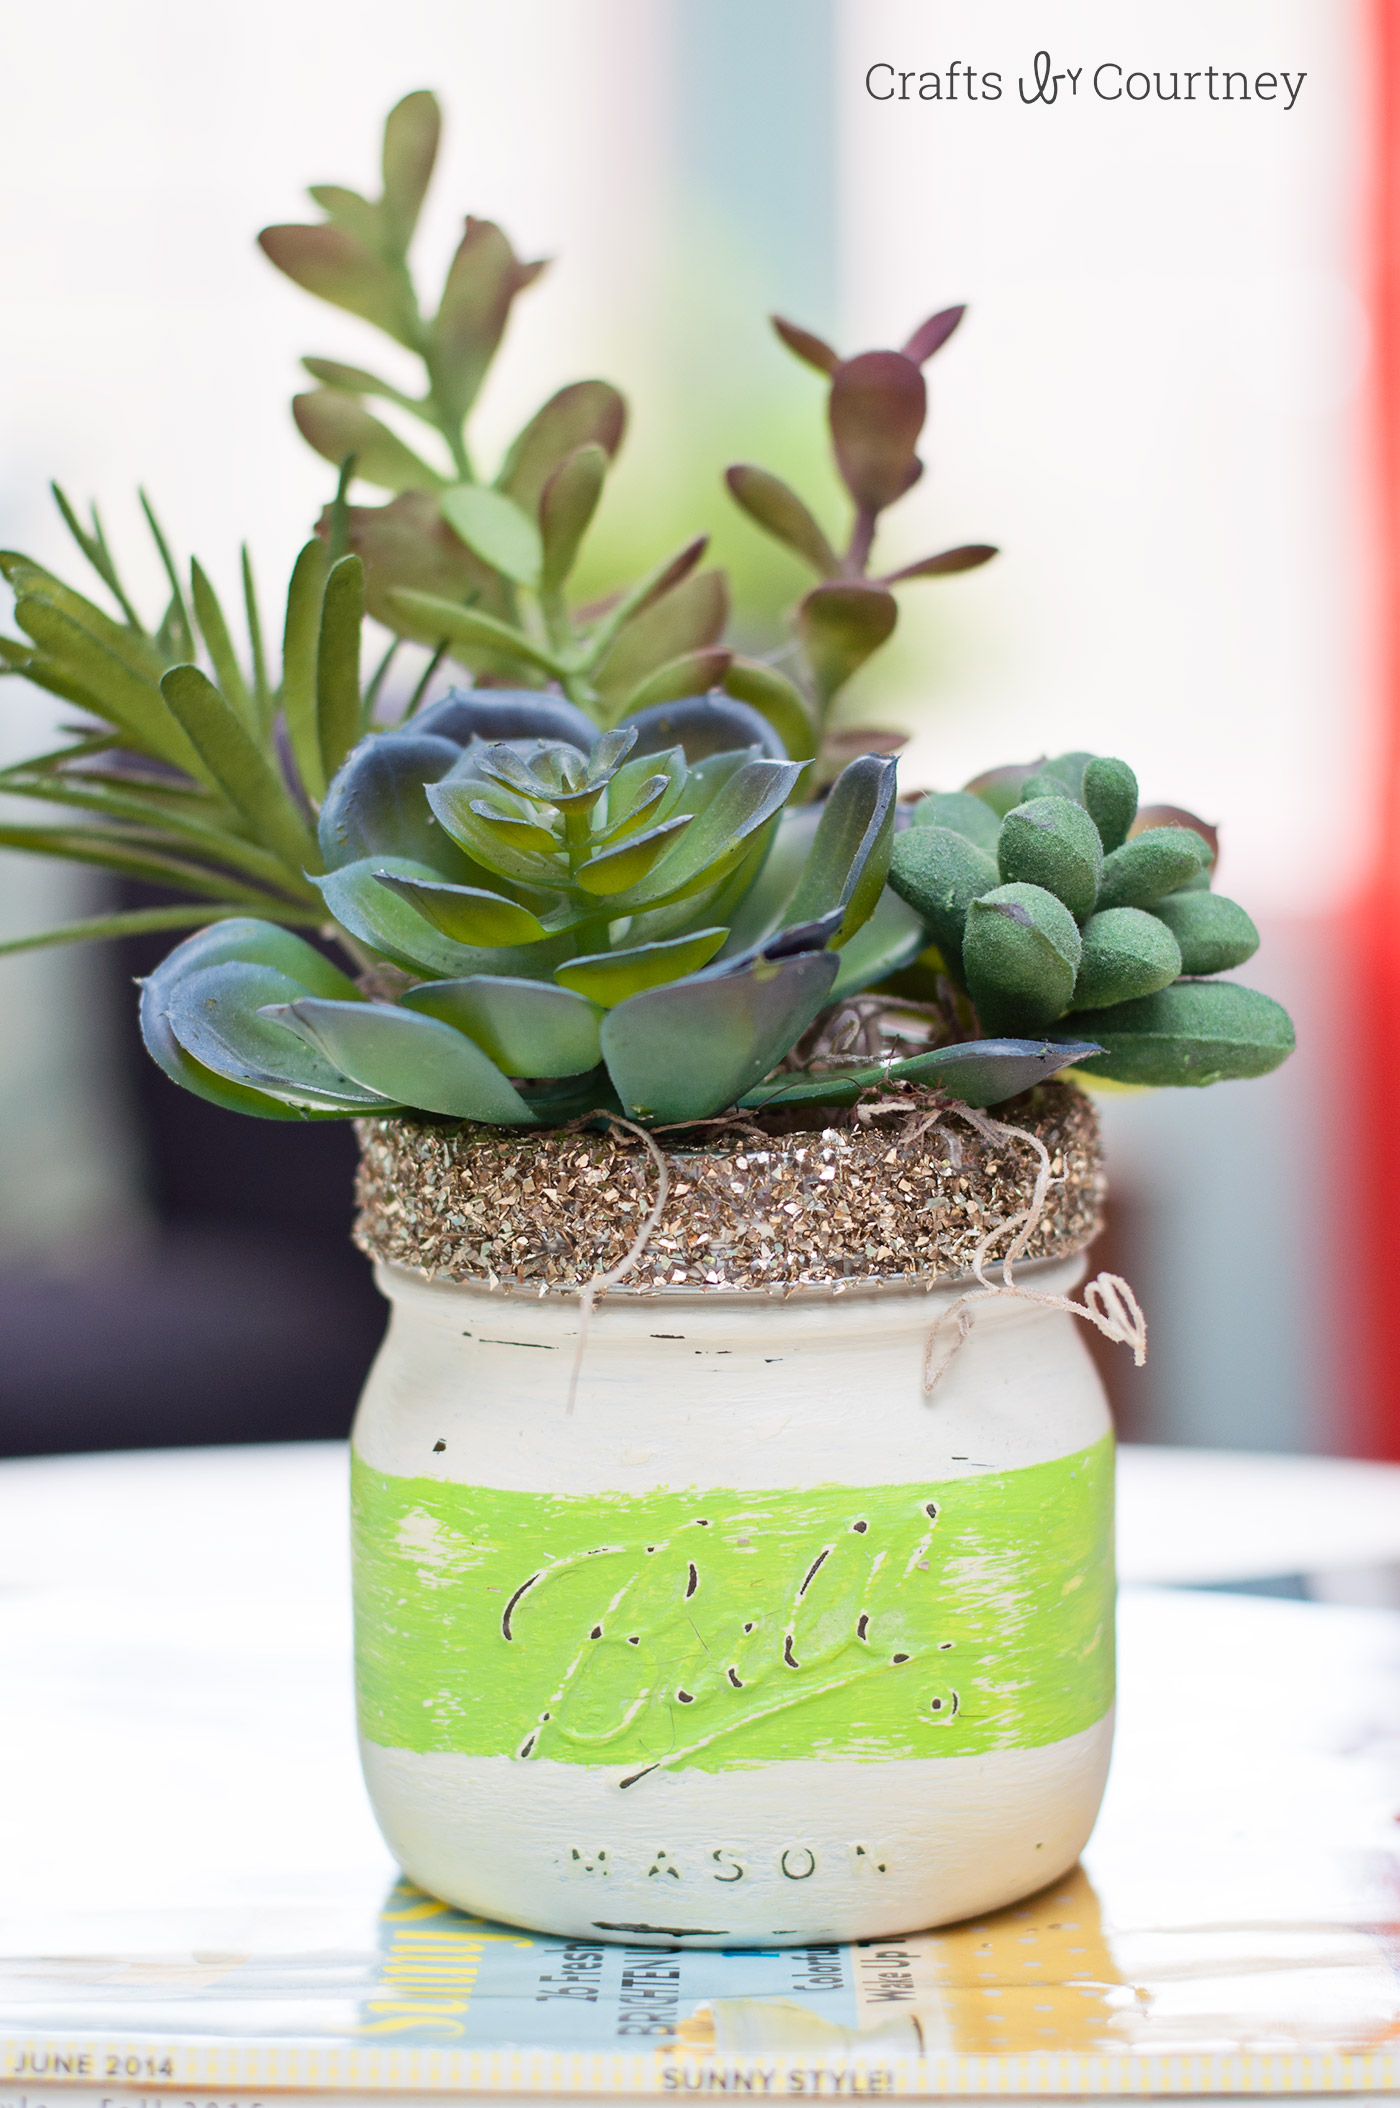
Learn how to make chalk paint mason jars with succulents for spring. Perfect for a kitchen windowsill or a seasonal mantel!
Skills Required: None. Even if you’ve never crafted before, you’ll be able to make these jars. Chalk paint and Mod Podge are both very easy to use with no experience on mason jars.

I’m in North Carolina and it’s really starting to feel like spring here. Flowers are popping up all over the place and trees are blooming!!
I’ve been so excited to get started on some spring crafts for the house. I got a TON of succulents sent to me and I’ve been dying to do a quick project with them. I have a pretty wide ledge on my kitchen window seal and I thought they would be perfect there.
A nice chalk painted mason jar seemed like it would go well with my farmhouse decor. Plus I love using mason jars when crafting, they are simply the BEST!
After I made these jars I think I fully realized the uses – not just decorating. They could also be used for party, wedding, gifts . . . there’s really no end to the options, and obviously you can customize with any colors you like. You can paint and Mod Podge on glass with ease.

I think these DIY mason jar succulents turned out great, a perfect touch of spring for the house. Next I want to make some nautical ones for summer.
Be sure to see my post about painting on glass before you get started on this project! Here’s the printable how to:
Painting Mason Jars with Chalk Paint
Equipment
Materials
- Mason jar(s)
- Chalk Paint
- Glitter
- Super Matte Mod Podge
- Dry foam
- Succulents artificial
- Moss
- Sandpaper
Instructions
- Wash your mason jar with mild soap and water; let dry.
- Paint your jar with a few coats of chalk paint, letting dry between layers. Use various colors and let dry.

- Lightly run sandpaper over various areas on the jar to distress them. Once you are happy with the finish, seal with Mod Podge and let dry.

- Add Mod Podge to the lid and then sprinkle the glitter over it. Allow to dry.

- Cut a piece of dry foam to fit inside the jar; add the faux succulents. Add moss around the base of the succulents to cover the foam and finish.

Notes
I hope you enjoyed this spring craft for adults. If you guys enjoyed these chalk paint mason jars, I’d also love for you to check out these other craft ideas:


I love the look of succulents! I’ve been meaning to add some to my home for ages!
Paige
https://www.thehappyflammily.com/
Where did you manage to get so many succulents?? I would love any you don’t want. Lol. Seriously what a fab idea. I’m looking for a craft to do for Mother’s Day for my supported community living group at Easter Seals young adults. Our budget is nil. I donate everything and it’s expensive to me! They would love this. Thanks for the ideas!
These are fake – Michaels has them! Thank you!
How long will the succulents last?
These are fake. Thank you!
Are these really succulents or artificial? A great idea.
These are fake. Thank you!
Succulents need soil, nutrients and water, just like any other plant. Air plants, on the other hand, do not. Hopefully these are artificial succulents.
Yes, these are fake. Thank you!
Are the succulents artificial? I love this idea for Mother’s Day gifts.
Yes, these are fake. Thank you!
Really cute!! The succulents look real.
Haha. Great idea .I’ve been meaning to add some to my office.
Love this, but instead of using glitter, sand around the rim would be cool too!!!
The glitter went on a “ring” not a “lid”. Very cute project.
Great step by step instructions on such a wonderful & fun craft to make.
Where did you find these jars? I have looked all over.
Hi Renee! This is an old post so can’t remember – but you can check the Ball website! https://www.ballmasonjars.com/