Learn to transfer paper to fabric with this unique tutorial! You’ll use Mod Podge photo transfer medium and this simple process. SO cool!
Skills Required: Intermediate. To transfer an image to fabric, I recommend having previous experience with photo transfer medium. This is because fabric is not forgiving and if you mess up, it’s permanent.
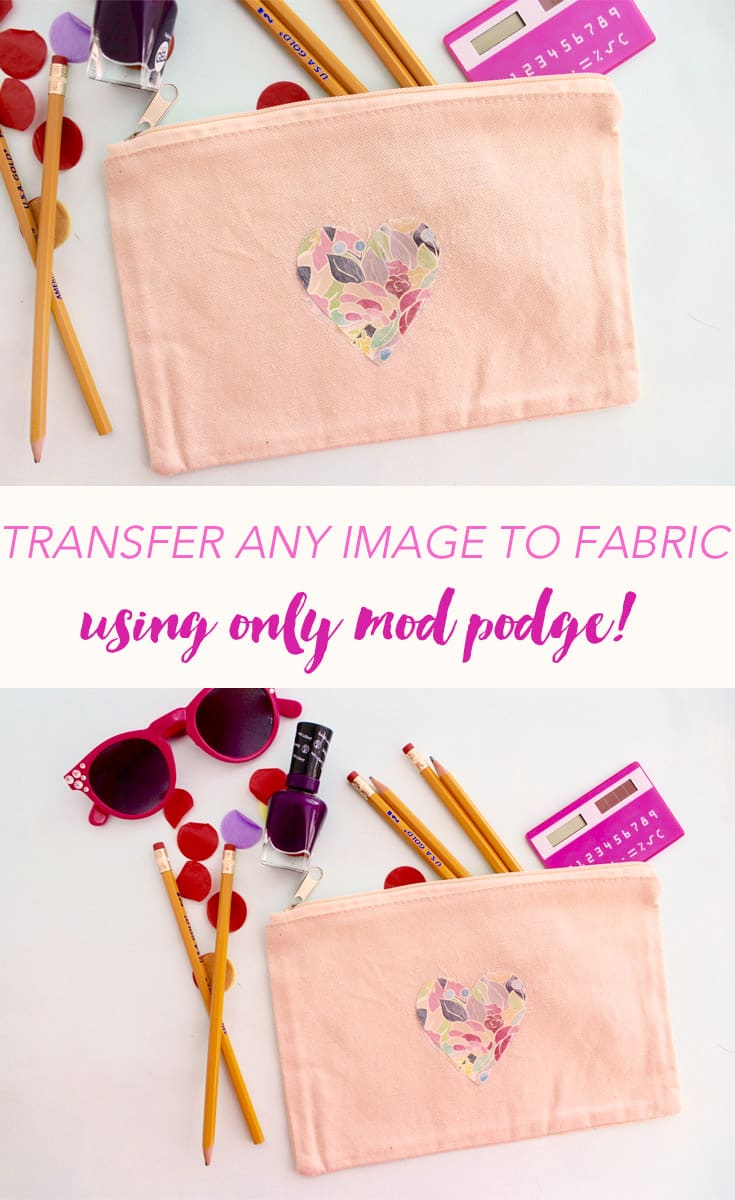
Hello, hello again . . . It’s Heather from Craft + Tell! Today is so exciting for many reasons, one of them being that I launched my brand-spankin’ new blog today! If you’re into DIY, crafts and home decor, be sure to hop on over to my blog to check out all of my fun projects.
Anyways, I may have been living under a rock for a while, but I just found out about Mod Podge Photo Transfer. Have you heard of it — or even used it for an image transfer? You can use it to transfer paper to fabric!
I was amazed the first time I tried it out, and can’t believe I didn’t make my bridesmaids one of these bags for my wedding. Anyway, it’s not my style to carry a bag around with an actual photo.
Some people can rock it, but not me. I was at the craft store the other day and I saw some gorgeous scrapbook paper. A light bulb went off.
I remembered I wanted to try out the photo transfer with Mod Podge, and before my very eyes, this scrapbook paper transferred onto my bag!
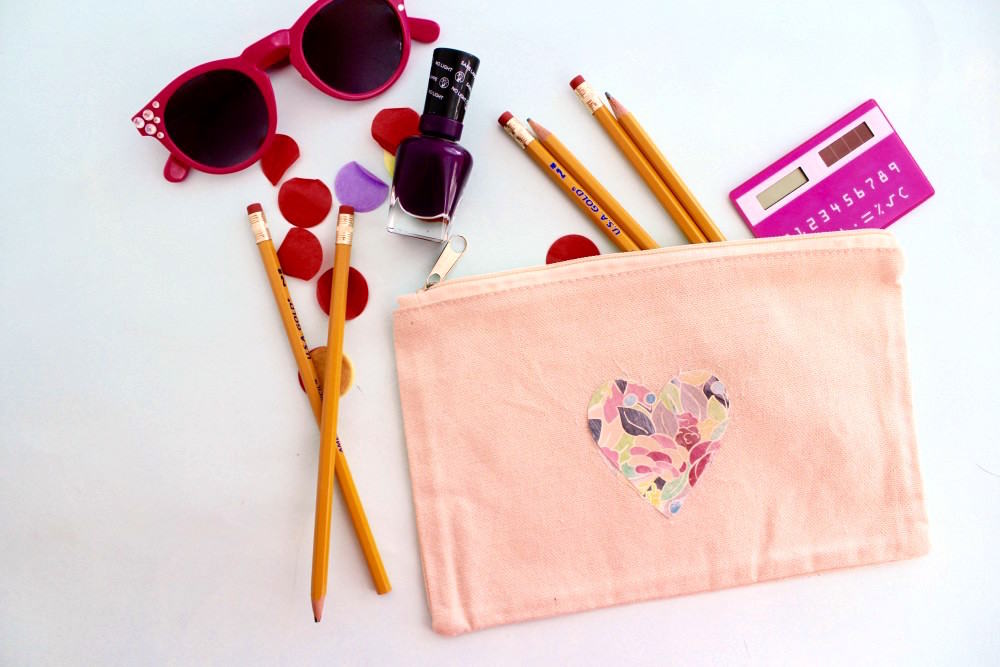
So, I’m giving you the low-down today, and also want you to know up front how easy this is — you can do it!
Transfer Paper to Fabric
Here’s what you’ll need to make this paper to fabric image transfer bag:
- Any bag, I recommend a light color
- Mod Podge Photo Transfer
- Foam Brush
- Sponge
- Scrapbook Paper
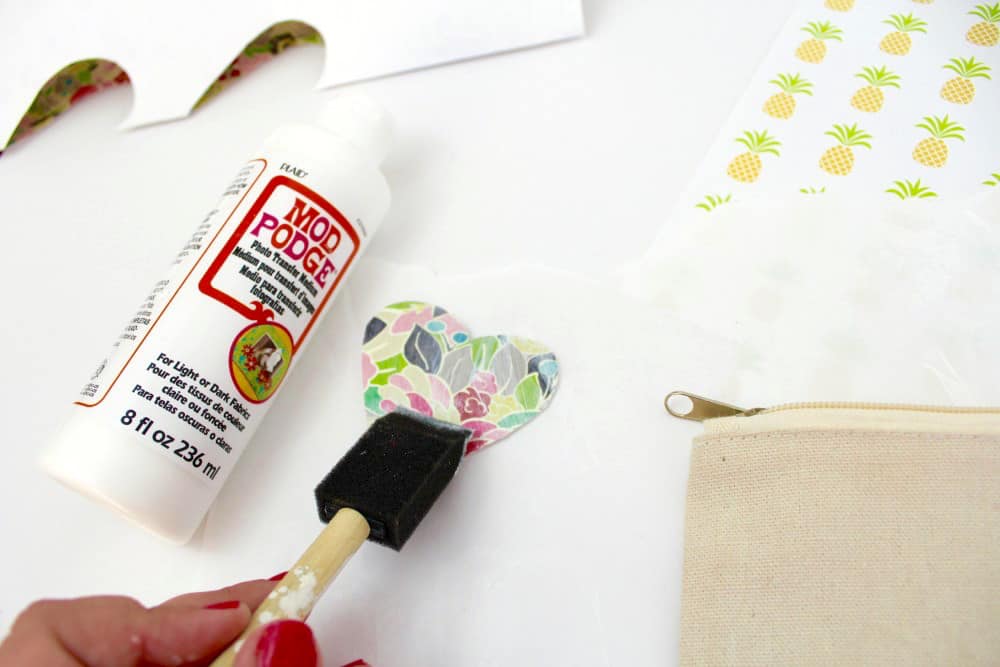
If you’re using scrapbook paper like me, cut out the shape you want. I went with a heart because it’s simple and cute at the same time.
Next, using your Mod Podge Photo Transfer, generously “paint” the solution onto your paper (pretty side up) using a foam brush. Moving quickly, place it facedown onto the surface of your fabric. Let it dry overnight.
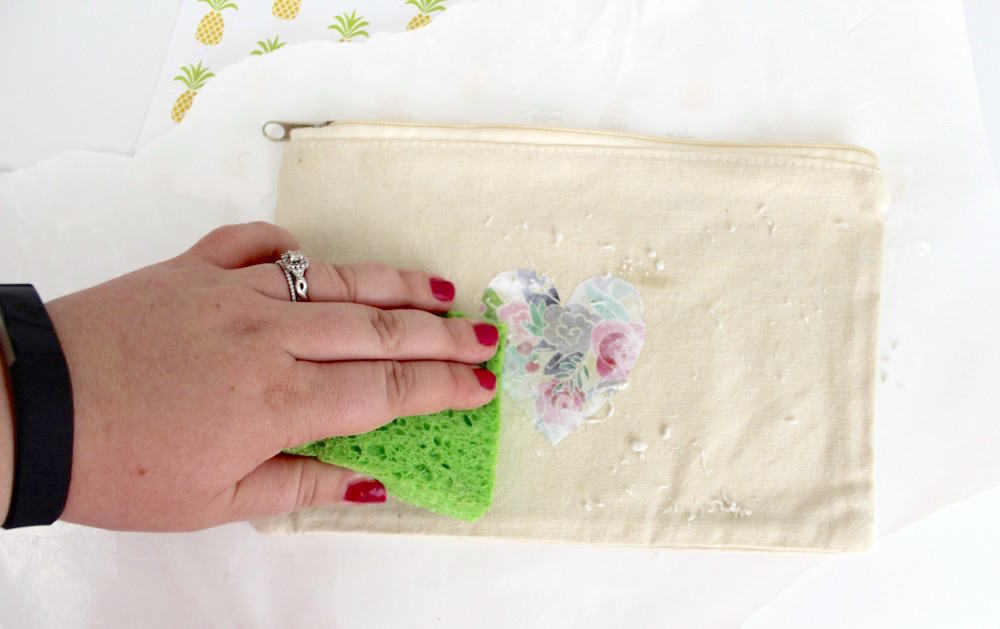
Then the magic happens! Grab a sponge and a small glass of water. Once your sponge is wet, rub over the paper in gentle, small circles.
Paper will begin to vanish before your eyes and a beautiful image will appear! Ta-Da! You just made a bag with very little effort.
I will say I tried this DIY with very thin letters and it didn’t work out like I hoped. I don’t think I used enough photo transfer and the letters were too thin. Make sure your design is substantial enough before you transfer paper to fabric.
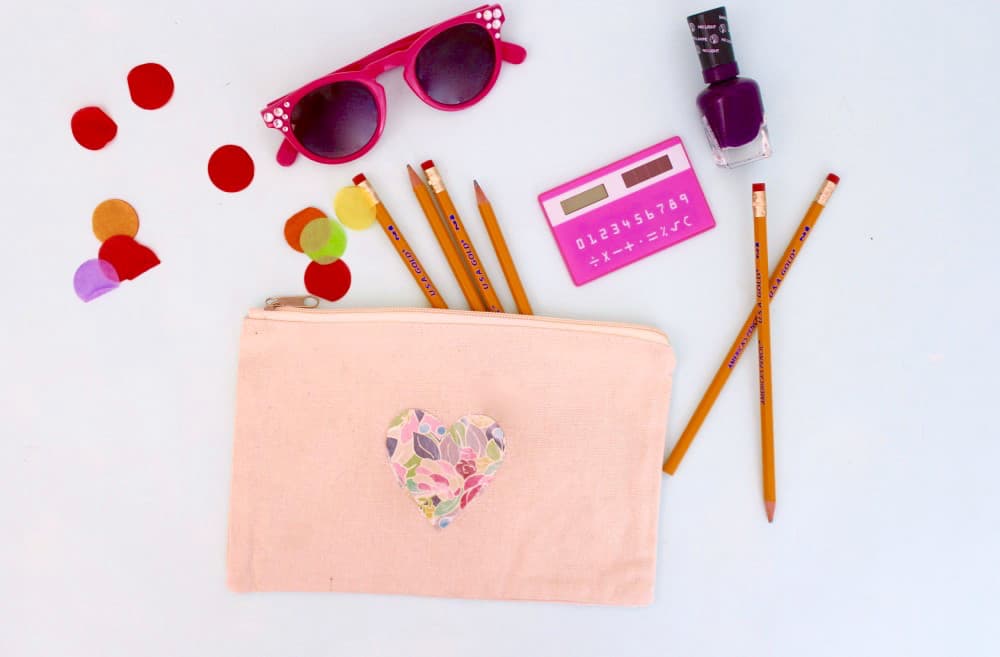
So, what do you think? Could you transfer paper to fabric on a project and impress a crowd?
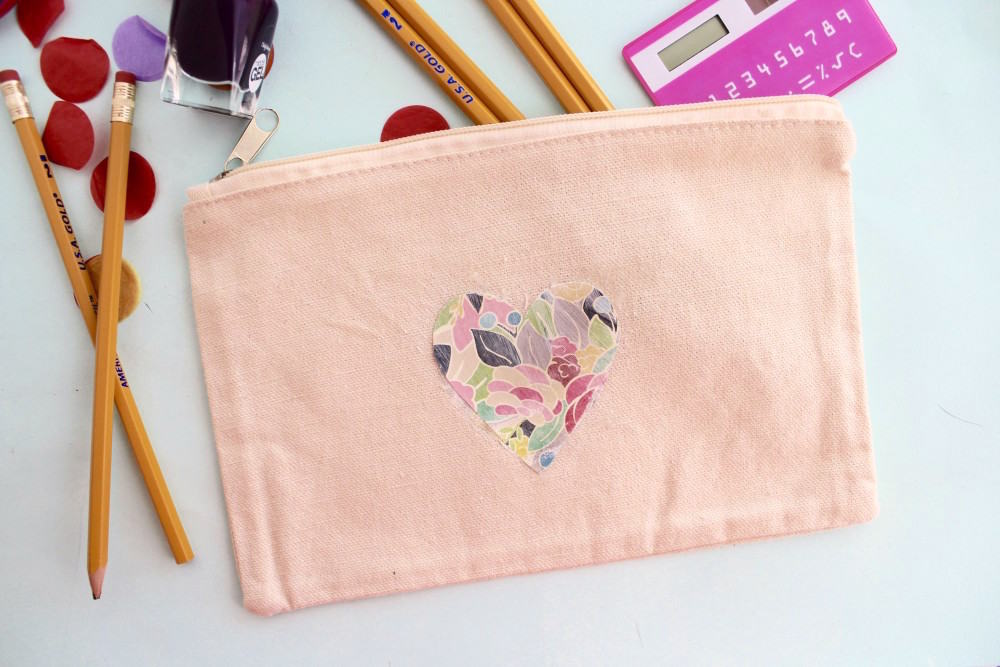
Love this cute idea? Let me know in the comments! Plus check out these other photo transfer ideas here:
Breakfast in Bed Tray • Christmas Napkins • Family Reunion Centerpiece • Image to a Wood Block • Inkjet Transfer • Photo Keychain • Photo Pillows • Transfer Photos to Fabric • Transfer to Furniture • Transfer to Glass • Transfer to Metal


What a creative idea! Pinned for later… can’t wait to give it a try!
I think this is fantastic. I have several types of Modge Podge never heard of this one.
I know! I was so excited too!
ooh I absolutely love this idea! It would make a great gift! Thanks for the tutorial!! 🙂
I have tried to do this before but my problem comes when I try to rub off the paper…the ink comes off with it and I don’t get a good transfer. Any Ideas?
Hi Mimi! Are you using inkjet? Cathie Filian does it on fabric here: https://www.youtube.com/watch?v=LHYPgYDHQcA
How do you use napkins on a tee shirt, I tried this but when I put the last coat of fabric mod podge on the napkin it gets on the shirt and will not come off. How can you avoid this?
Hello other crafty “Heather”! =D
When it comes to care, how do you recommend cleaning? Would it still be safe to machine wash, or hand washing recommended?
Yes you can machine wash! Delicate cold . . .but, you can hand wash too and that’s probably how I’d do it.