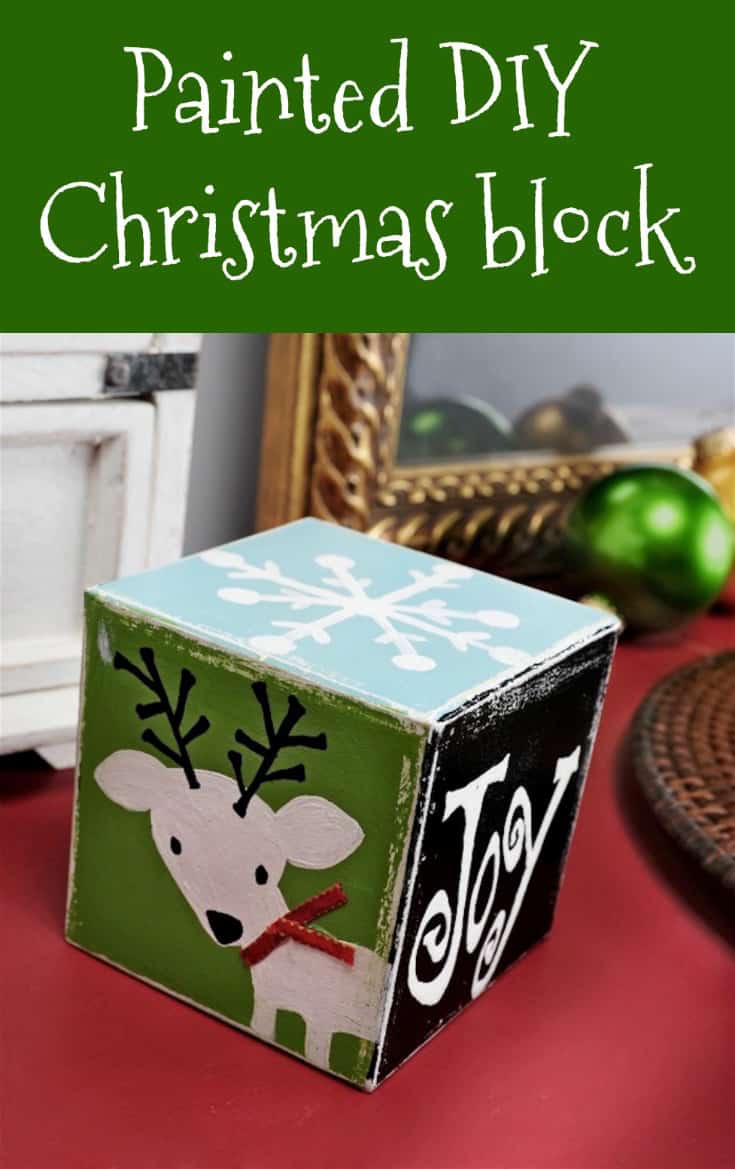
Make simple and pretty holiday decor with this painted DIY Christmas block project! Use my free pattern to decorate your block. Get it here!
Skills Required: Beginner. You’ll be painting and there’s a pattern provided . . so it’s great for people who have little experience in crafting or are just starting out.

There are so many good projects to be had this holiday season – so many incorporating tons of paint! I feel like over the past few years I have forgotten my love of painting. Honestly I love just sitting down with a few paint colors and a surfaces . . . it’s so relaxing.
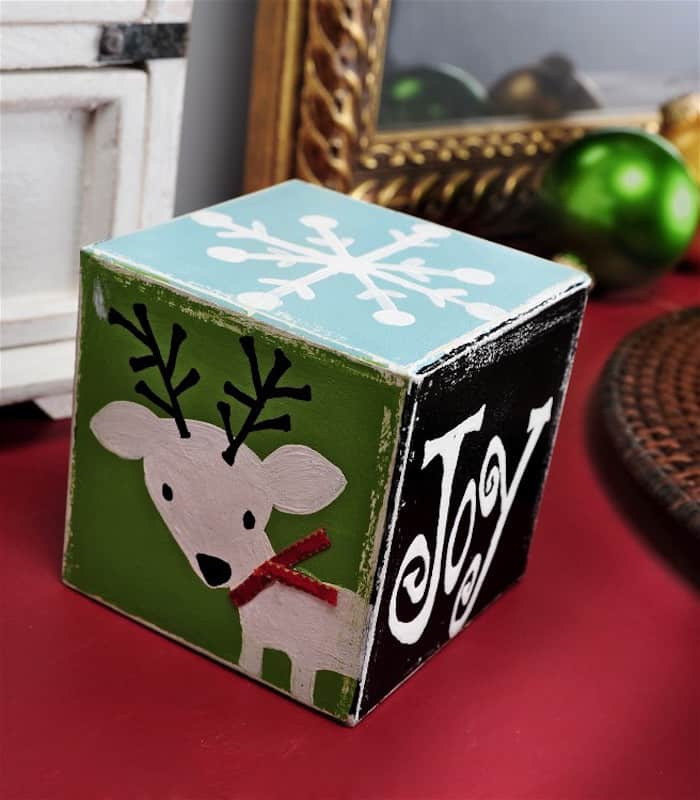
I’m also loving wood blocks as home decor, and I especially love distressed wood blocks. So, I thought I’d share with you this DIY Distressed Wood Christmas Block. It’s an easy wood Christmas craft. It’s sealed with Mod Podge, of course.


This homemade Christmas decor is part of my monthly challenge with Michaels for their Michaels Makers program. Michaels has everything you need to make your holiday merry. For more quick and simple DIY holiday ideas, check out the projects on Michaels.com!
For my Christmas block, the technique is simple, and the results are awesome. A wood block like this doesn’t take long to make, and adds a definite something special to your table or mantel decor.
Here’s how to make this Christmas craft for yourself; and there’s even a pattern included!
Painted Christmas Block
Gather These Supplies
- Mod Podge Satin
- FolkArt Acrylic Colors – Fresh Foliage, Licorice, Sky Blue, Wicker White
- Large wood block or piece of lumber cut into block
- Block pattern here
- Wax (old candle)
- Sandpaper
- Hot glue gun and glue sticks
- Paintbrushes in various
- Small round brush
- Red ribbon – scrap piece
- Chalk
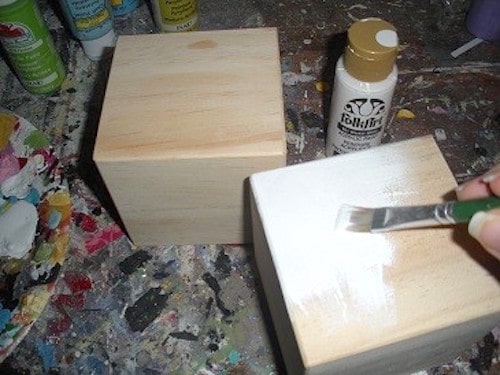

Basecoat your block with white acrylic paint and let dry.
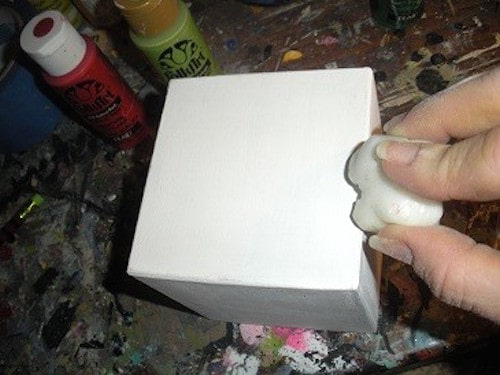
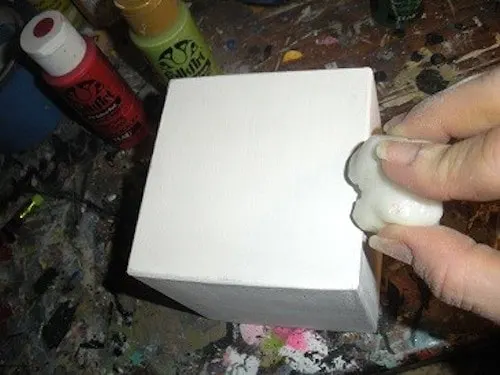
Using an old candle, rub wax along all edges of the block. I recommend using a white candle so you don’t have colored bits of wax left over.
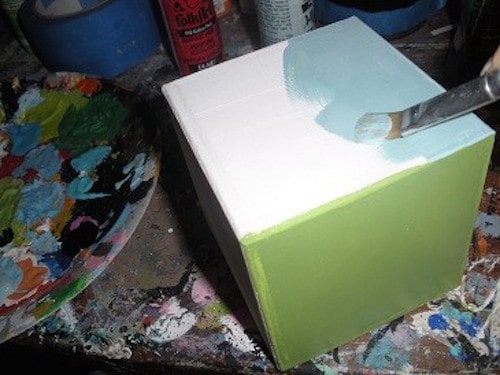

Paint each side of your block with a different color – you’ll use the Fresh Foliage, Licorice, and Sky Blue paints for this step.
Transferring the Pattern
If you want to use the pattern, enlarge it to fit your surface and print. Apply patterns to block with chalk and here’s how you do it – trace the pattern on the paper with the chalk, then flip the paper over onto the painted wood block and smooth. Gently pull the paper up and you’ll have a chalk pattern left behind!
Remember that you are going to use each pattern twice, as there are six sides on your Christmas Block.
Painting the Block
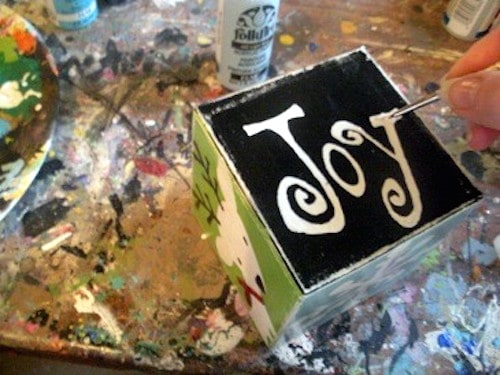

Paint your designs – the snowflake, reindeer, and “Joy” words – over the chalk. Use a small brush to write “Joy” as well as to paint the snowflake.
Add details on the reindeer with black paint. Glue the ribbon scrap on the reindeers’ neck with hot glue.

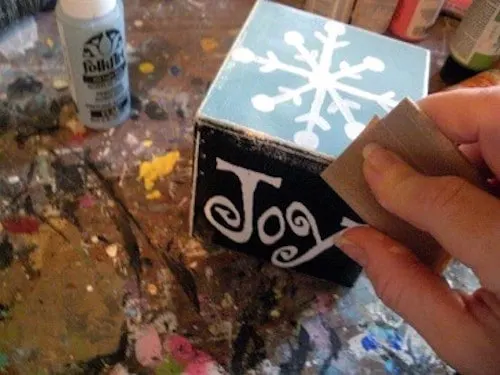
Distress your Christmas block with a piece of sandpaper. Coat with Mod Podge Satin to seal. Display!

I’d love for you to let me know what you think of this DIY Christmas block in the comments! I’d also love if you’d check out these other holiday decor projects: