
Create a faux stained glass look with Mod Podge tissue paper stained glass. This is one of the easiest decoupage projects you’ll ever do.
Skills Required: Beginner. Tissue paper can wrinkle (though it’s part of the character!) so it helps to have some experience with Mod Podge.
I get asked quite frequently how to Mod Podge tissue paper without wrinkles. Honestly, I feel that for most people (including myself) it’s pretty difficult. Especially when the paper is in large sheets!
But there IS a way to Mod Podge tissue paper on glass to get a faux stained glass effect WITHOUT wrinkles! You’re going to cut that tissue paper down from big sheets into shapes. Let me show you what I did.
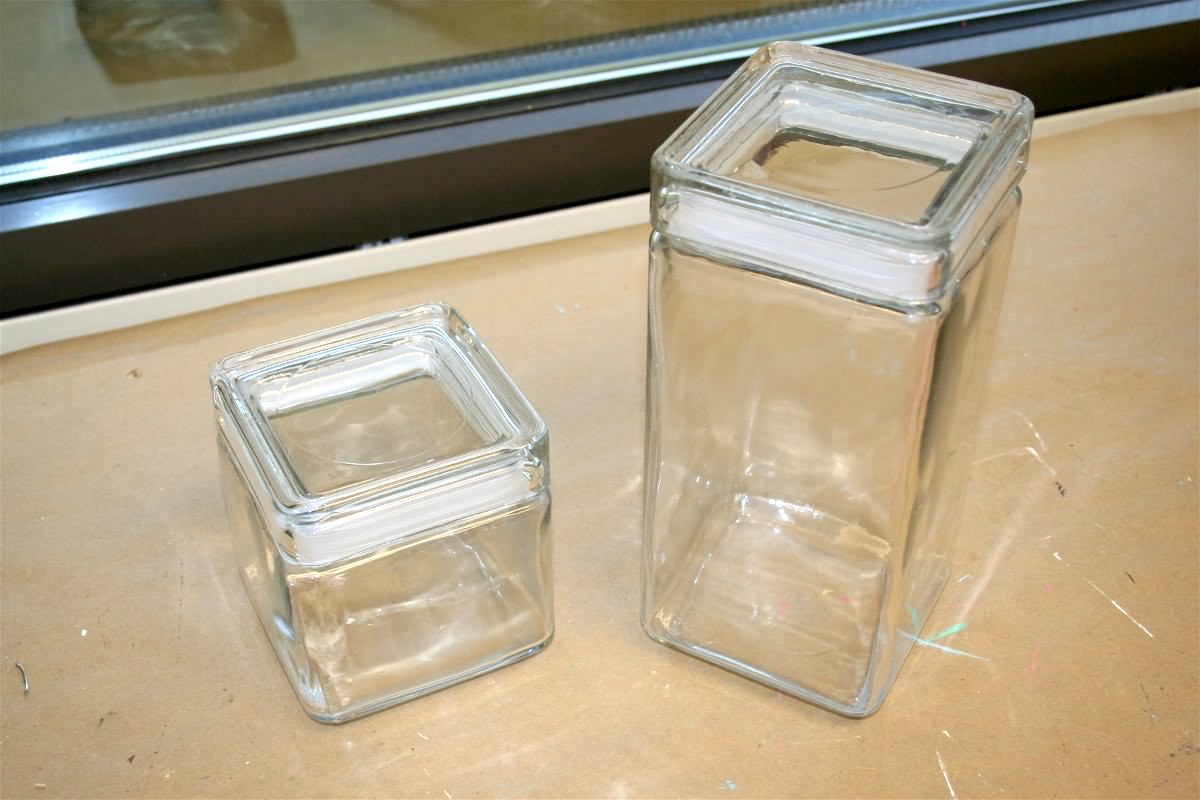
At one point in my life I got ahold of some cool glass jars with fitted lids.
I liked them but not plain – I wanted to spice them up a bit. So what is a Mod Podger to do? Well, of course, decoupage them with tissue paper.
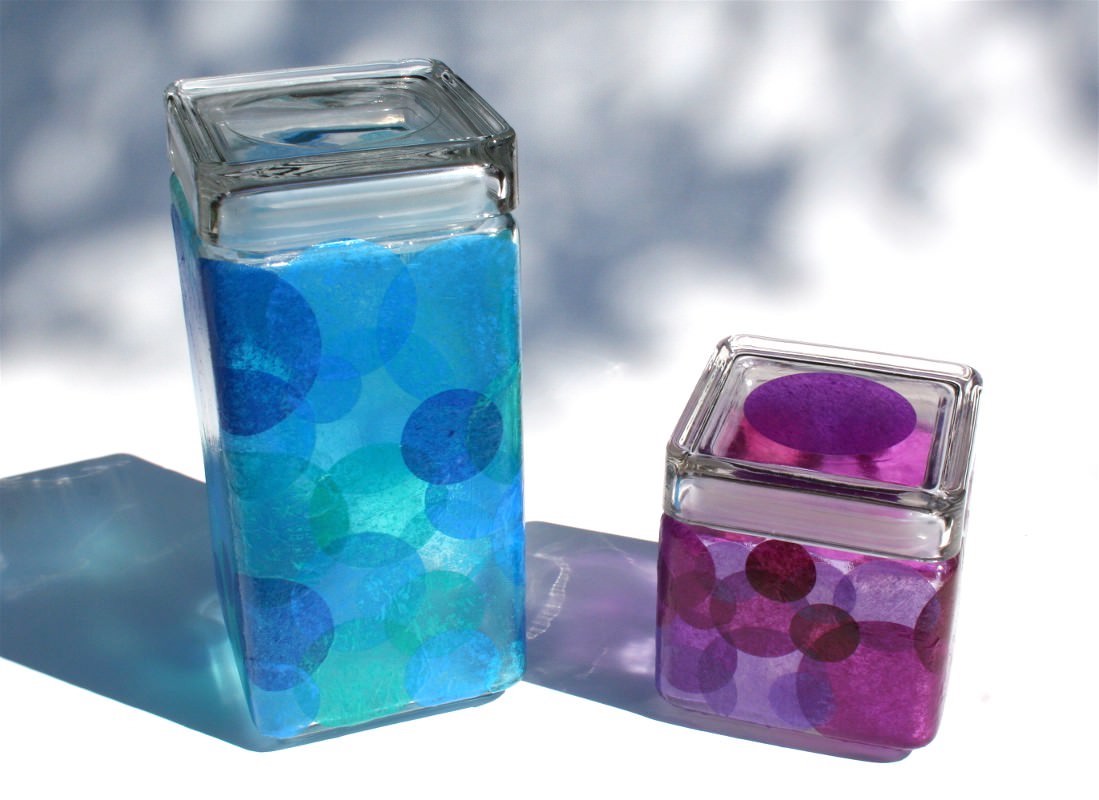
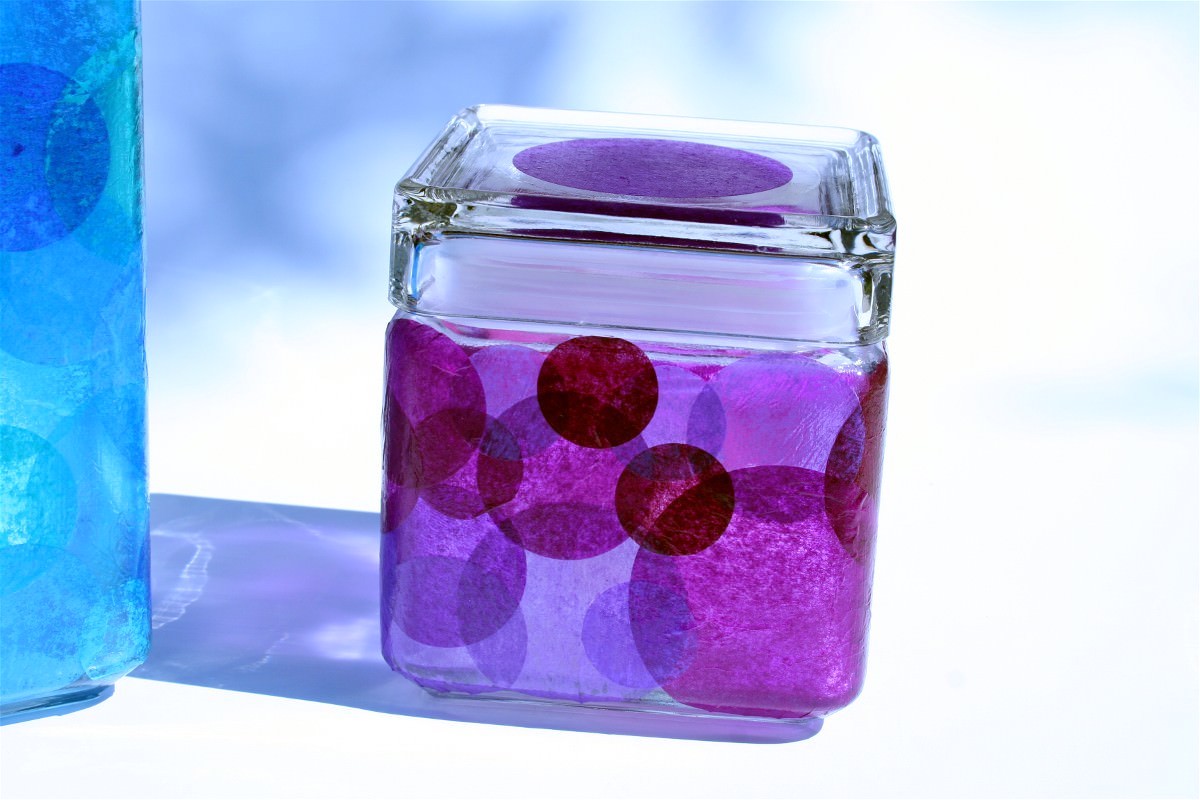
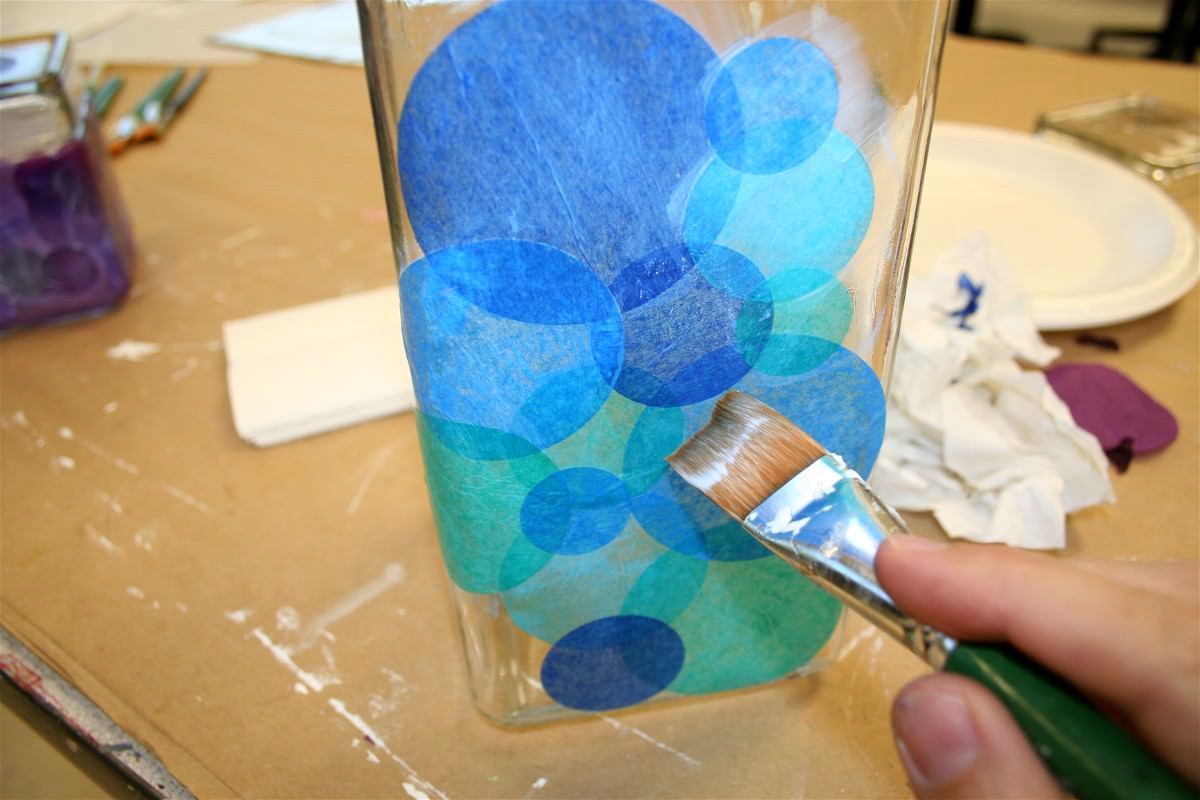
I love tissue on glass because with the light, it gives a bit of a faux stained glass look. As you can see from my first pictures. So how did I do it?
These updated containers are so colorful, and you can make them with any shades of paper and shapes that you like. I’m partial to the blue . . .
Get the printable how to below:

Tissue Paper Stained Glass
Equipment
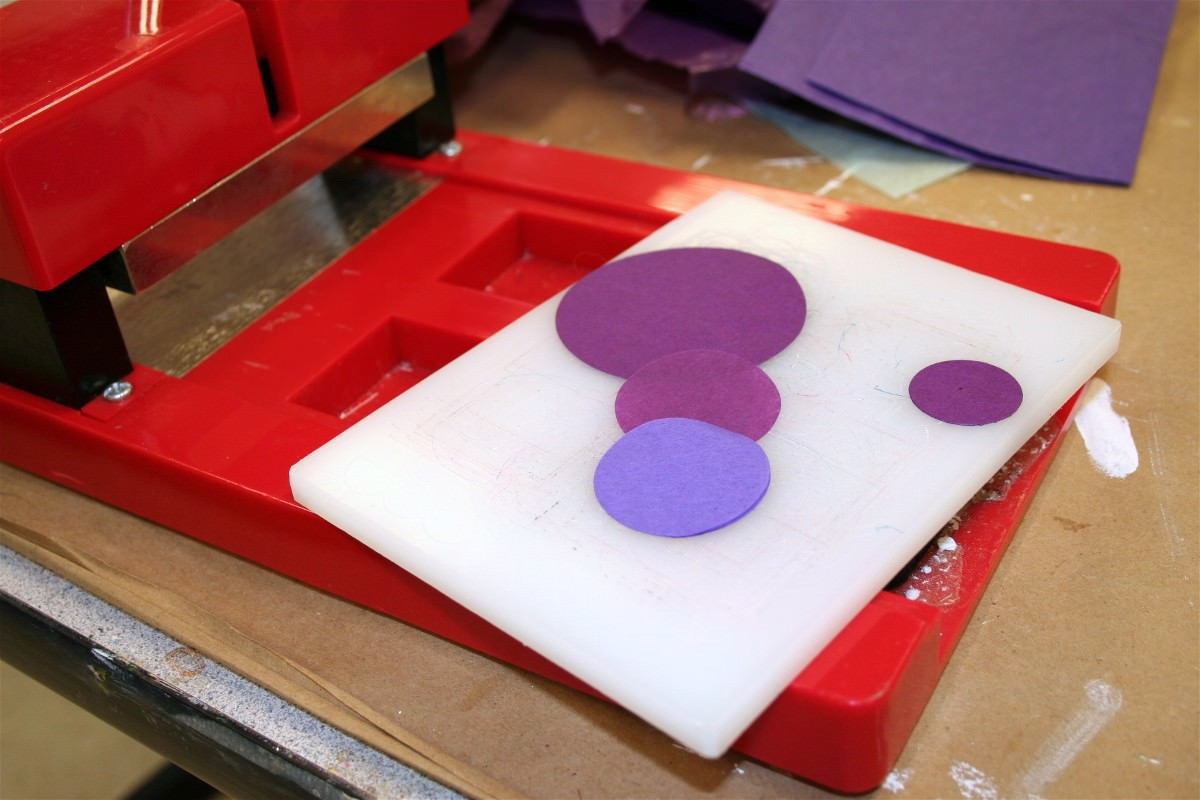
- Sizzix machine and circle die or circle template
- Scissors or craft knife and mat
Materials
- Glass jars
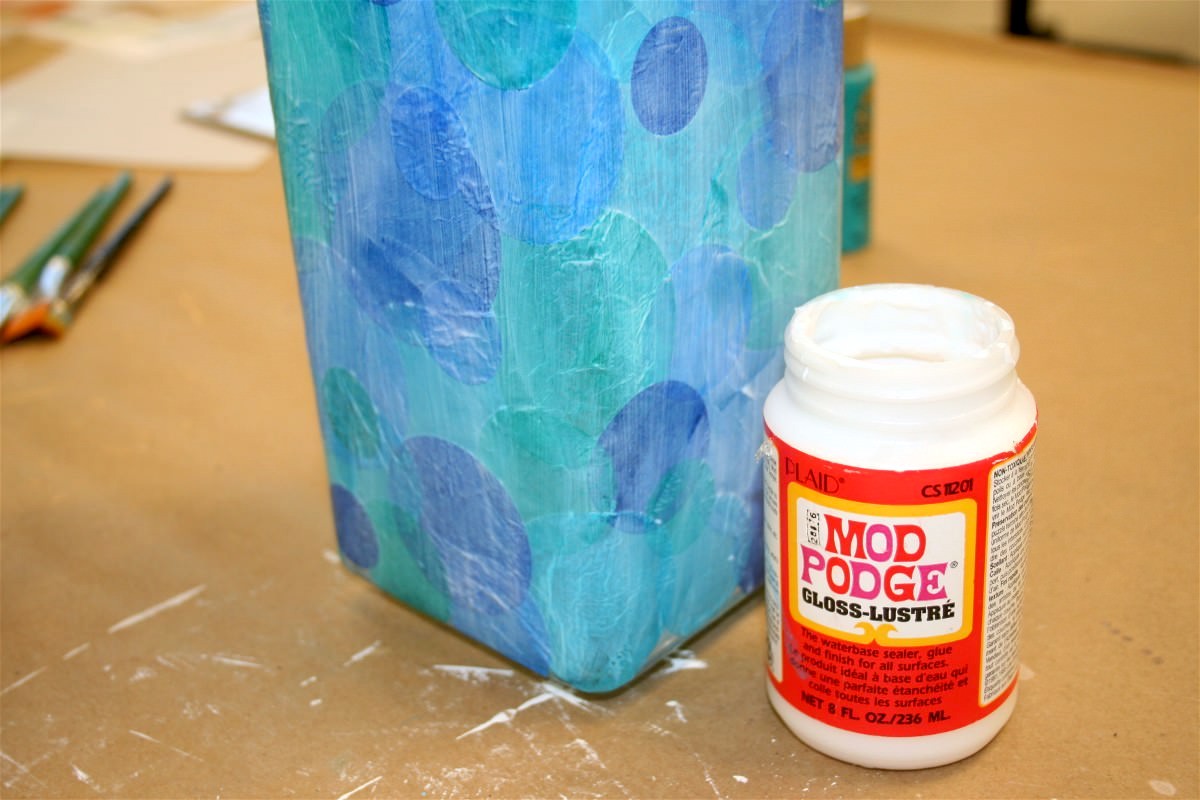
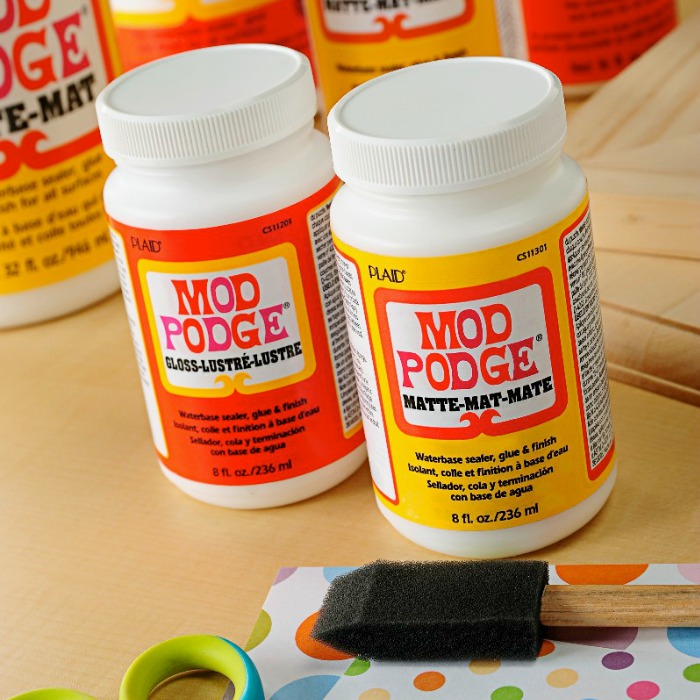
- Mod Podge Gloss
- Tissue paper various colors
Video
Instructions
- Wash your glass with mild soap and water or rubbing alcohol; let dry.
- Cut circles of various sizes from the tissue paper using either a die cutter or a template. Cut out enough to cover the jar(s).
- Place a thin layer of Mod Podge down on the jar in a small area. Place one circle down on the top and smooth lightly with your brush. Don’t overbrush or you’ll tear the circle.
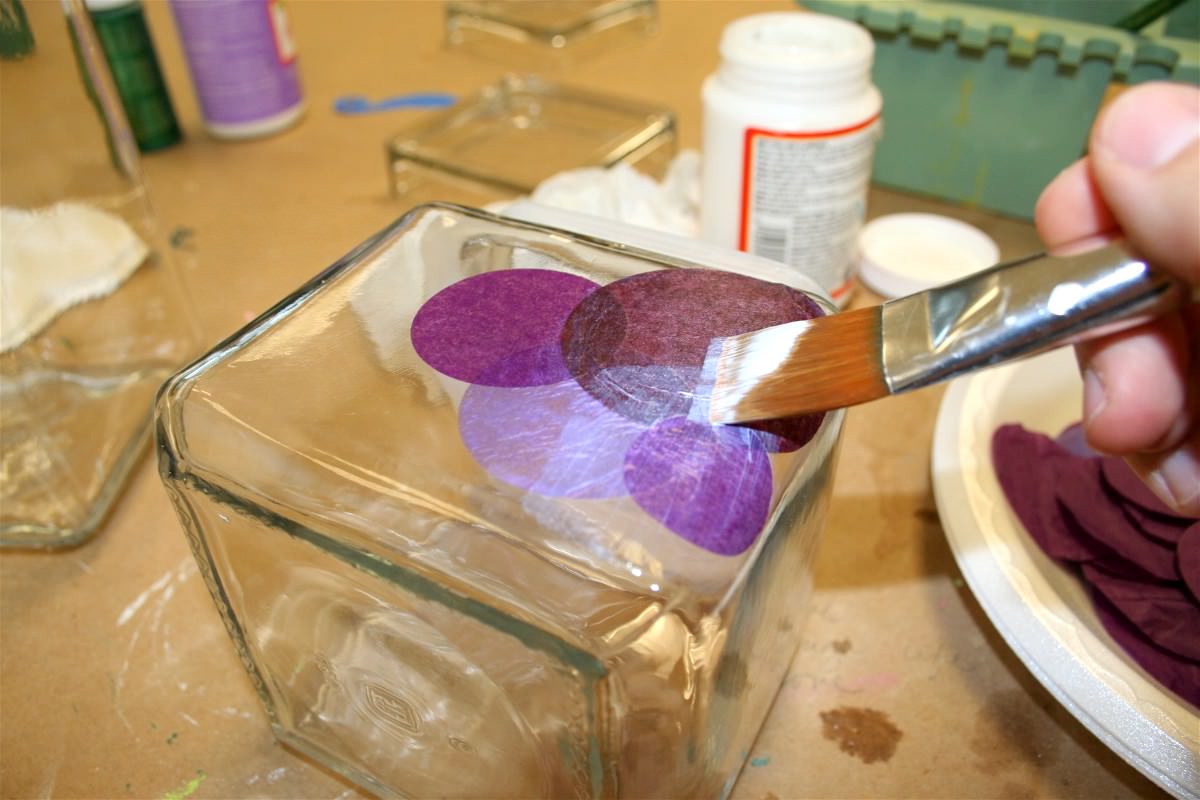
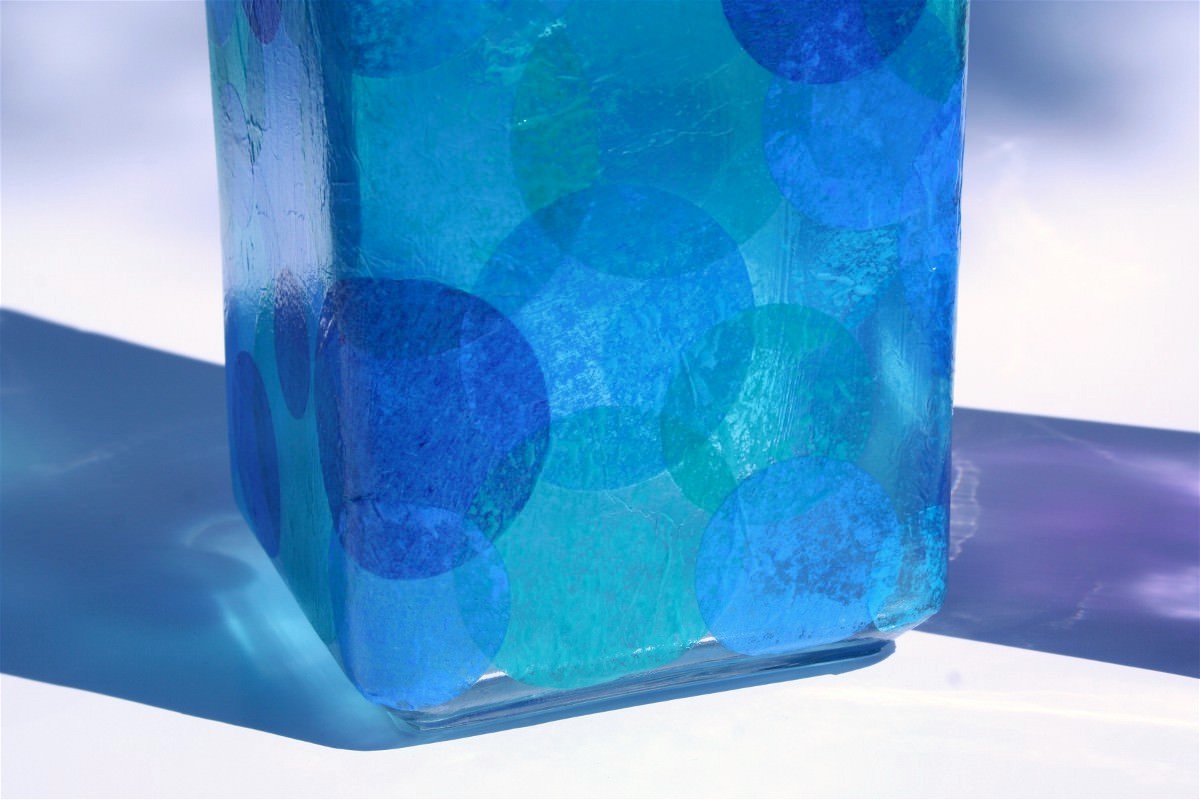
- Repeat with additional circles, overlapping as you go. Layering circles of various colors and sizes makes a color effect. Wipe away excess Mod Podge when necessary.
- Once the entire jar is finished, let dry. Then apply two coats of Mod Podge over the top of the jar, letting dry between each.
Notes
For additional Mod Podge projects that I think you’re going to like, check out these other ideas:


Having a week~end with my granddaughter. This should be a great craft to try with her. Thanks, Amy.