Learn how to make a fabric banner with any saying of your choice. You can use felt or fabric. This is perfect for a variety of occasions!
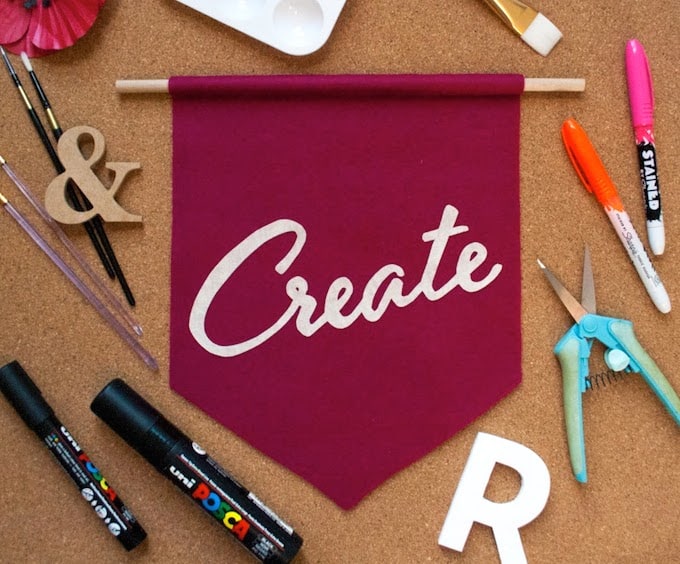
My home studio is quite stark and boring. Not the creative, inspirational space I need to get the most out of my work. So I wanted to make something to help give my studio the flair it needs.
I had this idea to make a banner in my head for a while but I just couldn’t work out how to cut the word from the fabric without getting lots of messy edges from the fraying fabric.
Then the lightbulb moment came. FABRIC MOD PODGE. And it worked beautifully!
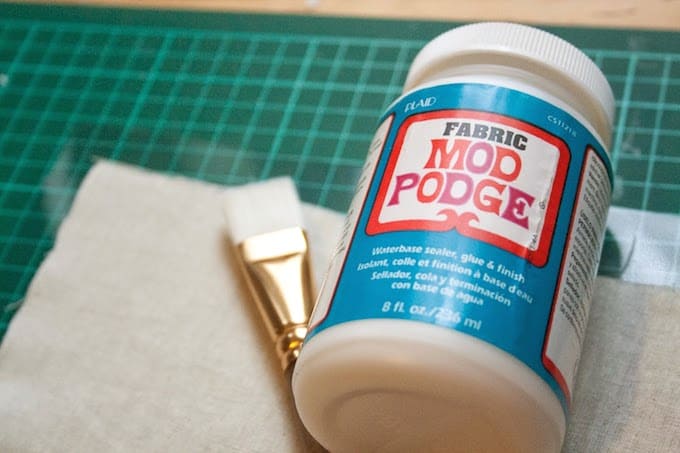
Now I will note – you don’t *have* to use Fabric Mod Podge. The purpose of this particular formula is to glue fabric to fabric and allow it to be washable. If you make a sign that isn’t on a dowel rod, you might want that.
If you are doing the same tutorial as below and never have to wash it – regular Mod Podge (Gloss or Matte) is fine. I just happen to have Fabric on hand and it works great in this situation. It’s also a little thicker which is nice for placement on my cursive word.
Gather These Supplies
- Fabric Mod Podge
- Wide and thin paint brush
- Felt
- Fabric piece for your word – I used calico
- Small dowel rod
- Pencil
- Acetate
- Scissors
- Strong craft glue
- Printer and paper
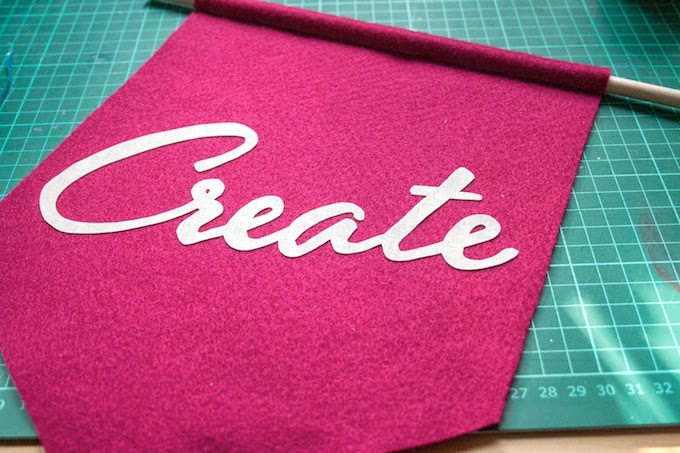
You can make a banner with any word! A season, holiday or even someone’s name. This guy now holds pride of place above my computer in my studio. 🙂
Get the printable how to below:
DIY Fabric Sign
Equipment
- Printer and paper
Materials
- Mod Podge Fabric
- Felt
- Fabric
- Dowel rod small
- Acetate or wax paper
- Craft glue
- Twine
Instructions
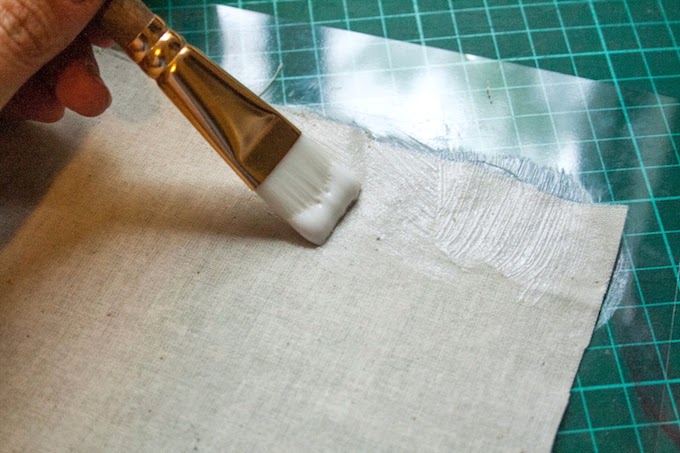
- Lay the fabric piece onto acetate or wax paper. Cover both sides of the fabric with Mod Podge. To do this apply a generous coverage of Mod Podge to one side of the fabric, flip it over sticking the fabric to the acetate. Then you can cover the other side. Leave it to dry.
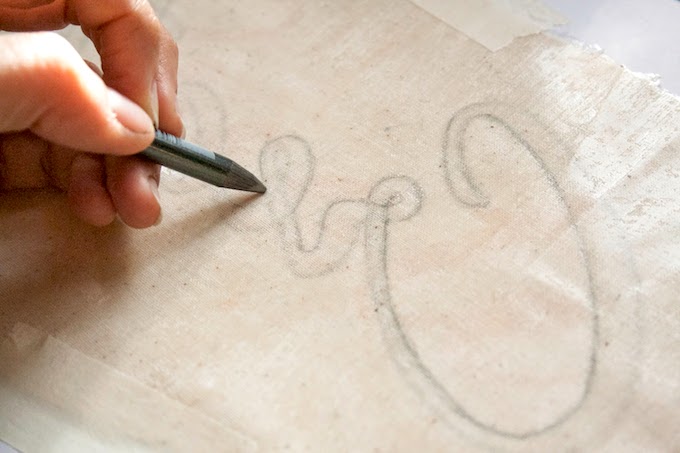
- Print out the word you want to have on your banner in reverse. Trace the word onto the smoother side of the fabric (still in reverse).
- Cut the word from the fabric using the scissors. You'll have no fraying due to the Mod Podge. Use a craft knife to cut out the small areas.
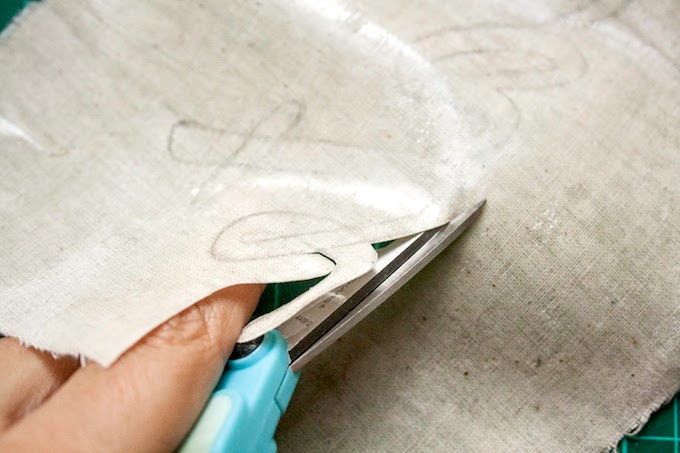
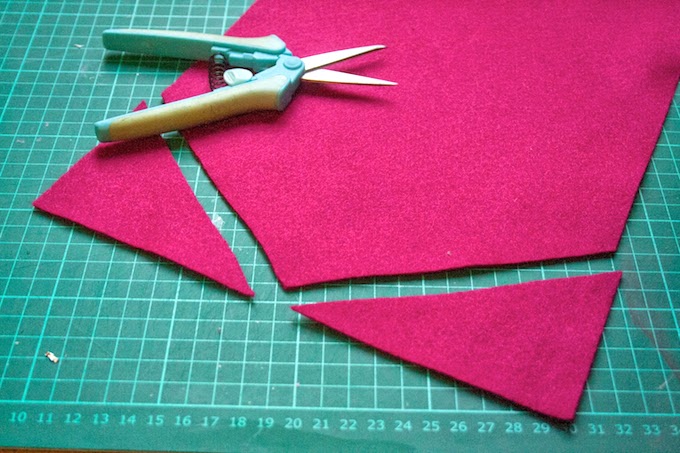
- Cut your felt into a point on one end. To do this, mark the center of the felt and about 2 – 3 inches on each side (depending on how sharp you want the point. Cut from both side marks to the center to create the point.
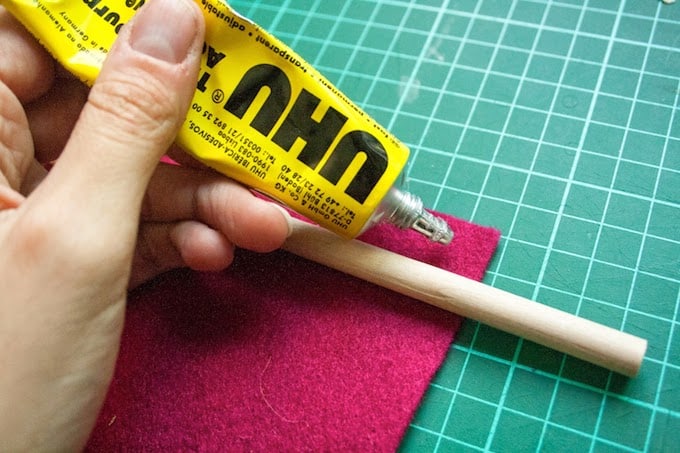
- Apply a strip of glue to the top edge of the felt and stick the dowel rod to it.
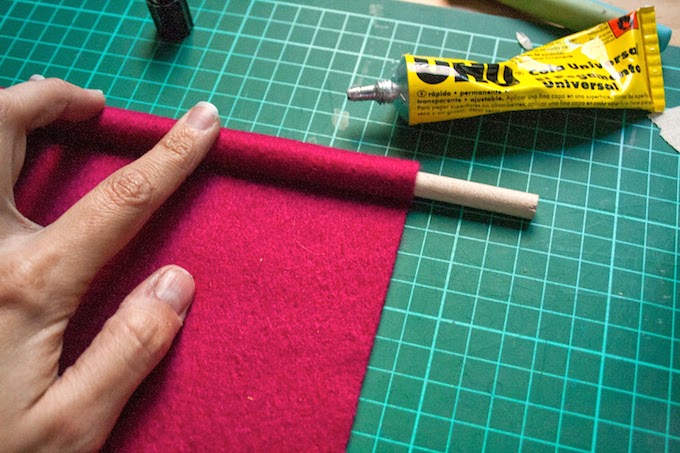
- Apply more glue to the felt and roll the dowel until it is totally covered in felt. Use something to hold the felt and dowel in place while the glue dries.
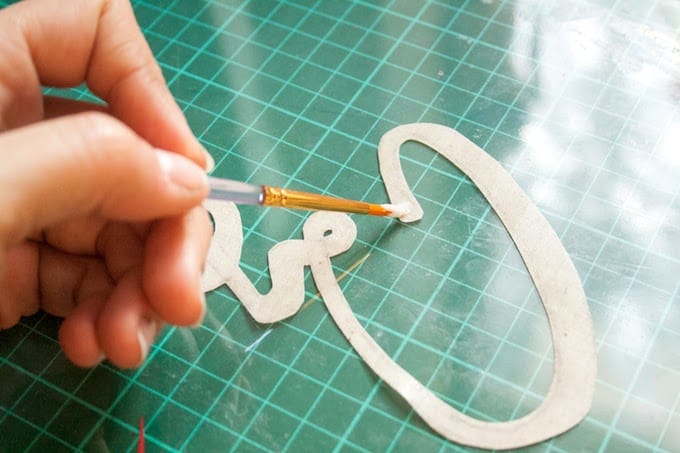
- Apply a generous amount of Mod Podge to the back of the word and stick it to the felt. Let dry.
- Cut a length of twine and tie to both ends to hang the fabric banner.
Notes
Now that you know how to make a fabric banner, check out some other home decor projects you might like:


How nice! Beautifully done & not so difficult as well 🙂
Can I use Fabric Mod Podge to glue felt to felt?
Hi Bryana! It’s a little tougher to glue felt to felt with Mod Podge, though it can be done. Felt is really absorbent. I would recommend putting a book or something on top of the two pieces to keep them together during the drying process.