Learn how to preserve flowers in resin with this easy DIY guide. Follow step-by-step instructions and watch the video tutorial to create stunning keepsakes!
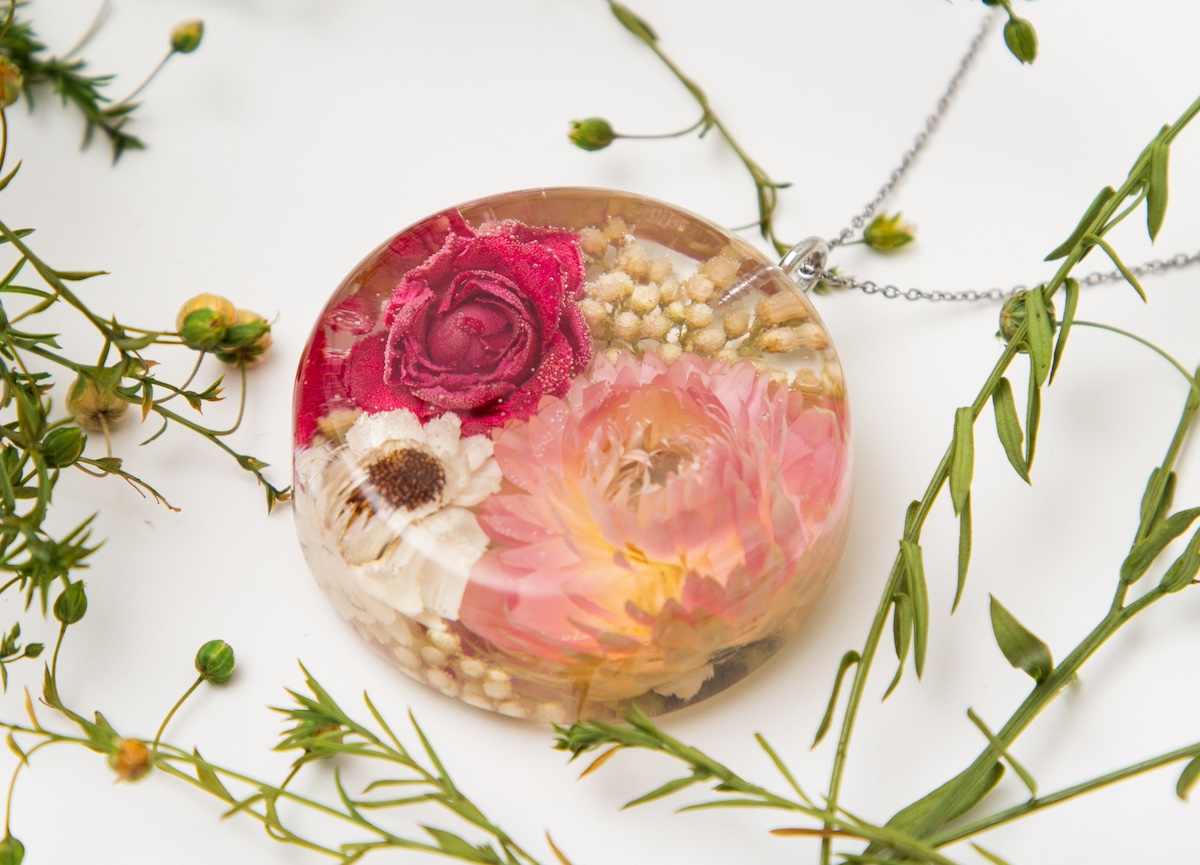
Are you curious about preserving flowers in resin? I’m excited to share with you today! Recently I learned how to use resin, and I have to admit, it’s game changing stuff.
I’ve used resin in the past a few times, but I was a looong time ago and I think it was just on a tray. Obviously I don’t remember.
Recently I got started down resin path again. I began with resin coasters and then geode coasters . . . then I decided it was time to foray into dried flowers.
Have you seen the beautiful jewelry and pendants that people are making? I wanted to try that too.
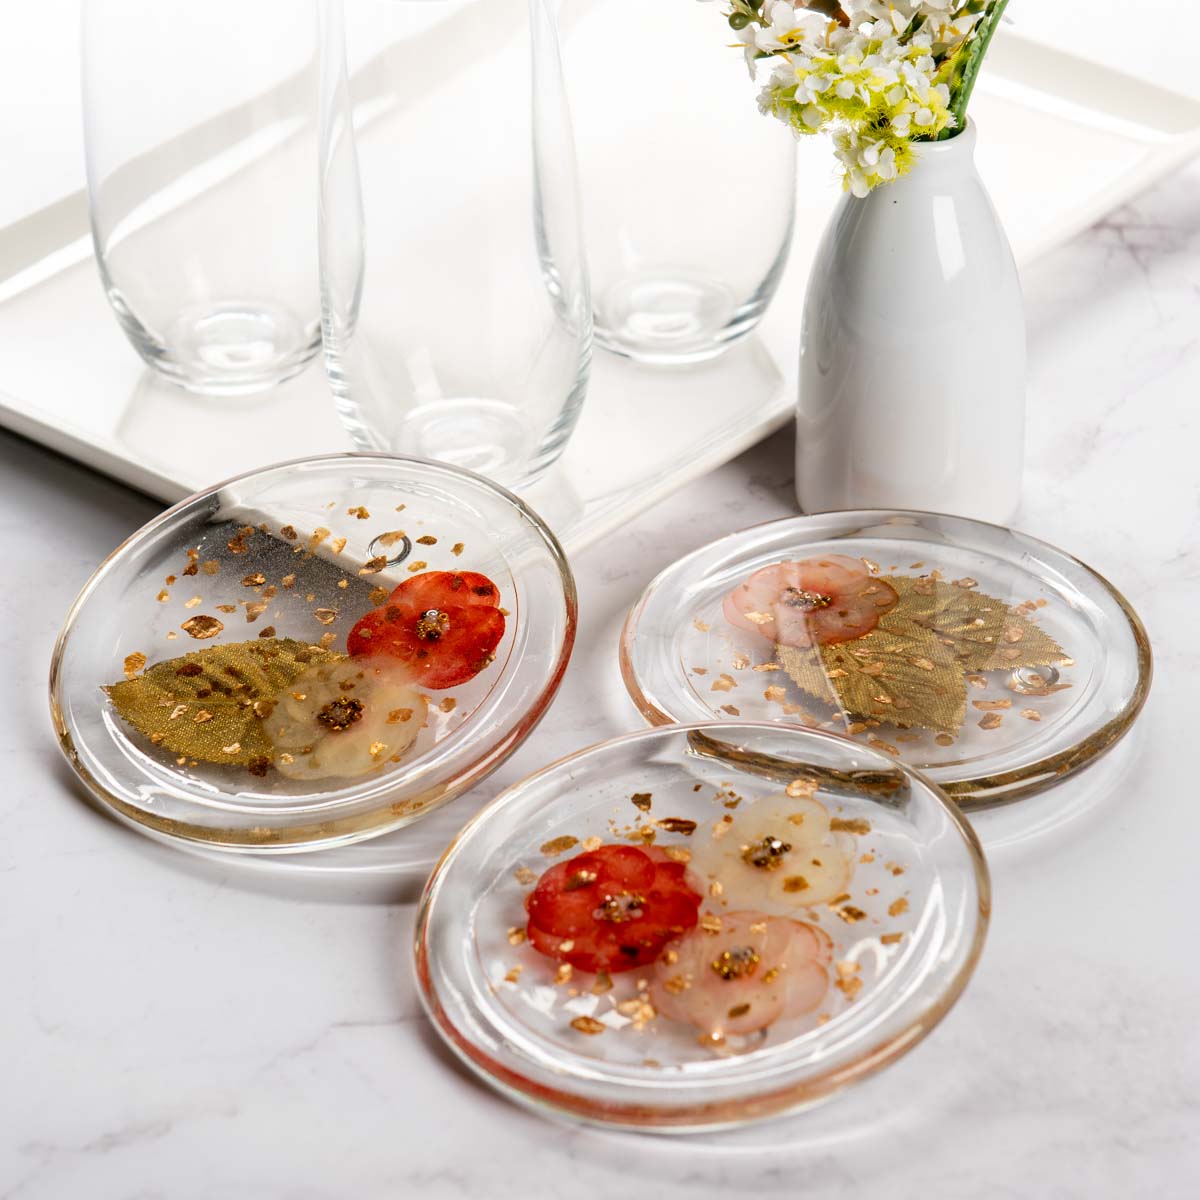
I started by preserving flowers in flat glass handle holders . . . and I’m going to show you what I did. This method will be the same whether you use a different surface or silicone molds.
Get ready to make one-of-a-kind keepsakes using this simple tutorial!
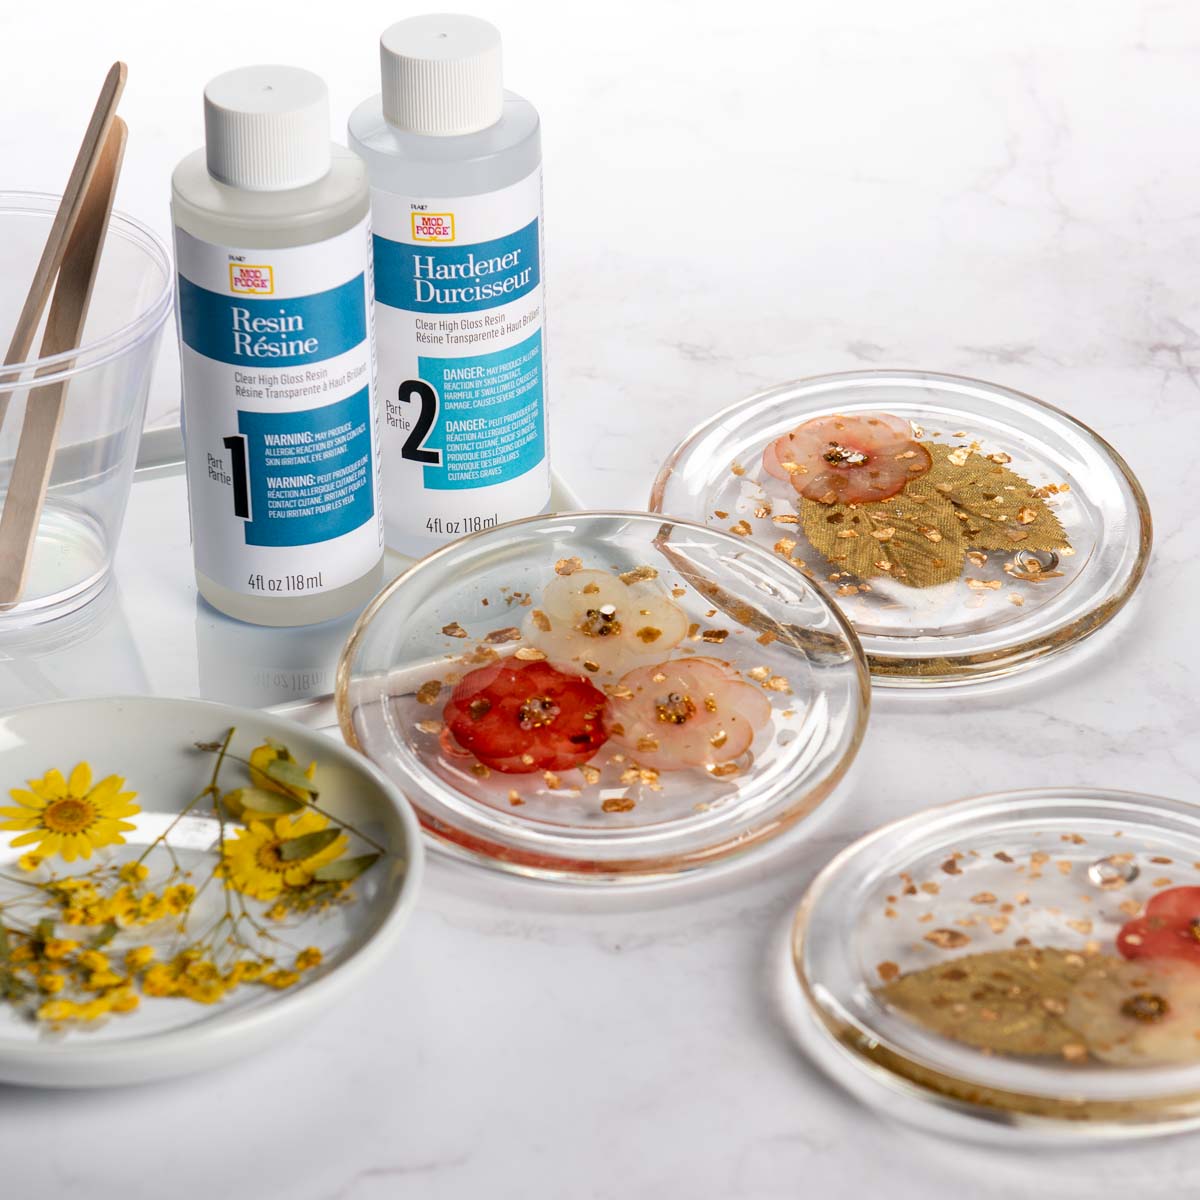
How to Preserve Dried Flowers in Resin
Before you use the resin, you’re going to need some dried flowers. You can purchase them (from Etsy or Amazon, for example). Or you can buy a bouquet or use your own from the garden and make them.
Press/Dry the Flowers
There are several ways to dry (and press) flowers. If you use the methods below, you’ll want to use flowers as fresh as possible. Press them right after you pick them.
- Wooden flower press – two pieces of wood attached with screws at all four corners, leave to dry naturally for 3 – 4 weeks.
- Between the pages of books – place flowers between parchment paper in the pages of a heavy book, close and weight down with more books. Leave to dry for 3 – 4 weeks.
- Silica gel – this is a great way to dry flowers that you want to keep dimensional (like for paperweights or pendants). It takes 2 – 7 days. I haven’t found a way to keep flowers flat in silica.
- Microwave press – the flowers stay between two ceramic tiles held together with rubber bands. It seems to preserve the color the best, and you can do it 30 minutes.
My favorite method is microwaving because it seems to retain the color the best. Note: most flowers will lose some color during the drying process. It’s inevitable unless you use other, commercial processes.
Supplies You’ll Need
You’re going to need some supplies in addition to the flowers. Here’s what you should have ready:
Epoxy resin – usually a two part system with a 1:1 mixing ratio of resin and hardener.
Surface or silicone mold – you’re going to embed the flowers into something whether it be a flat glass candle holder or a silicone mold (to make jewelry pieces or paperweights, for example).
Personal protective equipment – eyewear, respirator, and gloves are typically recommended. Read your package instructions.
Mixing cups and craft sticks – you’ll need a cup to mix the resin and then separate cups for mixing resin with additives. Popsicle sticks are for stirring.
Tweezers – dried flowers can be quite fragile, so tweezers can help you place them without crumbling the petals.
Additives – there are all sorts of things to embed in a resin project with the flowers like alcohol inks, glitter, and gold flakes.
Timer – you can use your phone obviously, but you’ll need something to track stirring time.
Heat gun – this is optional, but if you’re planning on working with resin, it helps remove bubbles easily.
Mix the Resin
Mix the resin according to the package instructions. It will be a 1:1 mixture of resin and hardener.
The estimate for this project in terms of resin required is approximately 1.5 oz per holder.
Measure resin by volume, not weight. Use a separate measuring cup for each part. Once equal amounts of both parts are measured, pour them into a mixing cup. Gently stir the two parts together for 3 minutes. When you start to stir, cloudy swirls will appear.
Arrange the Flowers
Arrange the flowers on the glass candle holders as desired. Dried flowers are very fragile so use tweezers to help you with the placement.
Add the Resin to the Glass Dish
Slowly pour clear resin over the flower. Fill the candle holders as much as possible without overflowing. If the dried flowers begin to float, push them back down using a toothpick.
Sprinkle Gold Flakes
Sprinkle gold flakes over the clear resin.
Remove Bubbles and Let Cure
Remove bubbles using a heat gun or resin-safe bubble remover. Let set for five minutes and then repeat to remove additional bubbles if needed. Allow resin to cure fully according to package instructions (likely 24 hours).
Will flowers turn brown in resin?
Yes, if they are not properly dried. They can break down inside the resin if you don’t dry them properly, and your project cannot be fixed. So make sure they are completely dry before using!
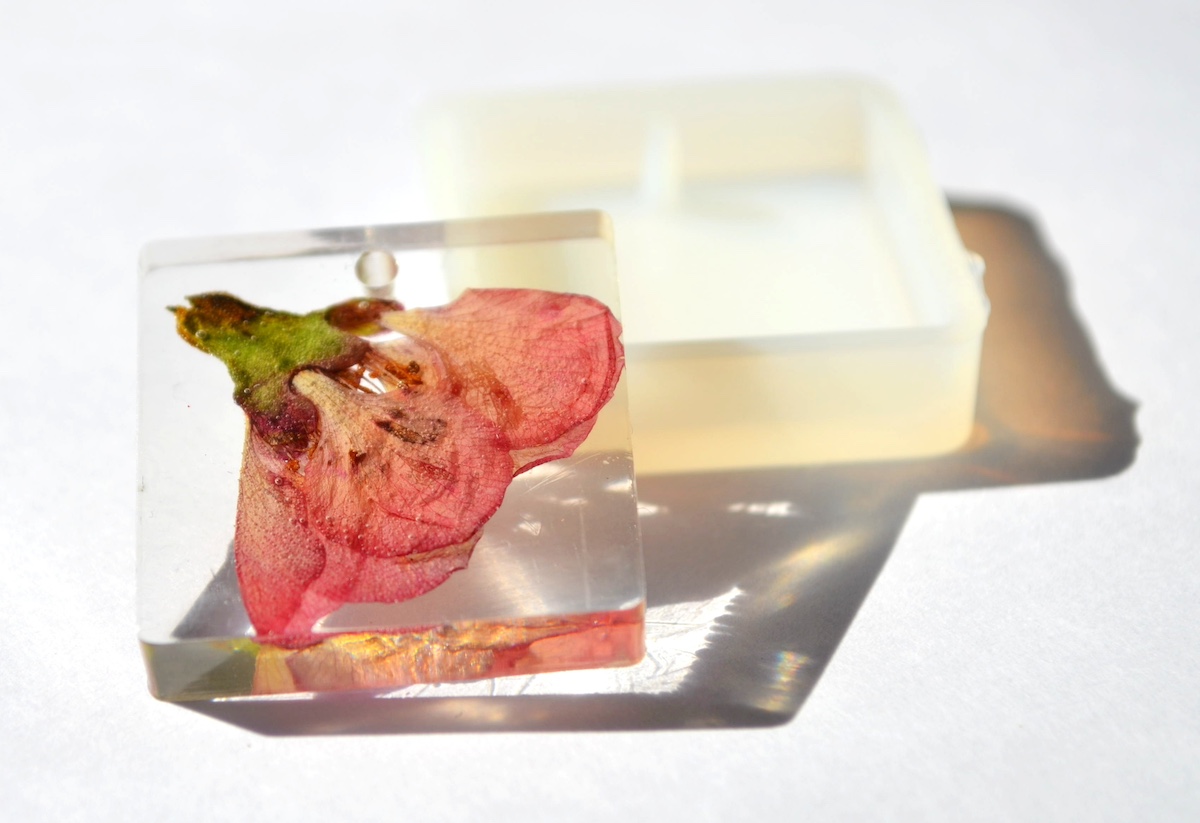
You can see the entire process in the video below:
Let me know what you think of this project – or if you have questions – in the comments. I’d love for you to check out these other resin projects:
Cutting Board • Keychains • Ocean Resin Art • Resin Frame • Wood Slice Coasters




I have molds. Is it hard to remove product after dryer.? How do I do that?
Hi Janet! No it is not hard to remove the product when it’s fully dry. The product will be hard and you should just be able to pop it out b/c the mold is flexible. If the mold is not flexible you’ll have to cut it away.
I have dried flowers that were not pressed. Will the resin crush them?
Nope! You should be able to put them in the resin just fine.
How do you know how much resin you will need?
You can calculate it based on size: https://www.artresin.com/pages/calculator
I collected some pretty fall leaves and would like to use them in a resin paper weight. Can they be dried with the silica mixture and not turn brown before using them in the resin? Is there a way to keep them from going brown?
Hi there! Check out this post for more info: https://modpodgerocksblog.com/diy-pressed-flowers-with-mod-podge/
Certain flowers dry with more color than others.
How do you either make a hole when done (for hanging) or put something in to create the hole while it dries? I’d like to make ornaments for the kids from my mom’s memorial flowers
You can drill into resin! Just go slow and use painter’s tape on each side. Drill right through the tape. It keeps the resin from cracking.
Hi Amy! I hope you answer this. I’m trying to preserve my wedding bouquet!
How should I press flowers after drying in silica?
Thanks!
Hi Isabel! Hmmm – you should press them and let them dry at the same time. Now that your flowers are dry, they are fragile and not flexible because the moisture is gone. I wouldn’t press them.
If I want to make a pin, is there a way to add the pin part, or just glue it after?
I’d just glue it on after with E-6000 or jewelry glue. That will stick to the resin. Reason I say that is because I’m not sure about the pin back sinking into the resin.
For memorial flowers that have already been dried in a bouquet, can you preserve in resin in the bouquet? What is the best way to do it?
I would like to make a paper weight. My original thought was that I would have to put some resin in the container first and then put the flowers on top so that there would be a layer of resin between the flowers and the outside when finished..But your instructions say pour right over the flowers. And I guess it goes underneath them?
@Sherry Y, look at her video up on top of this post, before the instructions. It shows a more detailed, & that’s what she did as well. She poured resin, I believe let it cure for 20 minutes, & then added the flowers & more resin. I had thought the same thing, but I found her video & it helped me.
I have dried and pressed white daisies and a few other white flowers. I’m putting them onto a tumbler. I got them “stuck” down so to speak. Then I used a quick coat epoxy and the flowers went transparent. Will the white come back when it dries?
I couldn’t find the video on this tutorial and was wondering where to find it? In addition, I’m wondering if you have a link to flat candleholders or something that we can use to preserve flowers. I have two or three flowers for my daughter’s baby shower that I would like to preserve. TIA!
cannot find the video for wedding flowers as promoted above. where can i find it.
Awesome idea!
I have all the supplies to make resin art. Maybe this will help me have the courage to try it.
Those are gorgeous! Thank you for the tutorial.
I look forward to your craft iseas!
this is something I have always wanted to try! thank you for the tutorial
thank you for the tutorial…this is a project I have always have wanted to try
Wonderful
I’m interested in learning more about resin
I am eager to give this a try! Thank you.
Can’t wait to try this s
Did you use a respirator when working with epoxy resin? Would you consider it safe to use indoors? And with other family members around?
just a heads up … when using flowers in resin the best results are actually had when you do a thin layer FIRST and lay down the flowers on that. otherwise it’s difficult to keep flowers in position and they rise to the top and create bubbles. the second pour will seal them in perfectly.
Just watched the video and can’t wait to try it with some wedding bouquet petals those resin pendants are stunning.
awesome