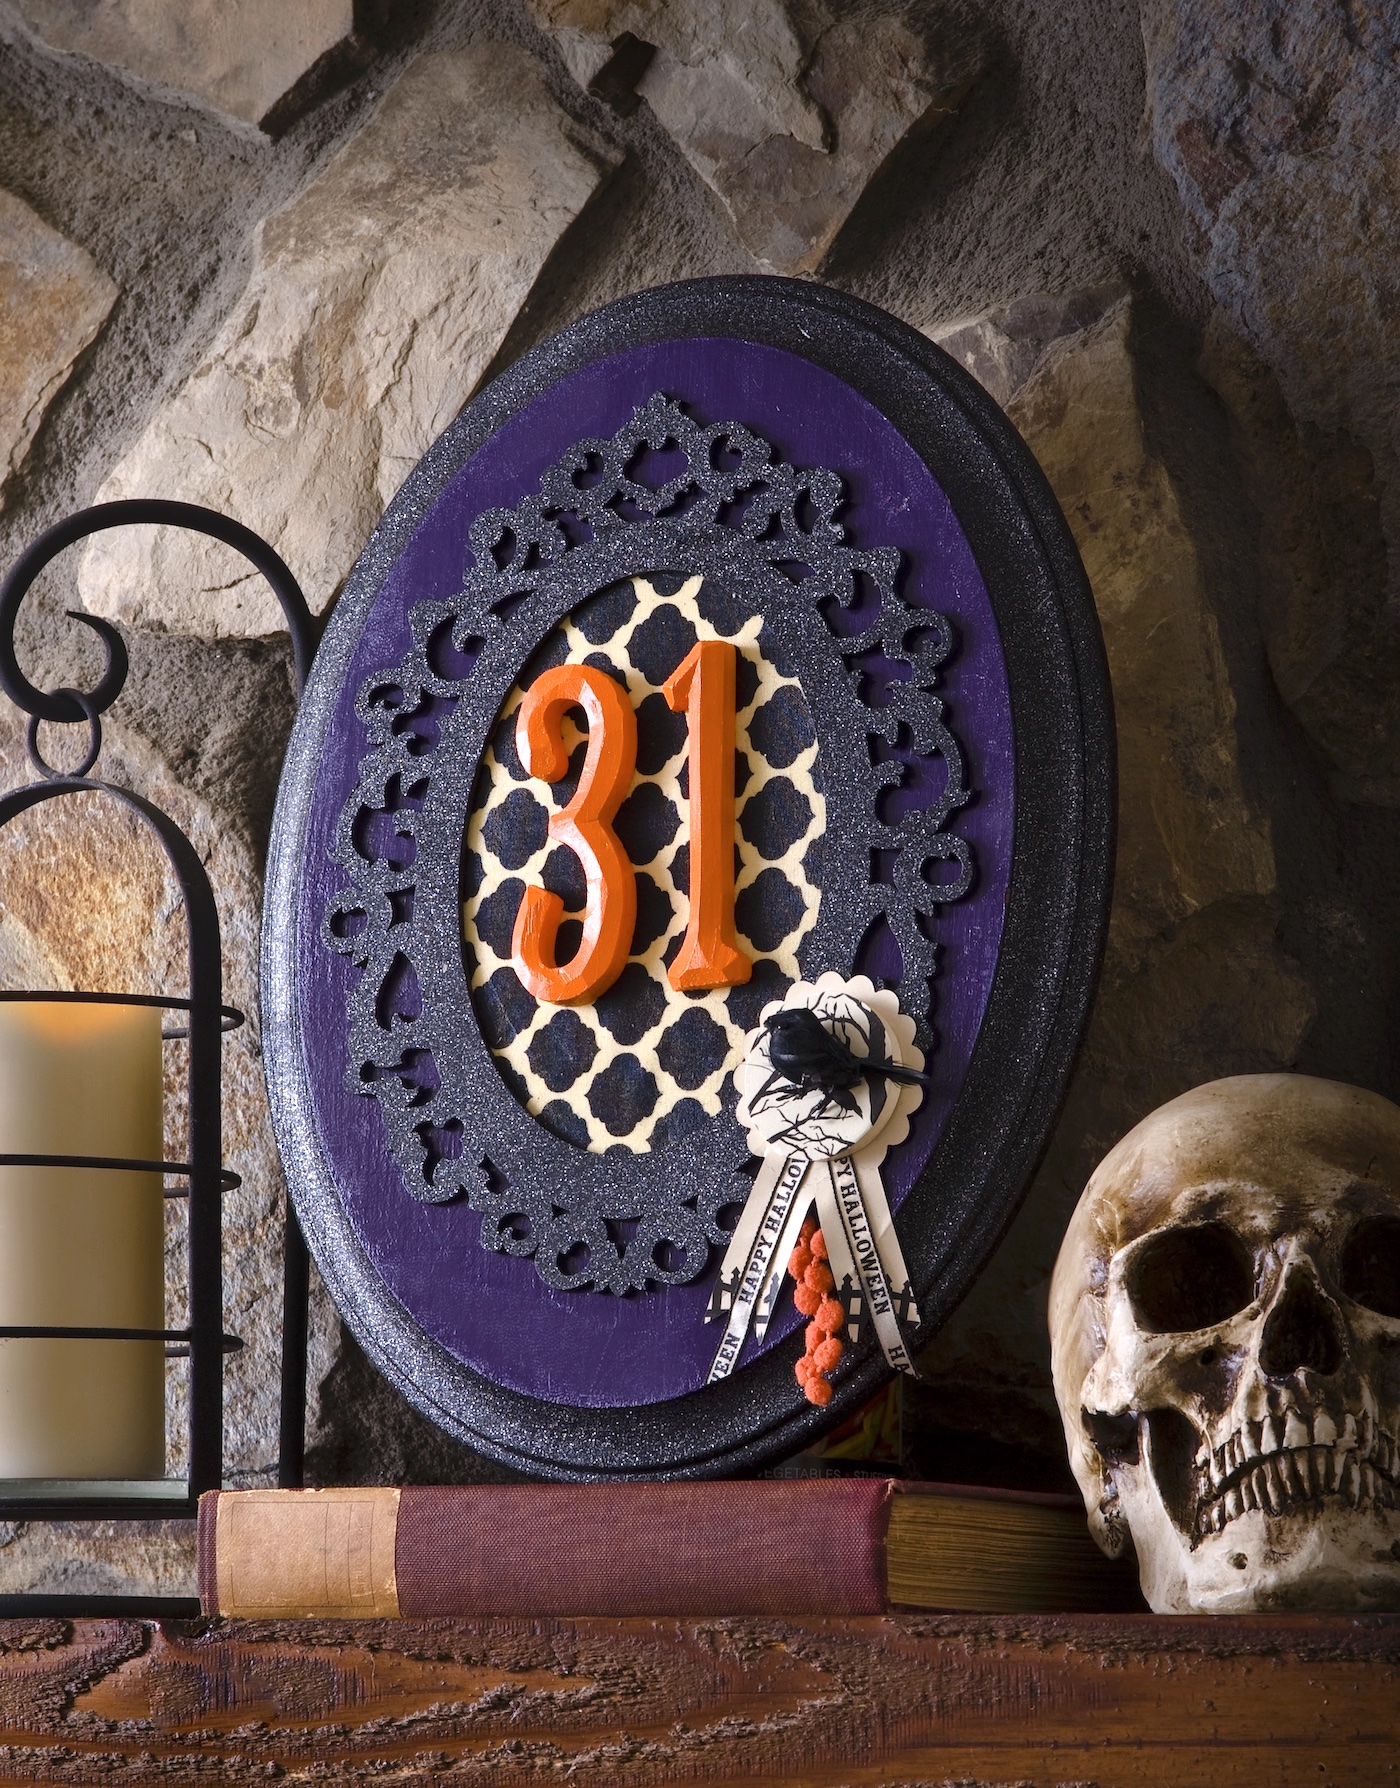
I love unique Halloween wall decor, especially when it involves glitter. I created this Halloween plaque with several items from my stash!
It’s Halloween, and I can’t tell you how excited I am! If you have been around this blog for a while, you already know it’s my favorite holiday – and you know that I’m always looking for fun DIY Halloween decor ideas.
What you may not know is that one of the biggest reasons I love Halloween is because I get to use black glitter. I love black glitter. Who am I kidding – I love everything about Halloween.
I’m participating in a blog hop today where all of us are using Krylon Glitter Blast, and the result is this Halloween plaque that I love so much. I also got to use orange pom pom trim, my favorite Sizzix Big Shot die Award Ribbon, and Mod Podge. It’s a total win-win.
I will tell you before I start that this tutorial isn’t short. But If you really love me then you won’t skip it. Kidding. Sort of. Here’s how to make this easy Halloween craft for adults below.
DIY Halloween Wall Decor
Gather These Supplies
- Krylon Glitter Blast – Starry Night
- FolkArt Acrylic Paint – Glazed Carrots, Pure Black, Purple, Wicker White
- Mod Podge Gloss
- Decorative wood plaque and frame
- Wood numbers “3” and “1”
- Wood circle – 2″
- Fabric – scrap piece in coordinating colors
- Scrapbook paper – Halloween patterns, small scraps
- Halloween embellishments – ribbon, orange pom-pom trim, small black crow
- Stencil tape
- Craft glue
- Pencil
- Paintbrush
- Scissors
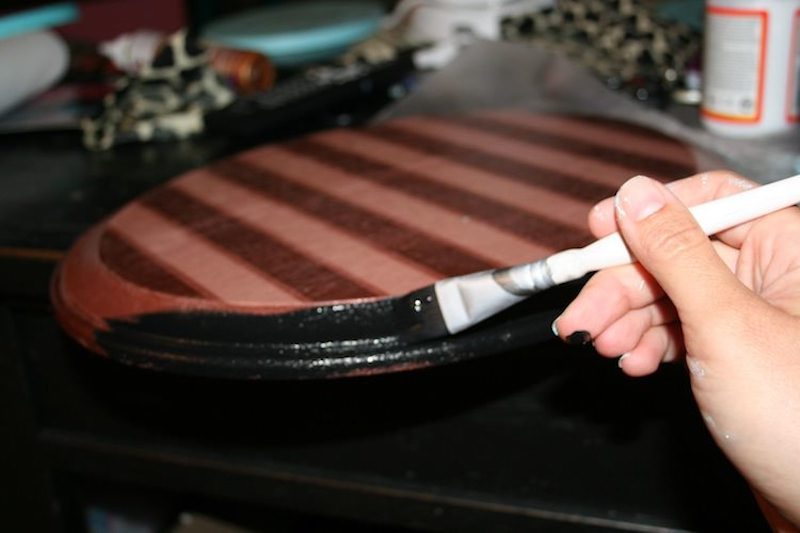
First step is to paint the plaque and the wood frame with Pure Black. I reused a plaque from a project I was going to do last year but never finished. Whoops. I only painted the edge of my plaque.
At this time, you should also paint the numbers, which I didn’t take a picture of. Paint them Glazed Carrots. Let everything dry.
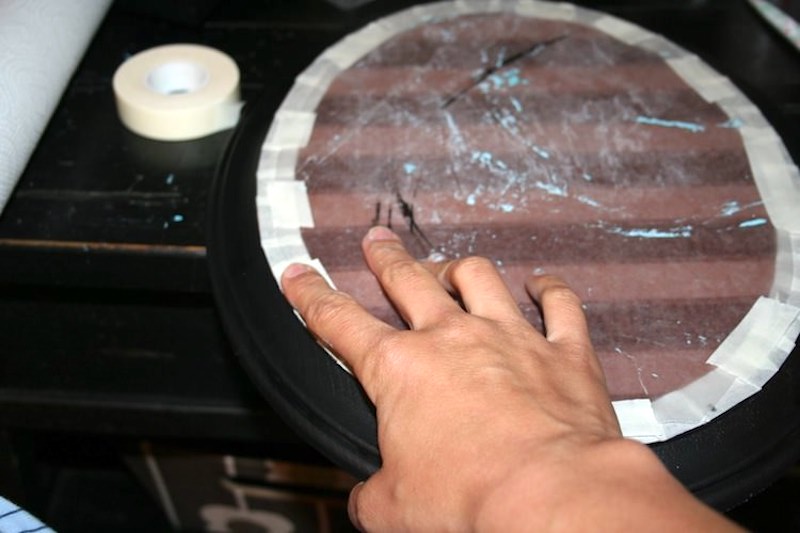
My next step was to tape the plaque using stencil tape. I just wanted to hit the edge with glitter, so I taped around the top edge and then put wax paper down in the center.
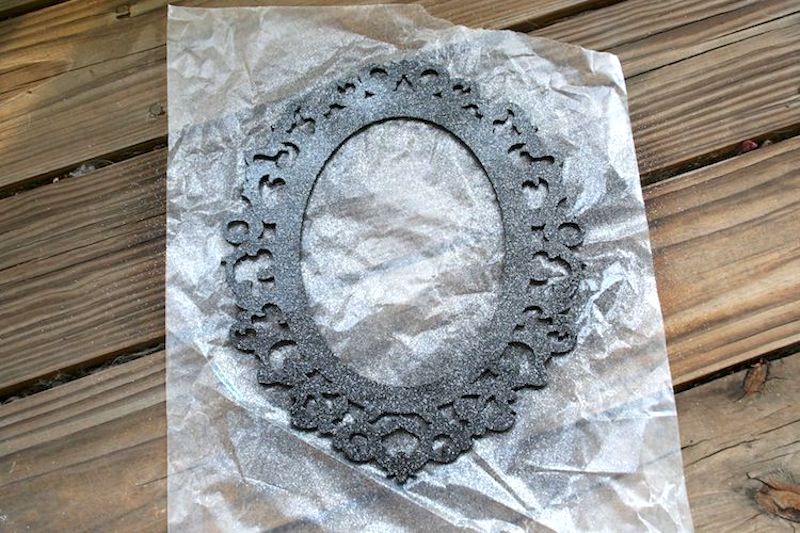
I took the plaque and frame outside and placed them both on wax paper (love wax paper lately, major thanks to the inventor). Then I sprayed the frame with Glitter Blast.
I was shocked when glitter actually sprayed out of the can. A lot of glitter. A ton of glitter! It really looked amazing on the black paint. My Halloween wall decor is going to be awesome! Let dry.
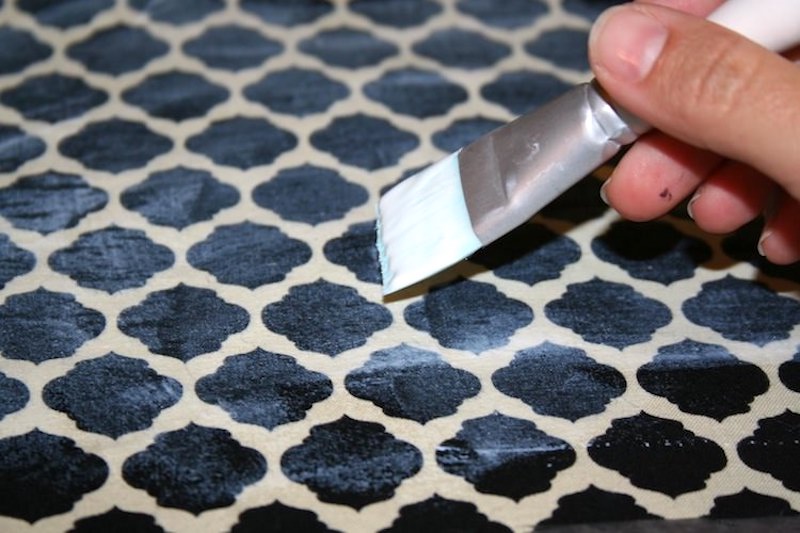
Next step was to prepare the fabric using Mod Podge. I laid down a piece of wax paper and spread a thin layer of Mod Podge over the top. This makes it easy to cut. Let it dry before cutting though.
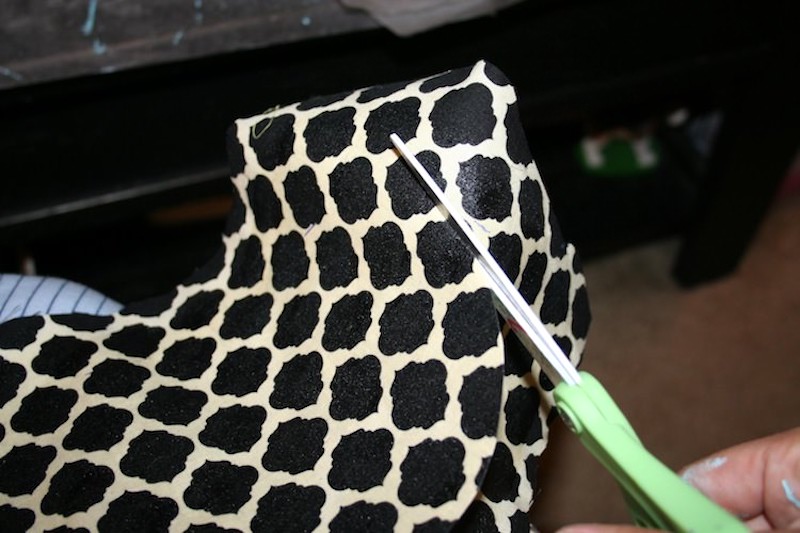
I measured the fabric to fit inside my decorative wood frame and then cut out an oval.
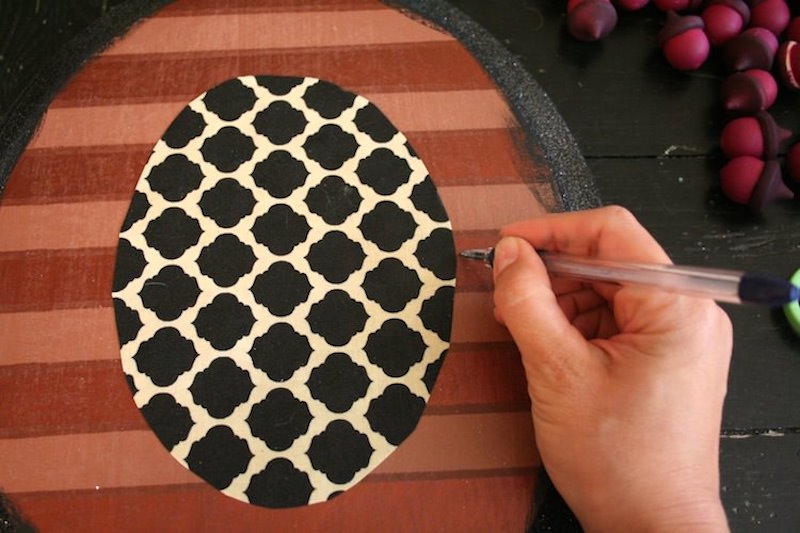
I laid the oval down in the center and traced around it. You’ll see why in a minute. It doesn’t look very much like Halloween wall decor . . . yet.
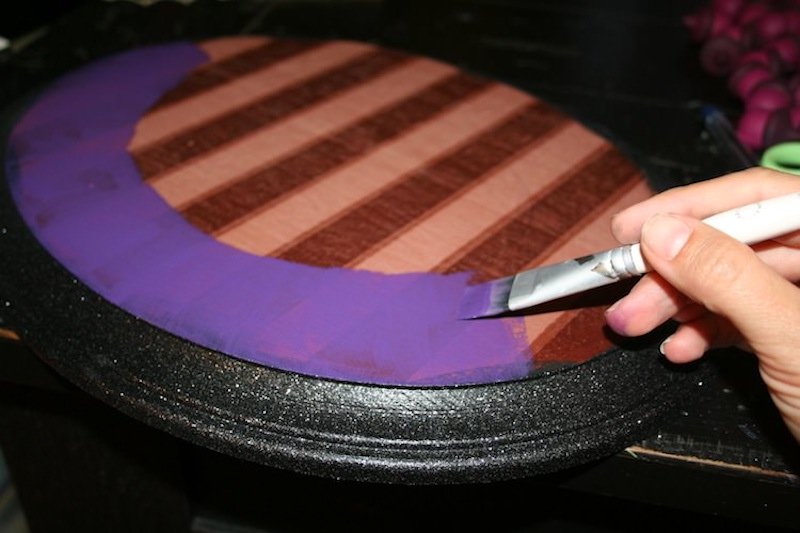
I painted the purple around the edges – not inside the oval I just traced. Coat thoroughly and let dry.
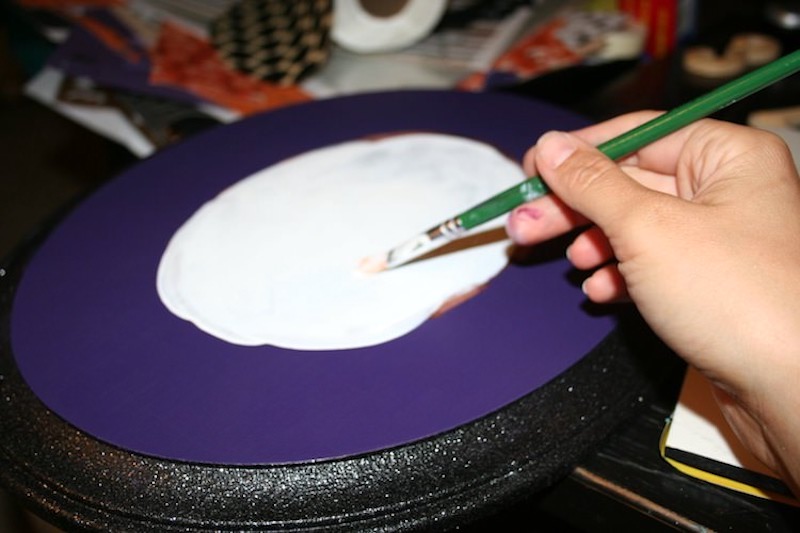
I painted white in the center of the oval I traced. Why? I’ll tell you. My fabric is black and natural colored – if I put purple paint below it, the purple would show through the natural part of my fabric. Yep!
It’s always smart to paint white behind lighter colored fabrics before Mod Podging down to a dark surface. Use something black, orange, or purple for your Halloween wall decor.
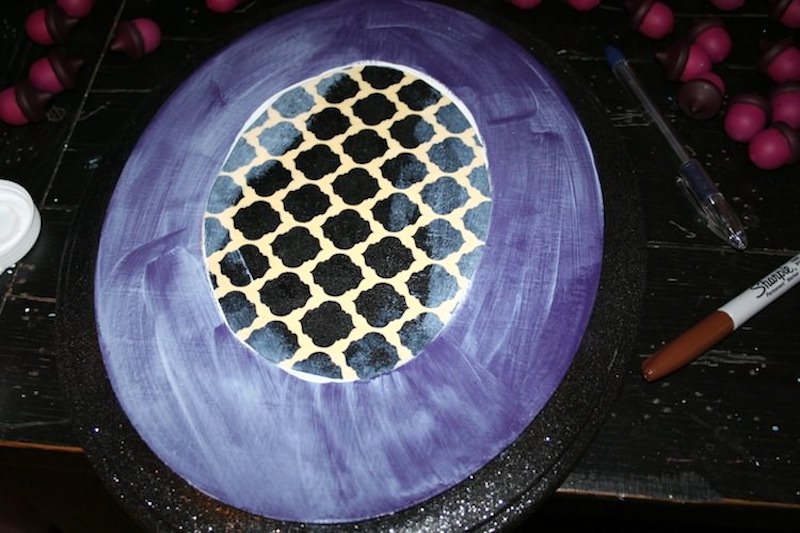
Mod Podge the oval to the center of the Halloween plaque and then Mod Podge the entire top. Let it dry. DO NOT Mod Podge over any glitter. You will dull it.
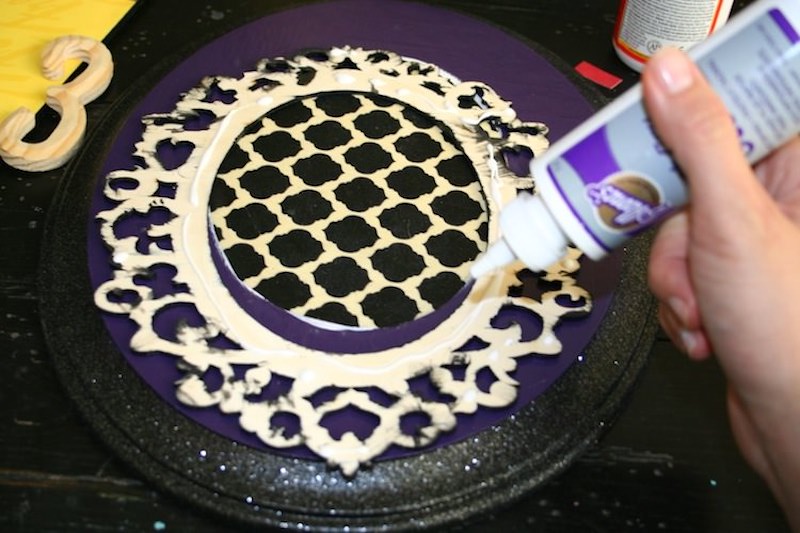
Glue the frame down over the fabric, making sure to cover up the edges.
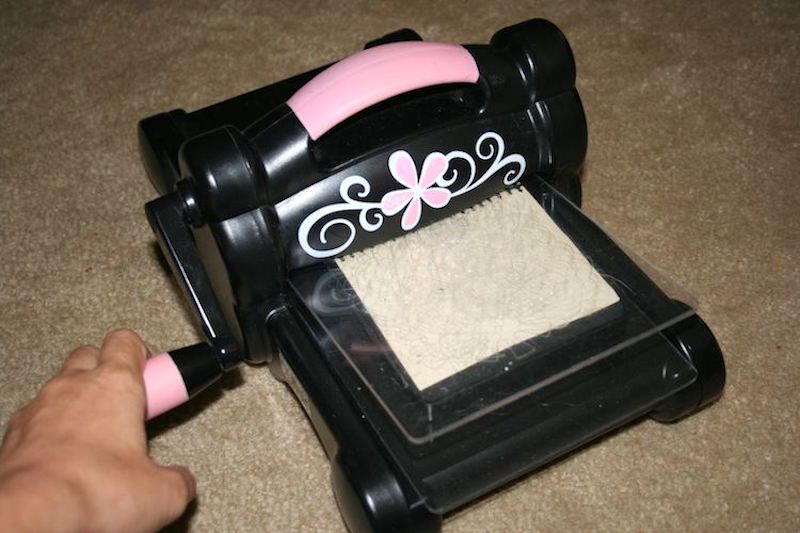
Bust out the Sizzix Big Shot and make an award ribbon out of scrapbook paper. If you don’t have a fancy machine like this, use free clip art online to trace and cut out the same shape.
There are no limits to the kind of accents you can use on your Halloween wall decor. I just my imagination go wild!
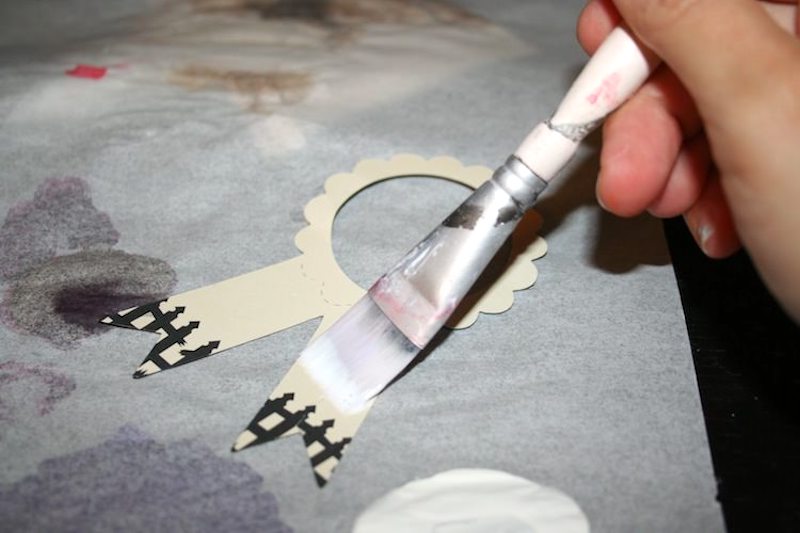
Mod Podge the award ribbon.
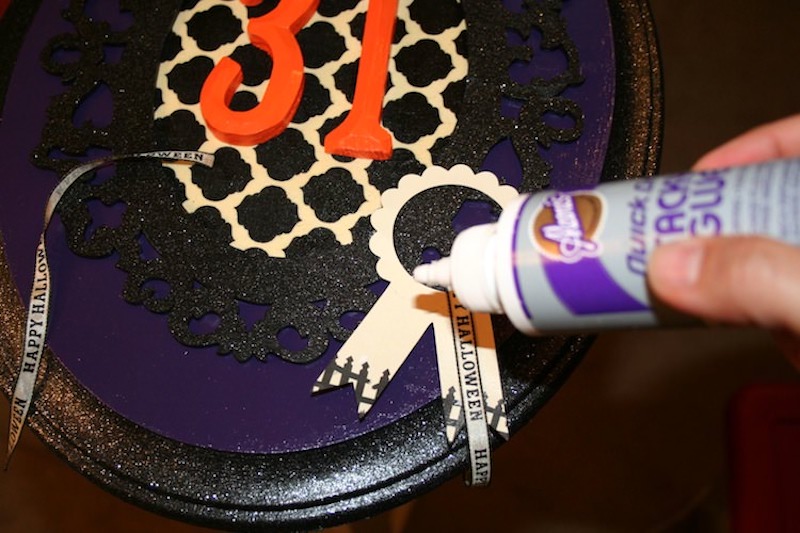
Glue the numbers and award ribbon down and let dry. Glue the ribbons down at this time, right onto the bottom of the award ribbon.
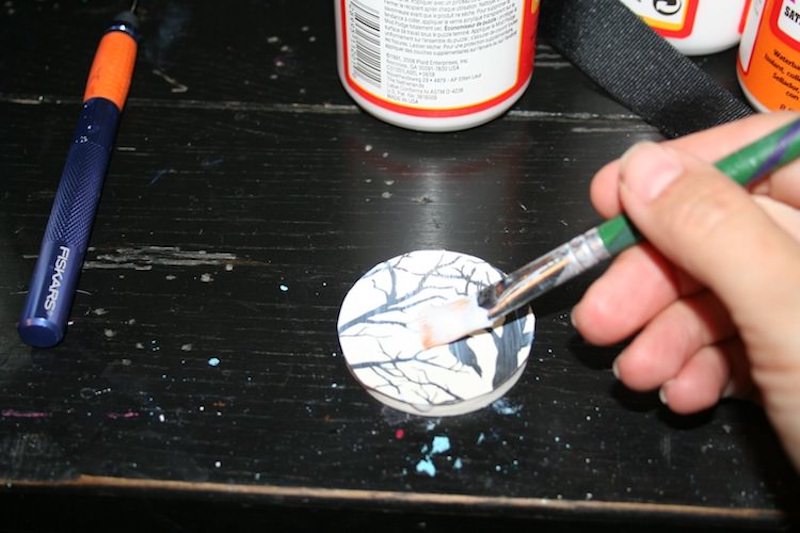
Paint your wood circle with Wicker White, cut out a circle shape from one of your scraps of paper and then Mod Podge it to the top. Your Halloween wall decor is nearly done.
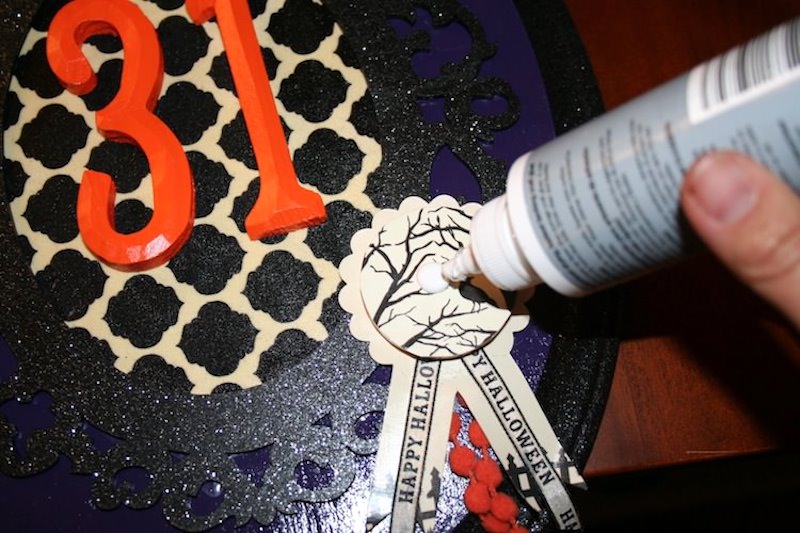
Glue the circle AND the bird to the award ribbon. Let it dry and your Halloween wall decor is complete.

Check it out! I’m pleased. Just need to hang it, but in the meantime I’ll let it sit on my mantel with Skully.
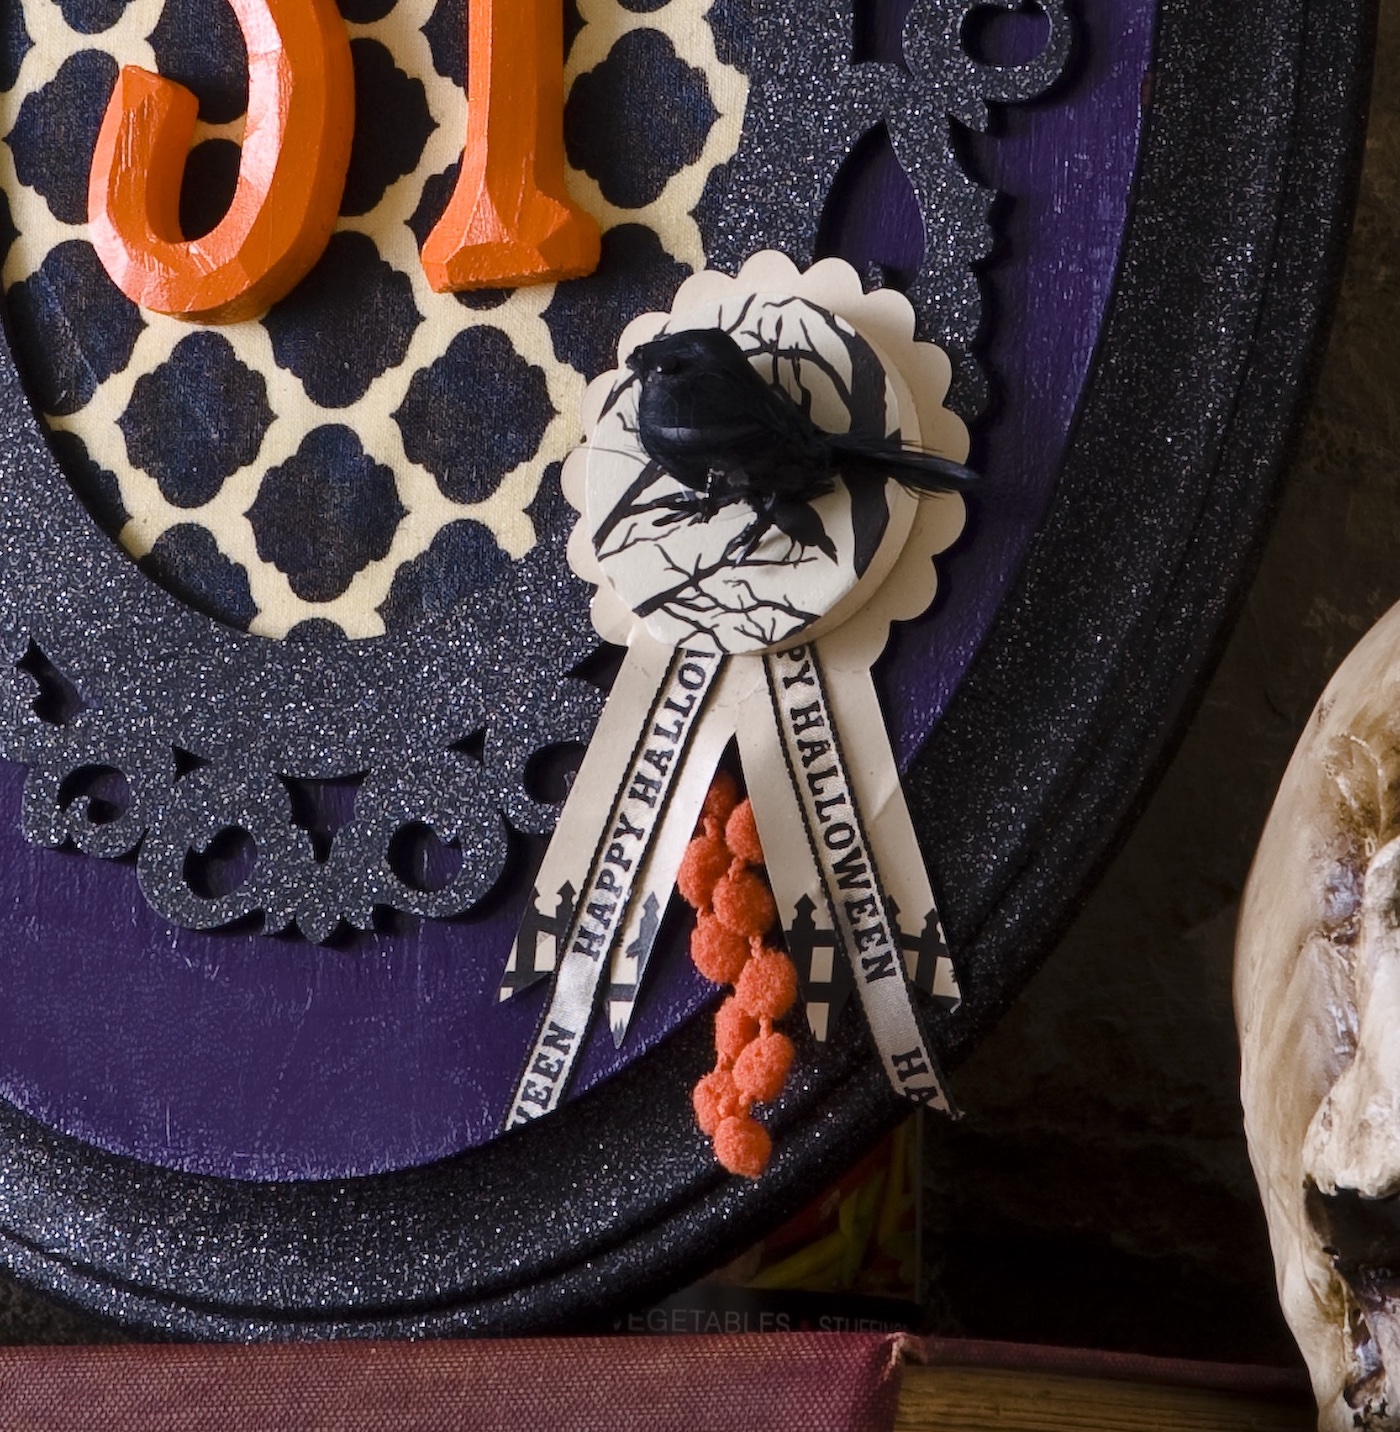
Here is a close-up of the Glitter Blast. It’s even more amazing in person. So what do you think of my Halloween wall decor?
If you enjoyed this wood Halloween project, I’d love for you to check out these other ideas!
BOO Letters • Button Art • Cheesecloth Ghost • Coffin Tray • Decorating Wood Cutouts • Decorative Blocks • DIY Wreath • Dollar Tree Wood Pumpkin • Door Hangers • Fairy Garden • Halloween Ornaments • Mason Jar Lanterns • Mummy Luminaries • Paper Cones • Potion Bottles • Spooky Candle Holders • Spooky Pumpkins • Window Art • Witch Hat Garland • Wood Ghost Decor


awesome contest for halloween
this is awesome!!!
just hopping around different blogs this morning, looking forward to more of your posts!!
your newest follower!
Too fun, Amy!! I *love* your plaque!!
Wow…cute! I love Halloween too! Glitter? Can’t have too much of it in my opinion.~~Robyne~~
Interesting and exciting giveaway!
By the way, I’m your newest follower via GFC from Tuesday Blog Hop.
Please feel free to visit my blog. Looking forward to seeing you there, and hope you follow me back. Thanks!
Love this Halloween Wall Plaque, think I will make one too!
Light switch plate cover bombing with the glow-in-the-dark formula ;)https://growndzkyper.tumblr.com/
OK….So I see you used this product! Love your project and results. New follower!
Love the look of glitter blast, hated the clogging cans. Here is my review:
http://thepauperscastle.blogspot.com/2011/10/krylon-glitter-blast-heres-my-blast.html
I would love some insight. Especially if you have tips on how to make it work! Krylon was no help! I do love the look and I think it has great potential, but to much hassle for the expense in my opinion …or at least as of right now!