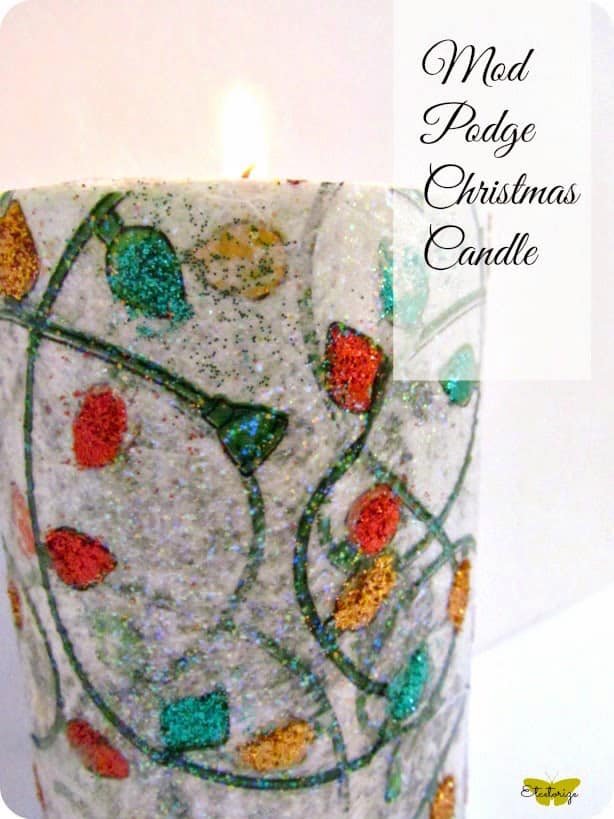
These unique DIY Christmas candles are so cute and easy to make with festive napkins! Such budget friendly decor you’ll love.
Skills Required: Beginner. You’ll be decoupaging a napkin to a candle. I recommend having experience with Mod Podge so that you know how to handle wrinkles.
Hi Everyone! I’m Tamara from Etcetorize where we craft, sew, and Mod Podge all year long.
I especially love Christmas crafting with Mod Podge though because it usually means that I get to really go overboard on sparkle and glitter!
Today we’re going to make a fun and super easy project to light up your Christmas table or mantelpiece in just a few steps with decoupage medium. It looks like a Christmas candle, and it is . . . but it’s actually a Christmas candle holder. I’m going to show you what I mean.
Use this idea for DIY Christmas candles all over your holiday home!
Homemade Christmas Candles
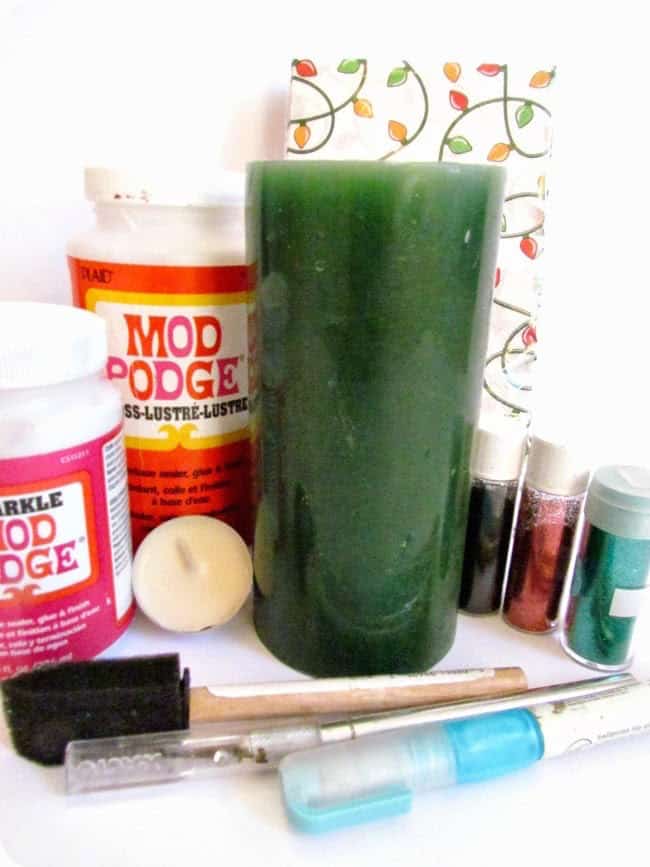
Gather These Supplies
- Pillar candle (I got mine at the thrift shop) – they are also available at Dollar Tree
- Holiday themed napkins
- Mod Podge Gloss and Mod Podge Sparkle (optional)
- Glitter
- Sponge brush
- Craft knife
- Glue pen
- Tealight
- Scissors
- Ruler
Instructions
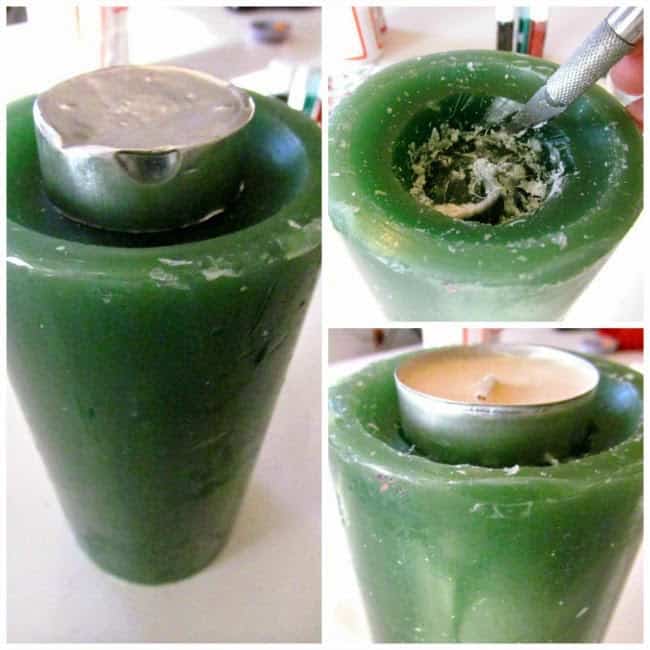
1) One of the things I love about Mod Podge is that it’s non-toxic. That being said, I still don’t think it’s ever a good idea to mix fire and adhesive, so we’re going to carve out the top of your pillar candle just enough to fit a tealight.
Simply press an upside down tealight into the top to get your basic shape and then carve it out with a craft knife.
If you have a battery operated tealight, that’s even better!
2) Measure the height of your candle and cut enough of your napkin to wrap around.
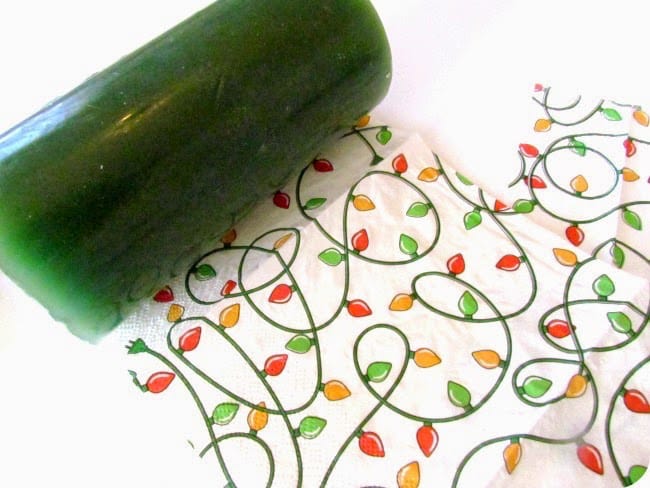
3) Napkins usually have 2-3 layers of tissue. I usually just like to use the top 1 or 2 layers. Because this candle is so dark and my tissue is so light. I kept the second layer on.
If you’re using a dark candle and don’t want the color to bleed through, consider giving it coat of white paint first. You can paint the Christmas candles because you will only be burning the tealight!
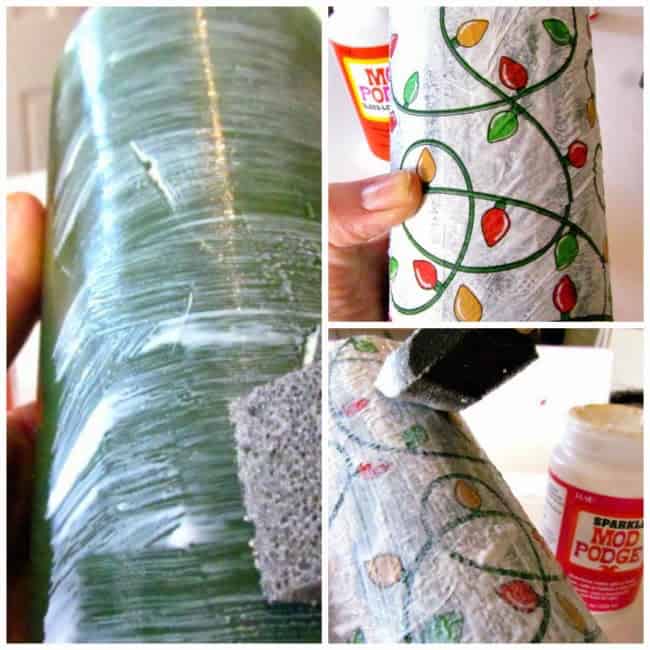
4) Now for the fun part! Slather on a nice layer of Mod Podge all over your candle. Gently press down your napkin, trying to keep edges even.
If you want to add some sparkle, add a generous layer of Sparkle Mod Podge over top to seal everything in or just use the Gloss formula.
5) Your paper will be very wet and very fragile at this point so set it aside to dry for several hours. My tip is to slip a thimble or thread spool underneath so that your candle doesn’t end up sticking to your work surface.
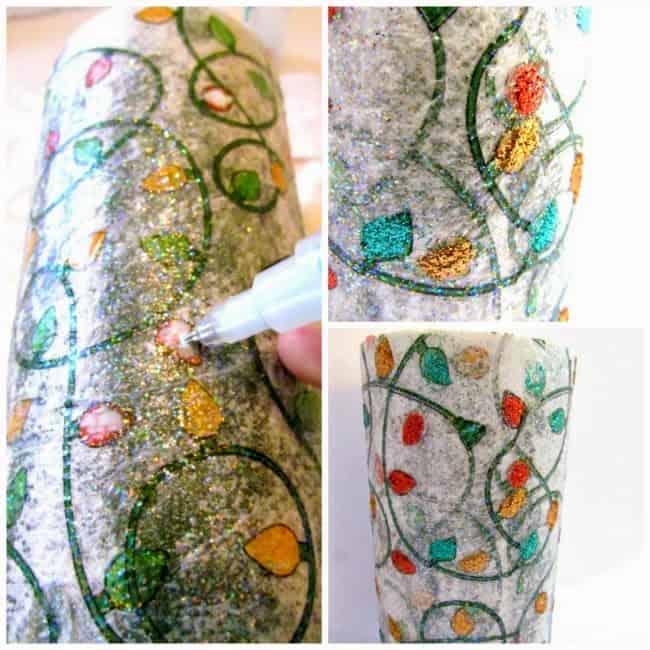
6) Once your Christmas candle is dry, you could be finished. But if you want to take it to the next level get out your glue pen. Draw in parts of the napkin images and sprinkle on glitter to make them really stand out.
I did each glitter color separately to avoid cross contamination of colors. Once that’s dry, make a few more. You can set up your DIY Christmas candles in a special place for holiday decor.
I hope you enjoyed this easy Christmas candle project! I’d love for you to check out these other ideas as well:



Wow looks gorgeous that candle i was looking for ideas so thank you!!!!
Hello, thank you for the information. Which Mod Podge would be great for dipping pillar candle sticks to make them super glossy?