Create a desktop fairy garden with gnomes, woodland animals, and other forest accessories. Customize with glitter and hot glue!
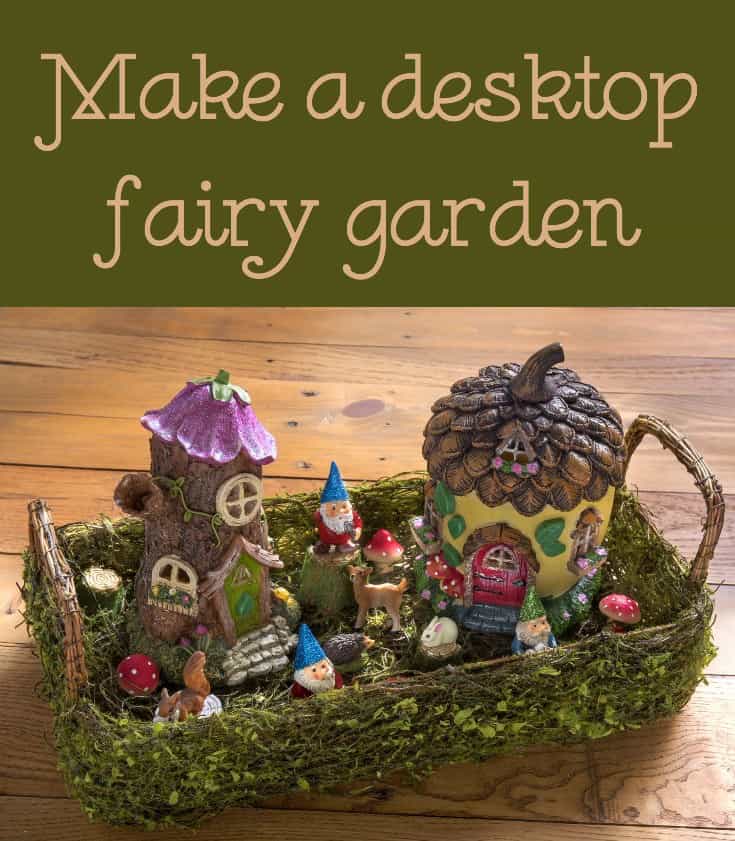
Have you noticed that fairy gardens are starting to pop up everywhere? I’m kind of obsessed with them. I’ve always loved gnomes and other magical woodland creatures, so fairy gardens appeal to that imaginative side of me.
Recently I was in Michaels and noticed the amazing amount of accessories they have in their Floral Market just for fairy gardens. Michaels has over 1,800 blooms & greenery in their new Flower Market, including trendy succulents, real-touch flowers, and fairy garden supplies. You can learn more here.
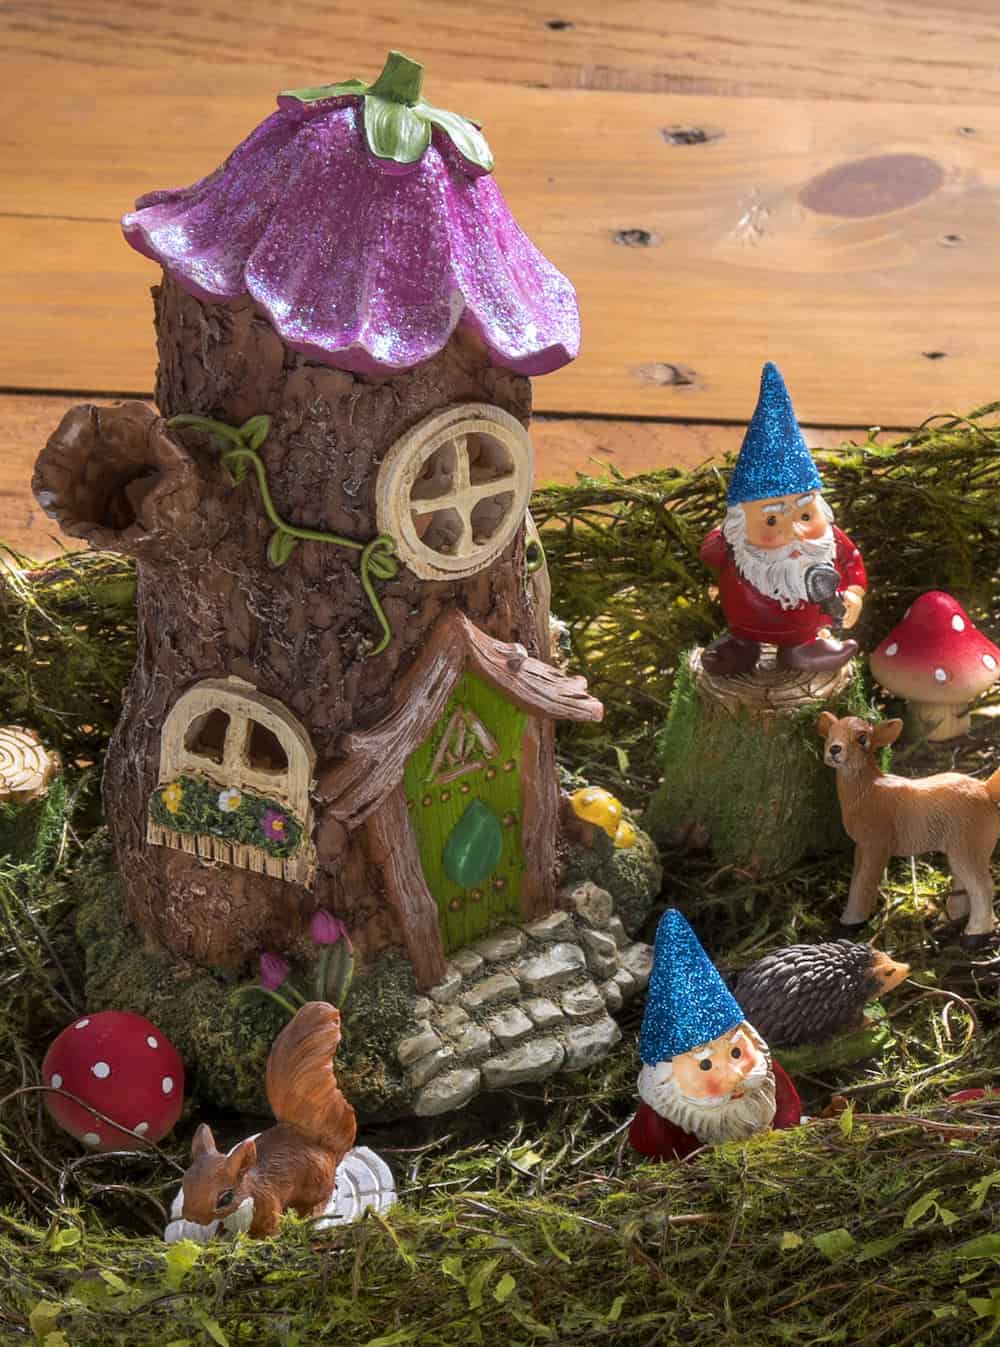
SO – while I was at Michaels, I spotted a mossy basket, and then it hit me – I needed to make a desktop fairy garden! I live in a condo so I don’t have a space outside to place fairy houses and accessories . . . but why should I have to miss out on the fun??
This desktop garden is perfect because I don’t have to miss out on the fun. I can have all the gnomes and fairy houses and little woodland animals I want – and keep it on a shelf or tabletop. This is the perfect addition to your spring decor, and kids will love it too!
You can set up your desktop garden “right out of the box,” but I made a few custom touches with Mod Podge just for fun. Let me show you what I did.
Make a Desktop Fairy Garden
Gather These Supplies
- Fairy garden supplies and accessories – all mine are from Michaels
- Glitter in various colors
- Mod Podge Gloss
- Hot glue gun
- Mod Melts – Neons (or glue sticks)
- Mod Mold – Flowers (or other silicone mold)
- Craft glue
- Paintbrushes
- Scissors
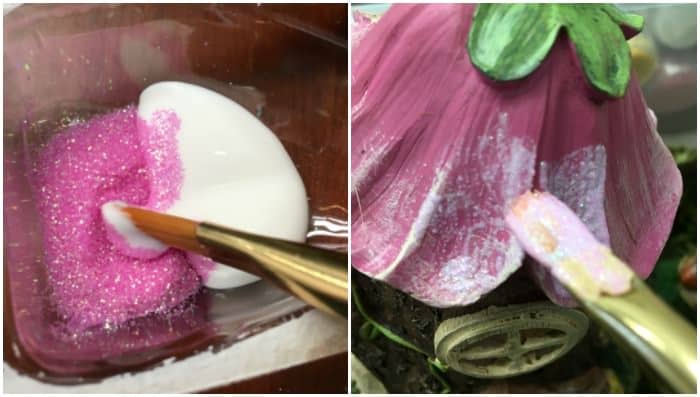
The first thing I did was paint the roof of my flower house. It’s really easy to achieve this look – simply mix a little bit of glitter with a small amount of Mod Podge and stir. Then paint directly onto the roof and let dry. Paint more layers as desired!
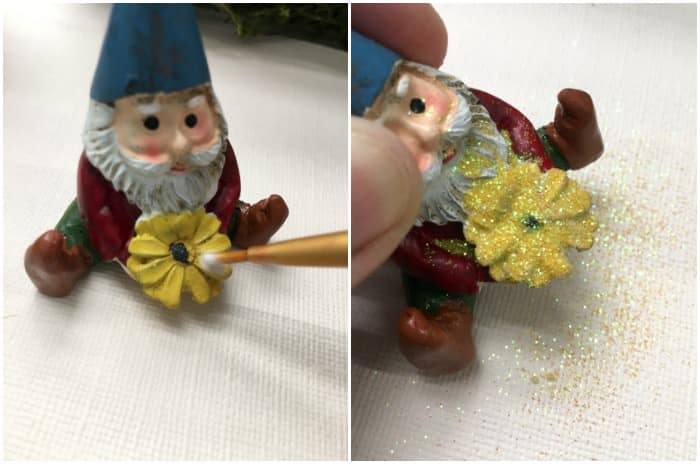
My little gnomes needed some pizazz as well. For your little garden friends, simply paint Mod Podge on various parts of their outfits and flowers, then sprinkle glitter and let dry.

In addition to glitter on the fairy houses, I wanted to add some additional leaf embellishments with my Mod Melter, Mod Molds, and Mod Melts. Now this is a part of the desktop fairy garden you could really go crazy with! I have the Flower Mod Mold and there are leaves and flowers that are perfect for fairy gardens.
I used Green Neon Mod Melt sticks to fill the molds, so I didn’t have to paint. If you have the clear or white sticks, just place them in the molds and paint whatever colors you like . . .
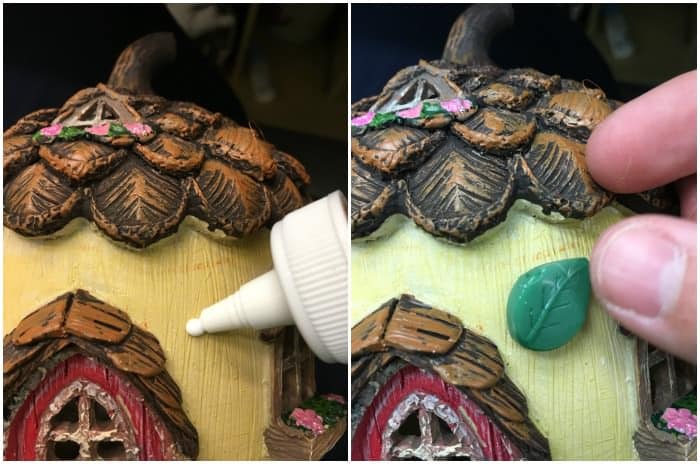
then glue onto the front of the fairy houses as shown.
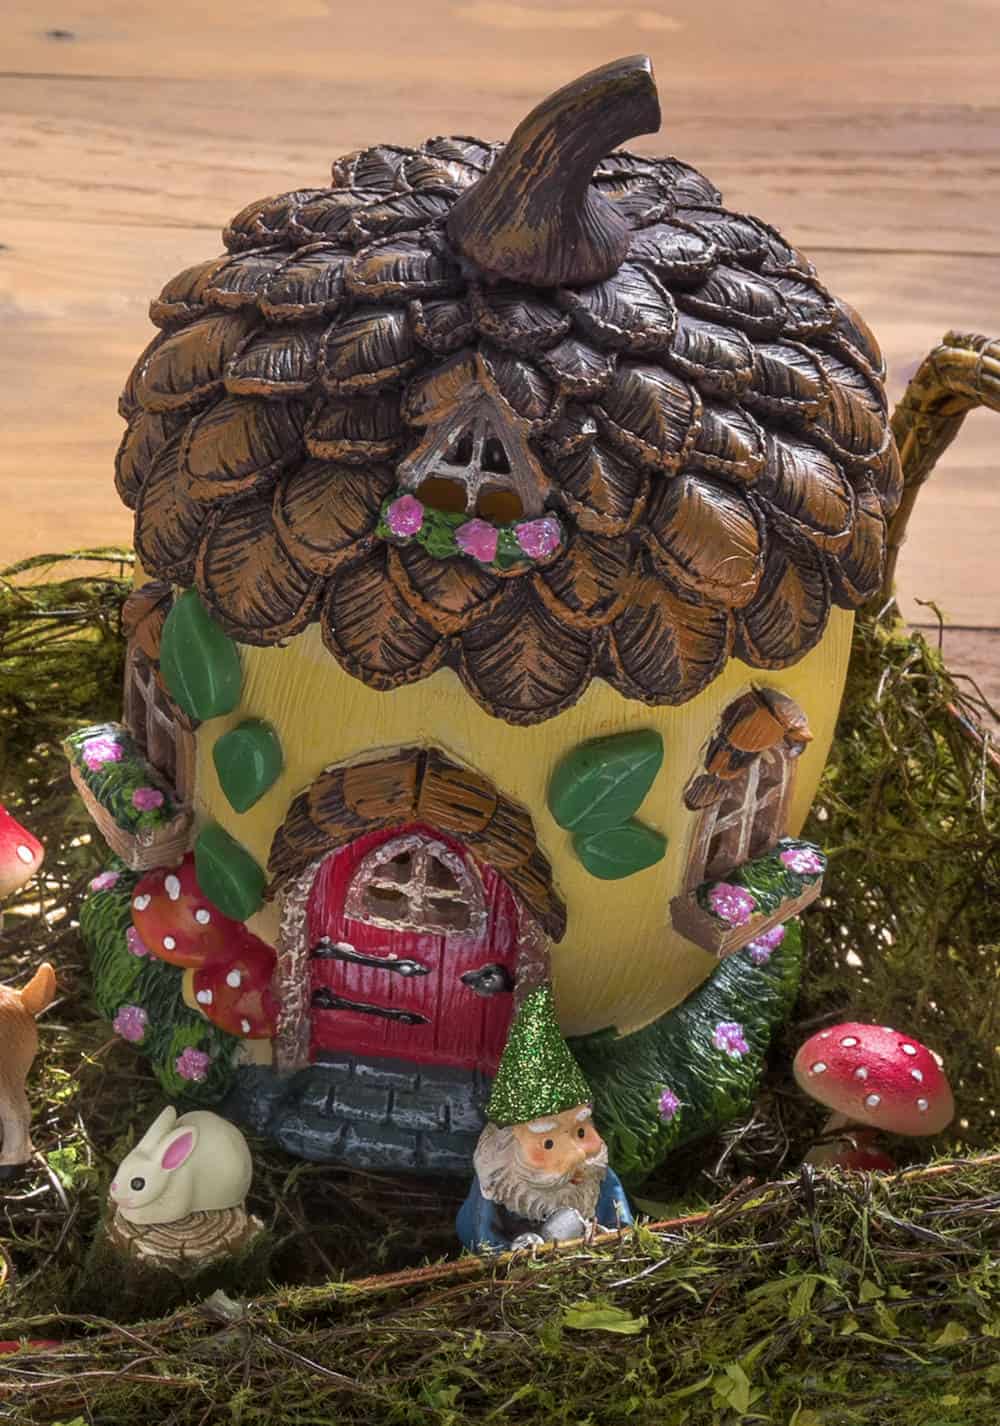
I feel like my desktop fairy garden is sort of like a bonsai tree. I can constantly tend to it – changing things out and adding embellishments as I see fit.
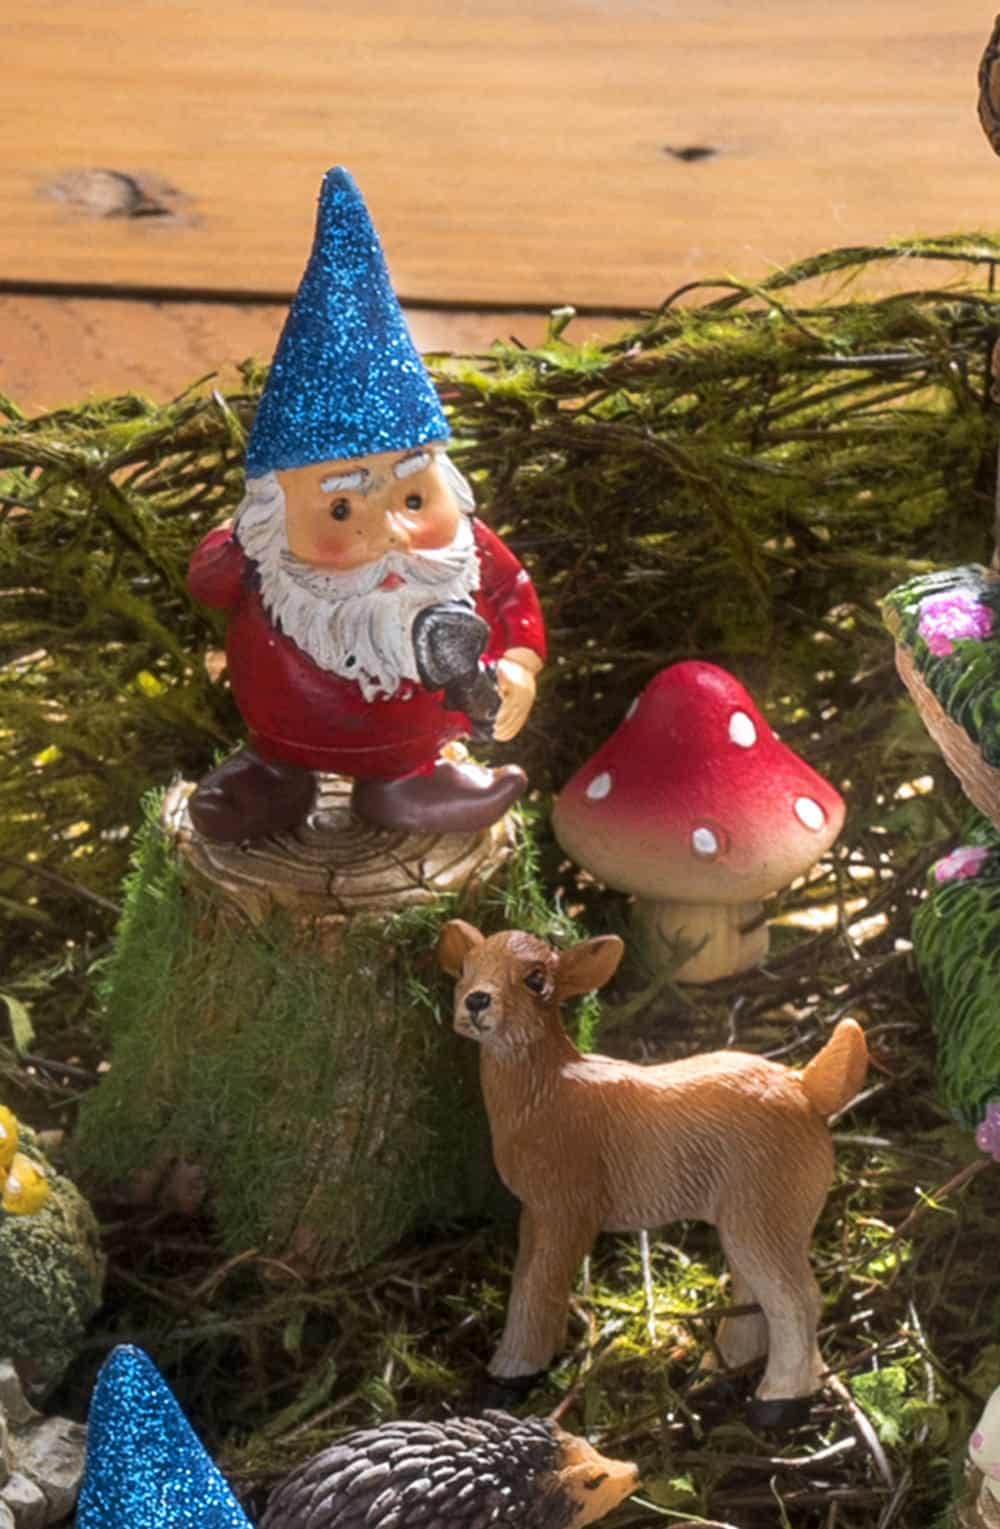
The happy little gnomes and animals make me smile, and I get to enjoy in the fairy fun like people with big backyards and oak trees.
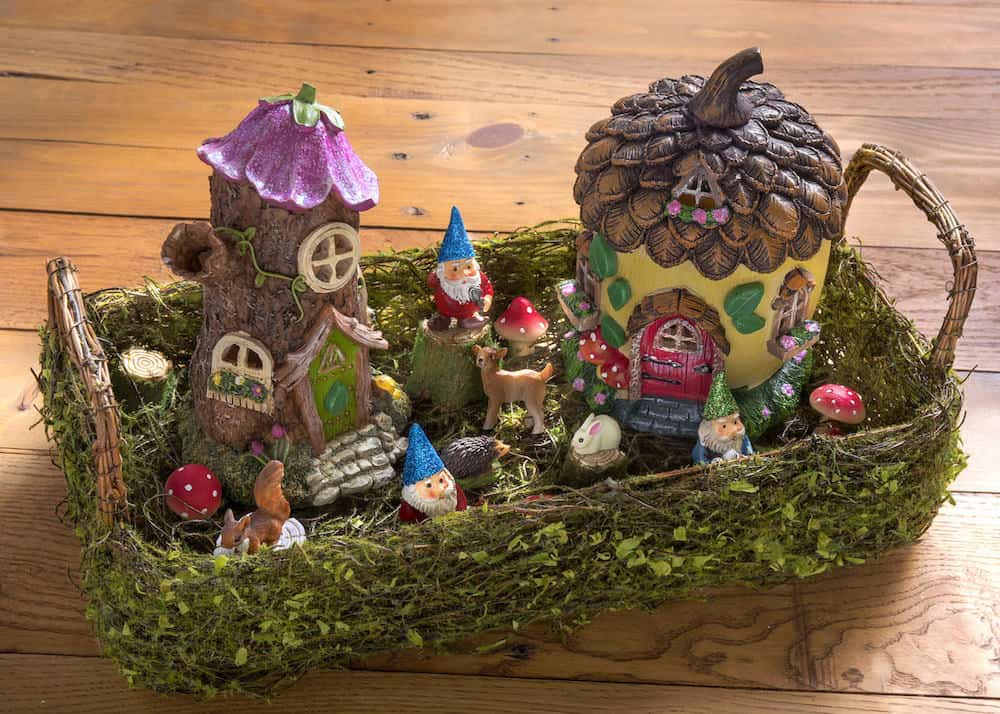
Would you try this whimsical project? Let me know in the comments! I’d also love for you to check out these other cute ideas:




Love this idea!! You can also make fairy doors or portals out of paper, clay or whatever you want to and place them on walls, doors, ceilings, baseboards or anywhere your heart desires! That way the fairies will have a way to come into your home and sprinkle their fairy dust bringing joy and fun to any home!
I make mine out of clay and my grandchildren love to come over to see if there are any new doors! The grands are 4, 8 and 12 and I think the 12 (Joseph) is as enchanted as the younger two are! He will sit for hours watching the doors hoping to get a glimpse of a fairy or two!
Thanks for the great inspiration! Have a great day!
I would love to try the little fairy house as soon as I get paid
Very nice. I will definitely be trying this.
This is great . . . would have loved to see a before pic
Love your desktop fairy garden! i love all things tiny and , i have been storing up bits and pieces to make one.
Your right to i keep seeing these fairy gardens online.Thanks for your tips i will use them!.
I love this new site, i am going to build me a fairy garden it looks like so much fun.
Amy your fairy garden is just so sweet!
This is a great idea especially if u live in a small space and want to make a fairy dwelling