There are a million ways you can transform plain tiles with Mod Podge – these confetti coasters are one of those easy and cute ideas!
Skills Required: None. These coasters are a great beginner craft. You’ll be applying tissue paper to tile with Mod Podge. It’s a perfectly inexpensive way to try your hand at decoupage.
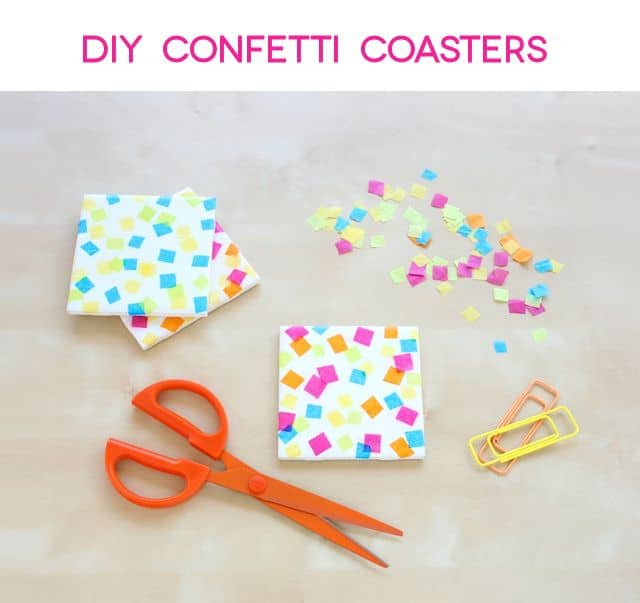
Hello everyone, it’s Rachel from Lines Across here with you to share a fun and festive DIY coasters tutorial. There are a million ways you can transform plain white tiles you can find at Home Depot for less than a quarter with Mod Podge, and using tissue paper is definitely a fun one.
I know your first question might be, “Is Mod Podge waterproof?” You know, in case you want to set a perspiring drink on top of the confetti coasters when they’re done. You will definitely want an additional sealer like VHT Engine Enamel for this project – you can learn more at the post about waterproofing I link to above.
In the meantime, you’ll love making this confetti coasters project. It’s SO easy and these would be perfect for a party – either for decor or for a favor you make during the shindig. It’s also a great craft for teens. Learn how to do it below!
Ceramic Tile Coasters with Confetti
What you need:
- Tiles
- Mod Podge Dishwasher Safe
- Tissue Paper
- Scissors
- A paint brush
- Felt
What you do:
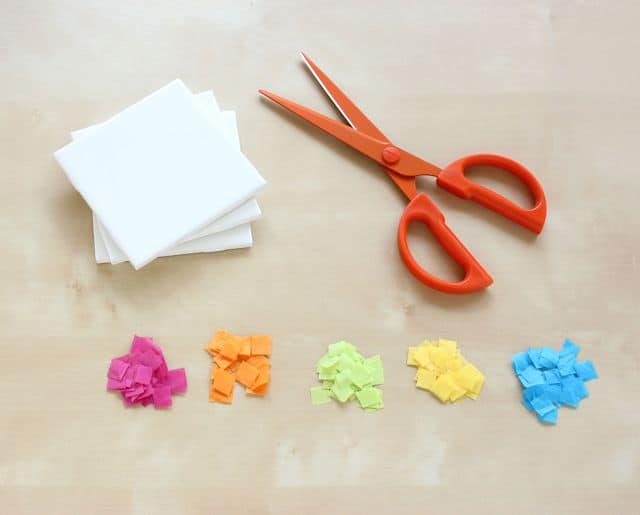
1. Start by lightly cleaning your tiles with rubbing alcohol. Cut up pieces of tissue paper into little squares. You could also use a circle punch or cut triangles or rectangles or really anything you can come up with.
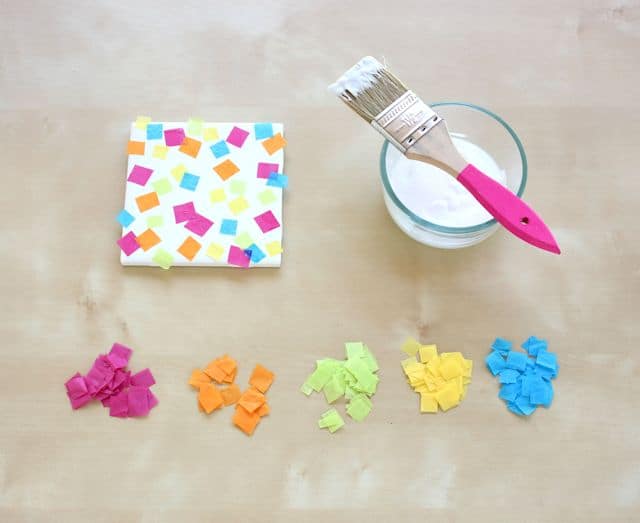
2. Cover your tile with a medium coat of Mod Podge. Place the pieces of tissue paper directly onto the tiles.
I had fun making different color schemes for different coasters. I let some of the squares fold over the edges. You may need to dab a little extra Mod Podge on the edges when you fold them over.
3. Let this first coat dry before you add another one! I learned this the hard way. When I tried to add a second coat too soon, it smeared a little bit of the tissue paper’s dye into the Mod Podge.
When I waited to add a second coat, this really didn’t happen at all.
4. Optional: You may even want to add a third coat after the second coat has completely dried. Add felt circles or a big piece of felt to the bottoms of the tiles so that it won’t scratch your furniture, and enjoy!
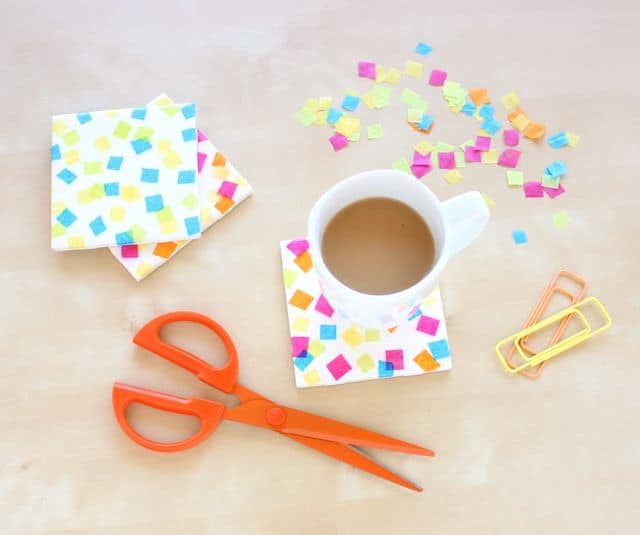
I hope you enjoyed my confetti coasters tutorial! If you are looking for more ideas, try these options:
You can also get several more ideas at our Mod Podge coaster roundup. We can’t get enough of making coasters around here, so enjoy the projects!




These coasters are so fun and cute! I want to make some for our house asap!
Paige
https://www.thehappyflammily.com/
Very cute idea.. love it 🙂