
Create personalized table charm with our DIY place card holders – a fun, easy project for all skill levels. Perfect for any gathering!
Skills Required: Beginner. You will be cutting and decoupaging scrapbook paper, painting, and gluing. Kids can definitely help with this craft too!
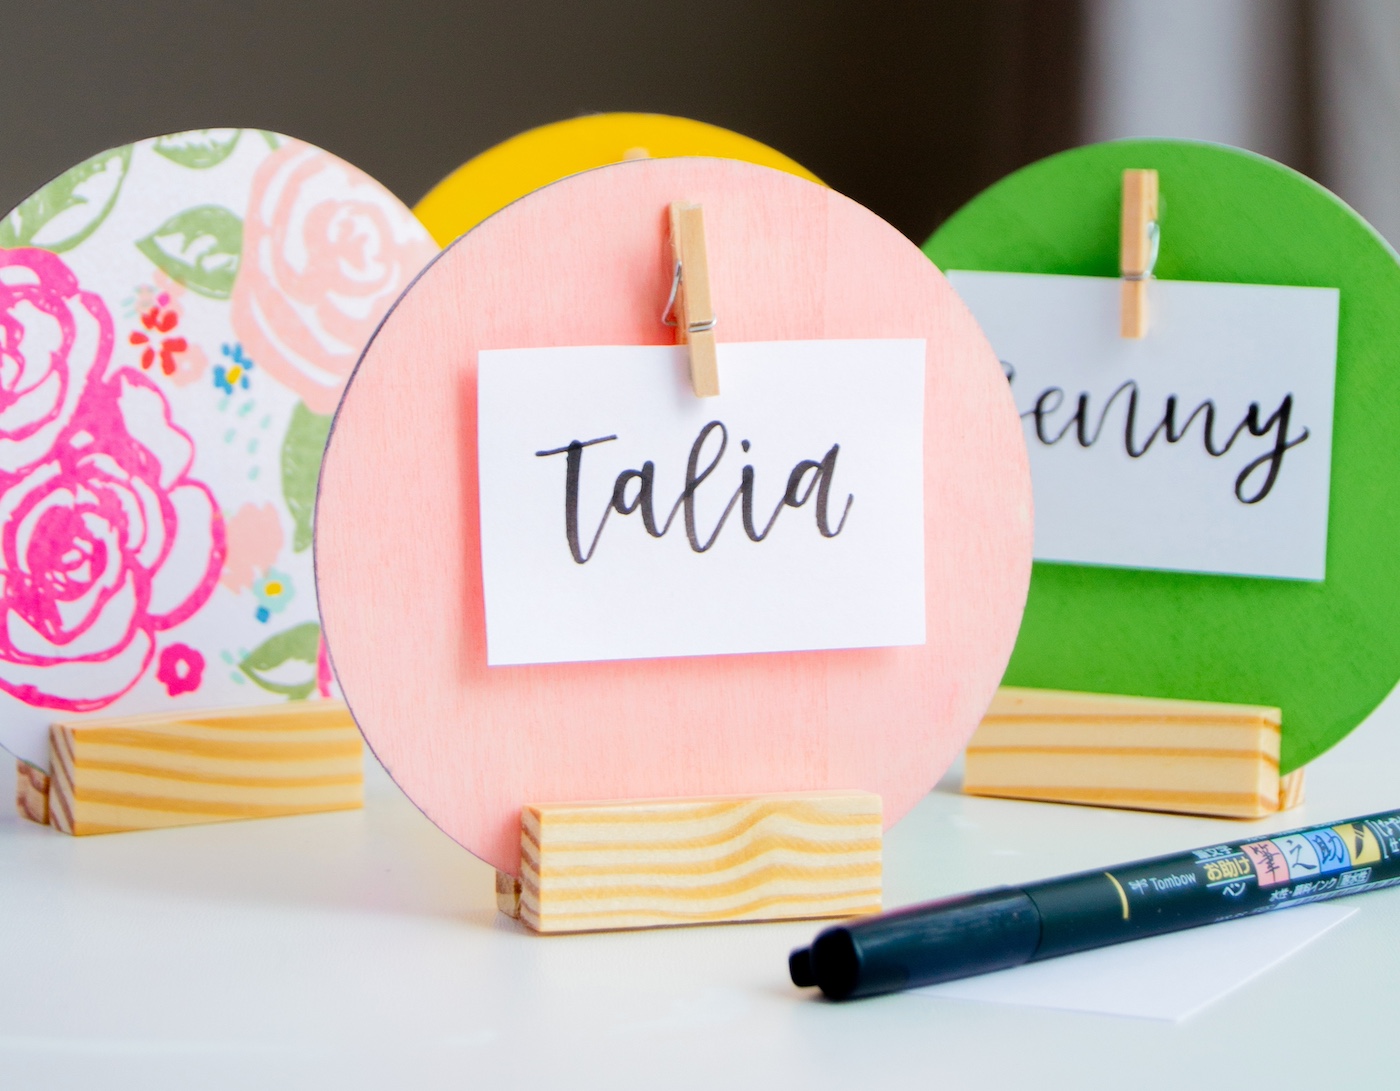
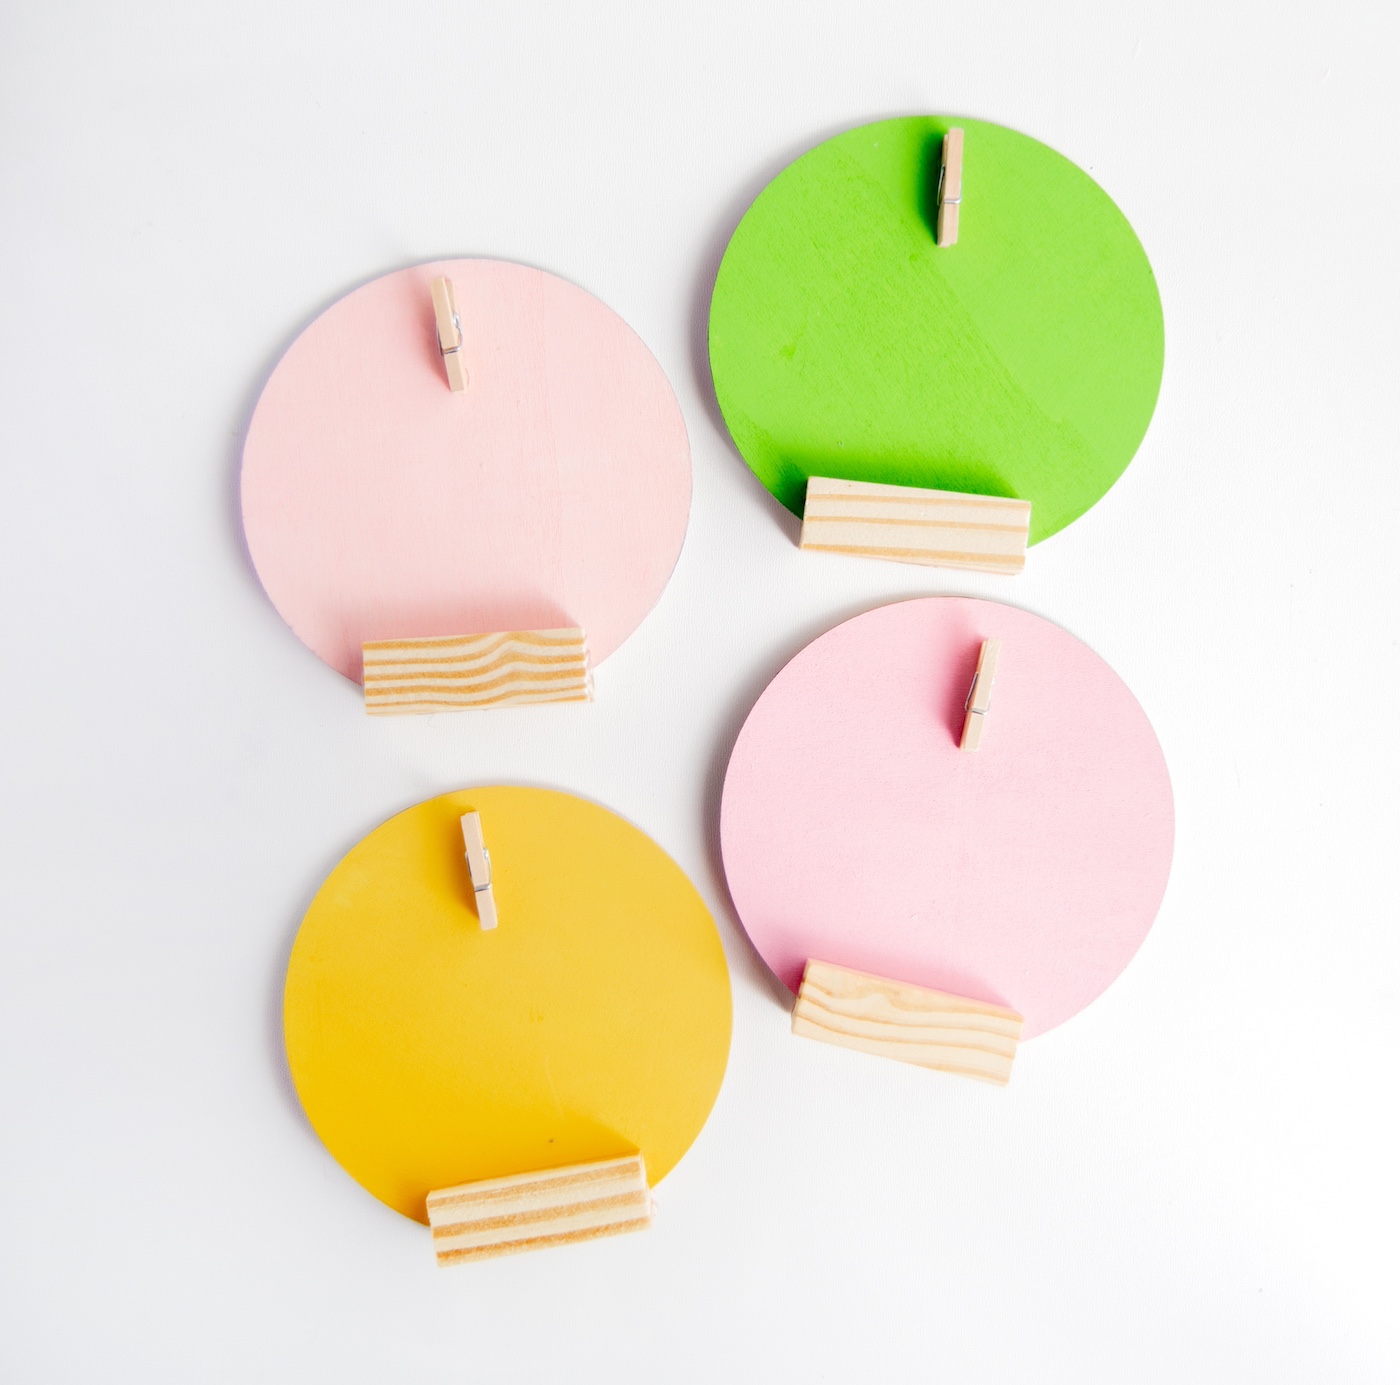
Ready for a fun little project that promises to add a charming touch to your table settings without any crafty overwhelm? Introducing DIY place card holders, a simple yet impactful way to personalize any gathering, from cozy family dinners to elegant parties.
With just wood circles, Jenga blocks (thank you, Dollar Tree), scrapbook paper, and a bit of Mod Podge magic, we’re set to create something truly special.
You might be thinking, “Crafting? Me?” But here’s the thing: this project is as beginner-friendly as it gets. It involves straightforward steps like painting, cutting, and gluing. Yes, it’s that simple, and it’s even a project where the kids can jump in and lend a hand, turning this into a fun family activity.
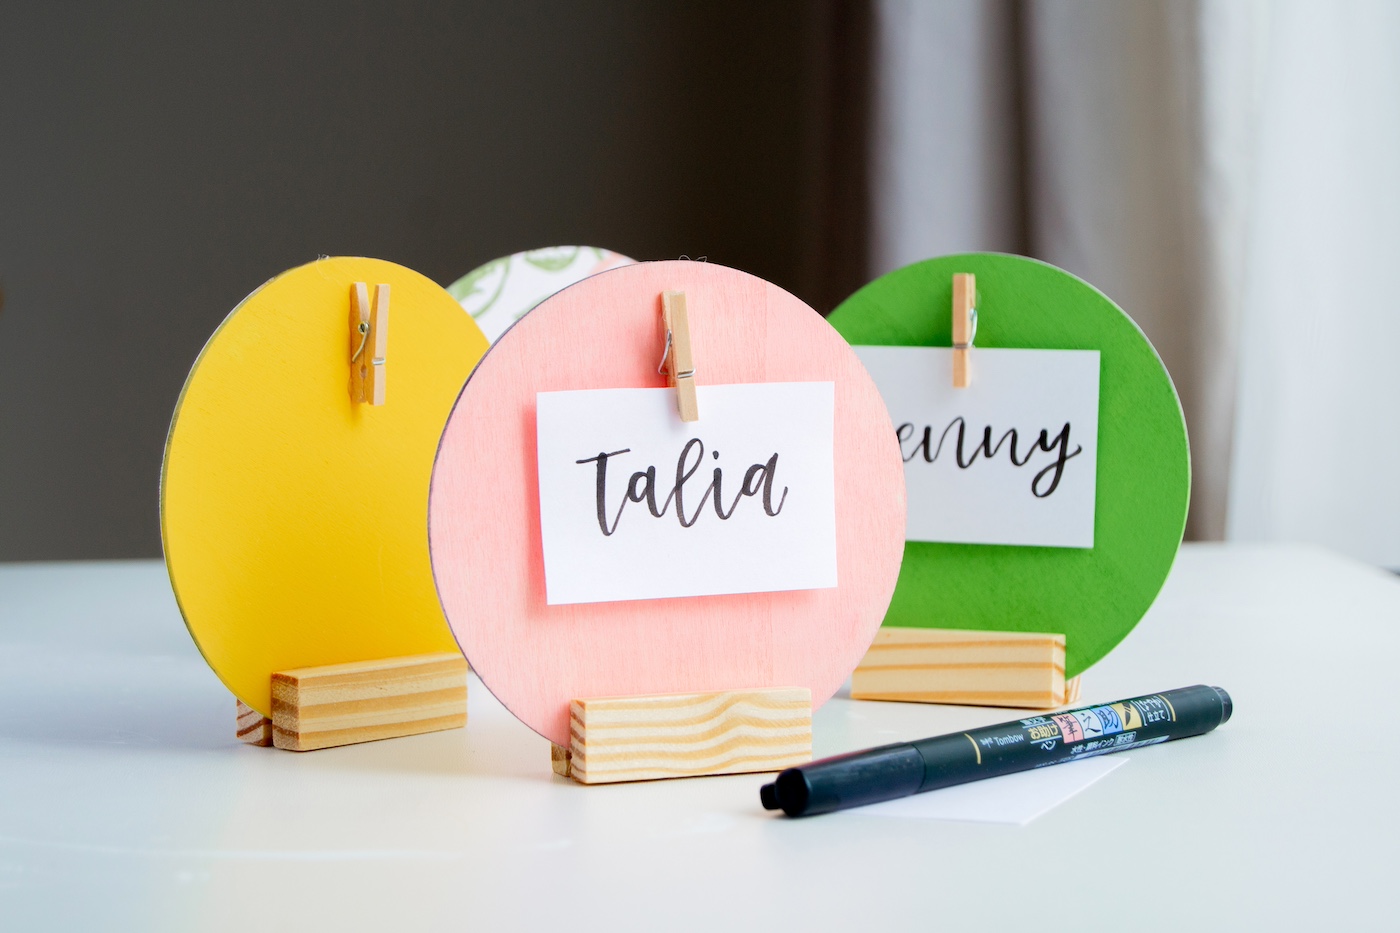
The best part about these DIY place card holders is their versatility. Whether you’re looking to match your dinner theme with specific colors or prefer a set that goes with everything, these holders have got you covered.
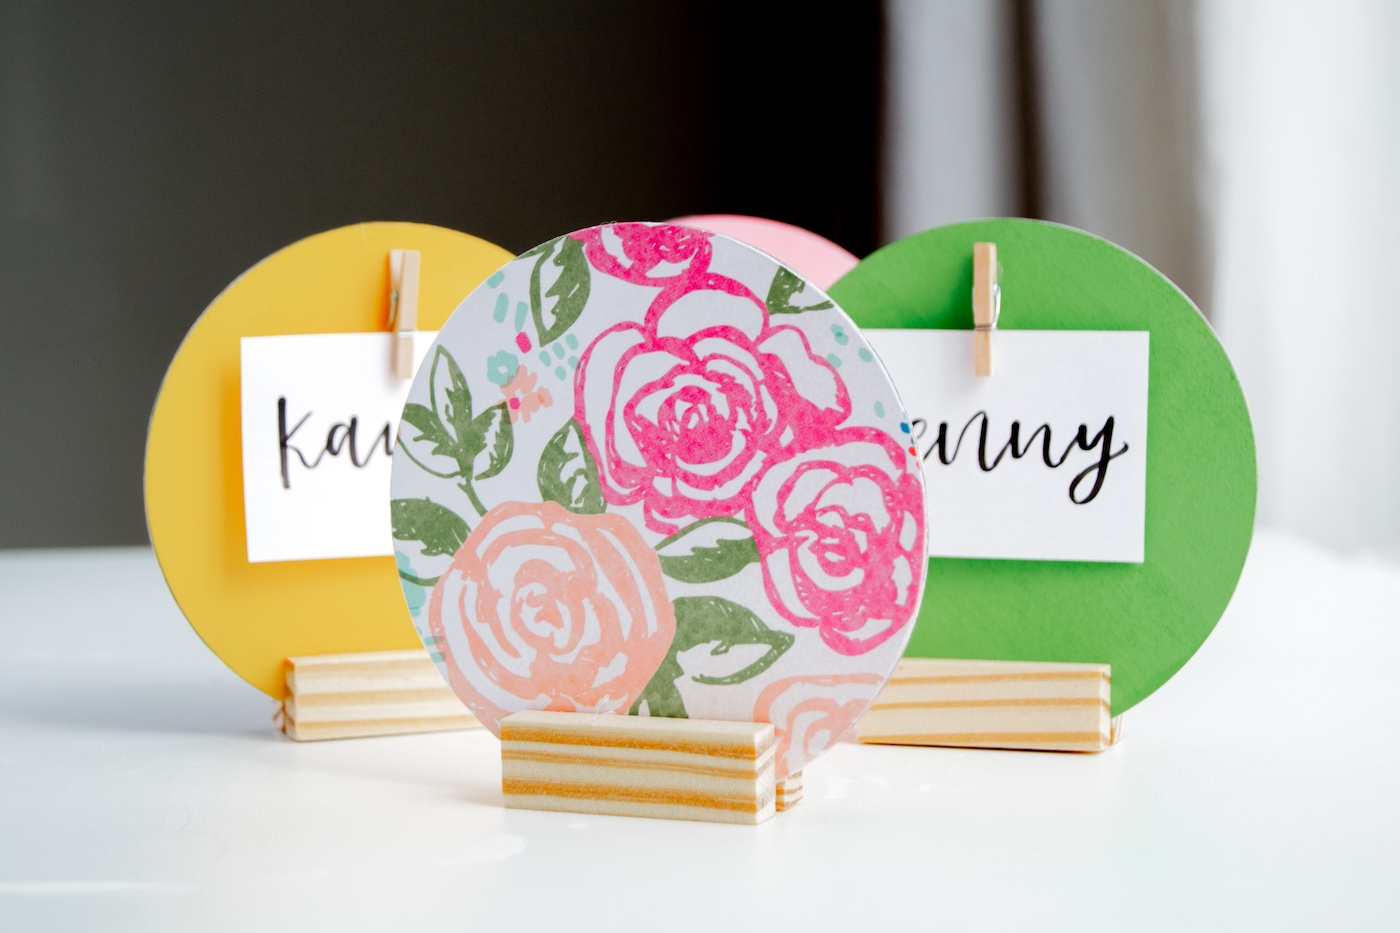
And let’s not forget the customization aspect. Choosing your scrapbook paper and paint colors means these holders can easily reflect any theme or occasion you have in mind.
From cheerful floral patterns for spring brunches to elegant neutrals for a sophisticated dinner party, you have the creative freedom to make each piece your own.
Plus, these aren’t just a one-hit wonder for a single event. The durability added by the Mod Podge means you can reuse them for future gatherings, making them a smart addition to your DIY repertoire.
Whether you’re crafting a set as a thoughtful homemade gift or making them for your table, they’re sure to be a hit.
So, if you’re eager to add that personal touch to your gatherings that guests will notice and love, stay tuned. This guide is all about making your events a bit more you, with just a few simple supplies and steps.
Let’s get started on transforming your table setting from just fine to fantastic, one little personalized place card holder at a time.
Gather These Supplies
- Stacking blocks – I sourced these from the dollar store, but you can definitely cut your own
- Scrapbook paper
- Wood circles – around 3”- 4” in diameter
- Acrylic paint
- Mod Podge – any formula
- Paintbrushes
- Hot glue gun and glue sticks
- Mini wood clothespins
- Scissors / cutting tool
- Ruler
It’s best to know what scrapbook paper you are using so you can coordinate the paint colors.
These fun little pieces look so cute – and I just love how customizable they are. I’m already planning to make holiday-themed ones.
Get the printable how to card for this project below:

DIY Place Card Holders
Equipment
- Scissors or craft knife and mat
Materials
- Small Jenga blocks
- Scrapbook paper
- Wood circle(s) around 3”- 4” in diameter
- Acrylic paint
- Mod Podge any formula
Instructions
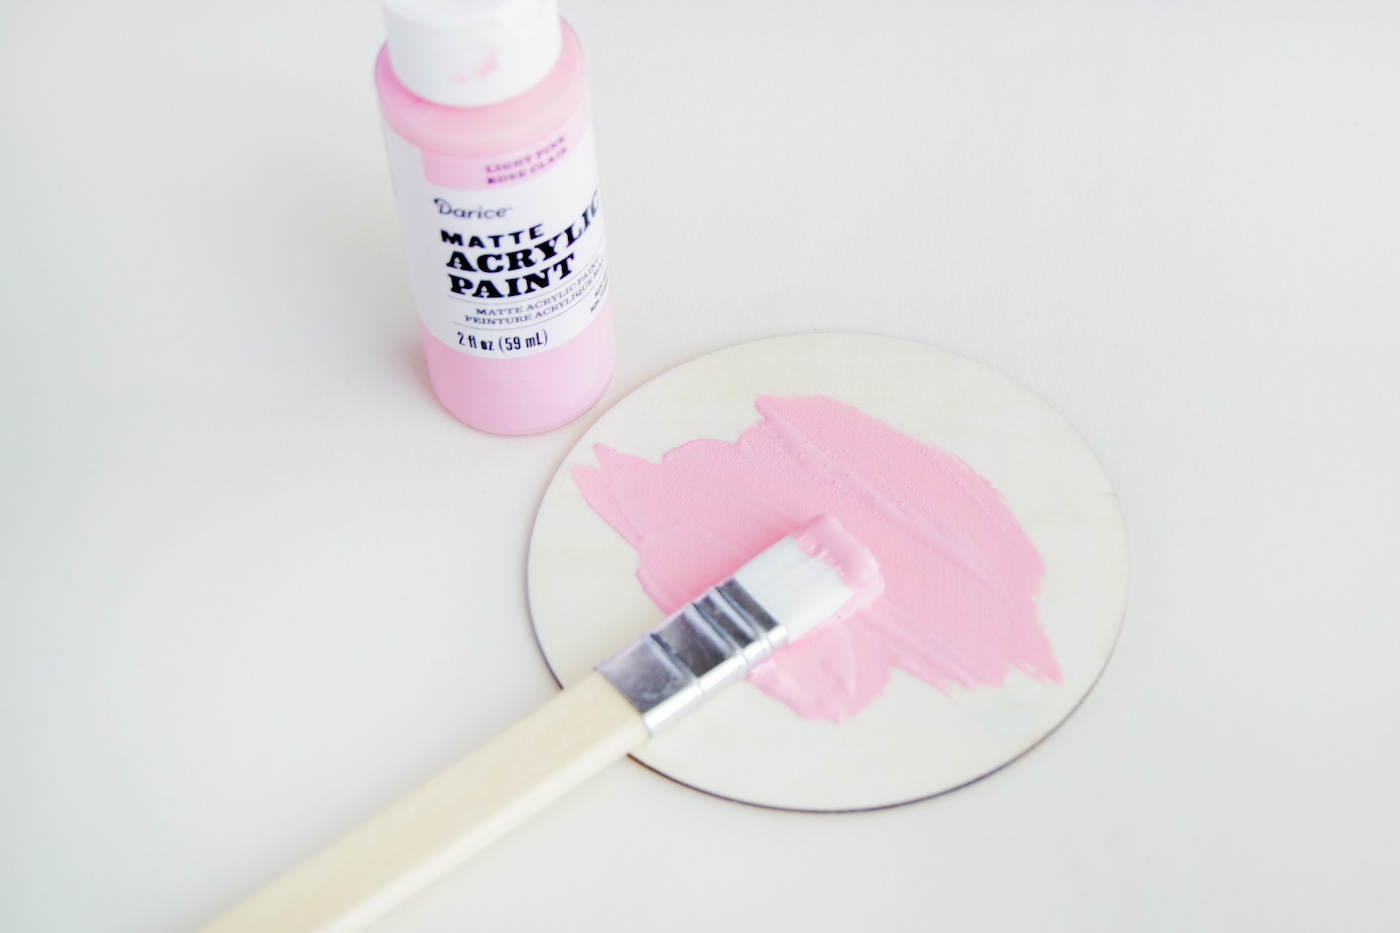
- Start by painting one side of your wood circles. Wait for the paint to dry.
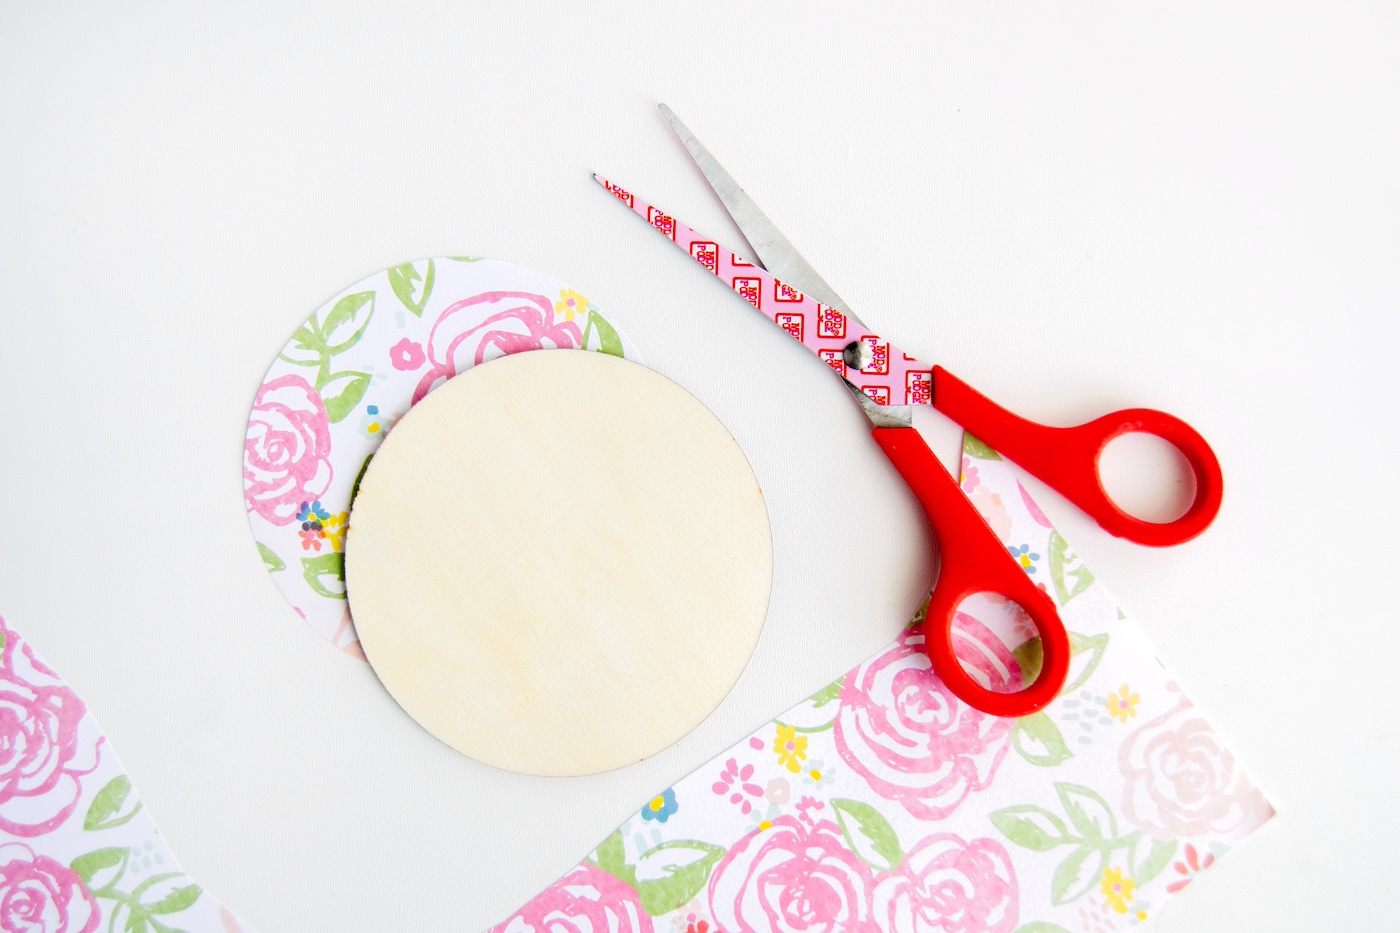
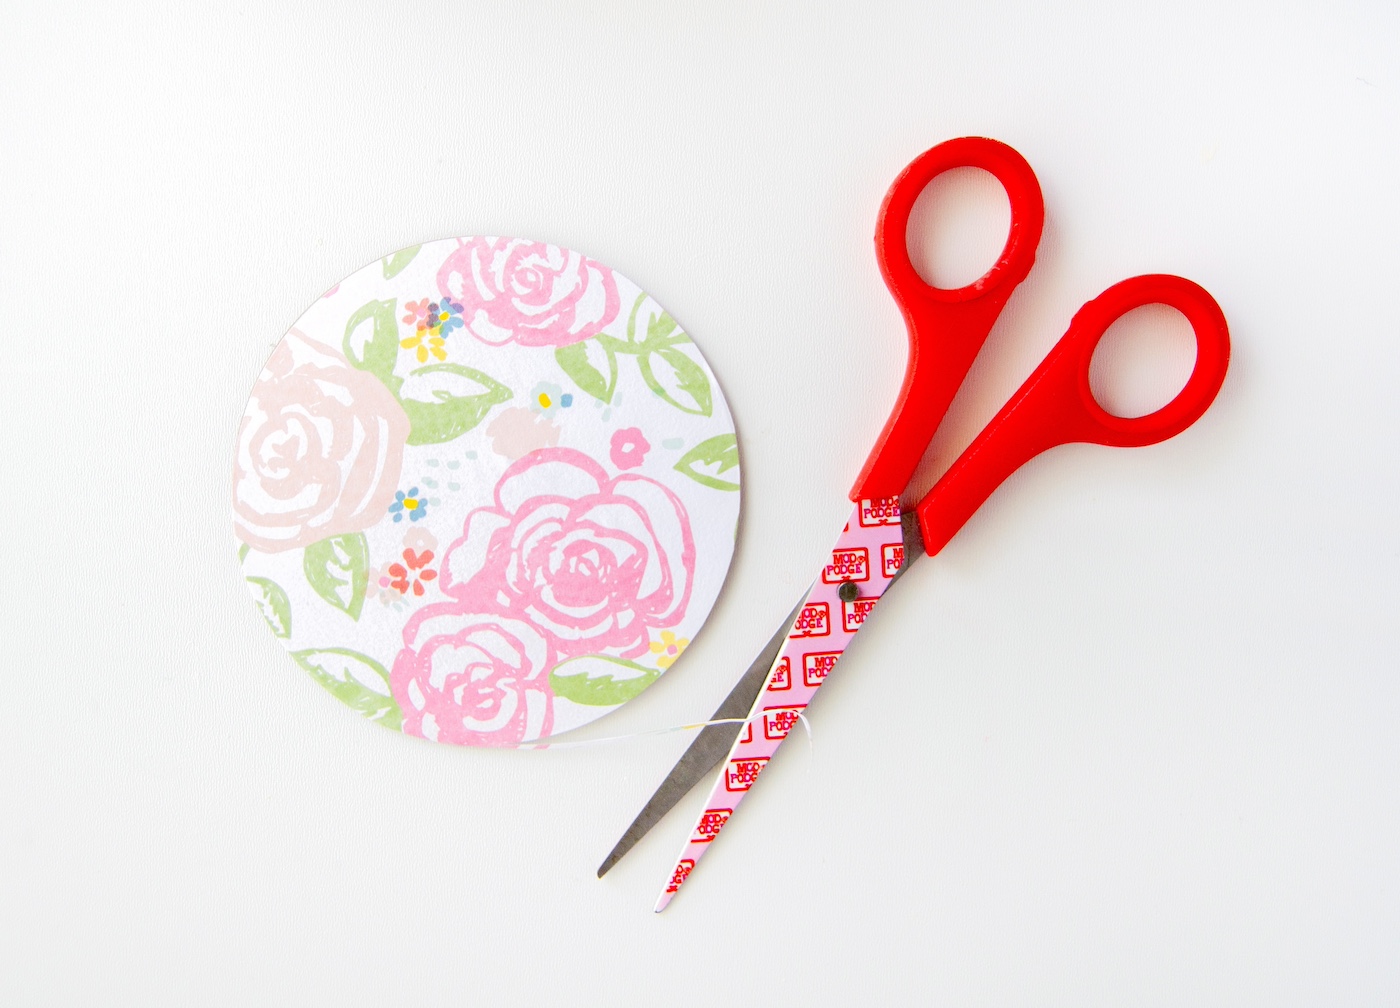
- Trace the circle onto the backslide of the scrapbook paper and then cut away, carefully following the traced guidelines.
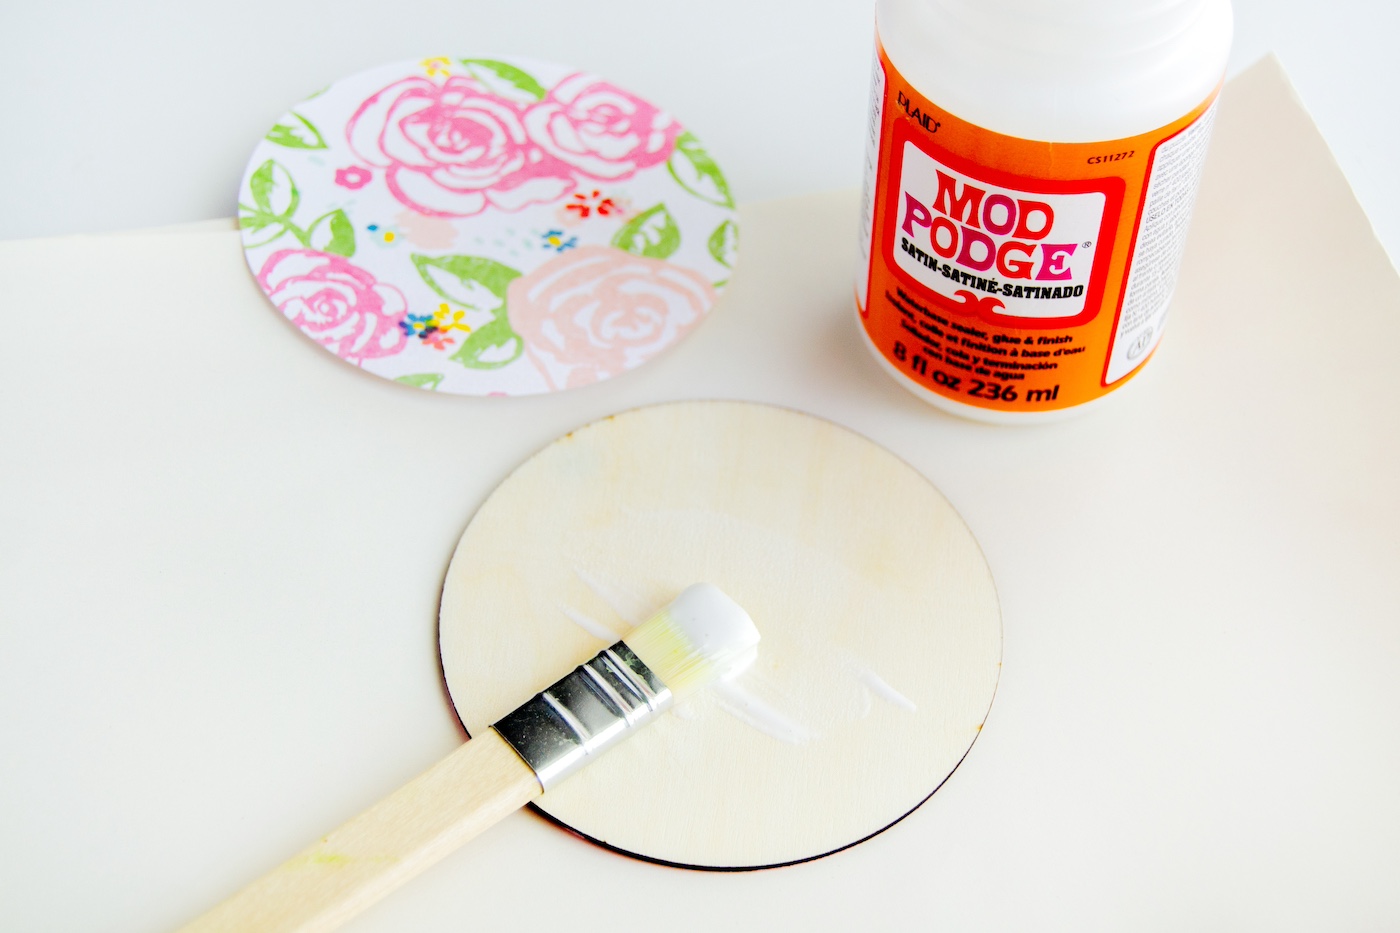
- Attach the cut scrapbook paper onto the unpainted backs of the wood circles, making sure to spread a layer of Mod Podge evenly before centering and laying your paper down. Press firmly, making sure that there are no bubbles (you can use a squeegee to help with this step) and no edges are lifting. Let dry.
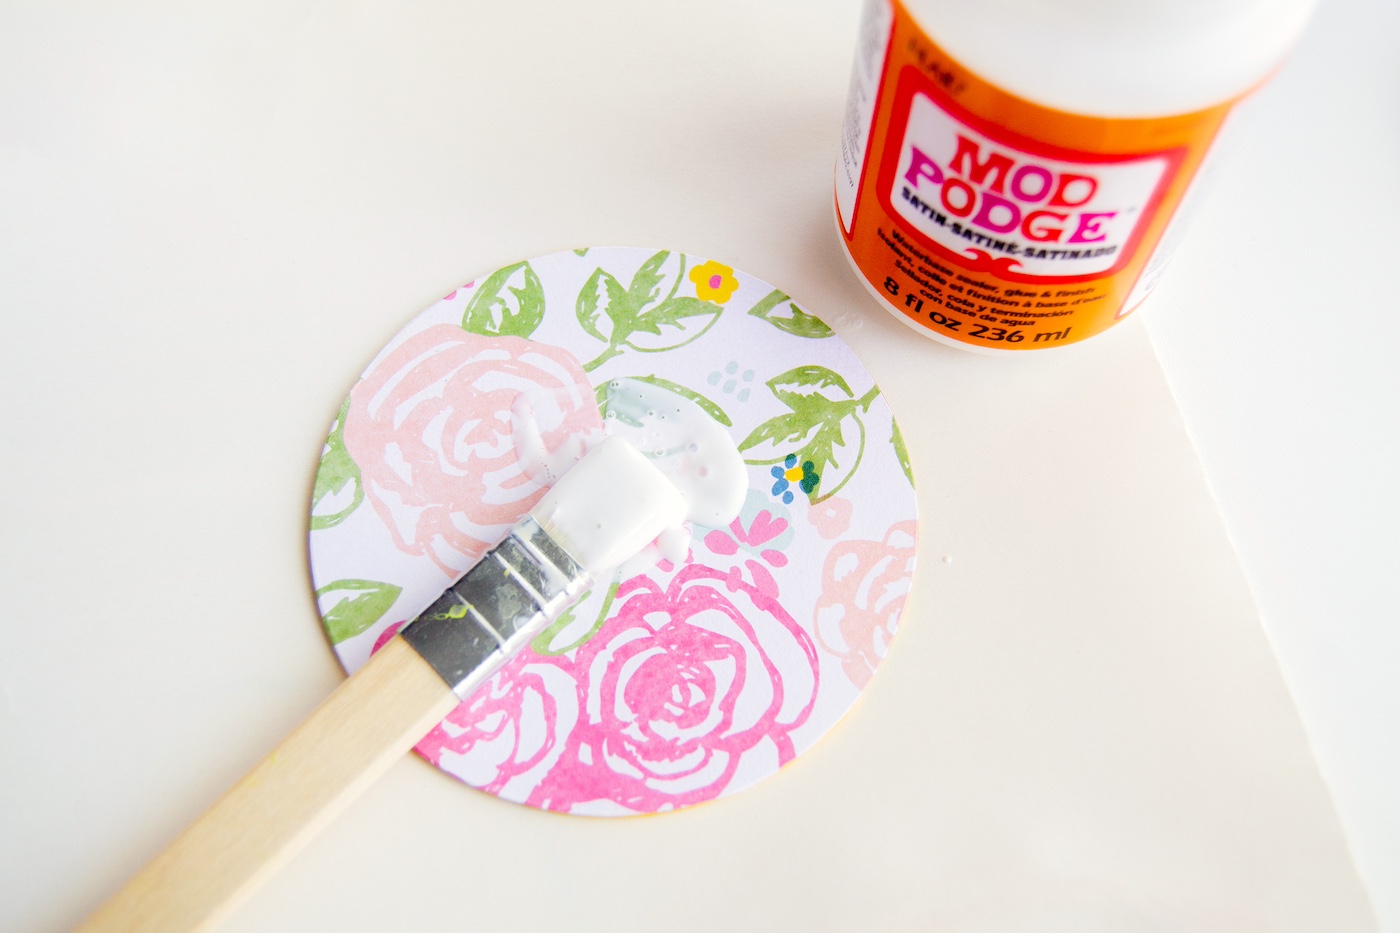
- Add another layer of Mod Podge to seal the paper and make it durable. Let dry completely.
- Once dry, cut the excess scrapbook paper to clean it up.
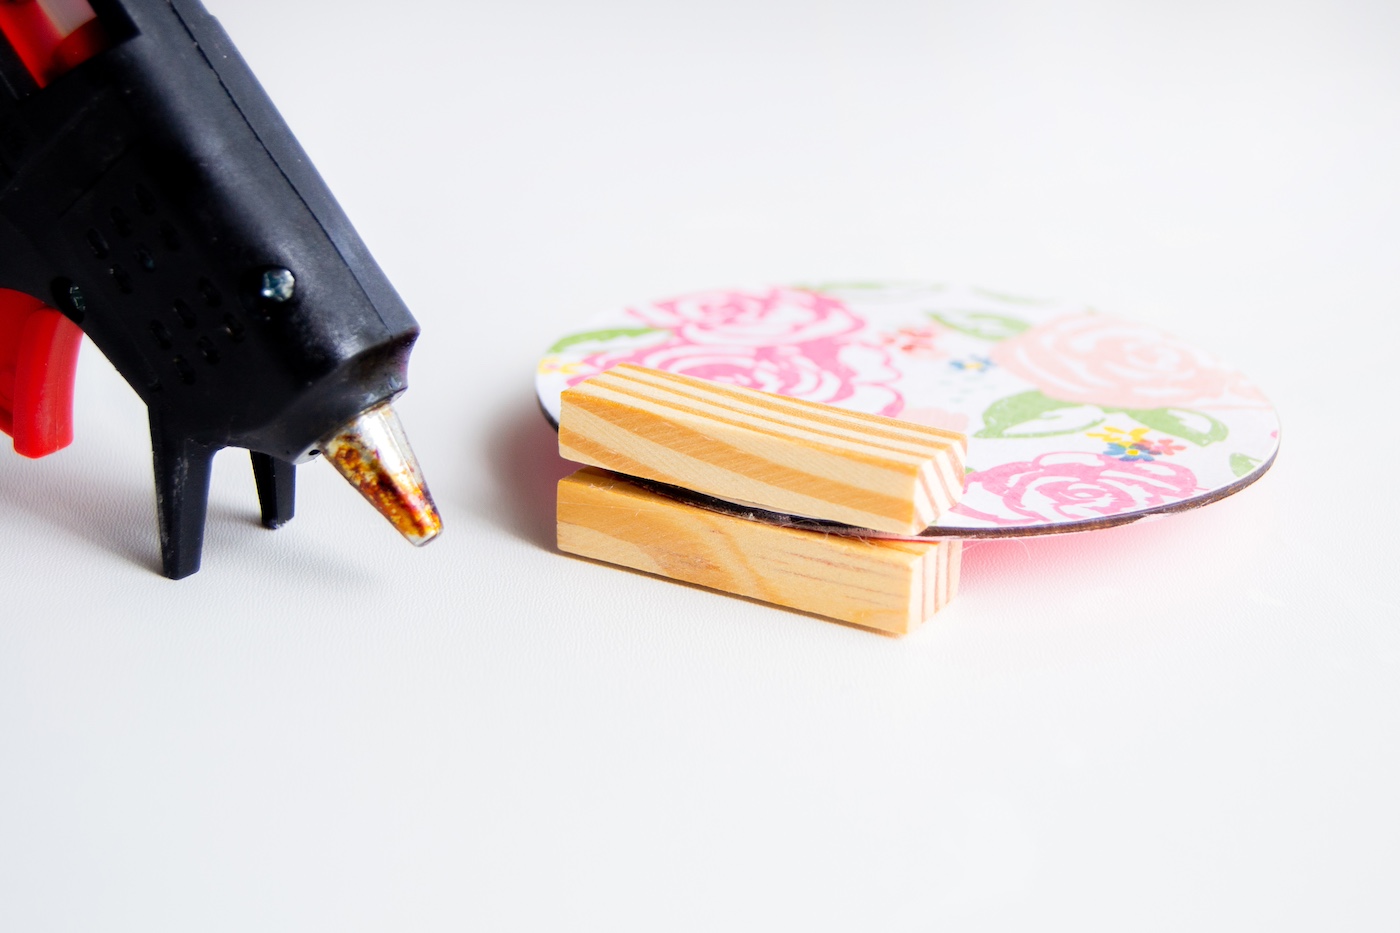
- Attach one ‘block’ with hot glue to the bottom of one side of the circle, making sure the circle is centered.
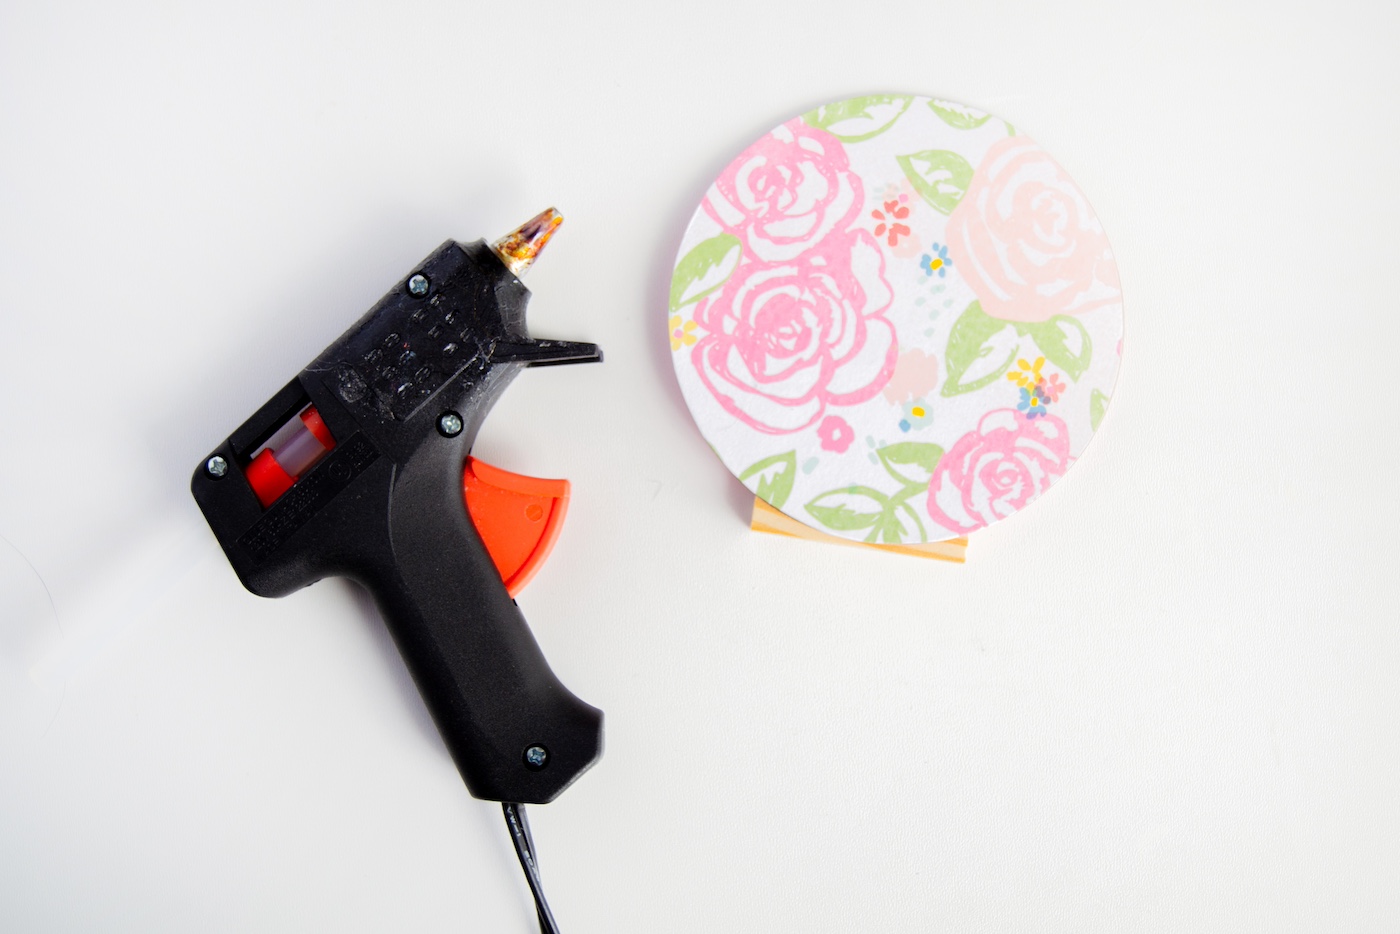
- Flip it over and attach another block onto the other side, making sure the blocks are aligned on the sides and the bottom.
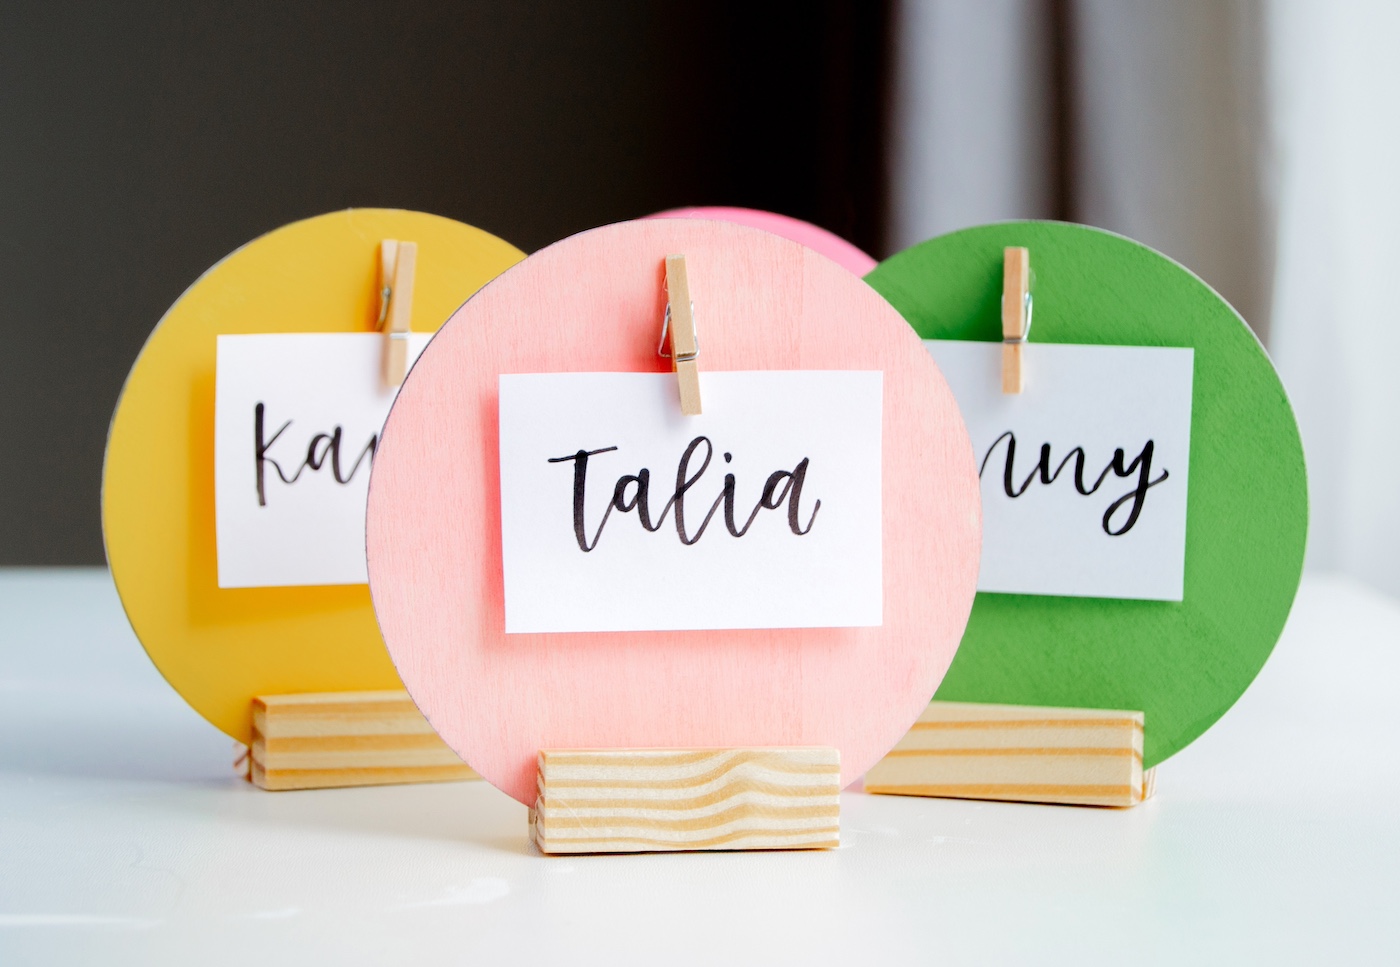
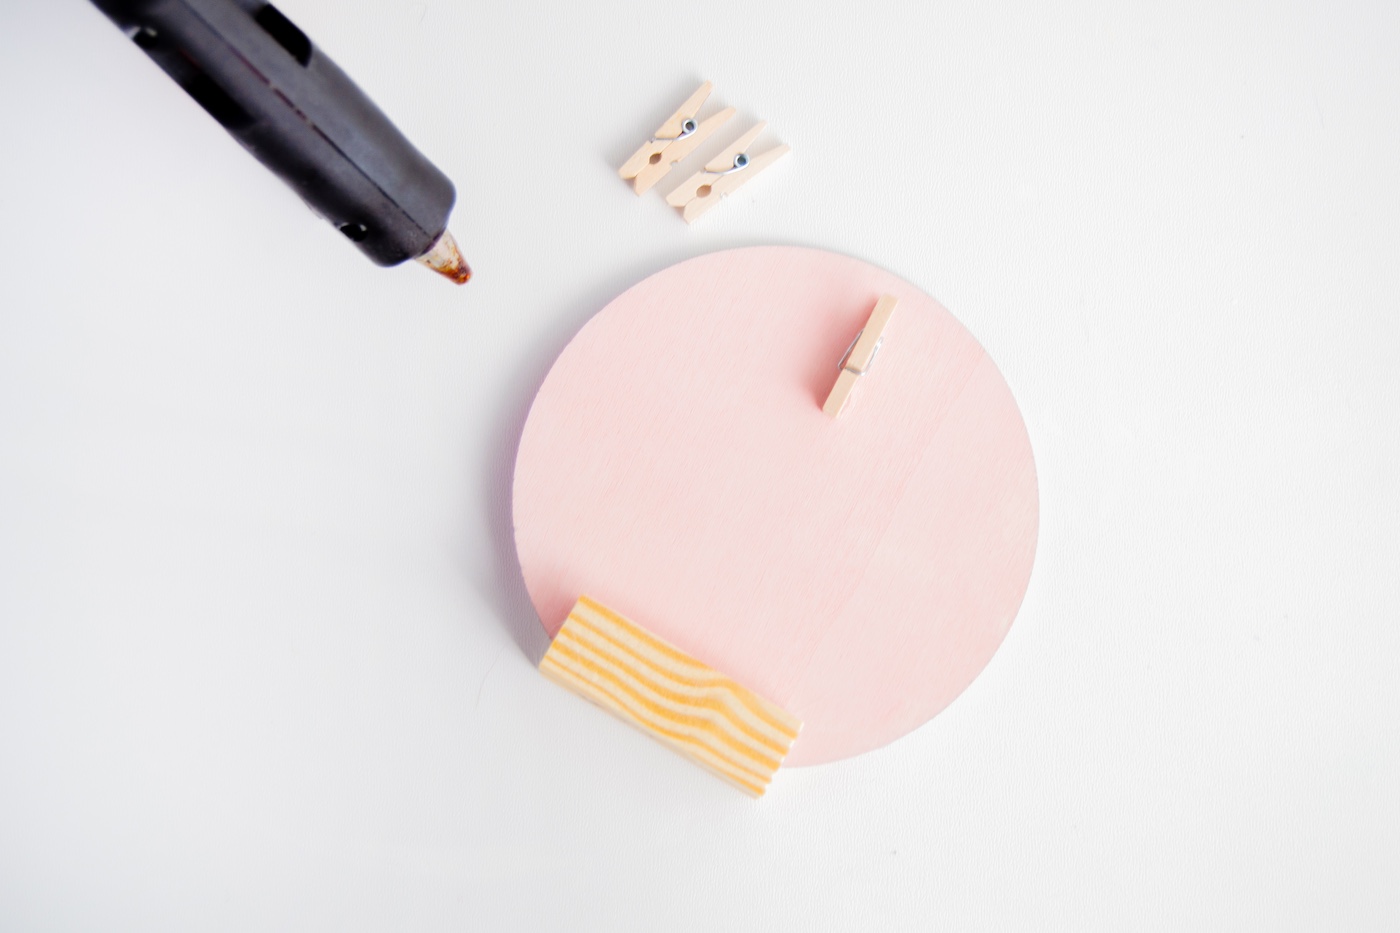
- For this step, I chose to use mini clothespins to hold the paper I can write the names on. You can use wood clothespins or even metal clips. Hot glue the clothespin to whichever side you like (I chose the painted side), making sure that it is centered.
- Cut little rectangles to write names on, and clip them onto your place card holders when the ink is dry.
Notes
Now that you’ve tried these DIY table card holders, I’d love to know what you think in the comments! You also need to try these other projects:
Decorate a Champagne Bottle • Cake Pop Stand • Cupcake Stand • Drink Stirrers • Food Picks • Glitter Glasses • Paper Banner • Party Favors • Wine Charms • Glitter Candles • Glitter Candle Holders • Glitter Champagne Bottles • Glittered Paper Lantern • Lace Mason Jars • Make a Cake Stand • Sheet Music Mason Jar Centerpieces


this is such a fun idea!! I love chalkboard paint over every other kind of paint ever.
Great tutorial, So cute idea! thanks for sharing
Another wicked cool and functional project!
Well done fellow Man Podger!
Love the project. I also carry a large variety of unfinished wood in my etsy shop that would work perfect for this project.
I absolutely love this project! It’s great as is, but like you said has so many possibilities! Congrats!
Way cool. I like the vintage travel sheets.