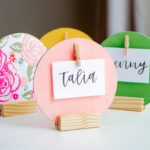
DIY Place Card Holders
Discover how to make unique DIY place card holders with this easy guide. Perfect for any event, these charming touches are simple, fun, and customizable.
Yield: 6 place card holders
Cost: $3
Equipment
- Scissors or craft knife and mat
Materials
- Small Jenga blocks
- Scrapbook paper
- Wood circle(s) around 3”- 4” in diameter
- Acrylic paint
- Mod Podge any formula
Instructions
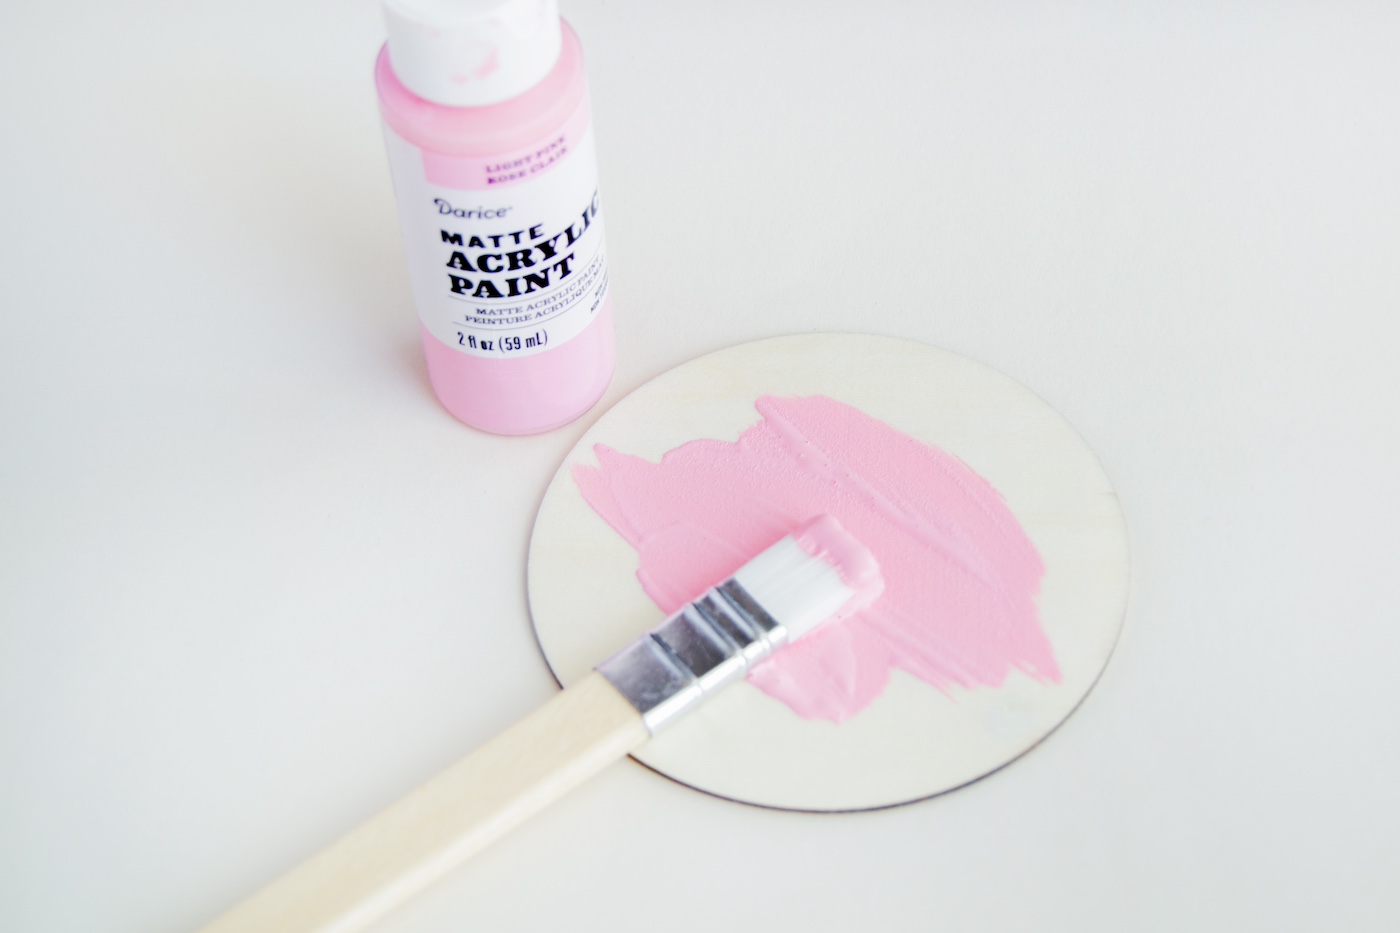
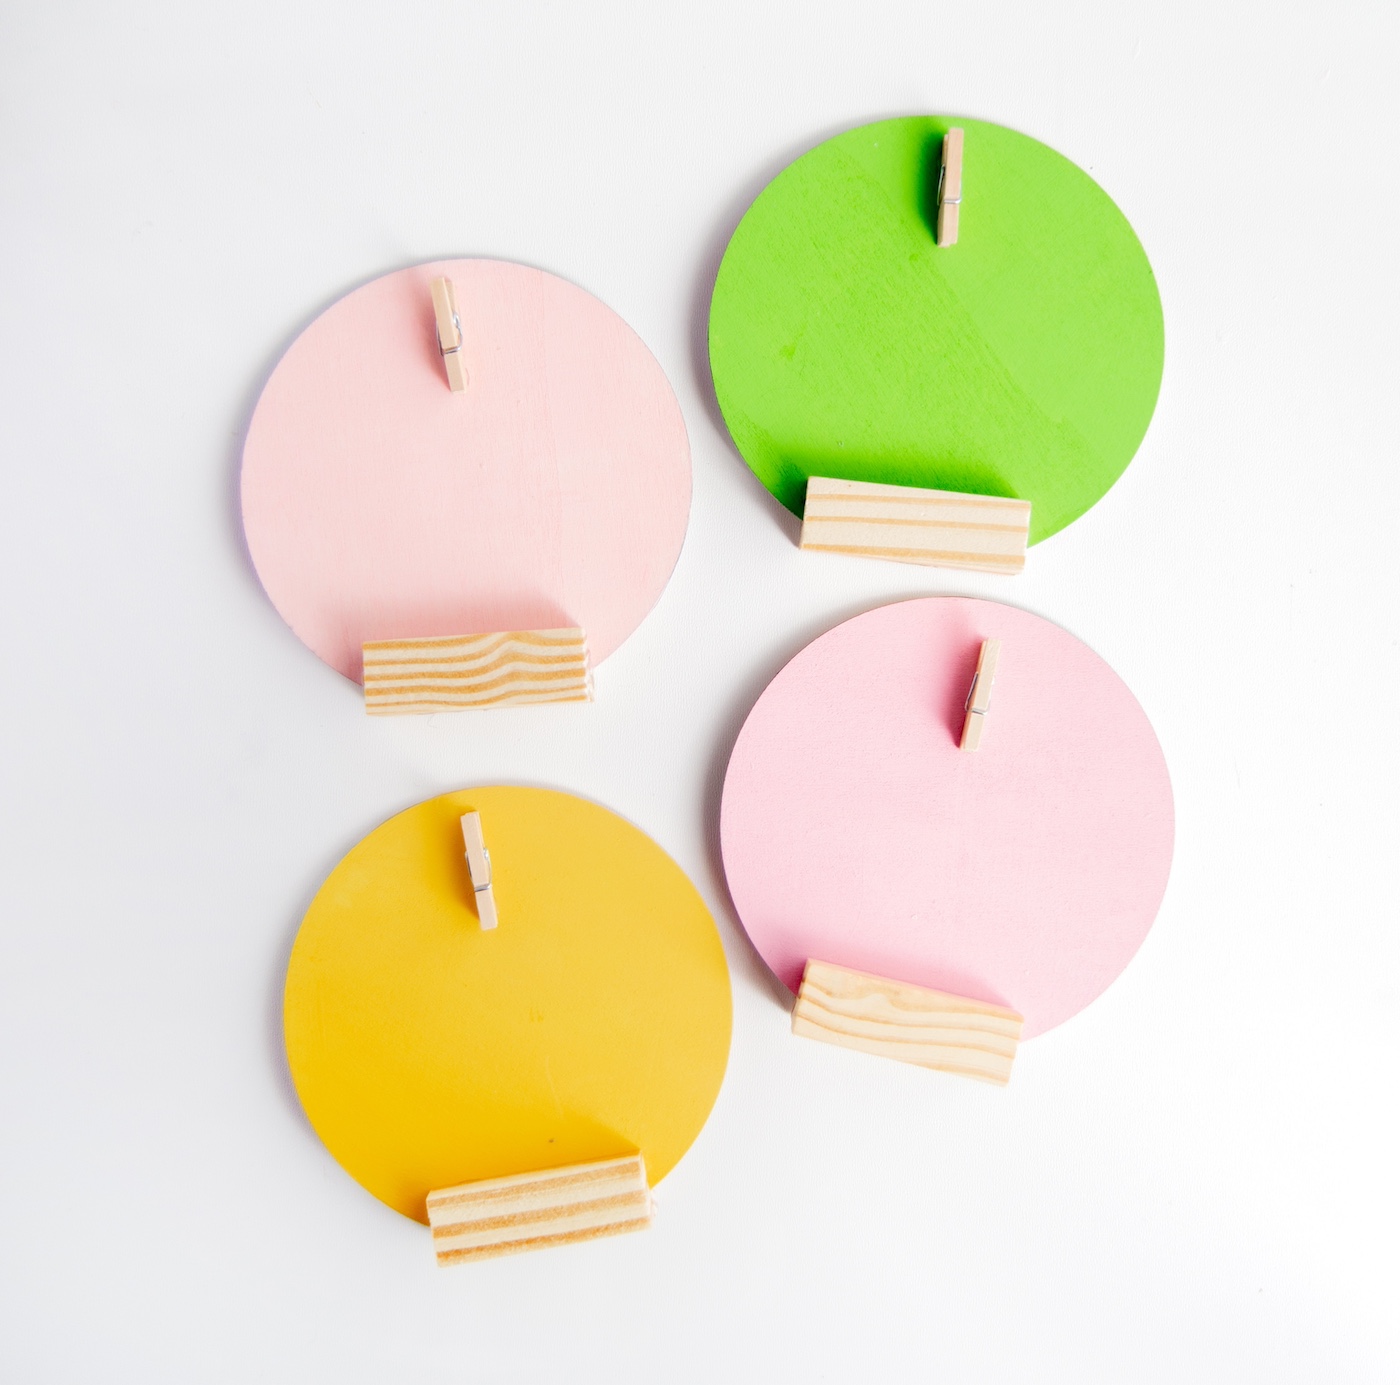
- Start by painting one side of your wood circles. Wait for the paint to dry.
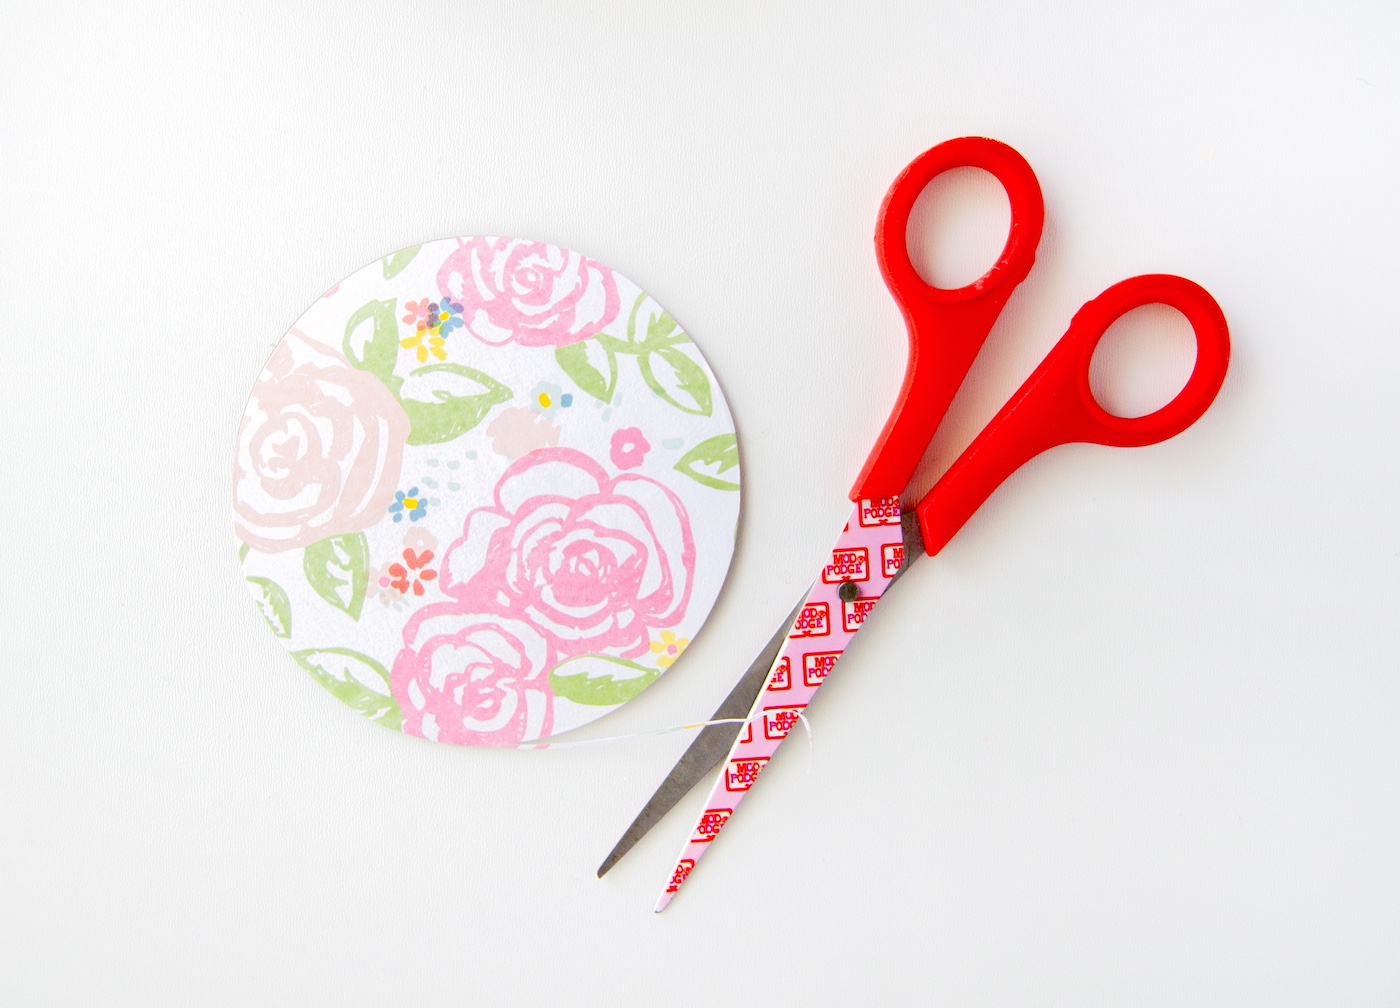
- Trace the circle onto the backslide of the scrapbook paper and then cut away, carefully following the traced guidelines.

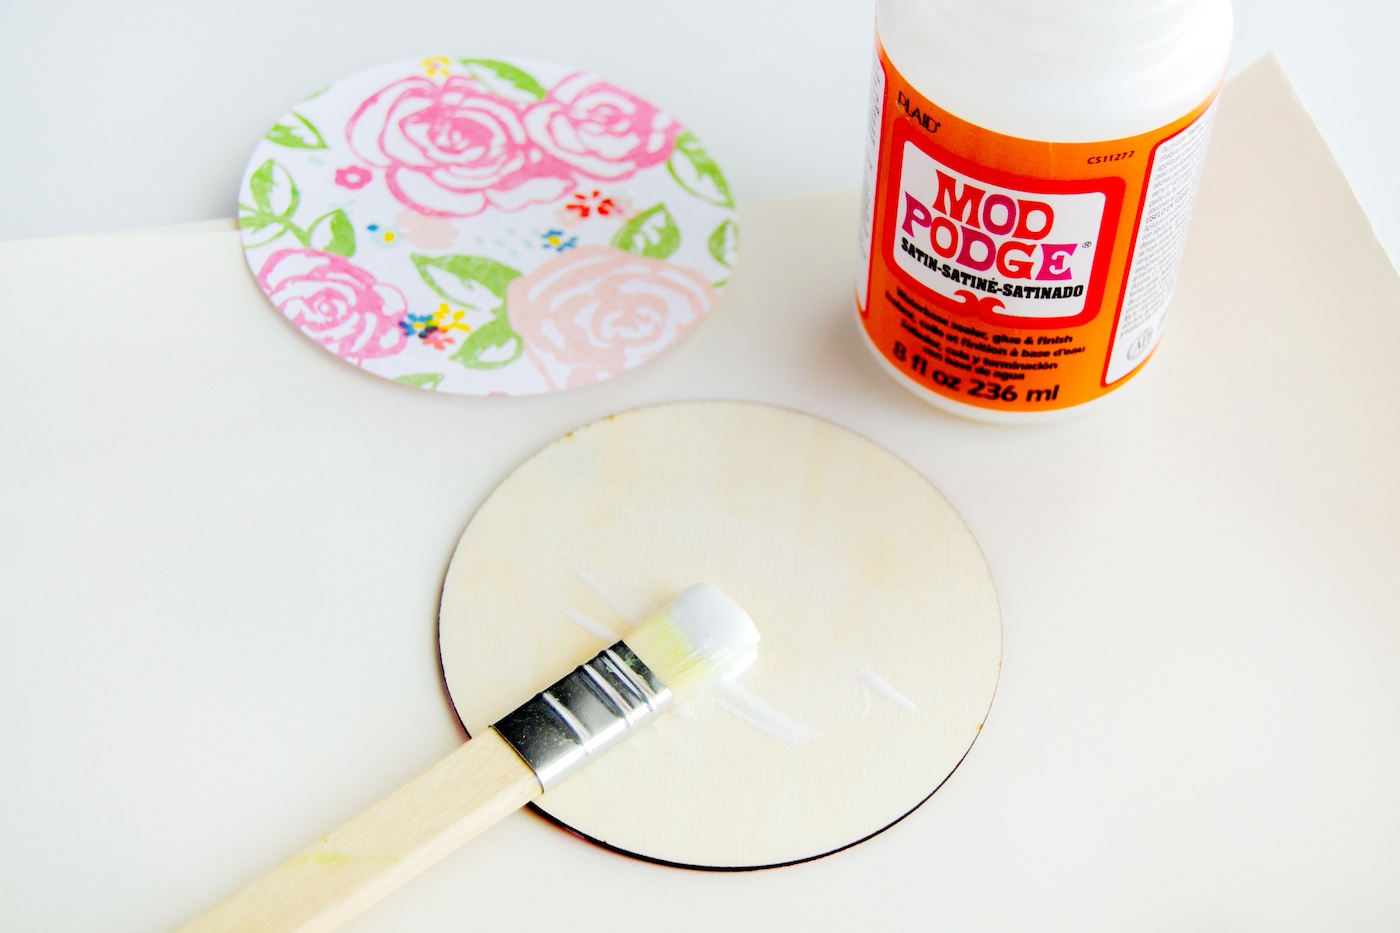
- Attach the cut scrapbook paper onto the unpainted backs of the wood circles, making sure to spread a layer of Mod Podge evenly before centering and laying your paper down. Press firmly, making sure that there are no bubbles (you can use a squeegee to help with this step) and no edges are lifting. Let dry.
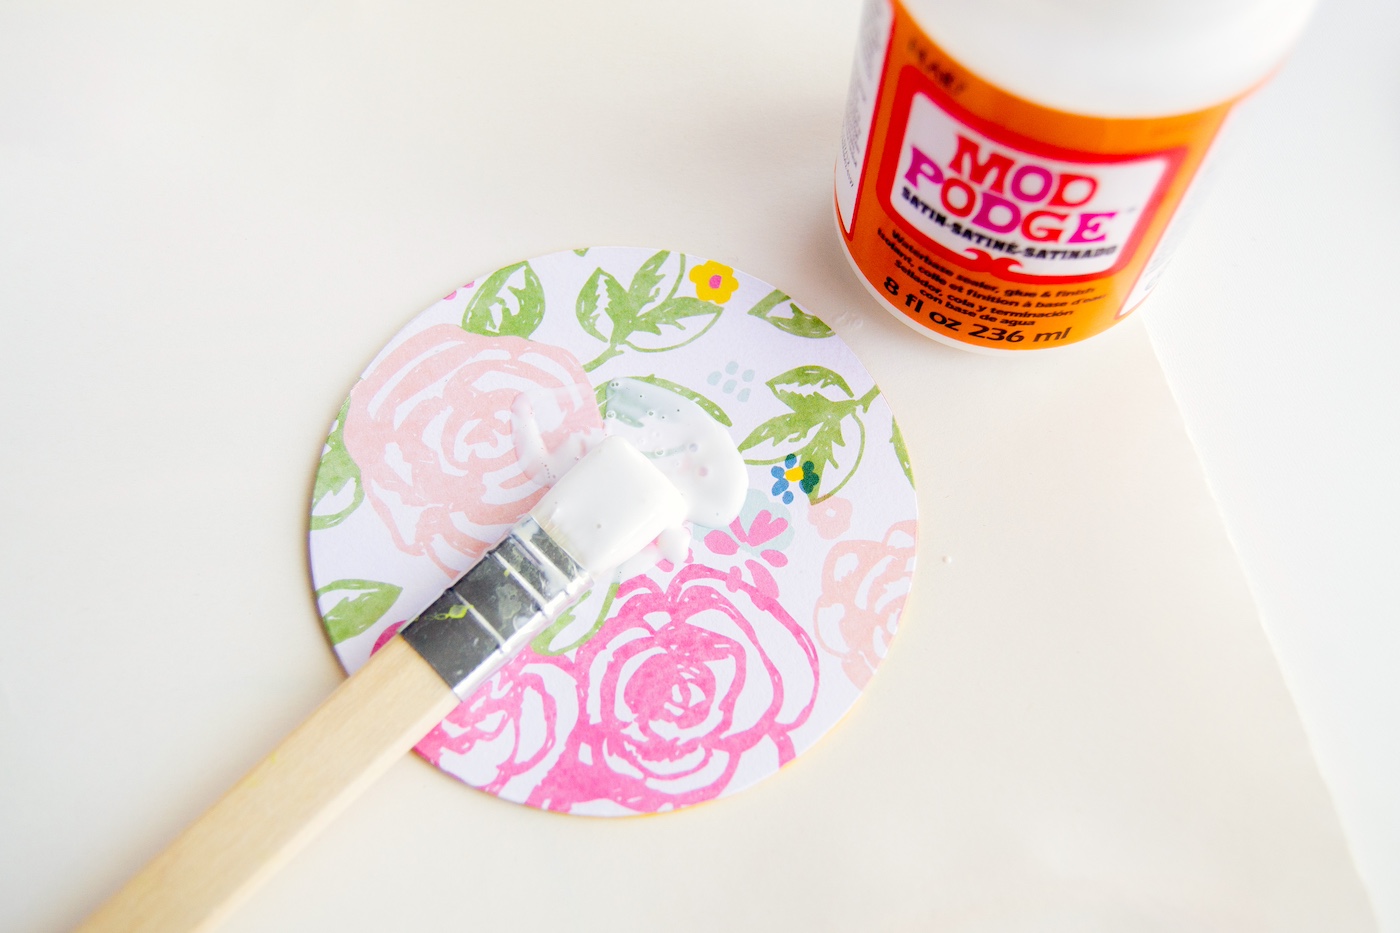
- Add another layer of Mod Podge to seal the paper and make it durable. Let dry completely.
- Once dry, cut the excess scrapbook paper to clean it up.
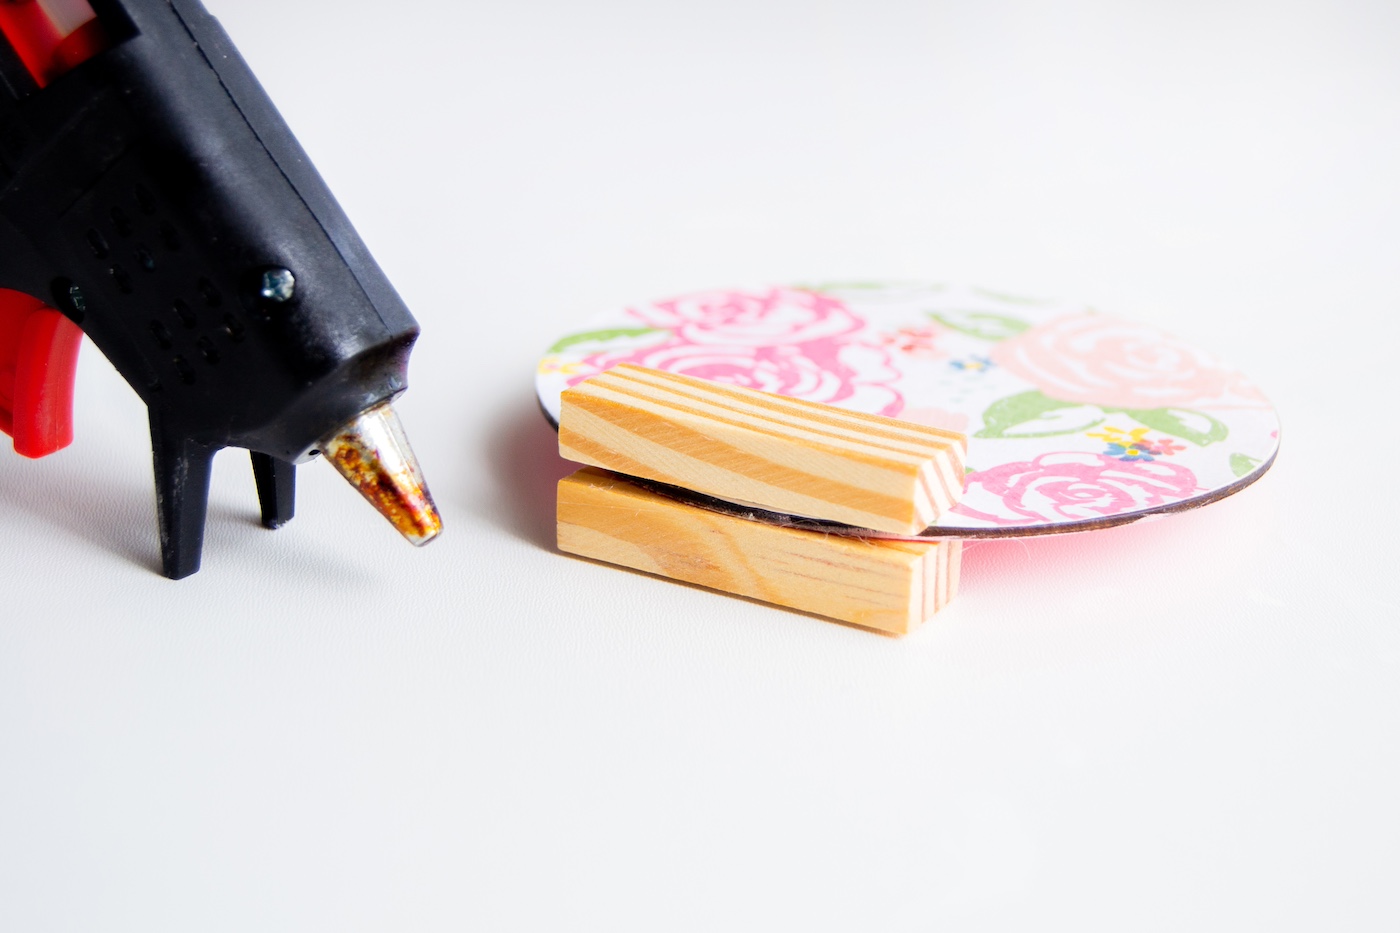
- Attach one ‘block’ with hot glue to the bottom of one side of the circle, making sure the circle is centered.
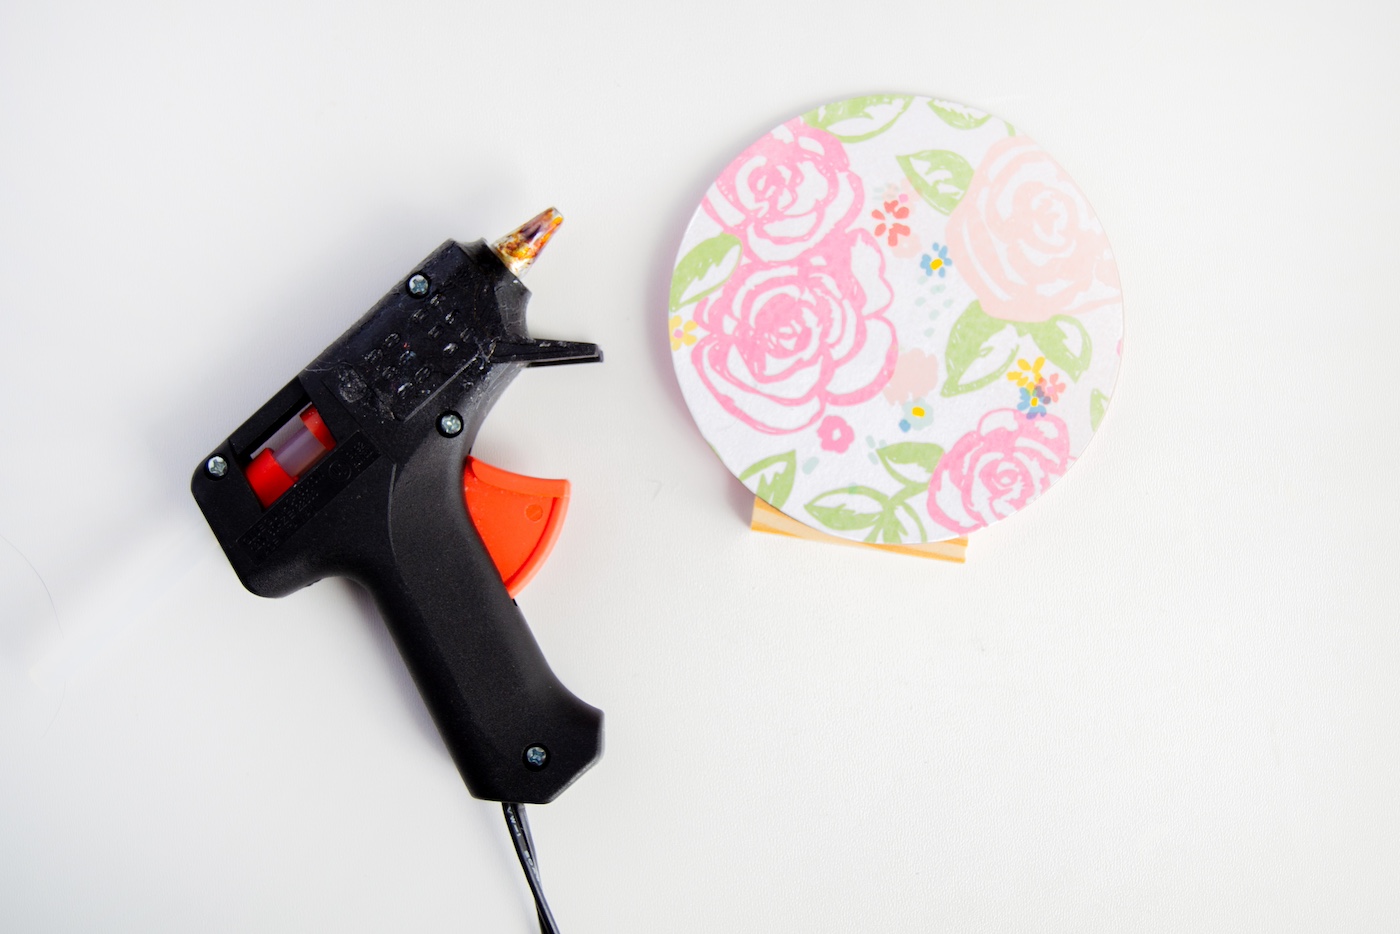
- Flip it over and attach another block onto the other side, making sure the blocks are aligned on the sides and the bottom.
- For this step, I chose to use mini clothespins to hold the paper I can write the names on. You can use wood clothespins or even metal clips. Hot glue the clothespin to whichever side you like (I chose the painted side), making sure that it is centered.

- Cut little rectangles to write names on, and clip them onto your place card holders when the ink is dry.
Notes
Alternatively, you can use a die-cutting machine to quickly cut circles for you.