
Don’t spend big bucks on a dollhouse – this cardboard dollhouse craft is really easy! Use Mod Podge to create this with your children.
Skills Required: Beginner. This craft is great for any age of children – or even adults! What I love is that it uses a recycled box . . . so if you “mess up,” it’s easy and inexpensive to just start over.
We’ve shown you easy craft ideas for kids, and this is yet another project that littles will really enjoy! If you love giving kids their creative freedom, this recycled craft is perfect.
I LOVE a dollhouse project, unfortunately I have three boys and they really don’t care for dollhouses. BUT I still really wanted to make one.
So I thought creating a simple and easy cardboard dollhouse would be an awesome idea to share. I’ll take any chance I can to work on a girly kids project.
I also think this DIY dollhouse is a really fun and pretty inexpensive project that the kids can work on this summer. It’s a great project to keep them busy (think boredom buster). Learn how to make it below.
Gather These Supplies
- Mod Podge Gloss or Matte
- Small Cardboard Box
- Paint
- Scrapbook Paper
- Magazines
- Painters Tape
- X-Acto Knife
- Paint Brush
Since I have three boys I didn’t have any small dolls to display in my cardboard dollhouse. I didn’t even have small superheroes! Very weird.. 😉
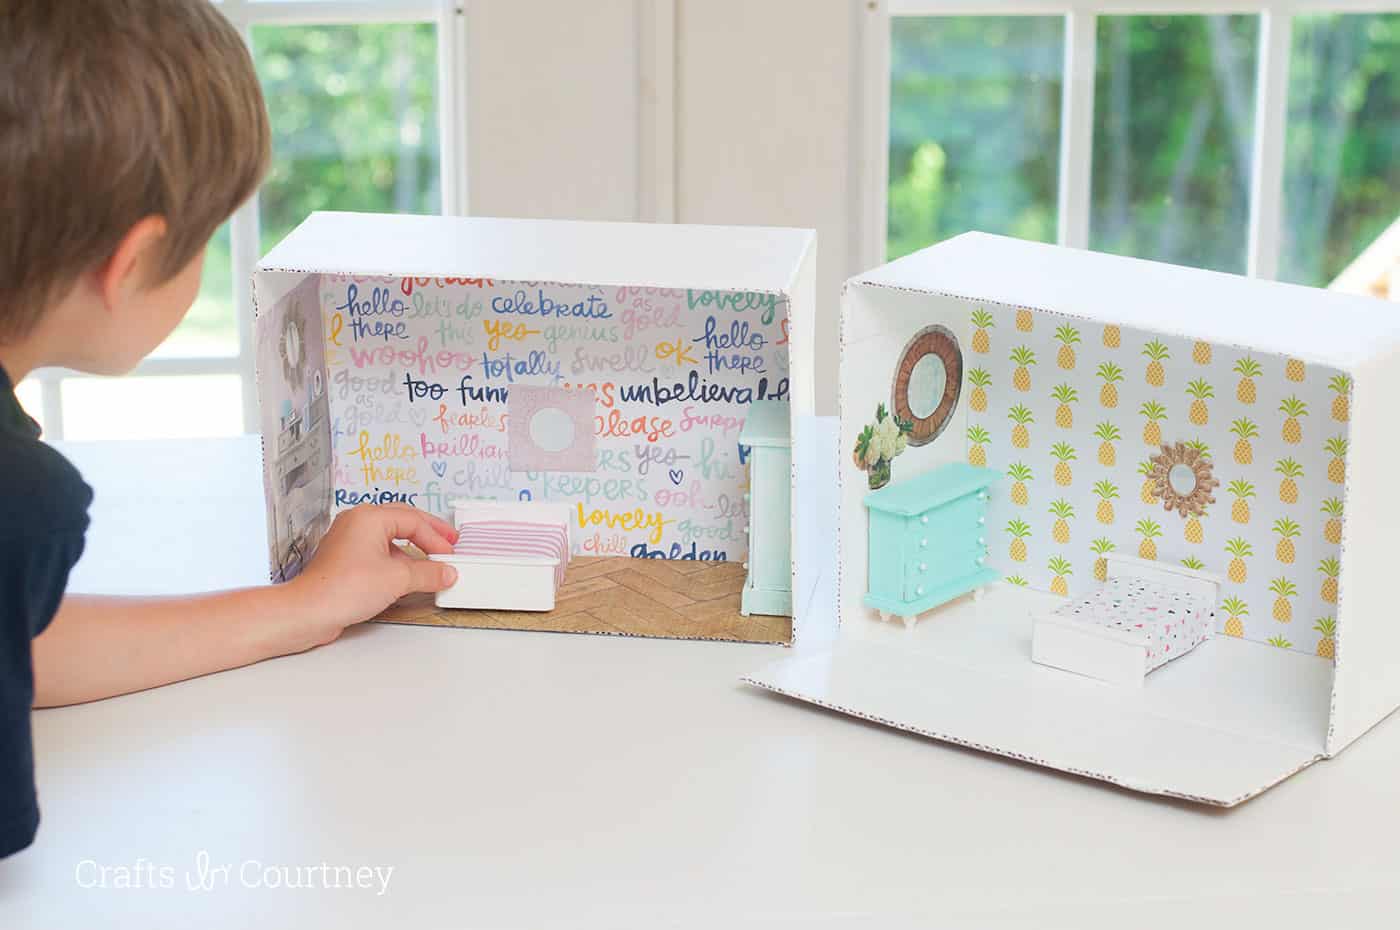
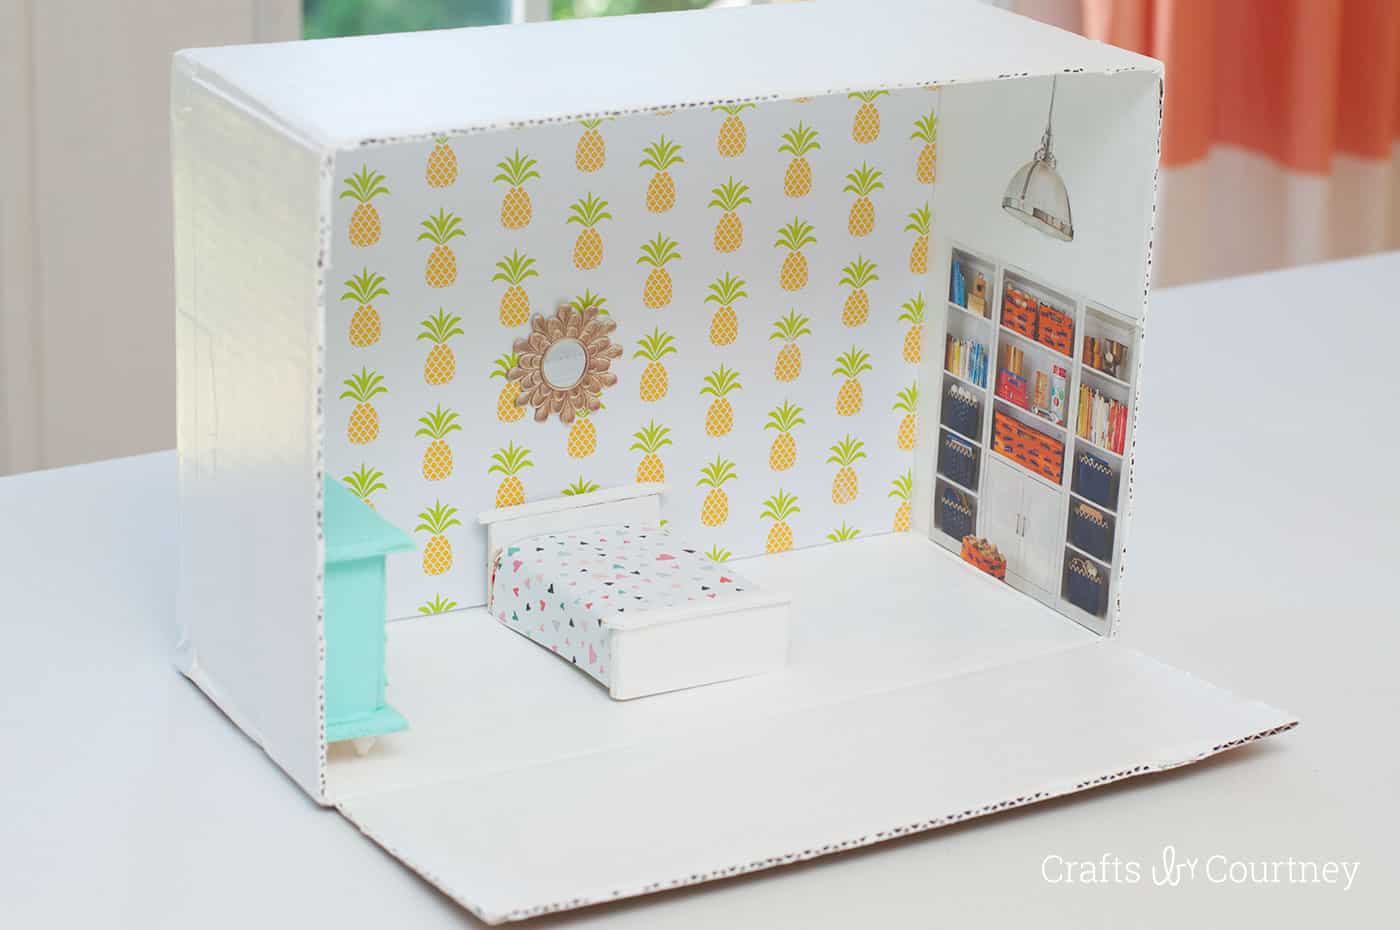
Like I said at the beginning, this is a perfect craft to keep the kids busy this summer. They will have a blast putting their house together and playing with it all summer. Would you try a DIY doll house?

DIY Dollhouse
Equipment
Materials
- Mod Podge Gloss or Matte
- 1 Cardboard box small
- Craft paint
- Scrapbook paper
- Magazines
- Painter's tape
Instructions
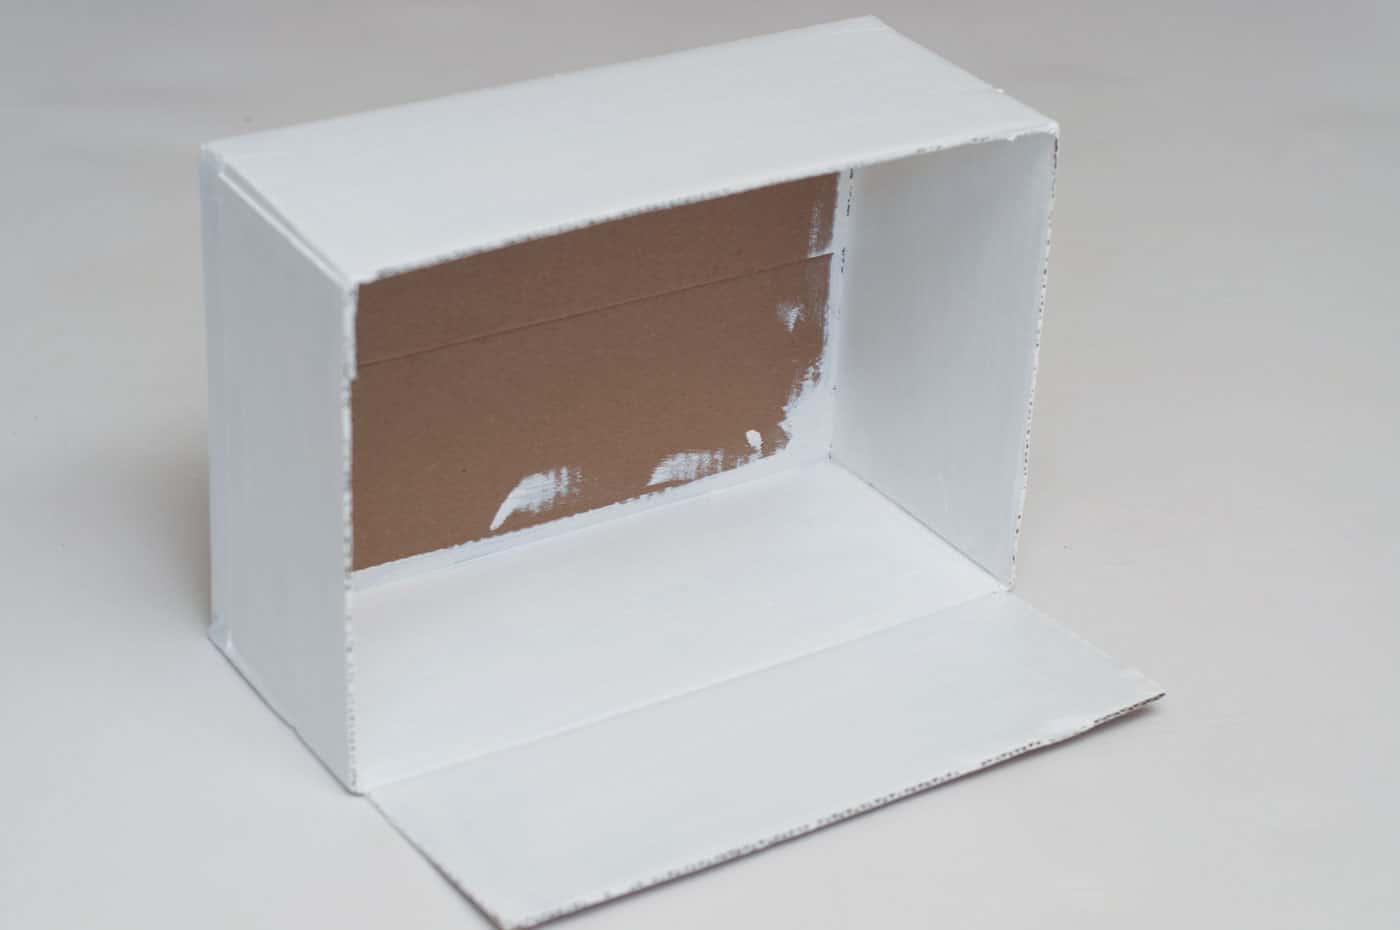
- Cut the end flaps off with my X-Acto knife for the back wall. Then cut all four flaps off for the front opening of the dollhouse.
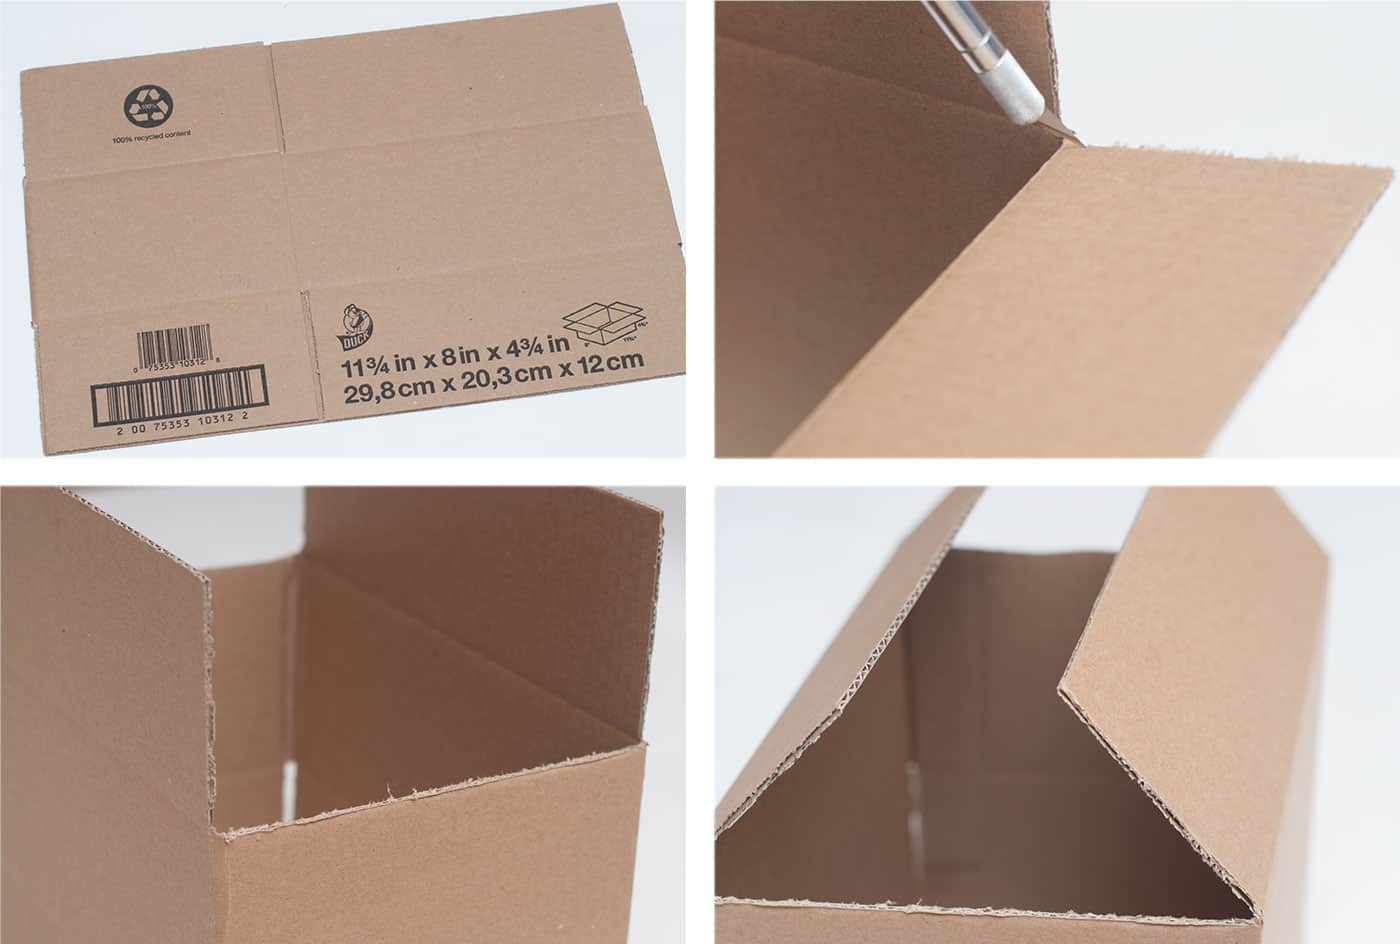
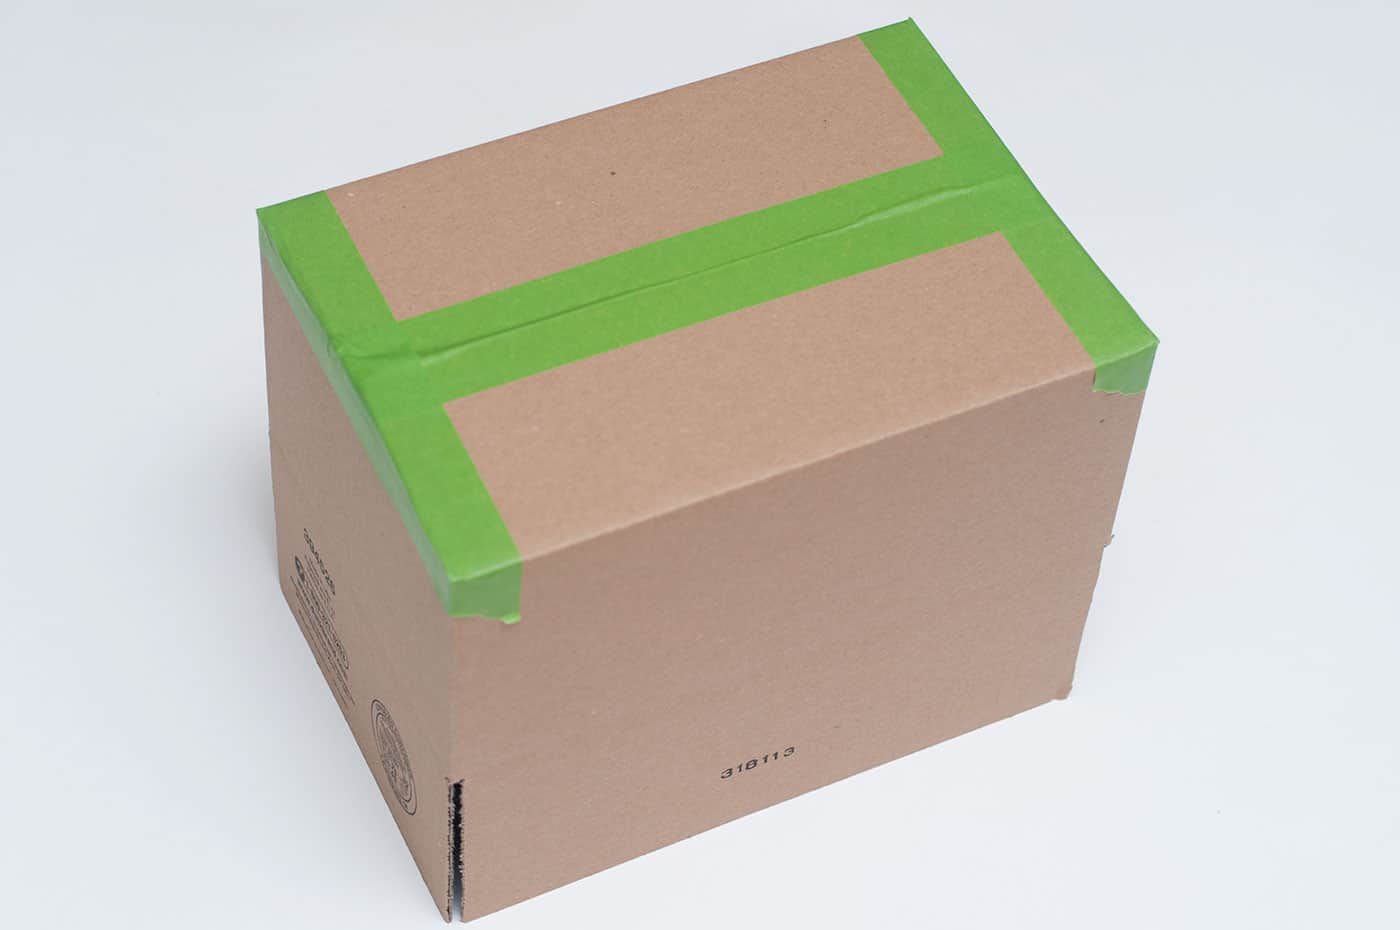
- Tape up the back of the box with painter's tape.
- Paint the box and let dry. I did a total of three coats and let each one dry 20 minutes. I also used a blow dryer to prevent any warping.
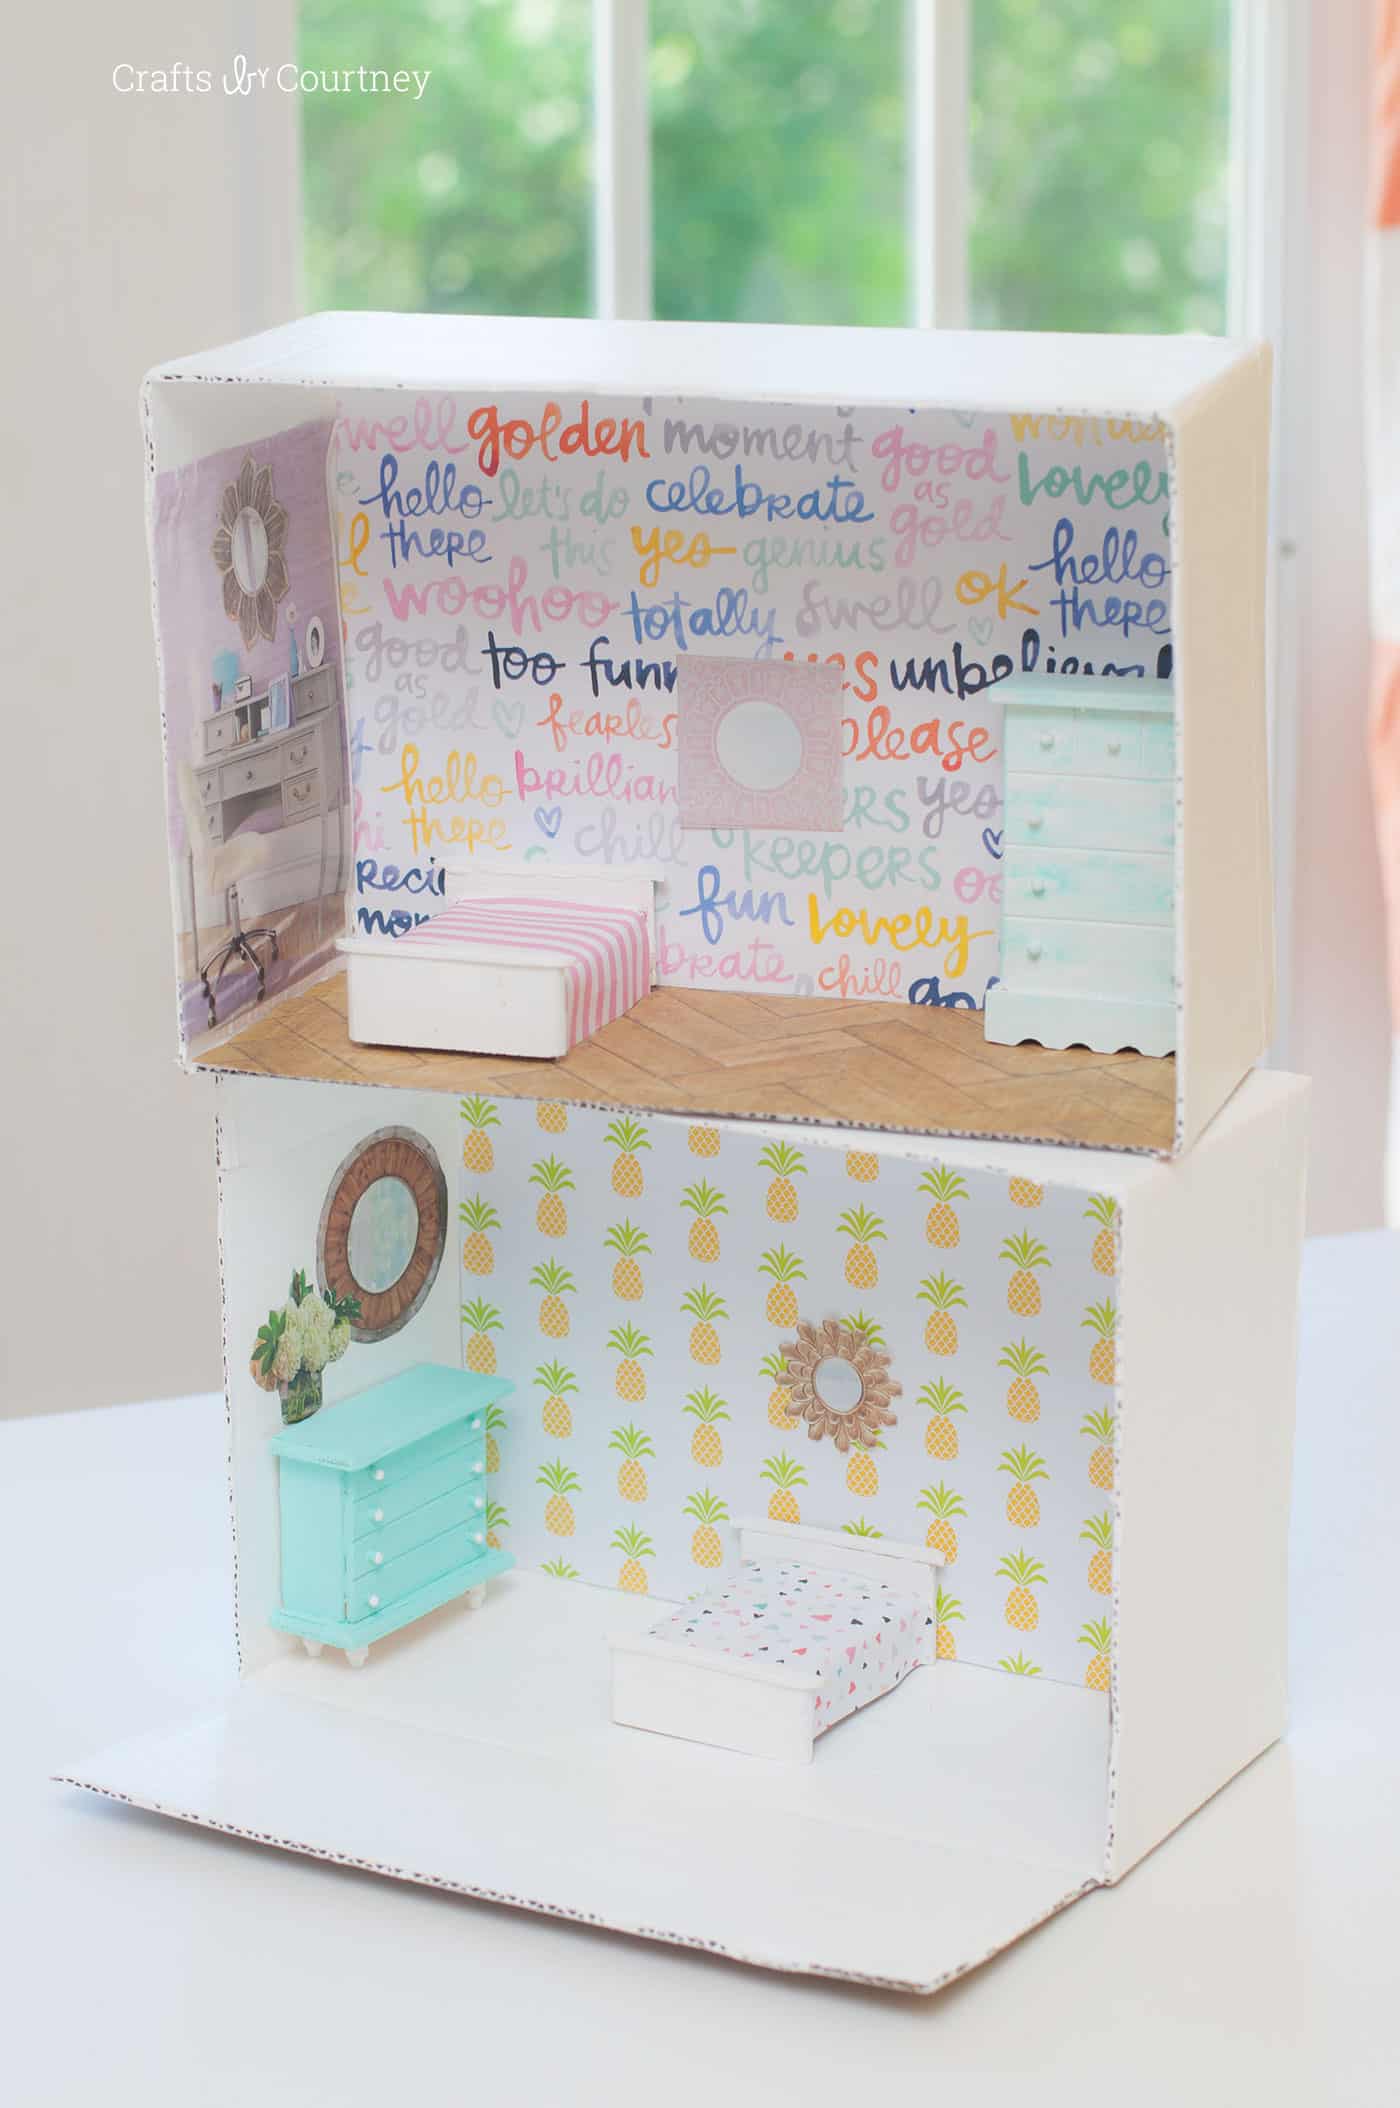
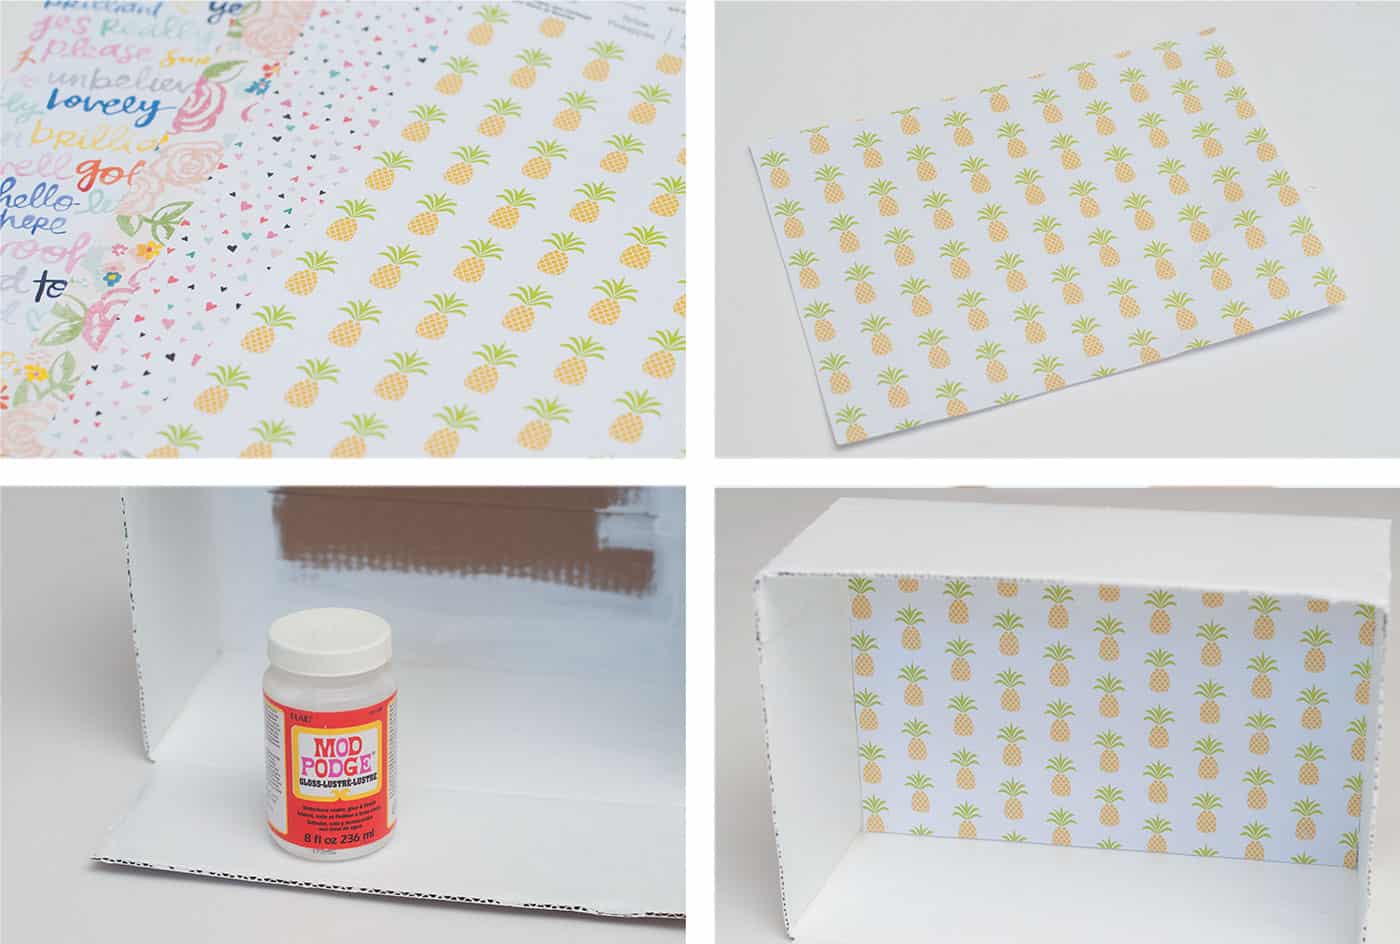
- Measure and cut your scrapbook paper to fit the back wall. I started at the top of the back wall, by adding some Mod Podge and laying my paper on top. Then working my way down. You don't need to over Mod Podge with this, just paint on a thin layer.
- Go through home decor magazines and pick out furniture and other items to go into your dollhouse. Cut out the shape(s). Paint a little Mod Podge on the back and gently place it on the wall. Add a little Mod Podge on top and let dry.
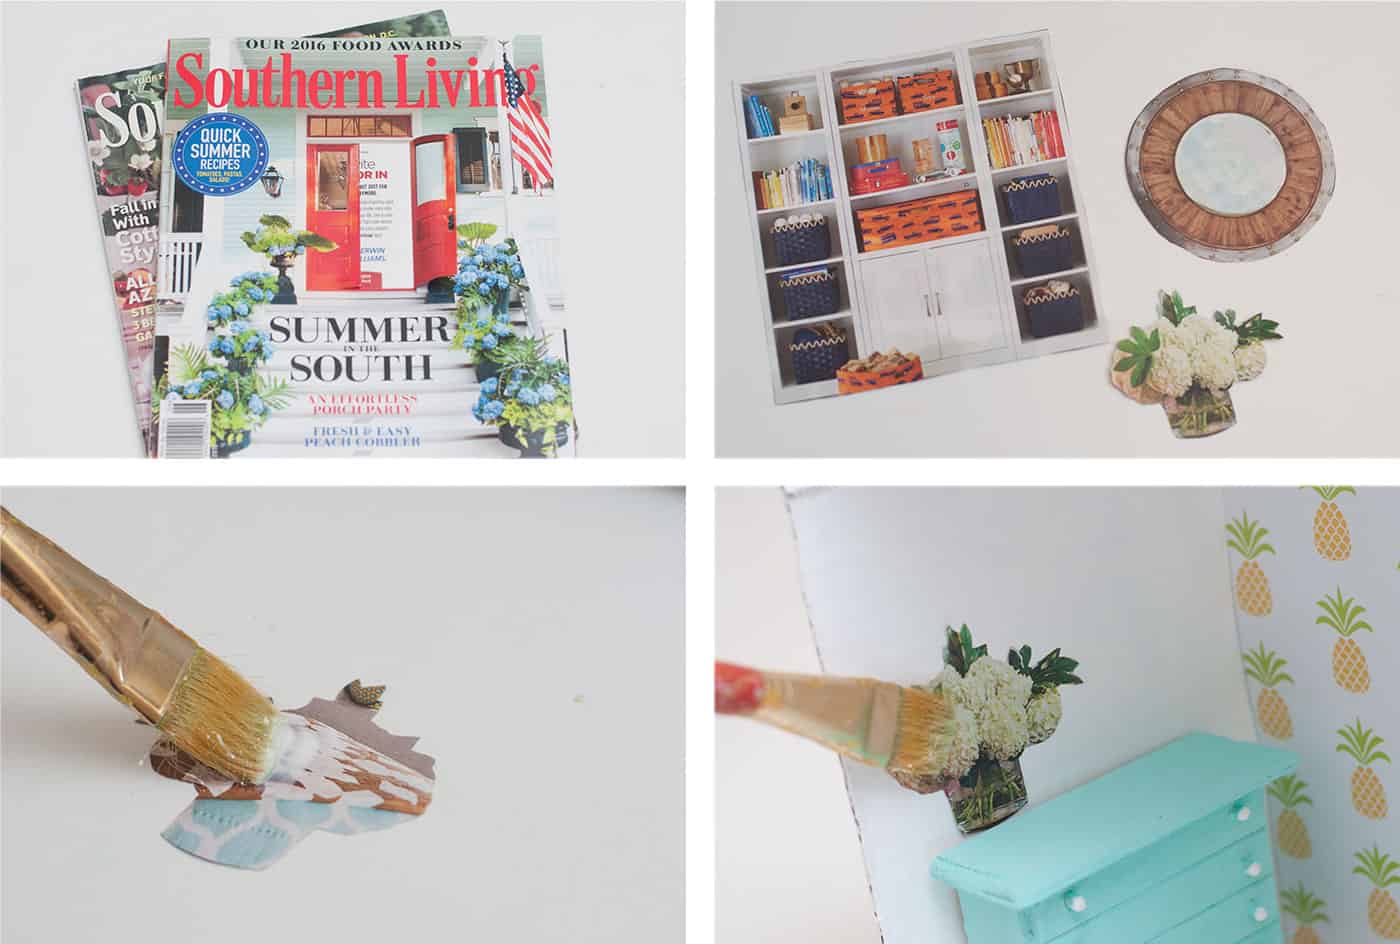
- Paint some wood furniture (I got mine from Dollar Tree) to match the dollhouse. Let dry before placing.
Notes
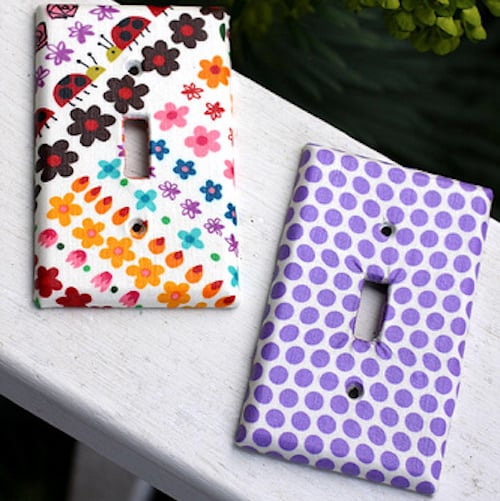
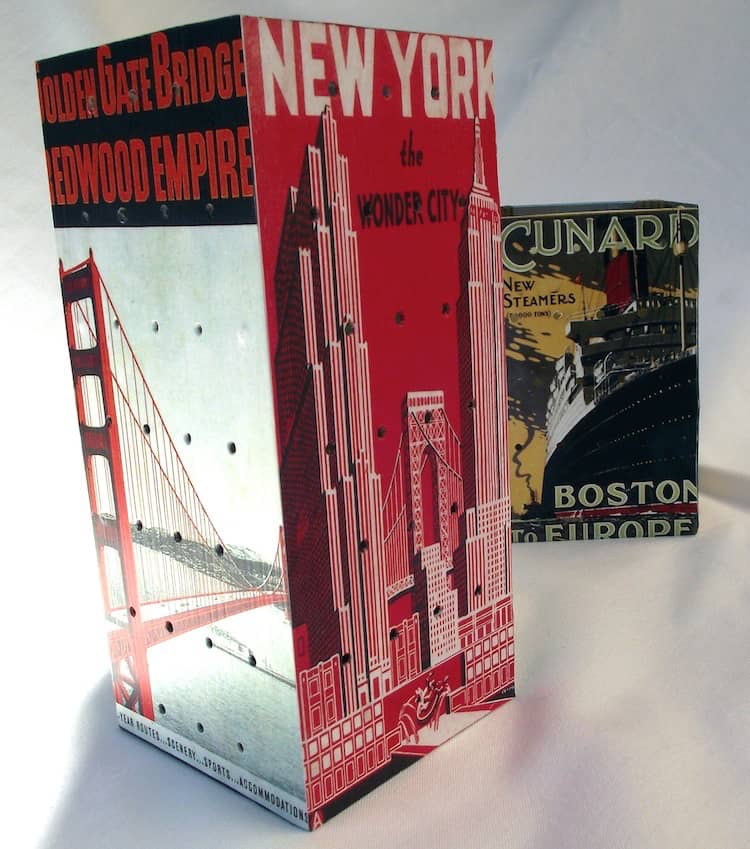
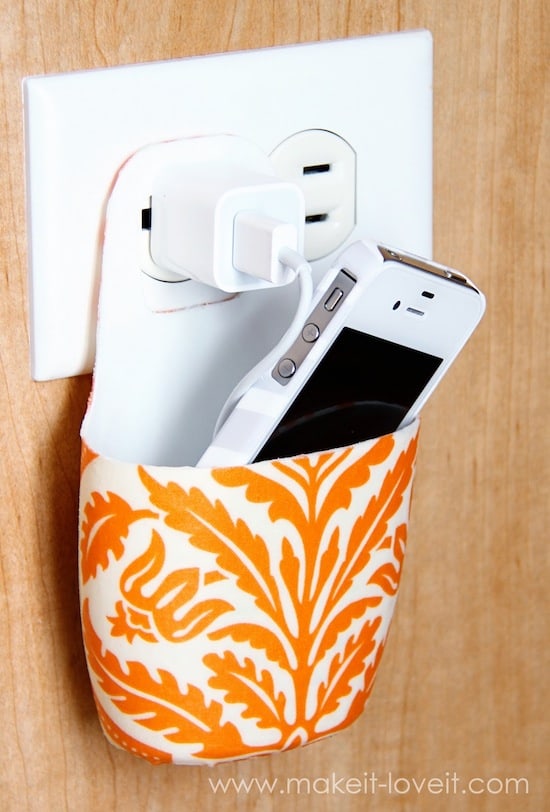
If you guys want to get even more crafting inspiration, be sure and check out the following posts:


I want to know if you can help me with more idea’s for a doll house layouts with cardboard as I also want to make that
I really love this idea because you can create each room separately and arrangement them how you want, and then have the option to arrange them differently every time. Thank you for this inspiration!
True that! Thank you for reading!
Awww this is so cute =]