If you’re looking for a sweet table or shelf decoration, these Easter mason jars are perfect. These bunnies can also hold candy and make good gifts!
Skills Required: None. This is a good beginner craft, and great for kids. They will love putting all sorts of patterns and colors of tissue papers in and on the jars.
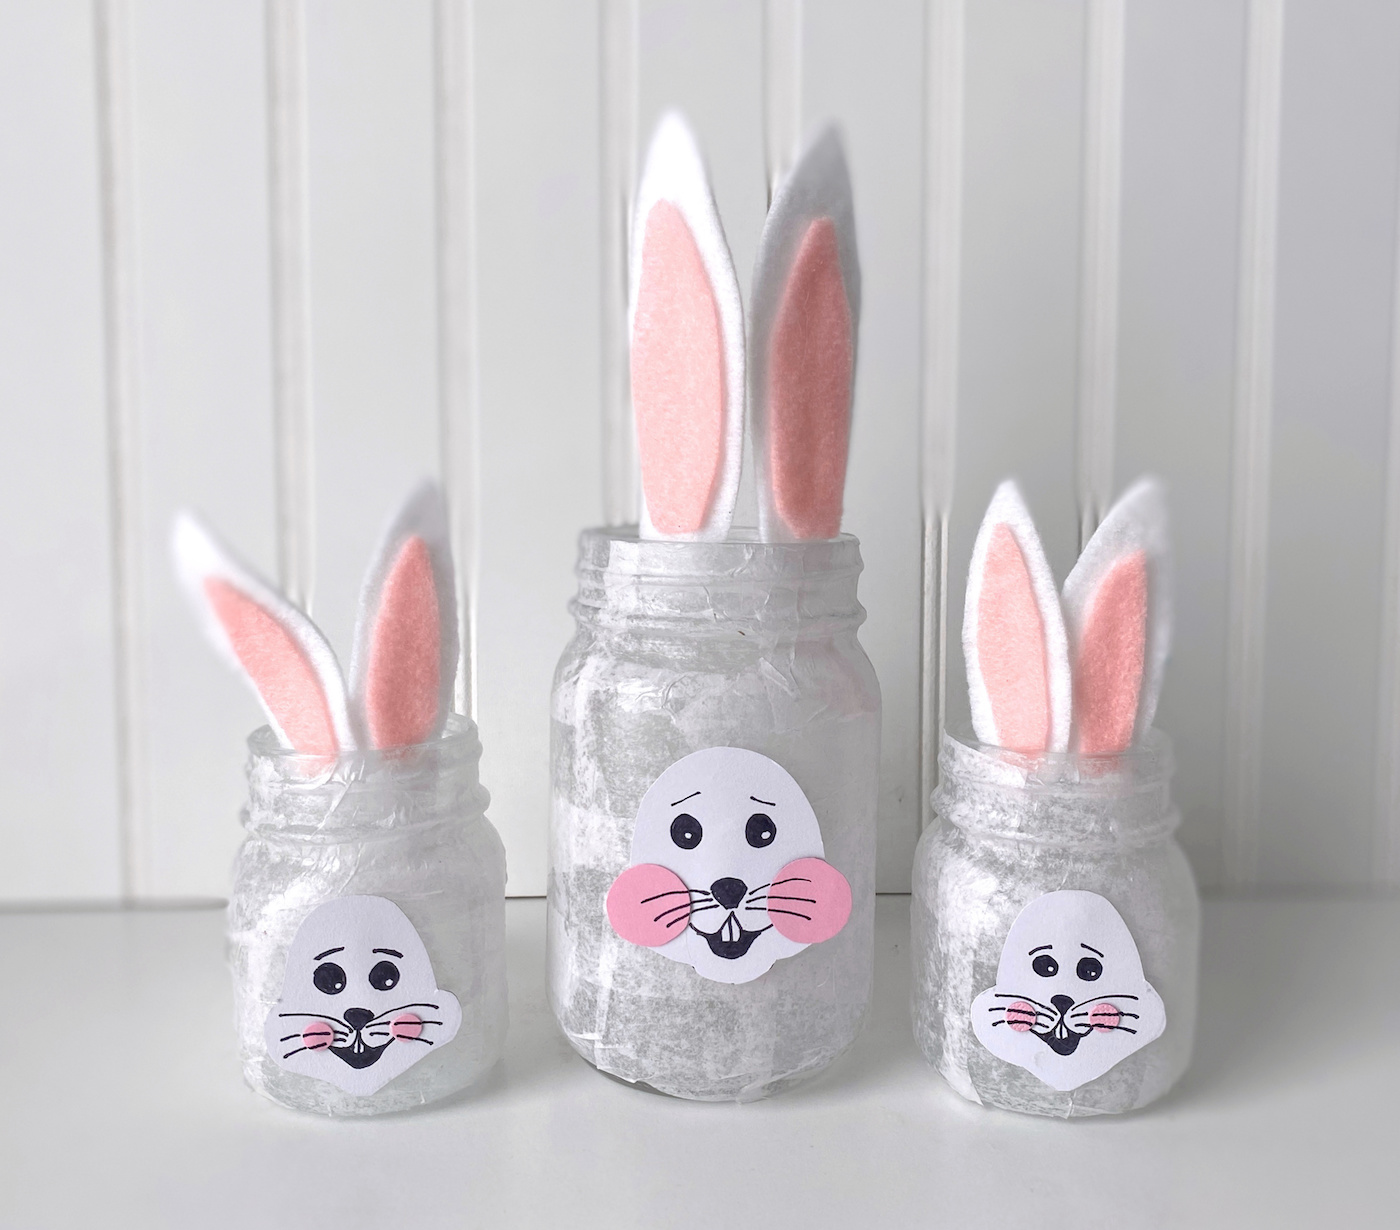
If you’re looking for a sweet Easter table or shelf decoration, these Easter mason jars a great project for an afternoon or to do with little ones.
With just a few supplies and a cute pom tail, turn a simple mason jar into a cute bunny. Kids absolutely love making these for Easter, by the way.
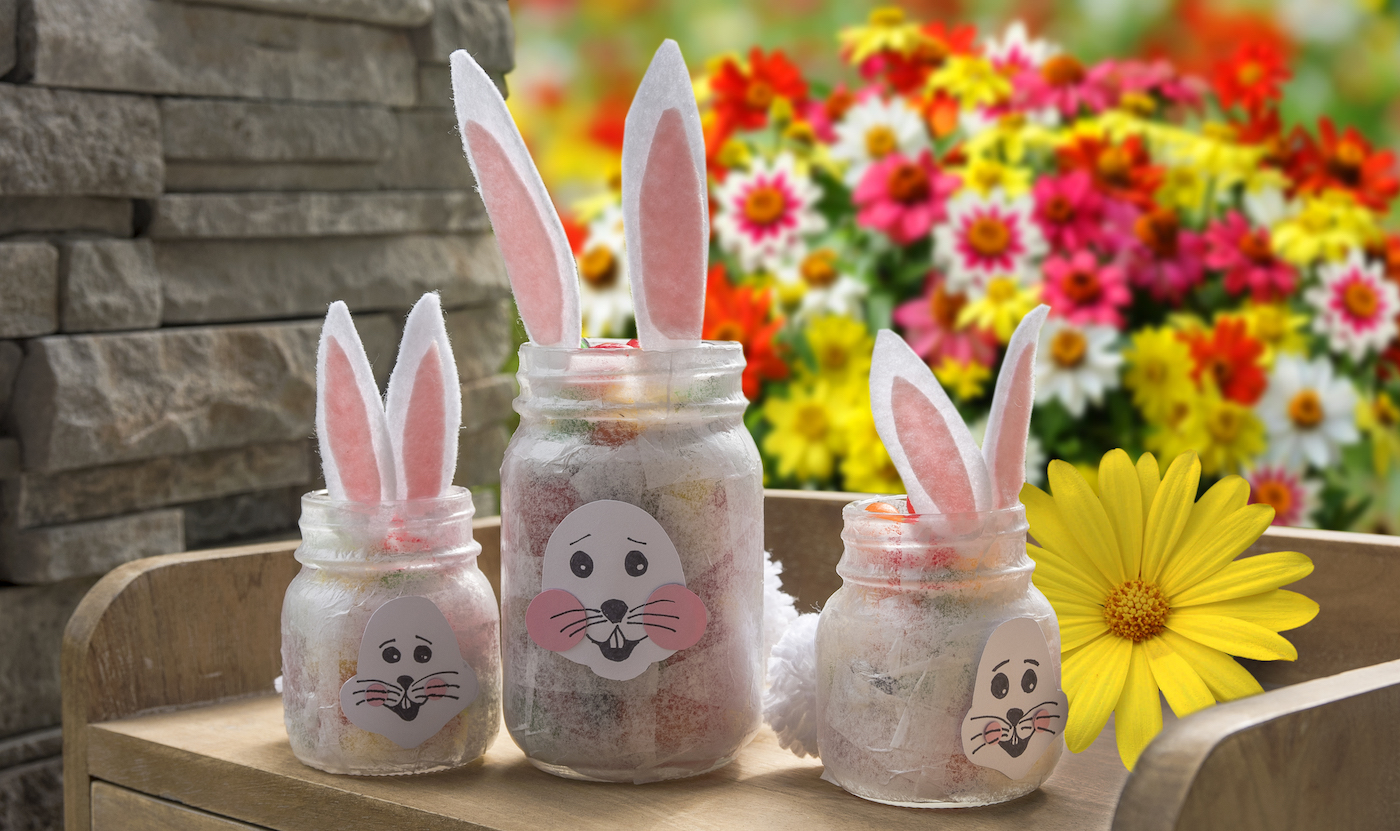
These Easter mason jars are perfect for holding candy or would even make a fun alternative to traditional Easter baskets (maybe a neighbor gift?). There are really a ton of uses! Let’s get started.
Easter Bunny Mason Jars
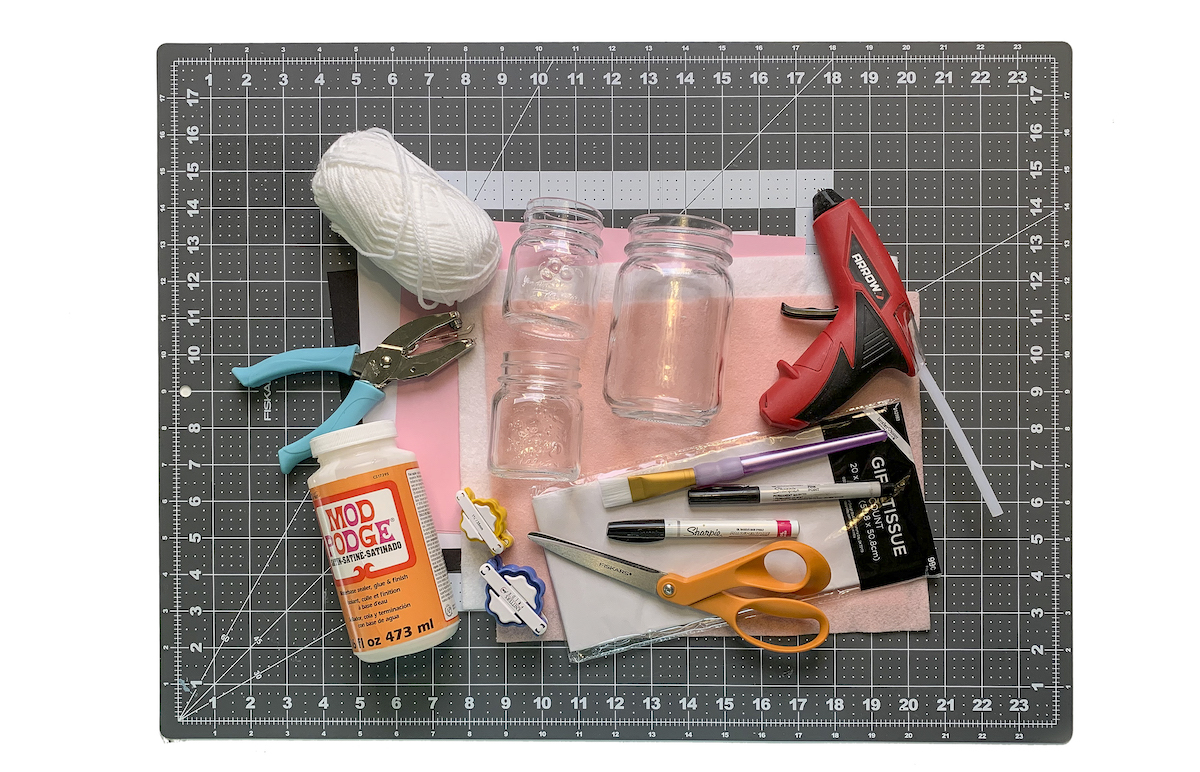
Gather These Supplies
- Mason jars (or other recycled glass jars)
- Tissue paper – white
- Mod Podge – any formula, I used Satin
- Cardstock – white and pink
- Felt – white and pink
- Pom poms – I will show you how to make them with yarn and a pom pom maker!
- Sharpie – fine tip
- Paintbrush
- Hot glue gun
- Scissors
- Pencil
Prep the Jars
Before you get started on your Easter mason jars, you will want to clean your jars with mild soap and water or a cotton ball and some rubbing alcohol. This is to remove all the grease or oils on the sides of the jar, which you need to do for any acrylic product so that it sticks and doesn’t bubble.
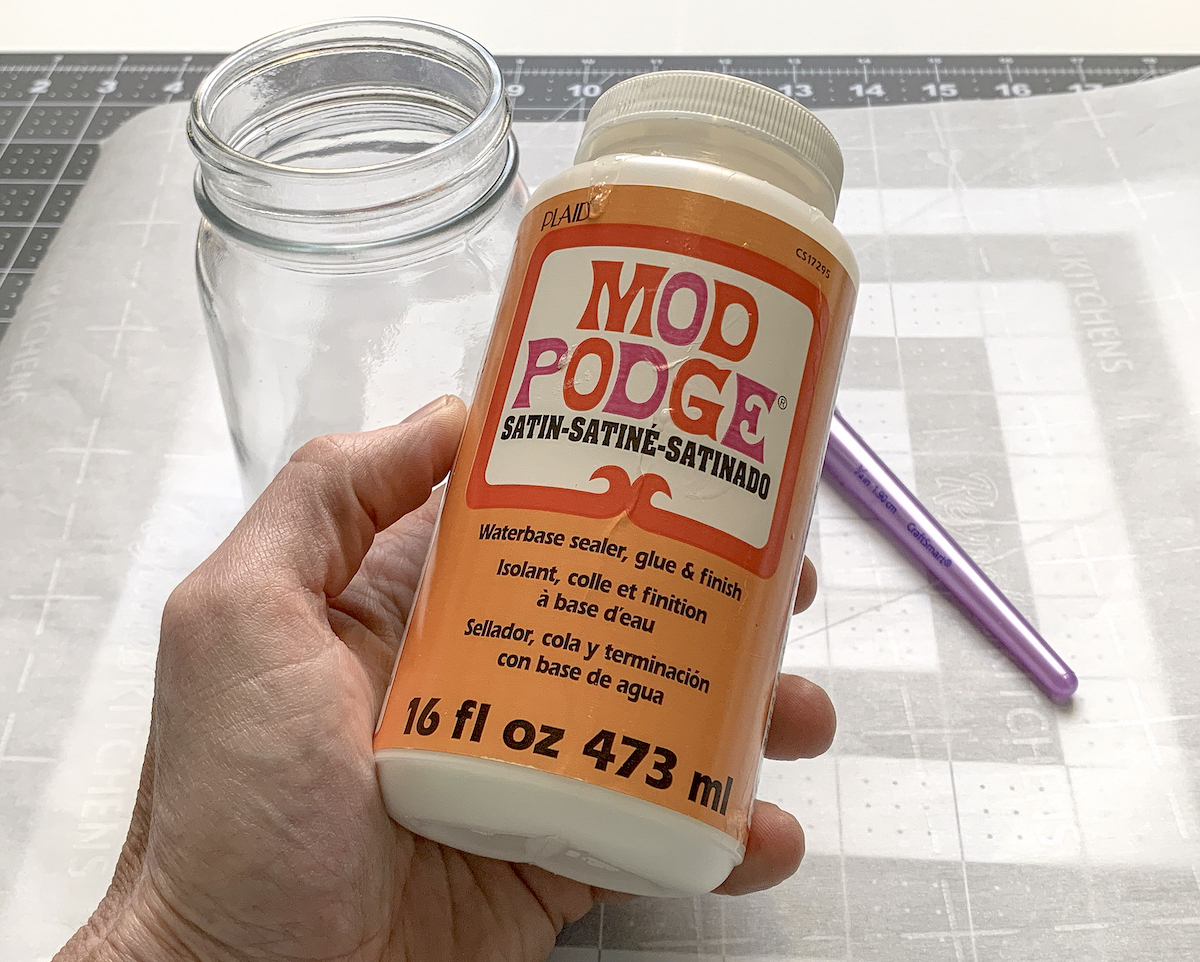
In terms of the Mod Podge formula to use, this project utilizes the Satin type. But you can use any formula you like, honestly. Gloss or Matte would work as well! It really depends on the finish you want. If you’re feeling a little bold, you could also use Sparkle. I’m going to let you get creative!
Cover the Jars with Tissue Paper
You’ll need to cut enough tissue paper to cover the jars.
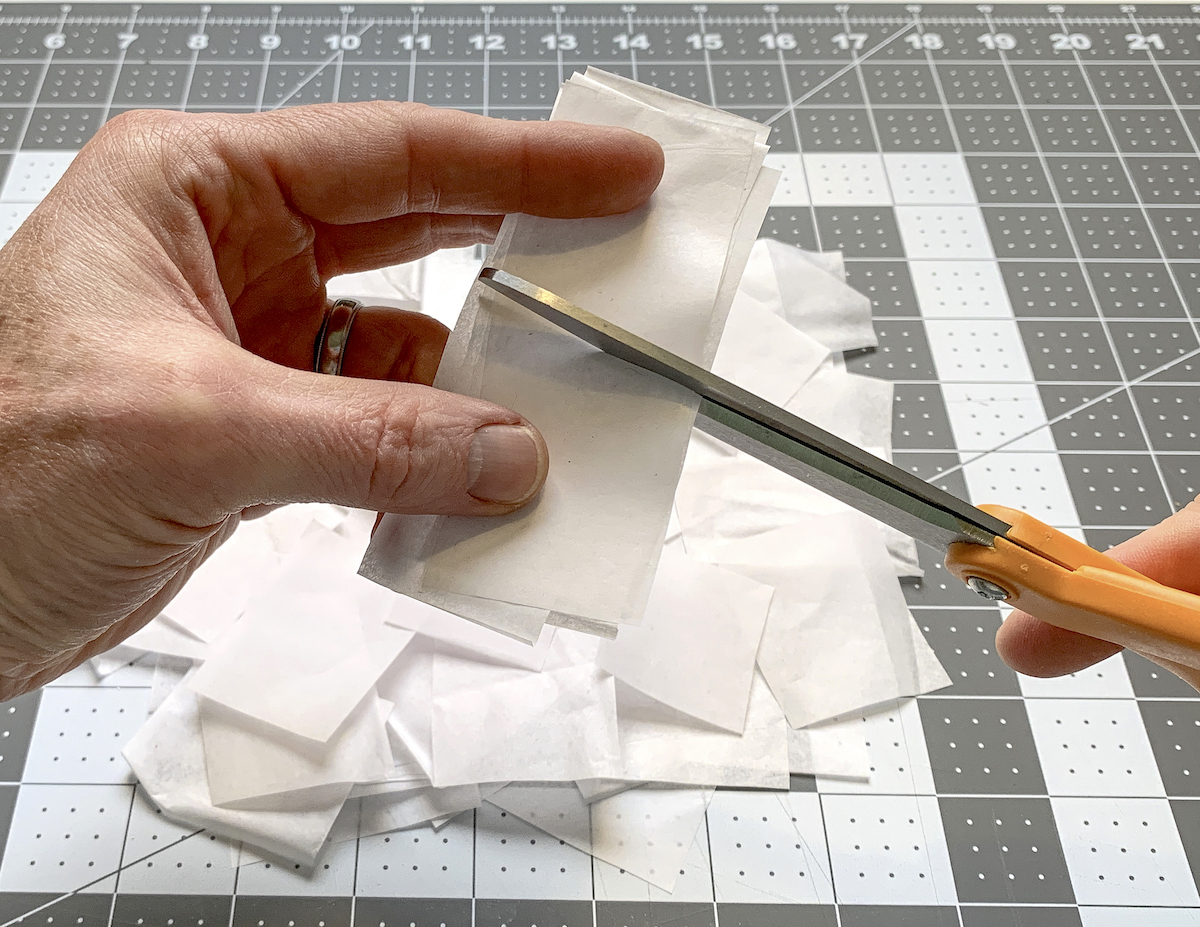
Use scissors and cut the tissue paper into squares so that you can easily apply it to the jars. Smaller squares help you avoid wrinkles as much as possible. Tissue paper can tend to get rather wrinkly with Mod Podge.
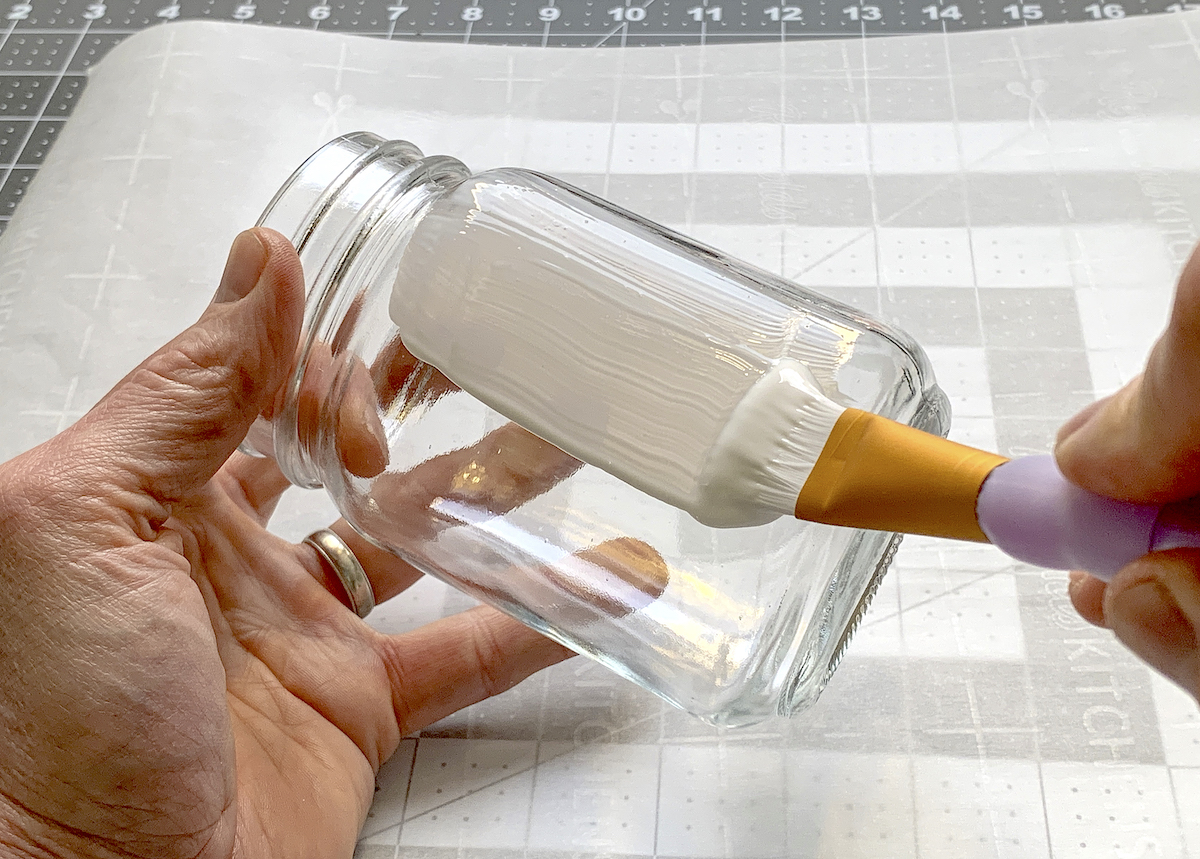
Apply a medium layer of Mod Podge to the jar as shown.
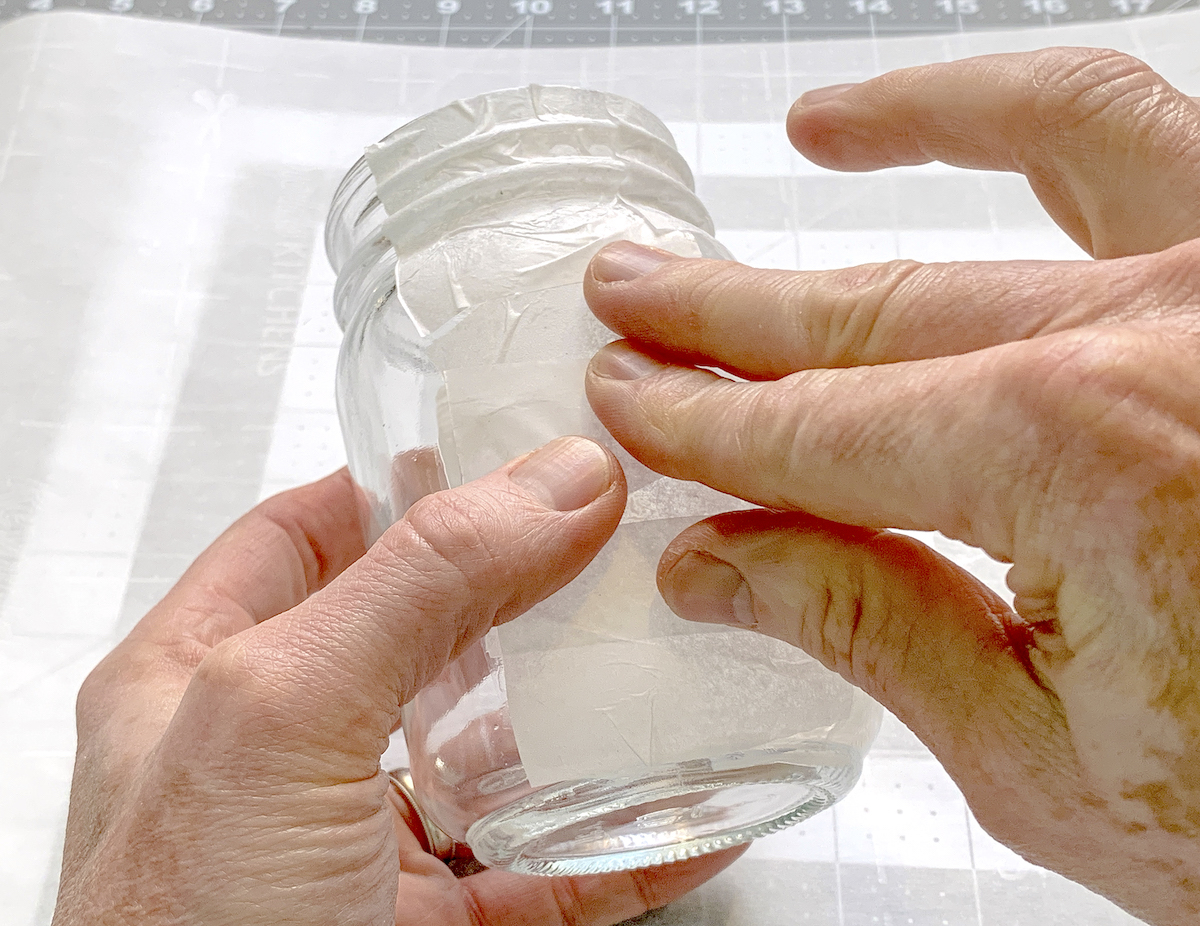
Smooth the tissue paper onto the jar, directly into the Mod Podge.
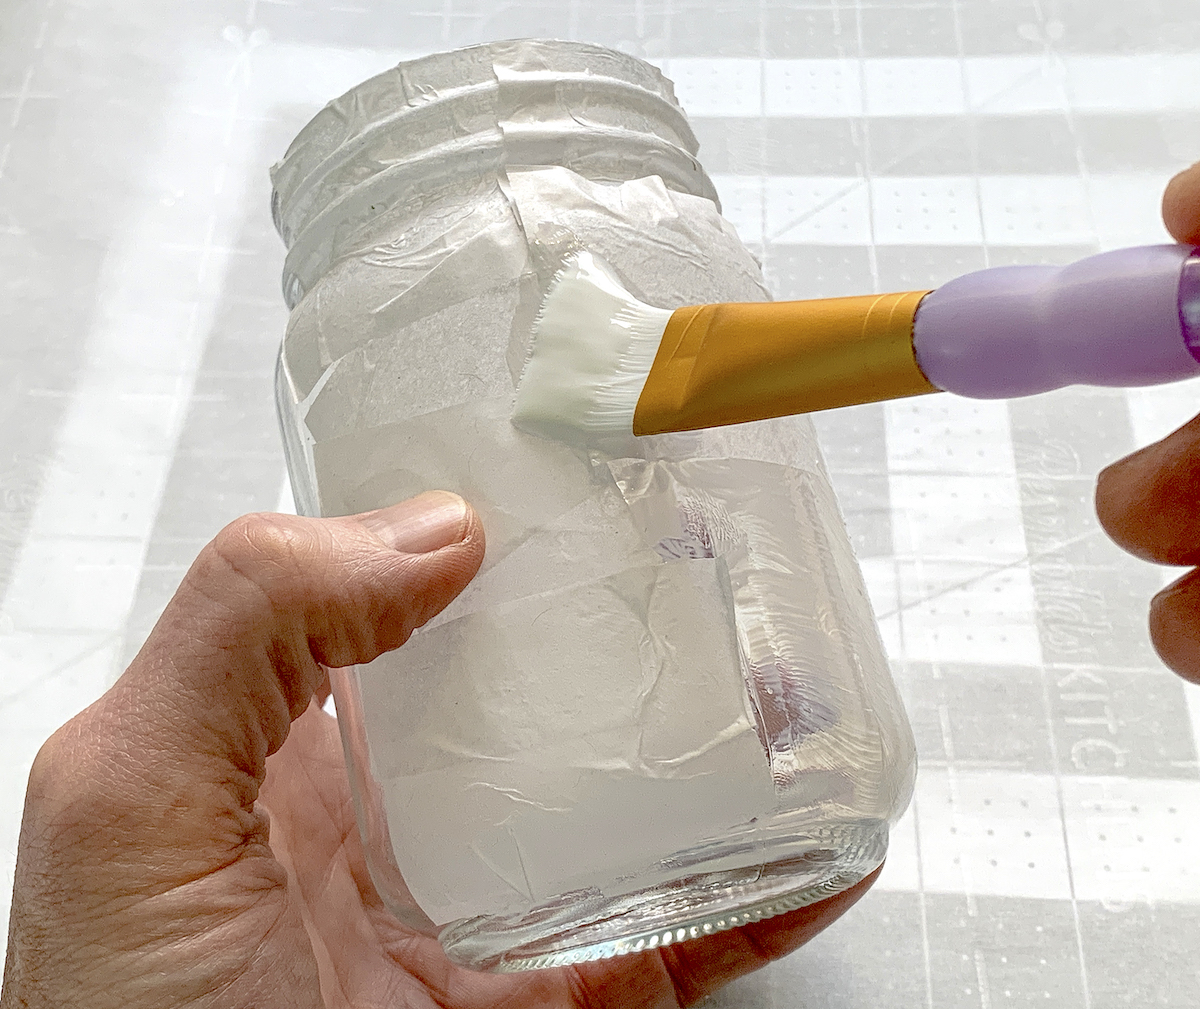
Apply Mod Podge over to the top. You don’t want to brush too hard or use too many brushstrokes; the dye starts coming off the tissue paper and it starts tearing. Less is more with tissue paper!
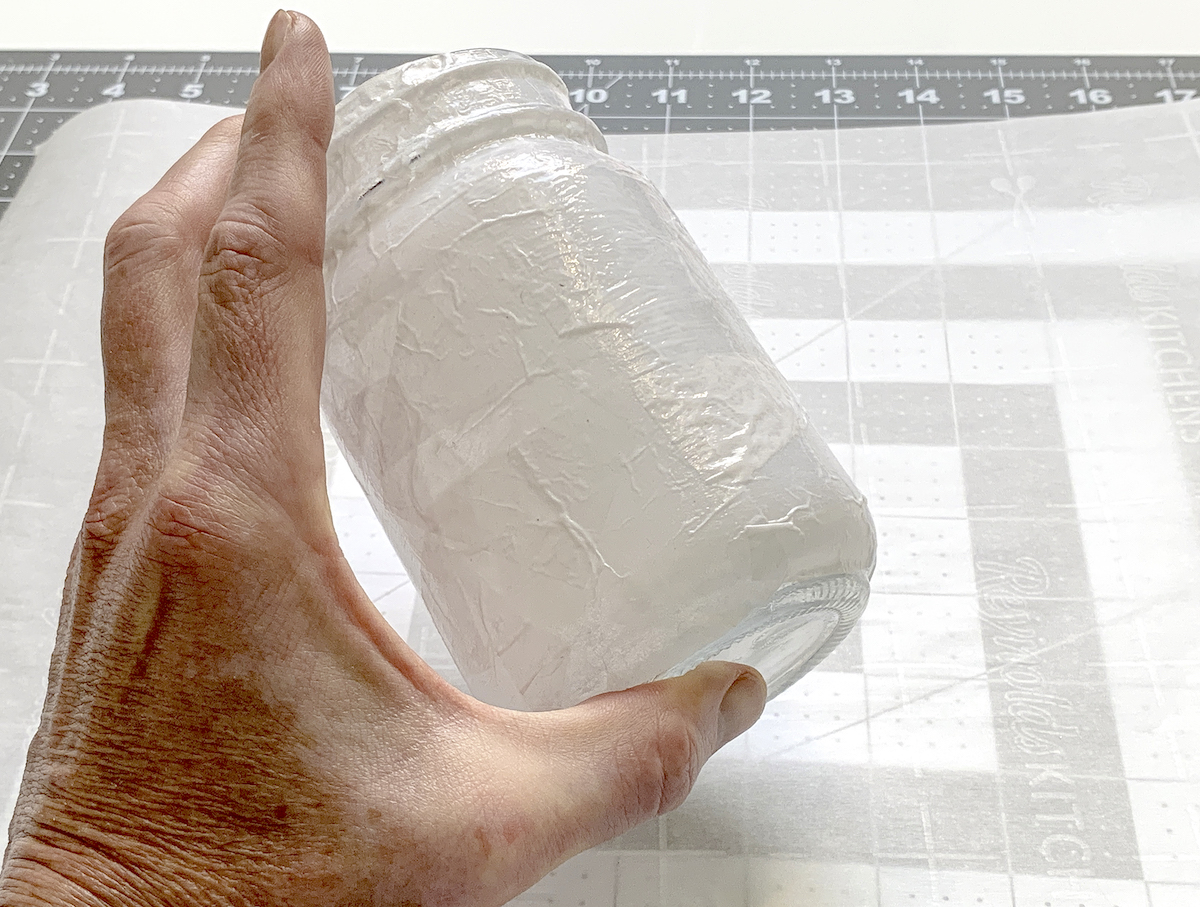
Once your Easter mason jars are covered in tissue paper, set them aside to let them dry while you prepare your bunny ears and faced.
Make the Ears and Faces
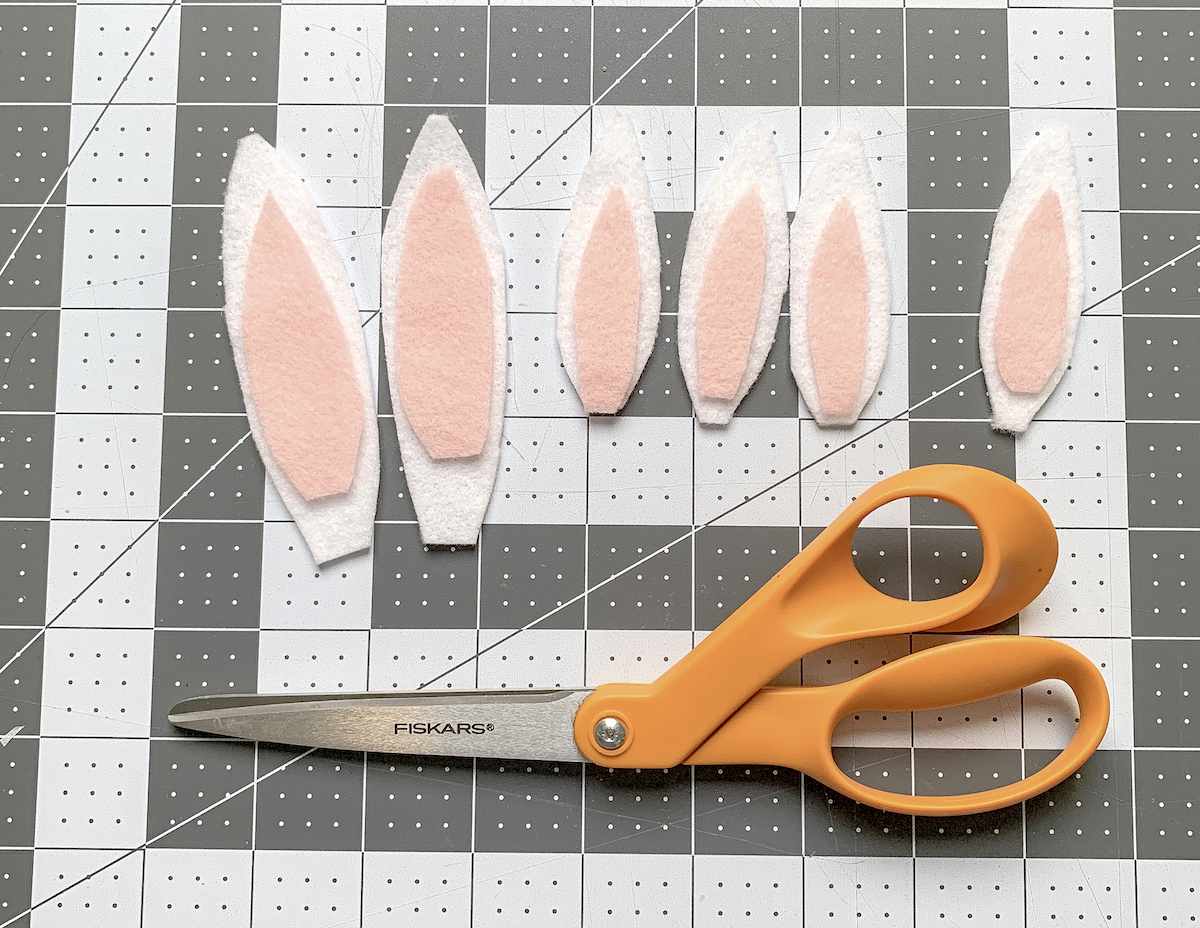
Use scissors to cut ear shapes out of both the white and pink felt. You can make a template with paper if necessary. Cut the pink portion of the ear to be slightly smaller than the white portion. Set the pieces aside.
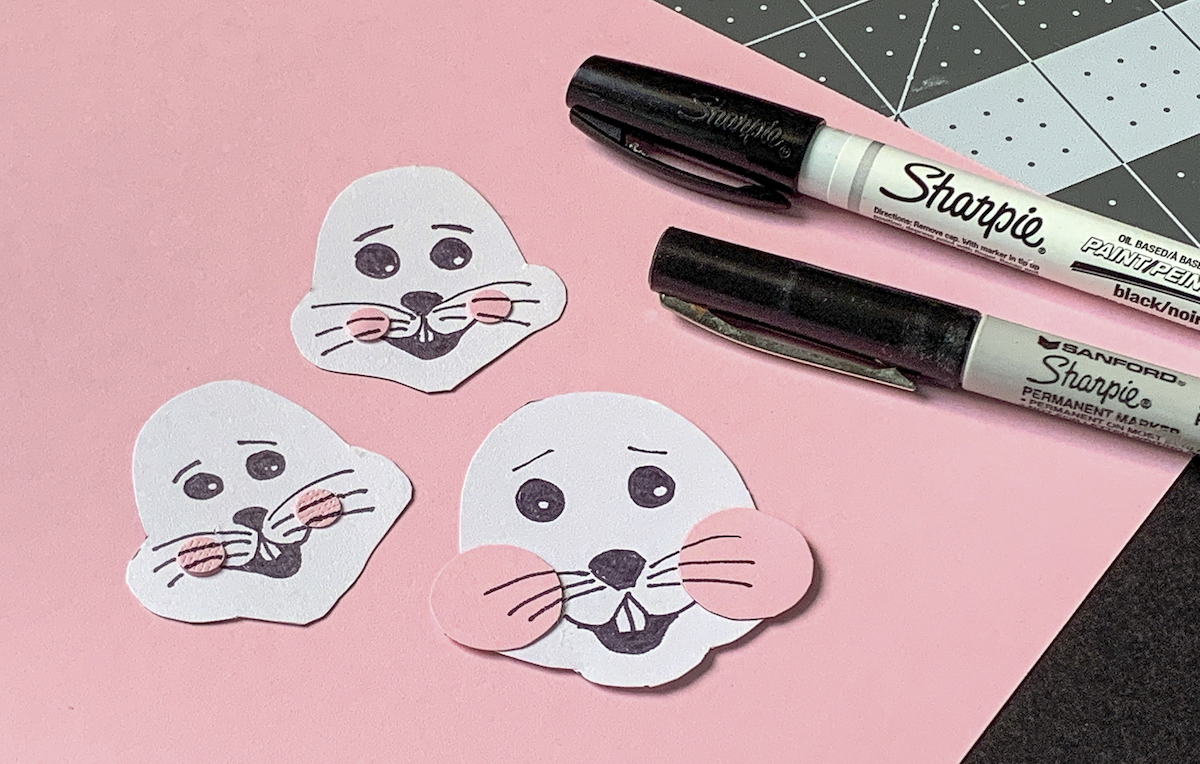
Cut small bunny faces out of the white cardstock, and tiny cheeks out of the pink cardstock. Apply the cheeks to the Easter bunny faces with hot glue. Then use the Sharpie to draw bunny details as shown above. Let the ink dry.
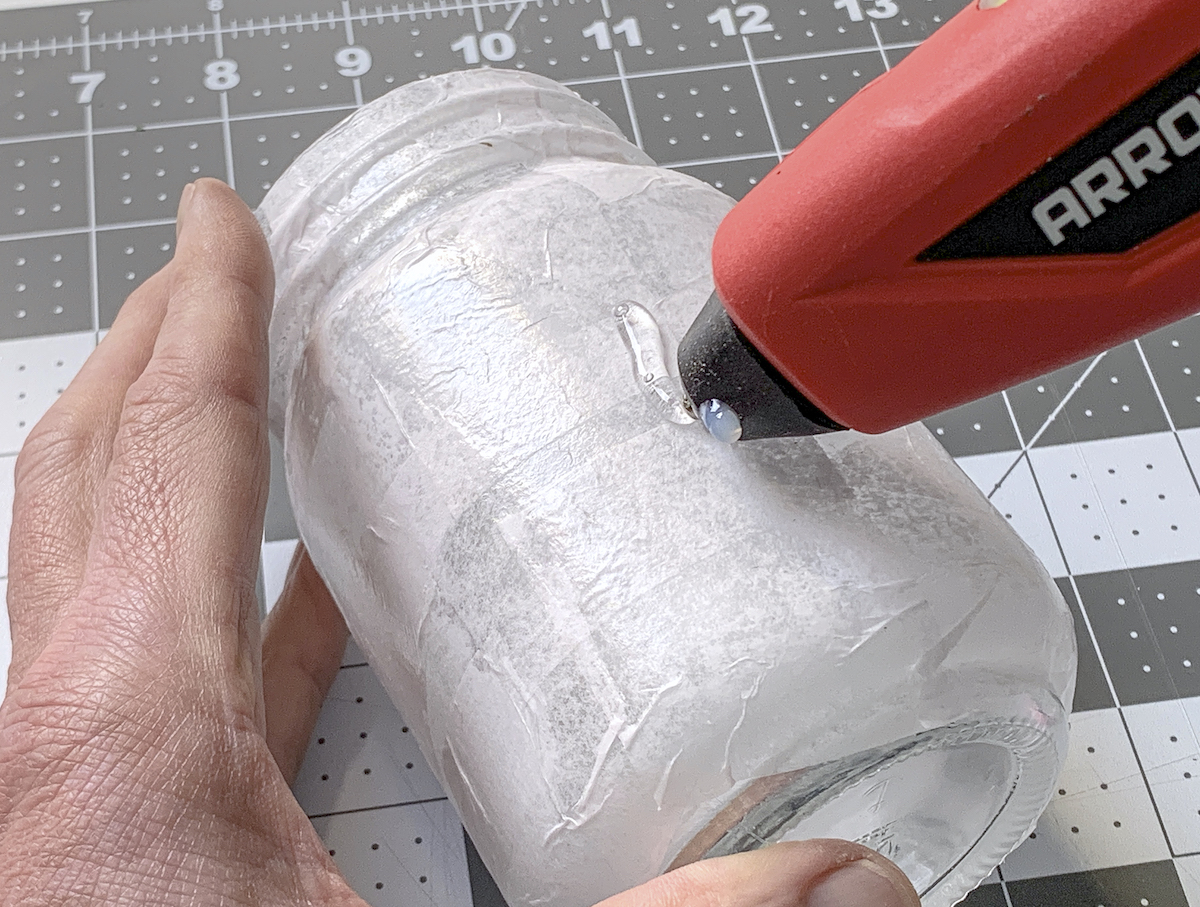
Once you’re done, apply a line of hot glue to the center fronts of the jars . . .
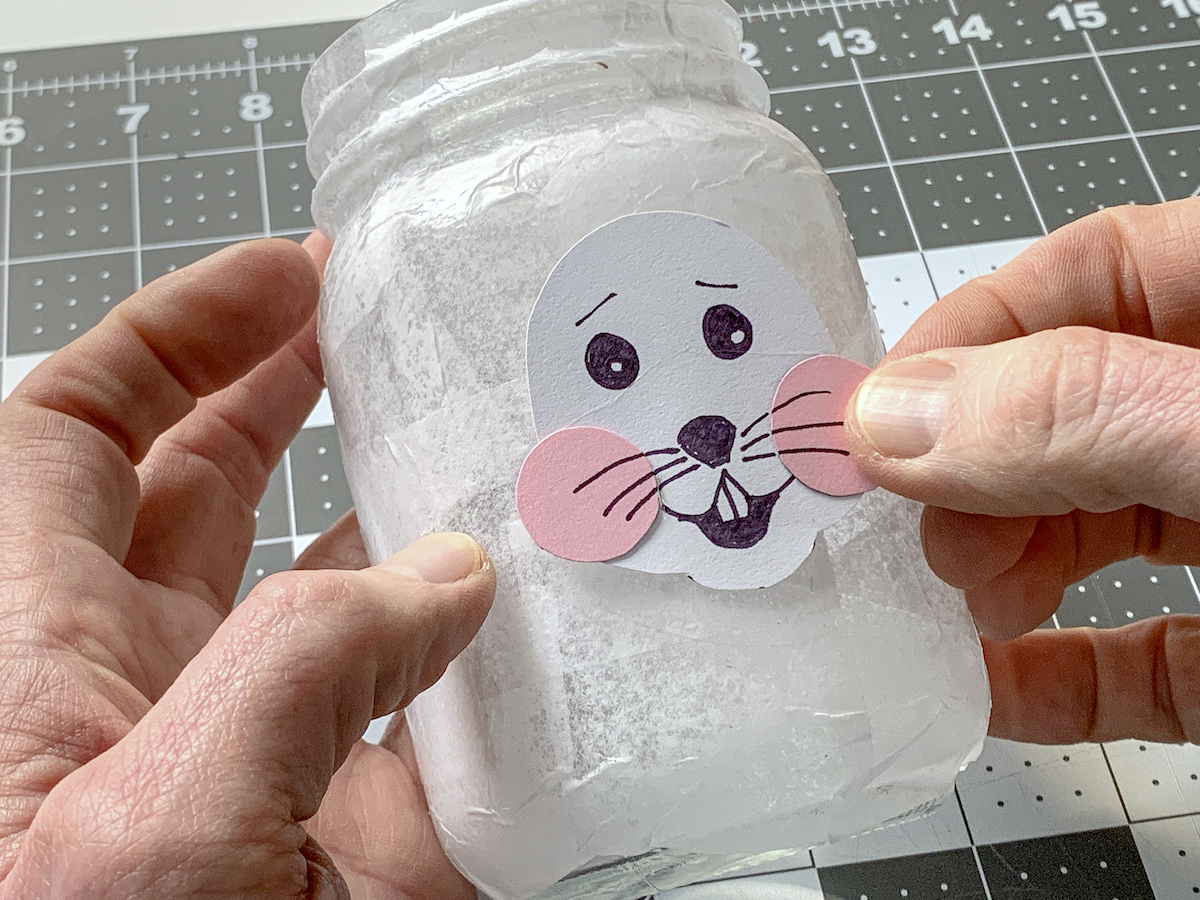
then place the faces down to adhere.
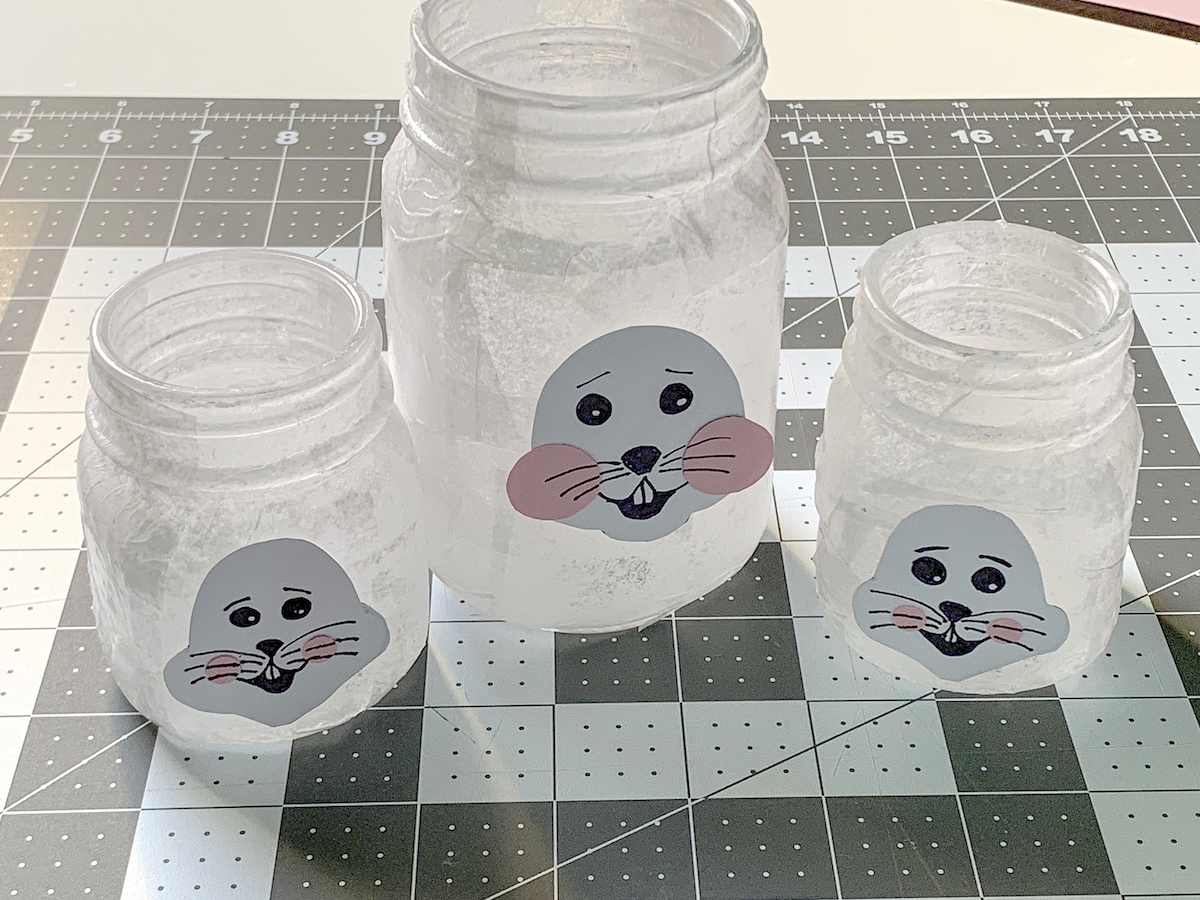
Repeat with the faces until you’ve done all three jars. Now it’s time to make the tails!
Make the Easter Bunny Tails
I love using a pom pom maker to make pom poms – ie., Easter bunny tails! I’m going to show you how easy it is to do it. Of course, you could use purchased pom poms from the kids’ section of the craft store if you like. I just happen to have yarn and pom pom makers on hand.
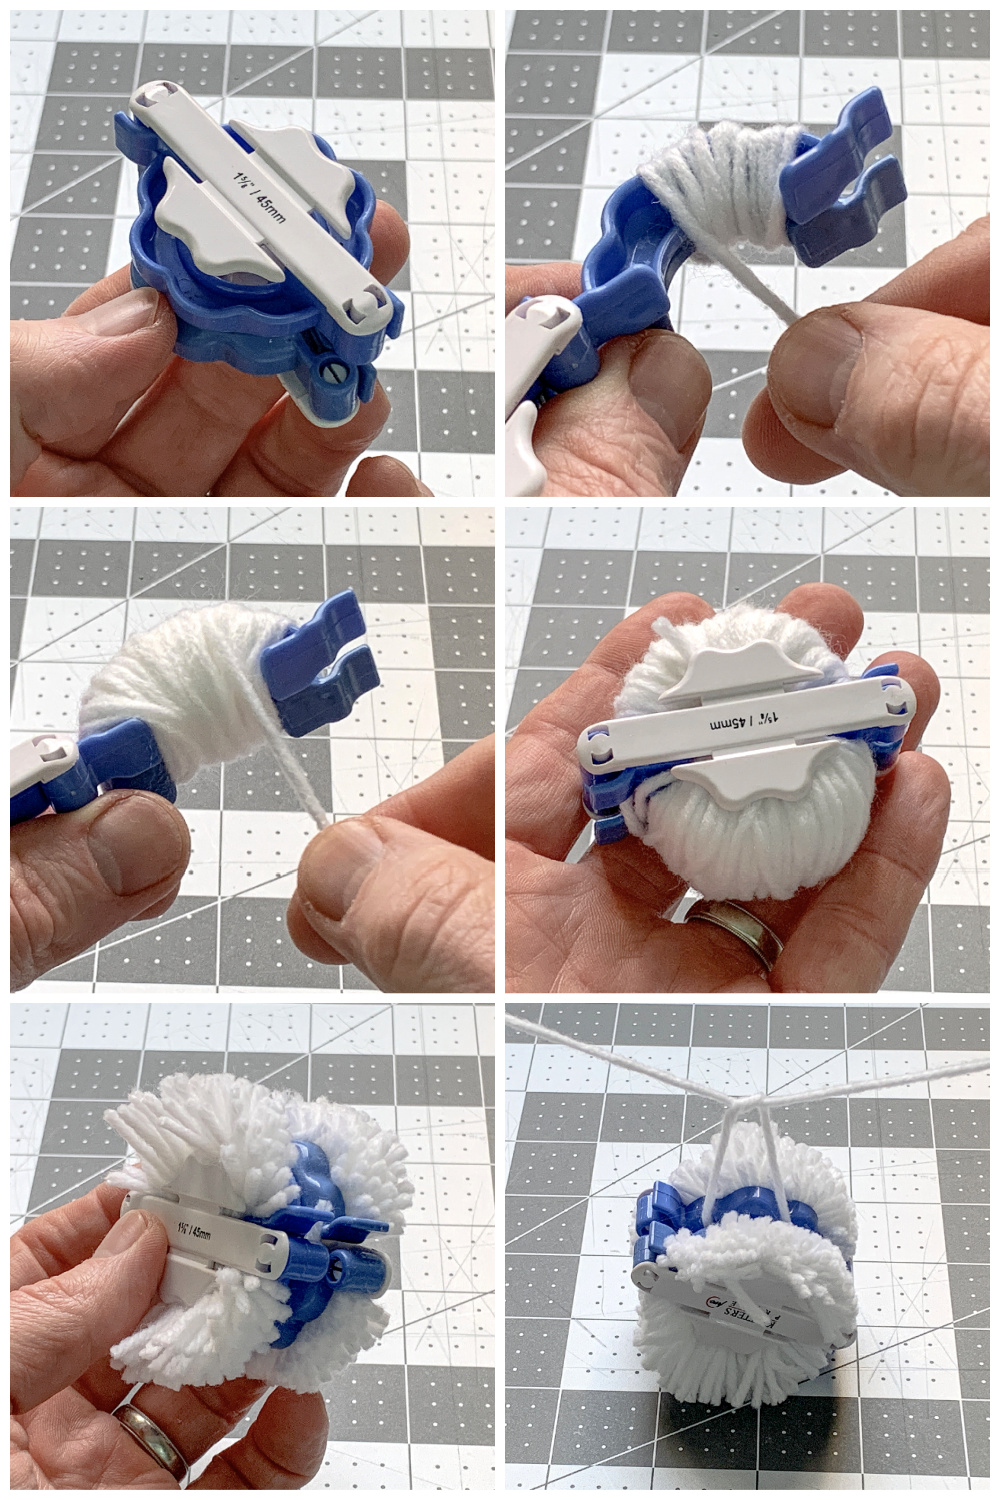
The pom pom maker will have instructions on the package, but here’s the general idea:
- Open the pom pom maker on one end and start wrapping yarn. Fill it enough so that the plastic “U” shape of the tool is filled with yarn.
- Close that side, open the other side, and bring the yarn over (don’t cut it off). Repeat step 1 on the other side of the tool.
- Close the tool completely and use scissors to cut the yarn into a pom pom on both sides.
- Take another piece of yarn and tie around the pom pom snugly – tying into a double knot. You want the knot pretty tight so that threads don’t escape.
- Remove the pom pom from the tool and trim.
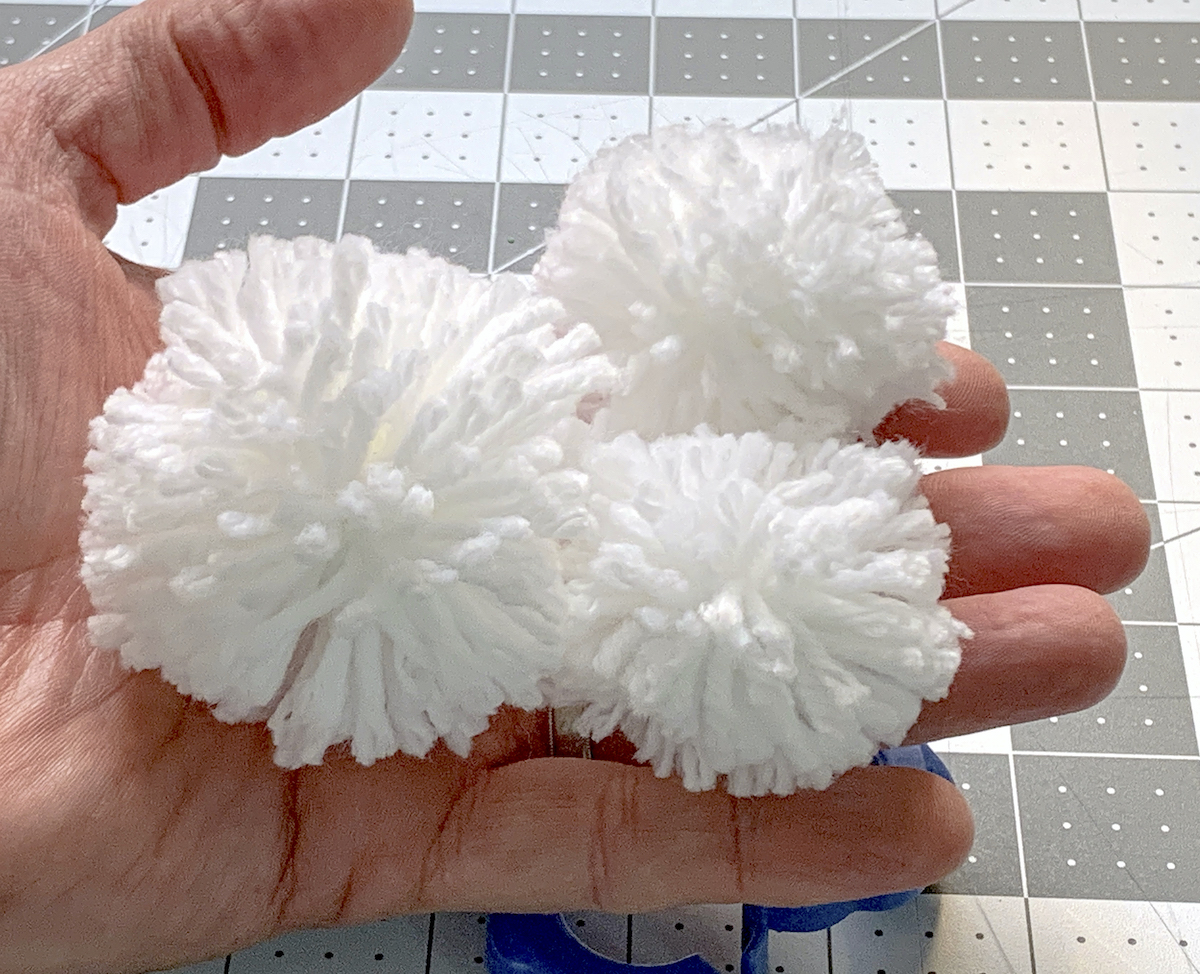
Make yourself three darling little bunny tails!
Attach the Ears and Tails
To finish your project, attach everything using the hot glue gun.
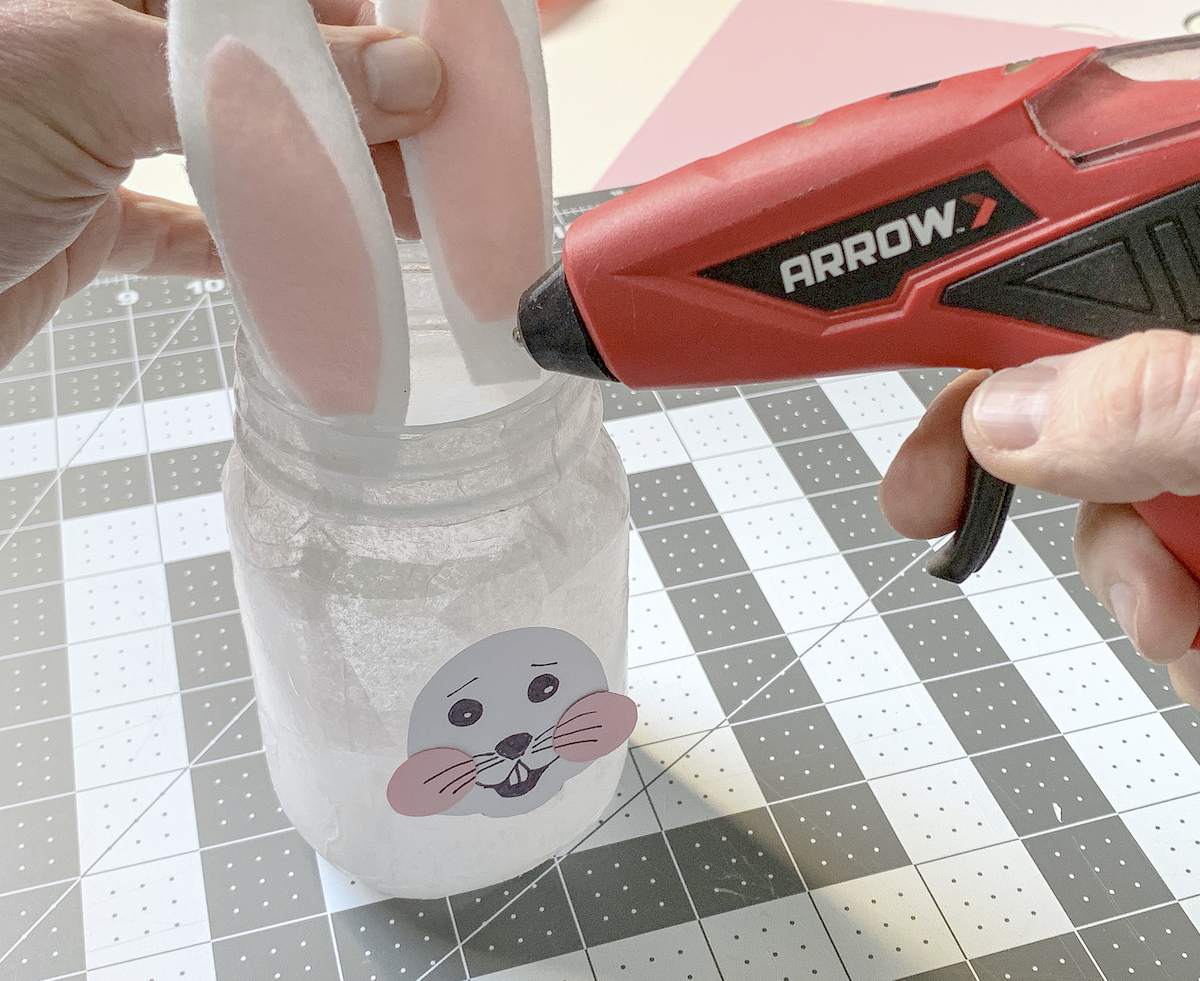
Glue the two portions of the ear together, and then glue them to the jar. Then use the hot glue gun to attach the pom poms to the backs of the jars.

Since the Mod Podge is on the outside of the jars, you can pretty much put anything you like inside – unwrapped candy, tealights, flowers (with water). However you want to display your Easter bunny mason jars is up to you!
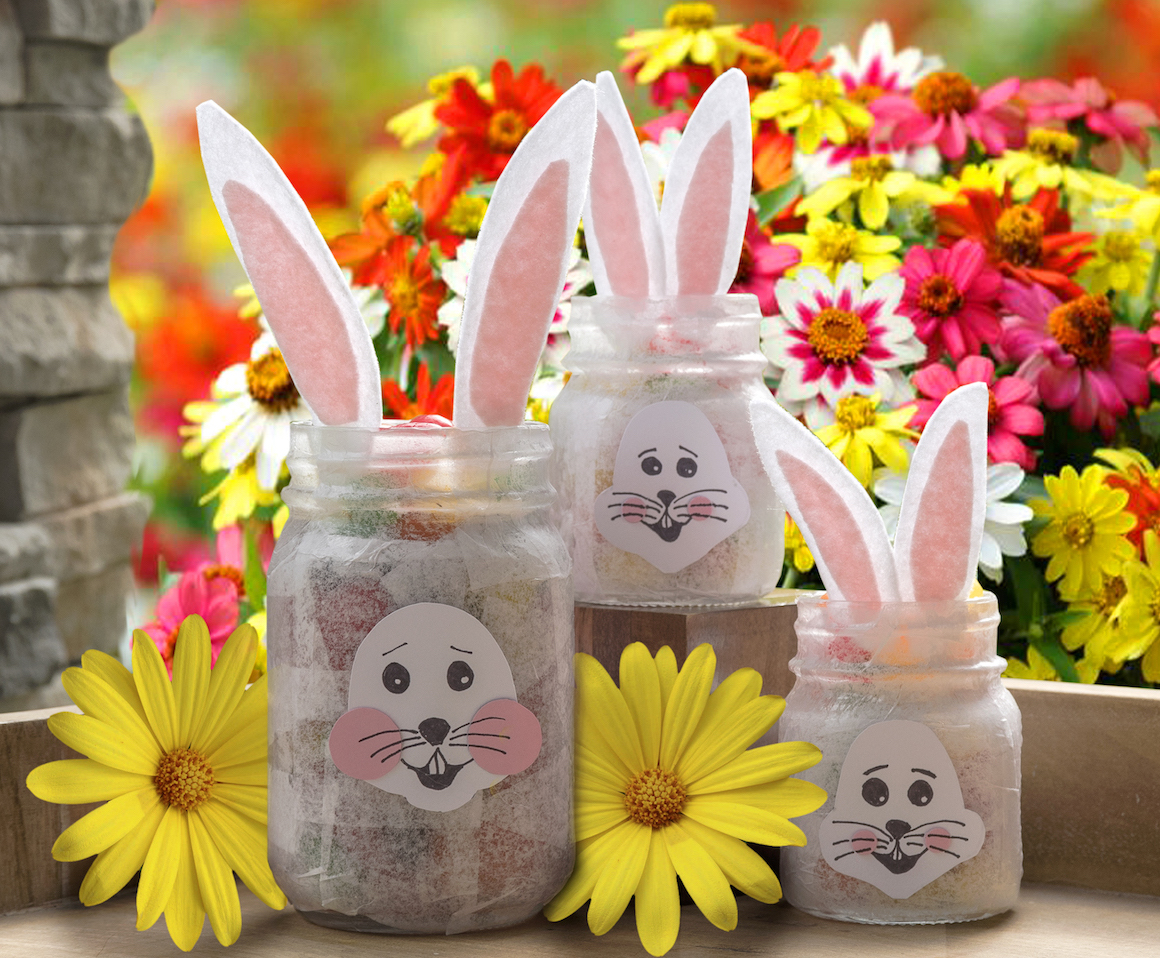
These are such a fun and cute decoration, and the kids will love to help make them. I hope you liked making this Easter craft, and I’d love for you to let me know what you think in the comments!
If you enjoyed this Easter craft idea, you might also like these other cute projects:

