I used doilies from the dollar bins and Mod Podge Stiffy in this unique doily bowl project! You can make one with any size doily and fabric stiffener. Scroll down to the bottom of the post to get a video and see how it’s done!
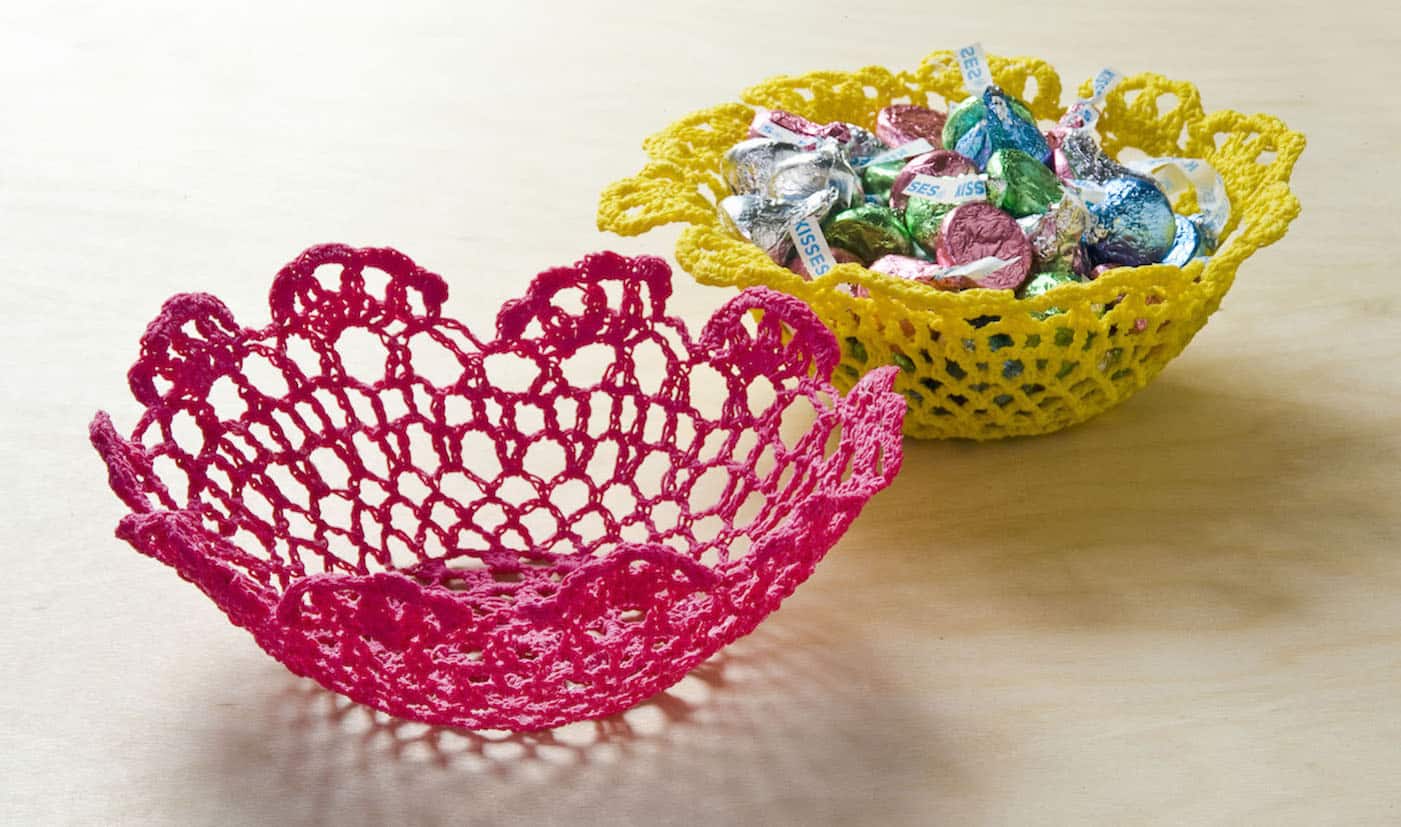
If you want to learn how to stiffen doilies with Mod Podge, I’m excited to share with you today. YES you can do it, and there’s actually a specific product that is really great for it:
and it’s called Mod Podge Stiffy (and you’re not allowed to laugh).
People ask me all the time if regular Mod Podge can stiffen things, and the answer is yes . . . but not to the extent that this product can. It is a true fabric stiffener (as opposed to a decoupage glue).
Stiffening fabric is often done along with decoupaging (to add items as accents), and both crafts were huge in the 70s (and are now). I love both!
I’ll have to admit though, I was a little afraid of Mod Podge Stiffy at first. There was the great yarn ball incident of 2010.
But I also know something, which is that I’m not the perfect crafter . . . and there’s plenty of user error “up in hur.” I decided I needed to give it another chance with a doily bowl.
Let me tell you, my friends, fabric stiffener is not hard to use at all. And now I wanted to stiffen everything (tee hee)! Just take a peek at my doily bowl tutorial below and you’ll see how easy it is to use.
You can stiffen all sorts of things with the same method. We made dessert cloche. You’ve got to check out the cheesecloth ghost too. It’s an absolute favorite. I love these lace candle holders too!
Now if you want to try making these bowls, here’s what you’ll need.
Gather These Supplies
- Doily, any size – I got mine from the $1 Michaels bins
- Mod Podge Stiffy
- Aluminum foil or plastic wrap (or both)
- Real bowl a little larger than the bowl size you want to make
- Small plastic container
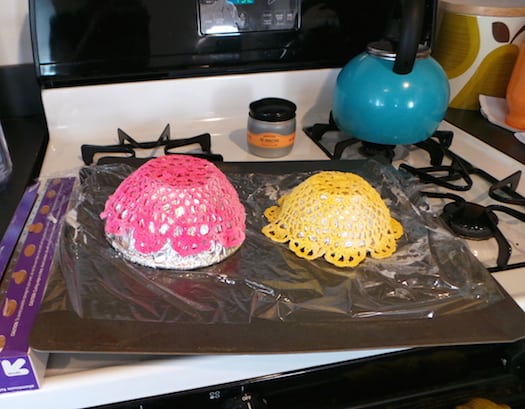
Here are the bowls that I used. I figured that with the larger bowl I could make a doily bowl with no lip (the pink doily), and with the smaller bowl I could add the lip (the yellow doily). I wasn’t sure exactly what that meant, but that was my idea.
Note that if you’ve fully covered the bowls, then the product shouldn’t touch it, and you’ll be able to wash and use your bowls for food again.
The container that you use for the fabric stiffener should be solely for crafts. I keep the same set of reusable plastic containers and reuse them for all of my liquid craft supplies.

Here’s how I left them to dry, just so you can see before you begin. You can see that the yellow one overlaps the bowl I bit, so I laid it out to have a little lip. Let dry overnight. And then in the morning . . .
you’ll have real Stiffy bowls made from doilies! These were pretty rock hard and could even hold candy. I was thrilled with my doily bowls. Get the complete how to below.
Doily Bowls
Equipment
- Bowl
- Small plastic container
- Cookie sheet
Materials
- Doilies any size
- Fabric stiffener
- Aluminum foil or plastic wrap or both
Video
Instructions
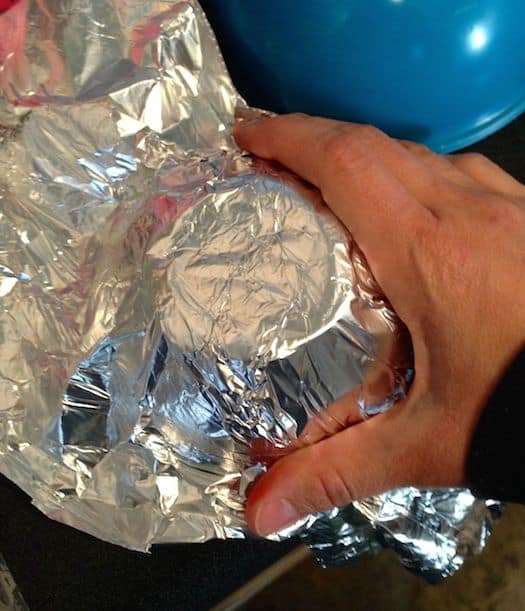
- Cover bowls with aluminum foil or plastic wrap. Cover a cookie sheet or your work surface at the same time.
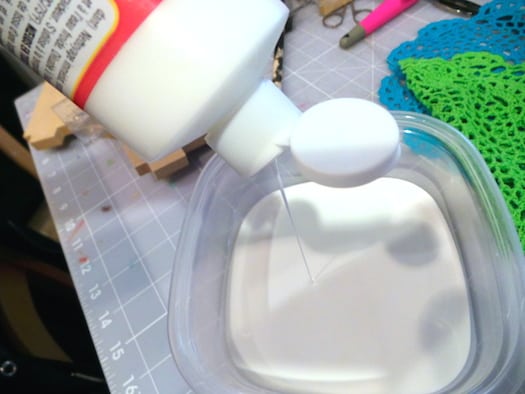
- Squeeze the Mod Podge Stiffy into a plastic bowl. Make sure there is enough to fully coat the doilies.
- Add a doily to the fabric stiffener and push it around. Take it out of the Stiffy and squeeze out the excess.

- Spread the doily out on the bowl, making sure to center it. Wrap the doily around the sides of the bowl and press down.
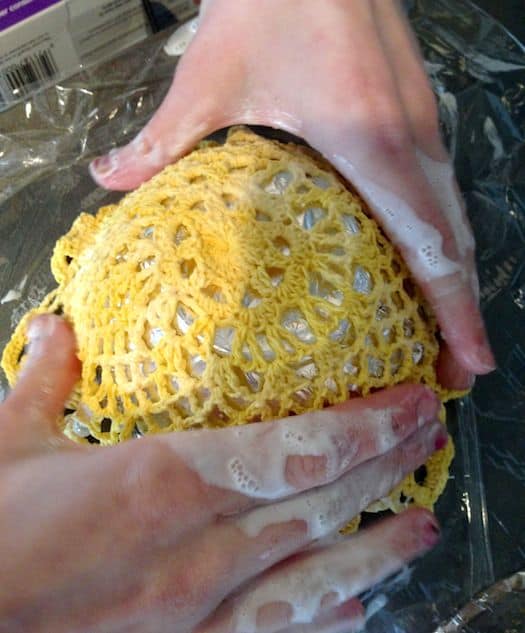
- Place the bowls on the covered cookie sheet and place somewhere to dry overnight.

- Release the doily from the bowl to use. Remove the plastic wrap to display your bowls.

Are you ready to see my video and learn how to make a doily bowl yourself? Click “PLAY” on the video in this post! I’d also love for you to check out these other projects:




Wow I love it and I want it. Thank you
I have to go to find some of that stuffy I just have regular one
Xx
Totally want to try this! And I love your humor, by the way! Is there anything this stuff can’t make stiffy? 😉
I’ve always wondered how to make these–thanks for the great tutorial! 🙂
Thanks! This is just in time for spring. I was thinking of doing some mini baskets with treats for the kids, and this would work great.
You made it look easy enough that I can do it! I have a lot of doilies in all sizes, and am looking forward to a little experimentation with the larger ones. Thanks for making me actually want to do a craft that I can do and use…..
I made a couple of doilies several years ago – and podged them over (1) a bowl, and (2) a tumbler – turned out great!!
Yay! I’m glad you had success! 😀
Can these doily bowls be washed? I’m thinking not.
No they cannot be exposed to water!