Use magnetic paint and chalkboard paint on canvas to make a surface with two personalities! This DIY magnetic chalkboard is EASY to do.
Scroll down to the bottom of the post to get a video of my top chalkboard painting tips! I think you’re going to love them, especially if this isn’t the only project you have planned.
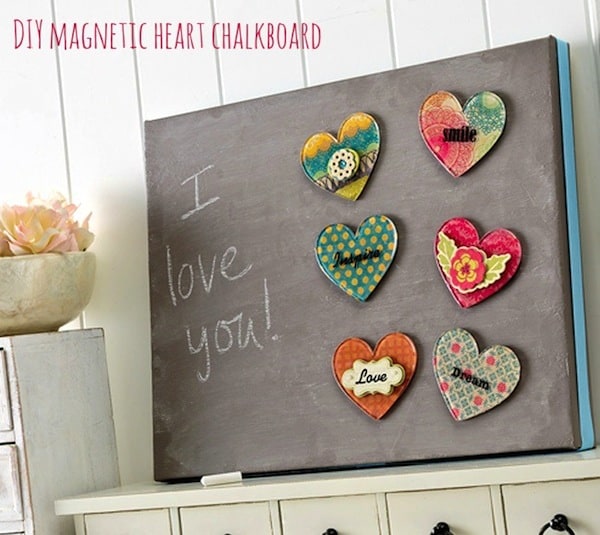
Valentine’s Day is right around the corner! Everything is pink, puffy hearts. Well, not everything . . . there are some valentine decorations that you can make for your home that can stay up all year. And this DIY magnetic chalkboard is one of them! At least in my humble opinion.
What I love about this project is that I used two kinds of paint – magnetic and chalkboard – to turn a plain canvas that I bought on the cheap into something useful. I’m really happy with the result! Here’s how I made this canvas idea.
Magnetic Chalkboard on Canvas
Gather These Supplies
- 16” x 20” canvas
- Martha Stewart Crafts Chalkboard Paint – Gray
- Magnetic Paint
- Mod Podge Acrylic Shapes – 6 hearts, if you don’t have these cut them out of cardboard
- Mod Podge Matte
- Rub-On Transfers
- Scrapbook paper and embellishments in the patterns of your choice
- Craft glue
- Magnets – adhesive strips
- Foam brush
- Paintbrush
- Pencil
- Scissors
- Martha Stewart Crafts Gesso (optional)
- Sandpaper (optional)
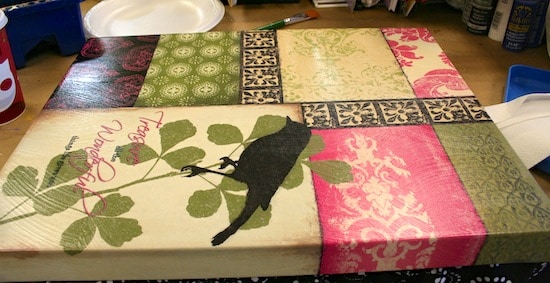
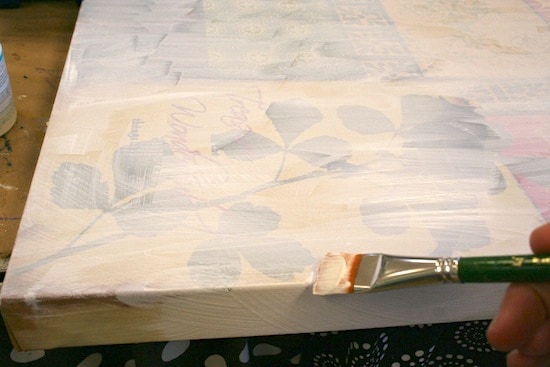
I got this canvas in the Hobby Lobby clearance section for $3! Amazing, huh? I painted it with Gesso to cover the pattern. You can skip this step if you are starting with a new canvas.
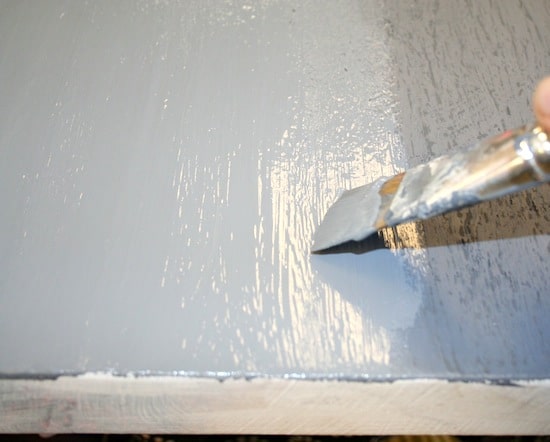
Give the canvas three coats of magnetic paint using a foam brush, following the instructions on the back of the jar carefully. This stuff is thick, but don’t be intimidated. It won’t look this crappy when the project is done. Also if your magnetic paint is rough, you can sand using the sandpaper.
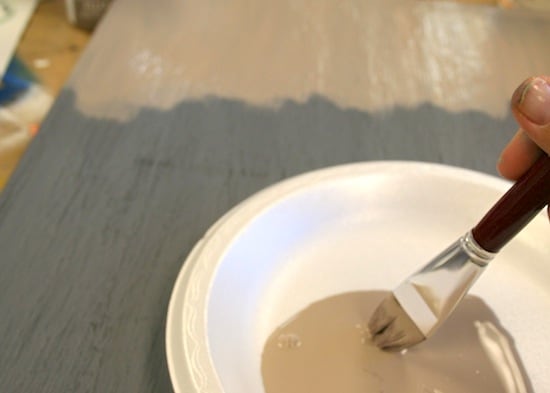
Paint the entire canvas with two coats of chalkboard paint and let dry. Make sure to paint the sides, too. After everything dries, glue ribbon around the edge of the canvas.
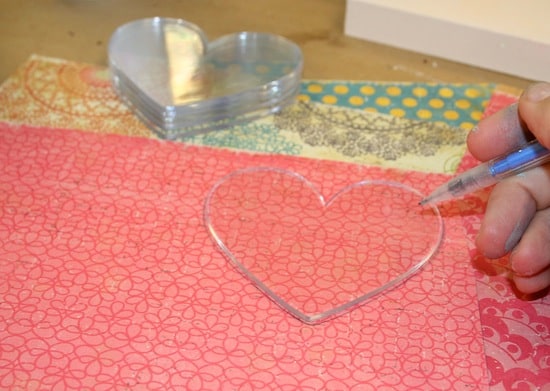
While your canvas is drying, trace the Podgeable hearts onto the scrapbook paper and cut them out.
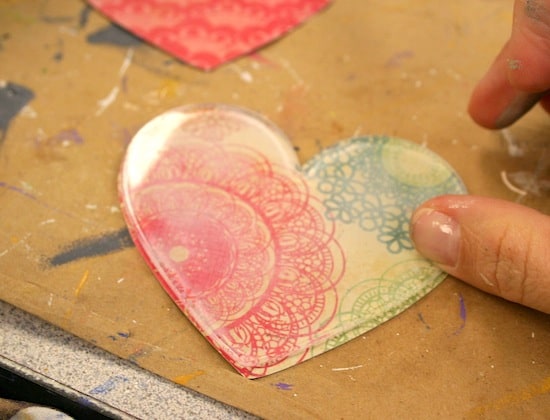
Decoupage the paper onto the back of the heart shapes and let dry.
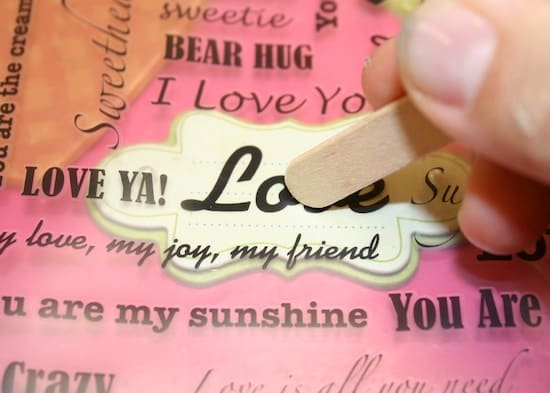
Add embellishments and rub-ons to the fronts of the hearts. I used the Mod Podge Rub-Ons which have some cute messages! You can use any stickers, really – just a little something to dress up the fronts of the heart shapes.
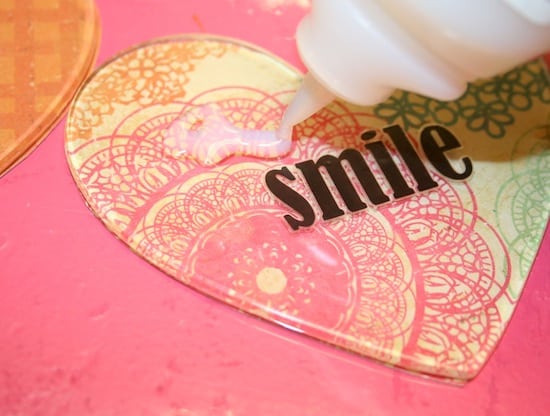
Add Dimensional Magic to the fronts of the hearts and let them dry for several hours.
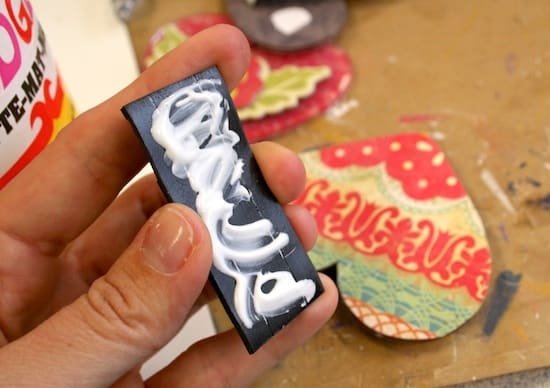
Attach magnet strips to the back of the hearts using craft glue and let dry. I have a tip for you here. BEFORE you glue the magnets down, make sure they are attaching to the canvas very well. You want pretty strong magnets. If the magnets are too weak, they will just fall off, and that’s no good!
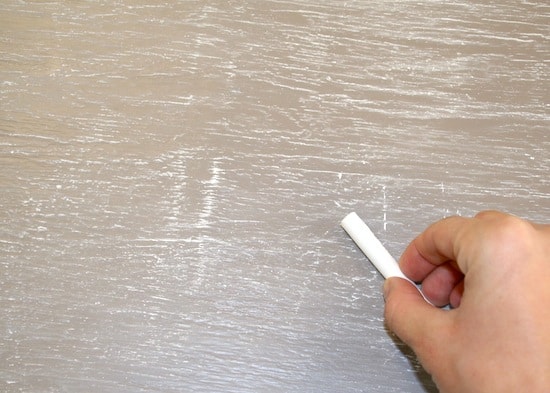
Prepare the chalkboard following the instructions on the back of the paint bottle.
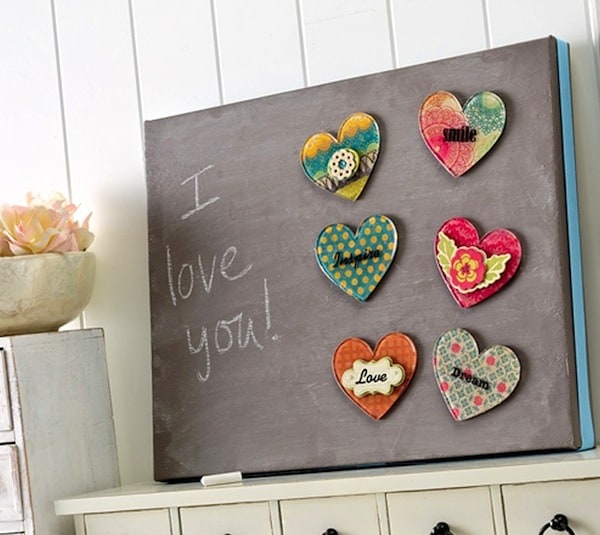
You now have a magnetic chalkboard with two personalities – you can hold notes with the magnets, or you can write on the surface with chalk. Pretty cool, huh?
This DIY magnetic chalkboard idea is great for an organization center, back to school craft, or just a message board to tell your family members that you love them. Enjoy! And I hope you’ll check out our other Valentine’s Day crafts for adults.




Where can you purchase acrylic hearts?
Hi Carolyn! You can get those at Michaels!
This is a great project that is not only beautiful but functional also. I will definitely make this!
These are SUPER cute!!