Are you looking for a fun jewelry craft or a unique gift idea? This DIY charm bracelet is made with cute fabric and Dimensional Magic!
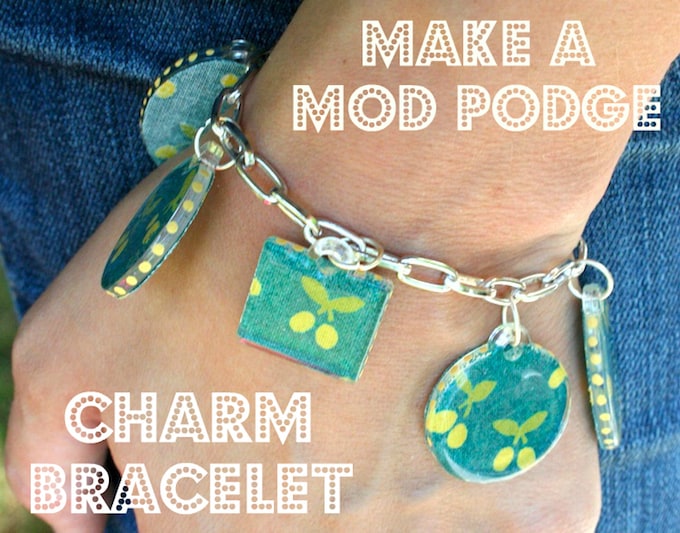
I’m telling you right now – you don’t have enough jewelry. I know you think you do, but really, you don’t. So I’m here to help you make more.
Two things influenced the creation of this DIY bracelet: 1) I’ve been trying to spice up my wardrobe, as I mentioned a few months ago and 2) Plaid has new Mod Podge products!
The fancy new products include new formulas as well as Podgeables, which are fun surfaces to decoupage on. The line includes these charms.
I’m always skeptical about new product in general. I’m going be to honest, I can be negative. “Why do I need anything new?” I ask myself. Um, you need these Podgeable surfaces.
They are so fun and easy to craft with. I get messages from beginning Mod Podgers all the time telling me they are having trouble with wrinkles.
I highly recommend starting with a charm bracelet like this. You won’t get wrinkles. And you won’t believe how simple it was to put together.
DIY Charm Bracelet
Gather These Supplies
- Mod Podge Matte
- Mod Podge Dimensional Magic
- Mod Podge Podgeable Shapes – Basic
- Mod Podge Tracing Templates – Basic Shapes
- FolkArt paint – Buttercup and a stylus (this part is optional)
- Fabric – scraps will work
- Jewelry making supplies – I used a chain, lobster claw and five jump rings
- Paintbrush
- Scissors
- Pen
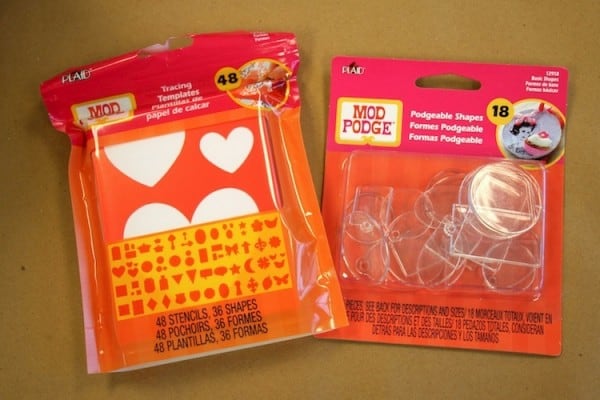
Here are your two best friends in this project. I’ll tell you why you need the traceable shapes in a moment.
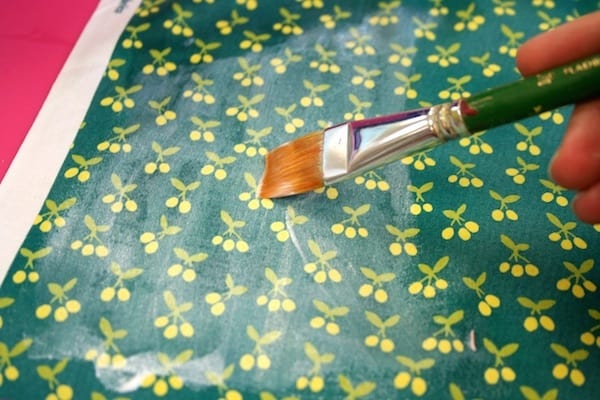
Prepare the fabric with Mod Podge. That means paint a medium layer on it and let it dry. It will make it easy to cut, and no fraying.
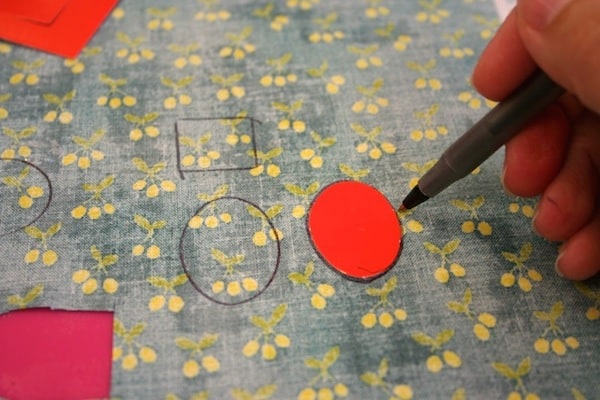
This is where the templates come in handy. If you trace around the outside of the shapes and cut them, the shape is slightly too big and you have to trim down. The templates match the shapes – except when I traced and cut them, the pieces fit just right and no trimming.
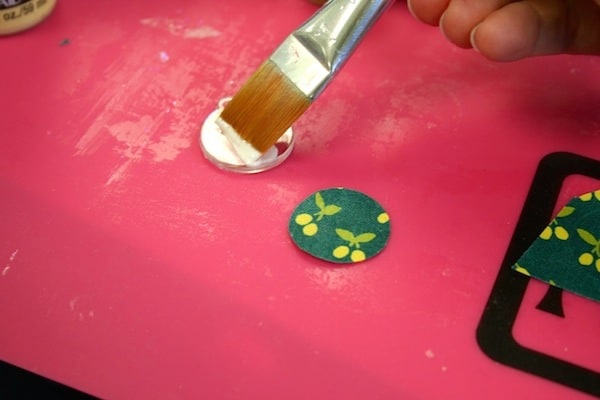
This is the fun part. Decoupage the fabric to the back of the charm.
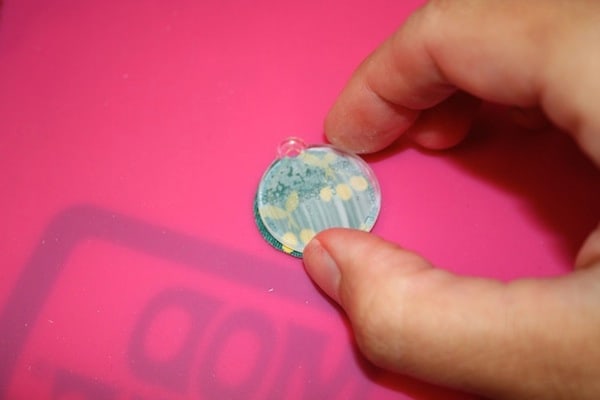
Position your charm on top of the fabric and press down. If you misplaced the charm, simply peel the fabric off quickly, add a bit more Podge to the charm and then press down again. Let dry.
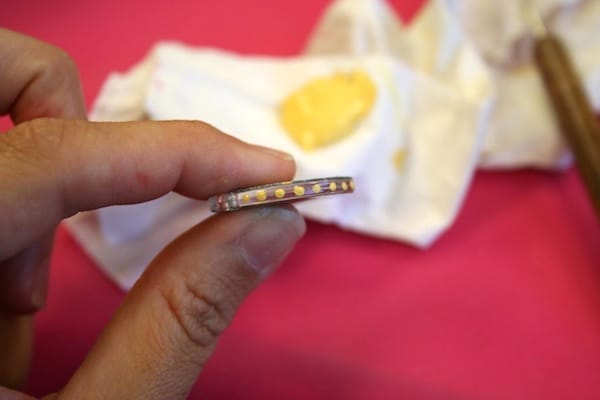
So here’s the optional part. I thought it might be a fun accent to add polka dots around the edges of the charms. I did it with paint and a stylus. I know, but I couldn’t help myself!
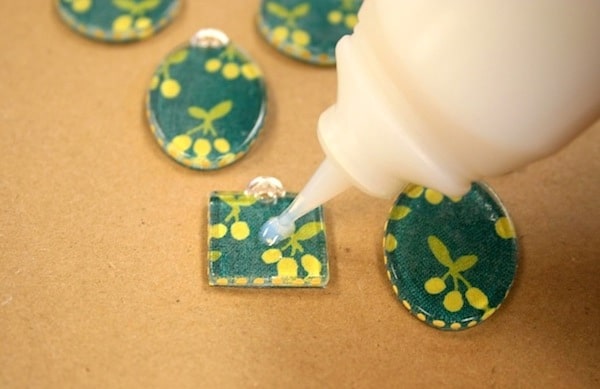
Once everything is dry, add Dimensional Magic to the top.
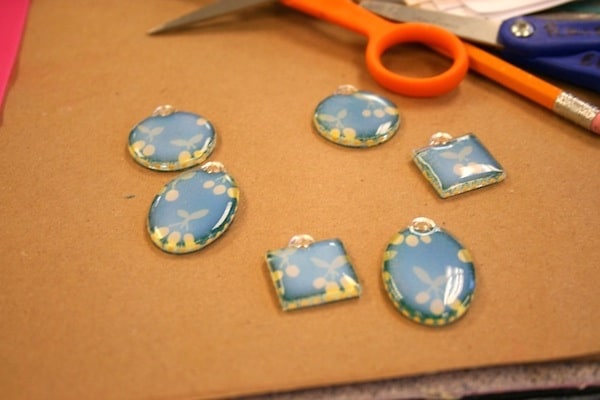
Let it dry in a relatively warm area. Don’t put a fan on it – it will crack! You have to be patient it takes awhile. But it’s worth it. The DM adds a shiny, epoxy look to the project.
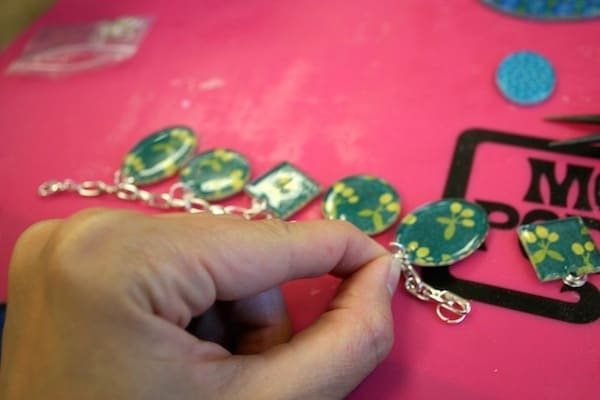
Add your charms to the chain. I had originally done six charms but realized while I was working that I only wanted five. Isn’t it awesome being the boss of your own crafts?
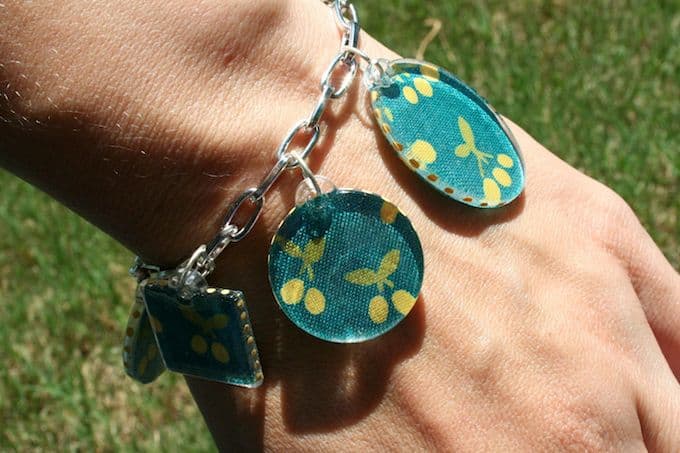
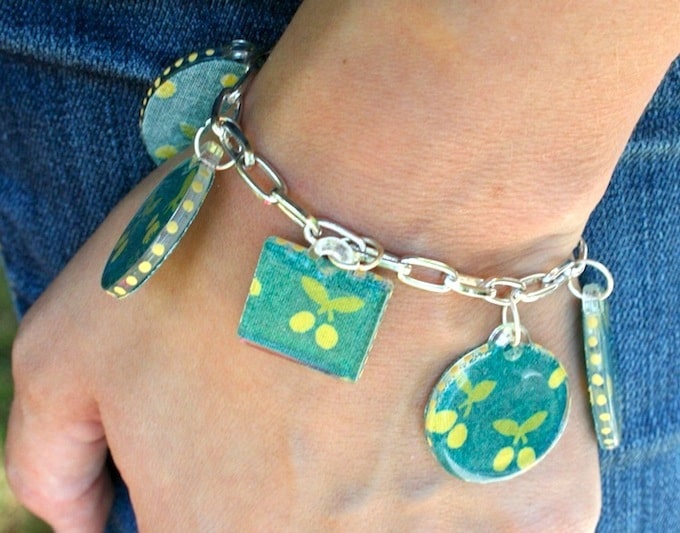
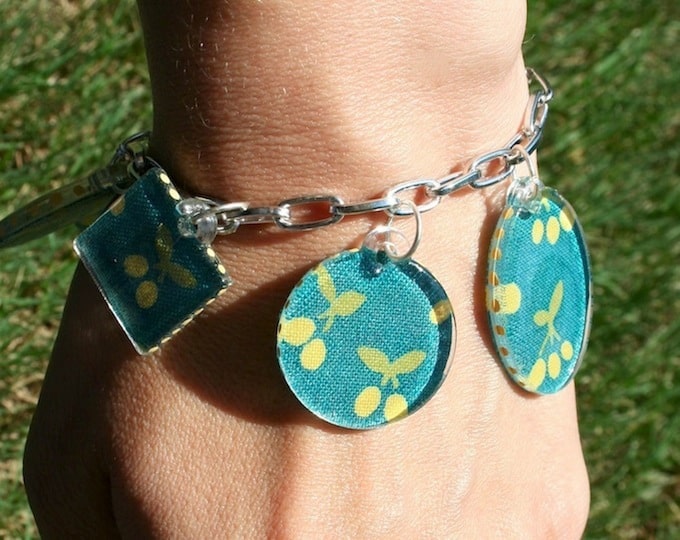
Now wear your DIY jewelry out to your next picnic or queen’s ball. Aren’t the cherries perfect for summer? One thing I also love about this DIY charm bracelet is that the shapes are lightweight. I can’t stand heavy jewelry.
Let me know what you think of this idea in the comments! For additional bracelet options, check out these posts.




Beautiful 🙂
I have been having one major problem using regular glossy mod podge and the dimensional magic to do something like this. I put pictures of our family on a dog tag for my husband. He’s been wearing it under his shirt and it melted. Is there another product that has a higher heat tolerance? I also put another family picture on his notebook that goes in his pocket and that melted too. It’s really making me sad that I made those things and they don’t hold up. Any suggestions?
Hi Monica! Dimensional Magic is acrylic based – acrylic based products are not meant to necessarily hold up to extreme temperatures. Your husband must be hot blooded ;D The great thing about acrylic though is that it’s non-toxic.
For your uses you are going to have to use EnviroTex Lite – it’s a real resin with two chemicals that you’ll have to mix with gloves on. It’s fine once it’s dry, just don’t let kids play with it.
As far as the notebook, EnviroTex probably won’t work on it, so I’m not sure what to tell you about that. Is he overseas?
For the notebook, if it’s pocket size you could probably just use clear packing tape. I have “collaged” the covers of a couple of composition notebooks over the years using glue to stick the pictures to the surface and then covering with packing tape. It’s very durable and if you don’t mind the clear seams, you can cover larger areas with it. If you want a seamless look I would suggest using contact paper or cold-laminating sheets.
Is the outdoor Mod Podge product waterproof? If it is (and non-toxic), that might be work.
Hi Marie! Yes, essentially it is. And non-toxic. If the conditions you live in are really extreme, you should add an outdoor sealer on top for extra protection.
So cute! And yes, it is awesome to be the boss of your own crafts.:)
Amy, this is another awesome podgeable project! I’m really excited about these new products! Thank you for sharing.
Chrissy
Oooo. I love your Dimensional Magic. Maybe I should have another go at it.
I usually shy away from jewelry projects, but you made this look simple enough that I think I will give it a try. Thanks for the step by step! 🙂
Super clever! Those podgeables are really cool, what a neat product.
Great charm bracelet Amy! thanks so much for sharing on Craft schooling Sunday!
After seeing this bracelet on your blog I decided to go out and get all the supplies to make the bracelet. I was successful and it turned out really cute (very easy too) only thing is I was very disappointed once I got home to realize only about 6 of the 18 “podgeable shapes” had a hole pre punched in it. The others are just plain shapes. Do you have any ideas of things I can do with these shapes?? I am new to the whole modge podge world and very enthusiastic. Just kind of bummed as I thought I would be able to make at least 3 or 4 bracelets with these shapes. I even bought enough jewelry supplies to make 3-4 bracelets.
Hi Anonymous! Do you have a drill? The shapes are very easy to drill – even with a hand drill. The reason for the non-holes in some is that a lot of people use them for home dec and crafts as well (not all want to do jewelry), so it’s easier to provide a lot with no holes and have people drill then to provide them all with holes and some people wouldn’t be able to use them at all.
I don’t but perhaps my dh does 🙂 thanks for the info!
Will scrapbook paper work for this in place of fabric?
Hi Mary! Yes, it will work 😀
Hey Amy! I totally love your mod podge projects and I would love to try them, but there is a big problem! There is no mod pogde available in my country 🙁 I was so sad to find that out. I even contacted a bloger who lives in my country and she uses modpodge. I was so disappointed when she conformed the mod podge is not available in my country. What should I do? I tried using the Elmers white craft glue while making this bracelet but the results were not the satisfying.
Hi Anonymous! Thank you so much! I would try writing Plaid, who makes the product. They might be able to help you – it might be available somewhere in your country that the other blogger isn’t aware of, or there might be a site online. They will get back to you quickly I’m sure!
https://plaidonline.com/about/contact
Thanks!
Hello! i want to check whether dimensional magic can be applied directly to fabric. I made a scrap fabric ring and glued beads to it and was thinking that the dm would be great on it too. Thanks!
Hi Agy! I have not tried that but it’s definitely worth a try. I’m not sure what it would do – it CAN be applied directly to fabric but I don’t know if it would cause the fabric to wrinkle. Let me know if you try it!
This is wonderful! 🙂 I love DIY stuffs and I will try to grab some materials for this! Thanks for sharing your idea.