
Make a DIY button canvas with a painted border, a button wreath, and a glittery heart! This easy craft is perfect for home décor or a handmade gift.
Skills Required: Beginner. You’ll be painting on canvas, Mod Podging to seal, then adding your buttons with glue. It’s a relatively easy project.

There’s something about buttons that just makes me happy. Maybe it’s their cute little shapes, the satisfying way they pile up, or how they can turn the simplest craft into something really special.
If you feel the same way, you’re going to love this DIY button canvas art project!
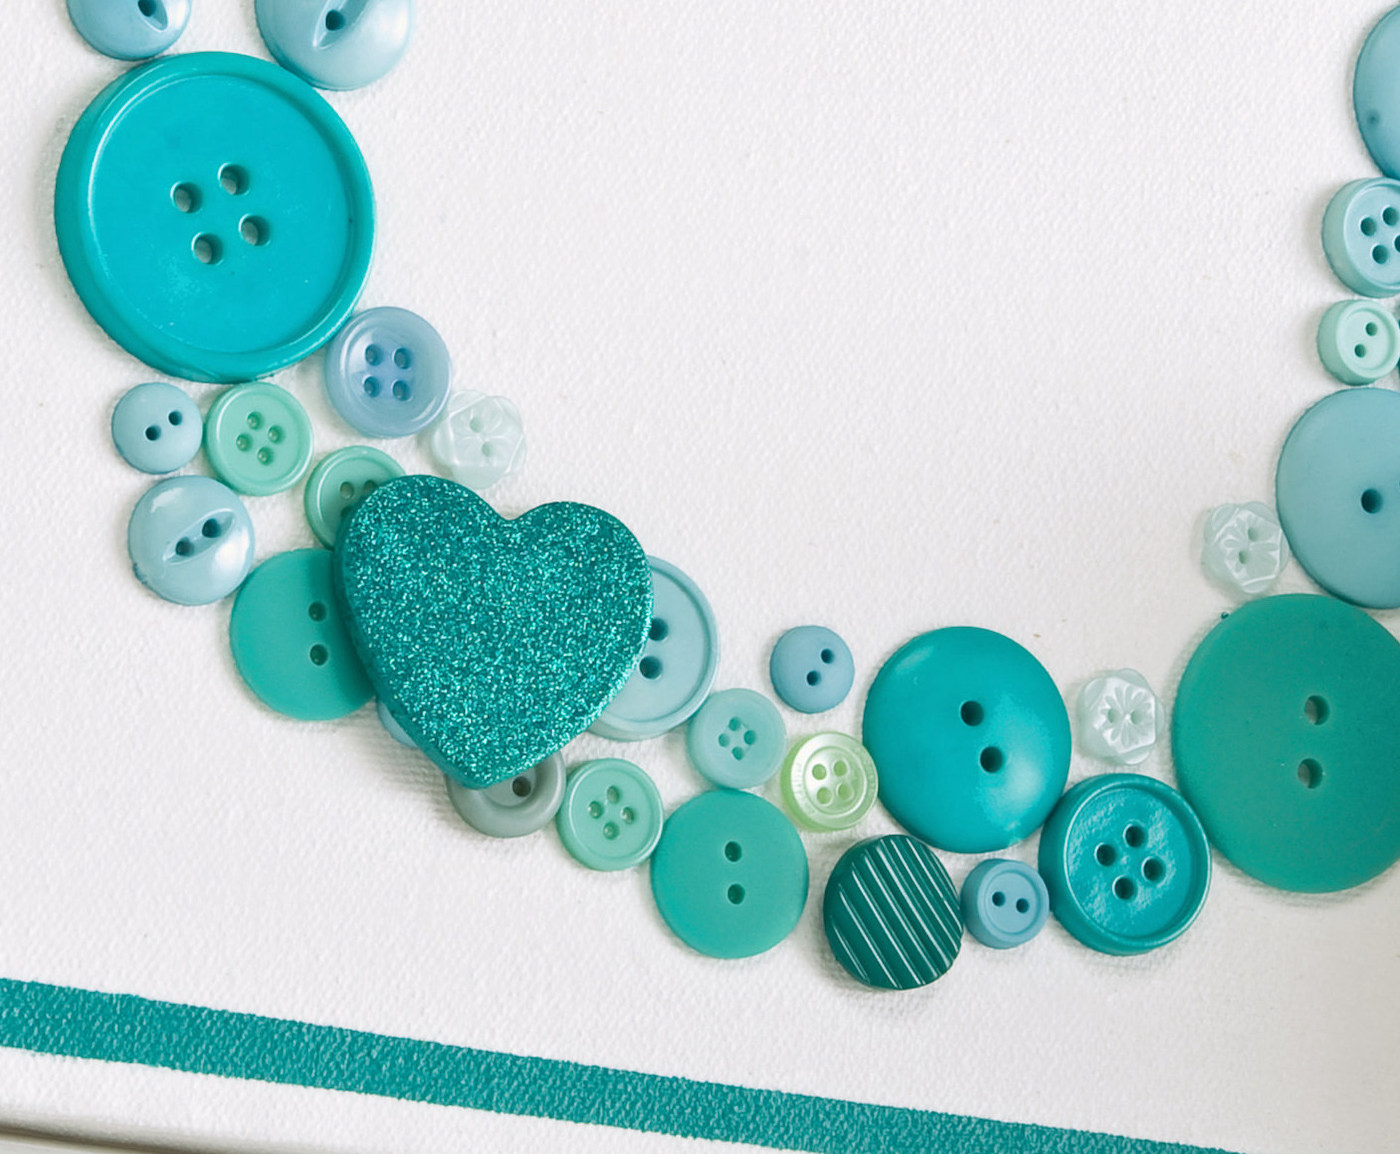
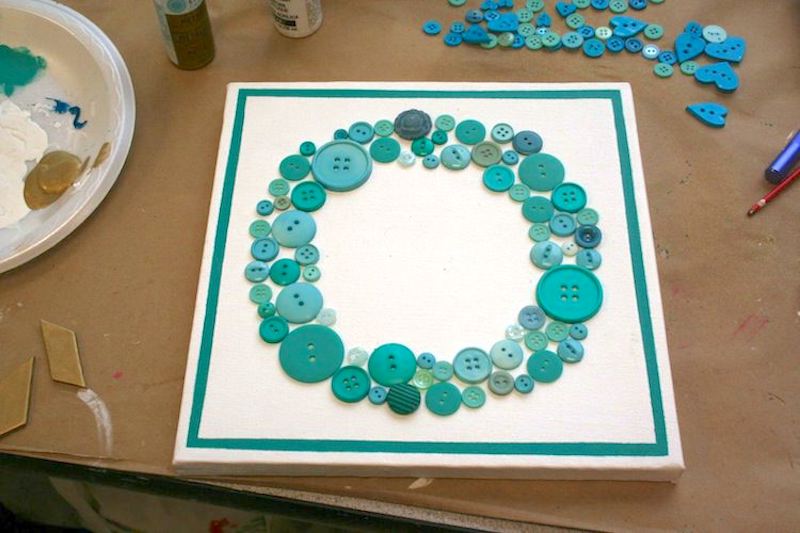
This is an easy and fun way to create custom wall art using buttons in your favorite colors. My version features a circular button wreath with a glittery heart accent, all set against a painted canvas with a clean border.
I went with turquoise (because, let’s be honest, it’s my favorite), but you can switch it up with pinks and reds for a classic Valentine’s Day look with the heart – or any color that fits your vibe.
One of the best things about this project is how simple it is. You don’t need advanced skills or fancy tools—just a blank canvas, some paint, Mod Podge, and a big ol’ pile of buttons.
You’ll create a crisp border with stencil tape, arrange your buttons into a pretty wreath, and add a sparkly heart for a little extra flair. The result? A unique piece of DIY wall art that looks great on a mantel, shelf, or gallery wall.
Ready to tackle this simple idea? Let’s gather those supplies and get started! Get the printable how to card below:

DIY Button Art
Equipment
- Paintbrush or spouncers
Materials
- 1 Canvas(es) 10" x 10" square
- Acrylic paint white and turquoise
- FolkArt Extreme Glitter Aqua, optional
- Mod Podge Matte
- Buttons
- Wood heart piece optional
- Craft glue
- Stencil tape
Instructions
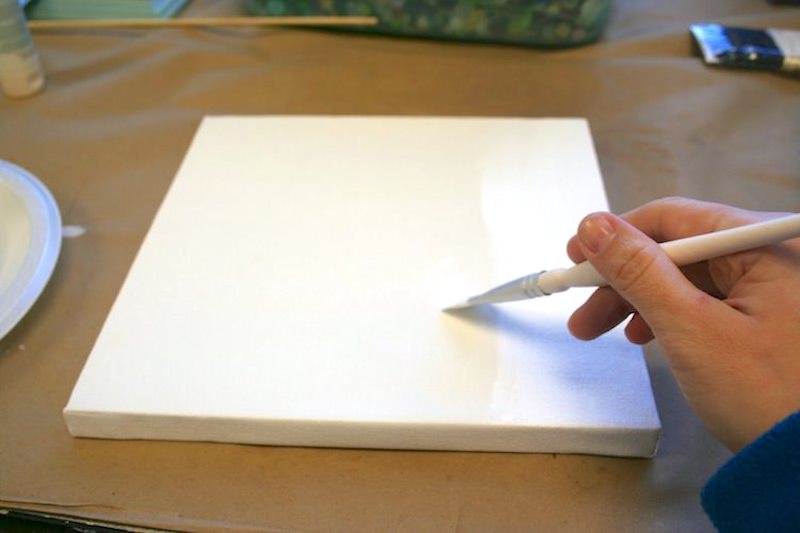
- Paint or prime canvas white – or with the color of your choice. Let dry.
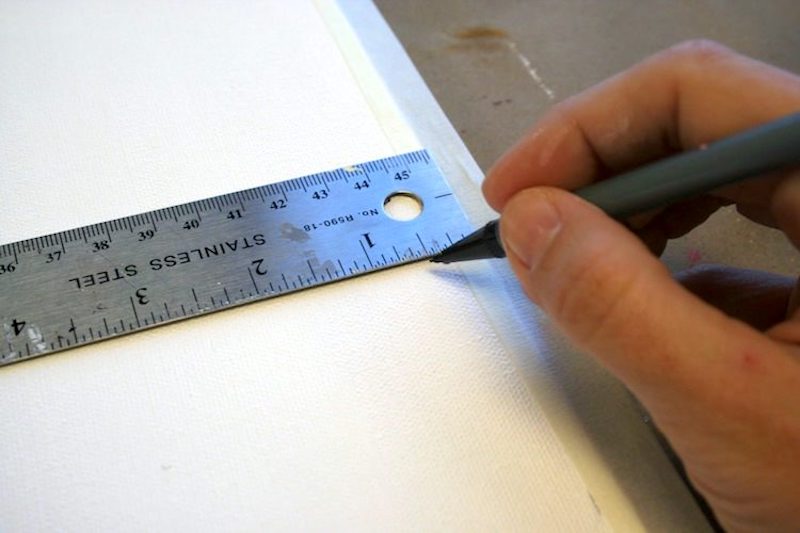
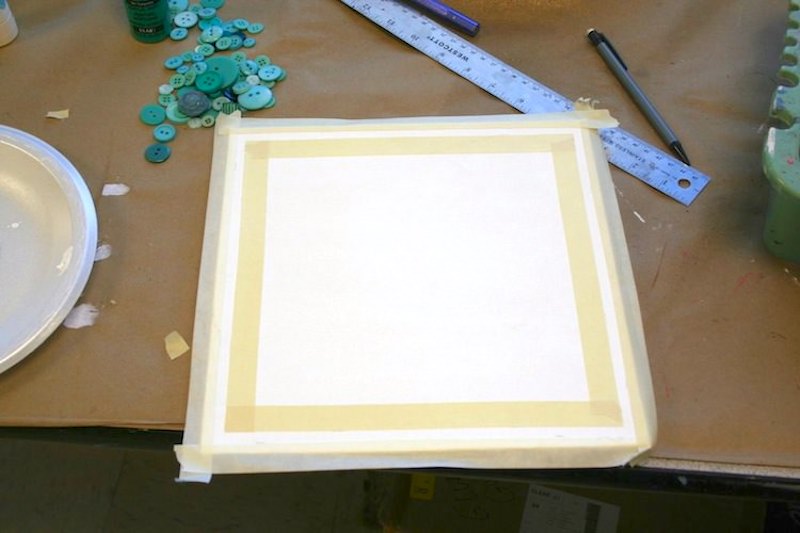
- Use a ruler, pencil, and stencil tape to make a border. Mine is 1/4" inside the rim of the canvas, and it was 1/4" wide. Mark where the tape should go, then tape just on the outside of the pencil marks. That way, when you paint, you cover the pencil marks.
- Use the craft knife to trim the stencil tape inside the border, being sure not to puncture the canvas.
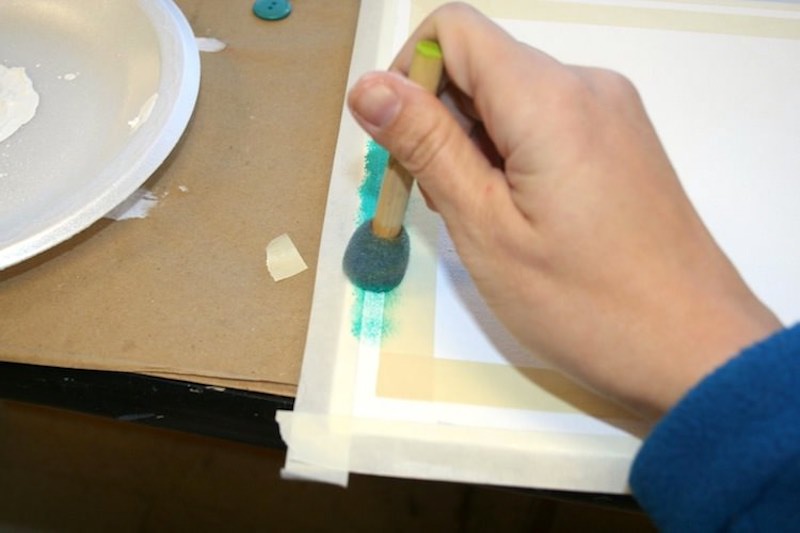
- Use a spouncer or paint brush to paint your border. Give several coats and peel up the stencil tape while still wet. Then let the paint dry.
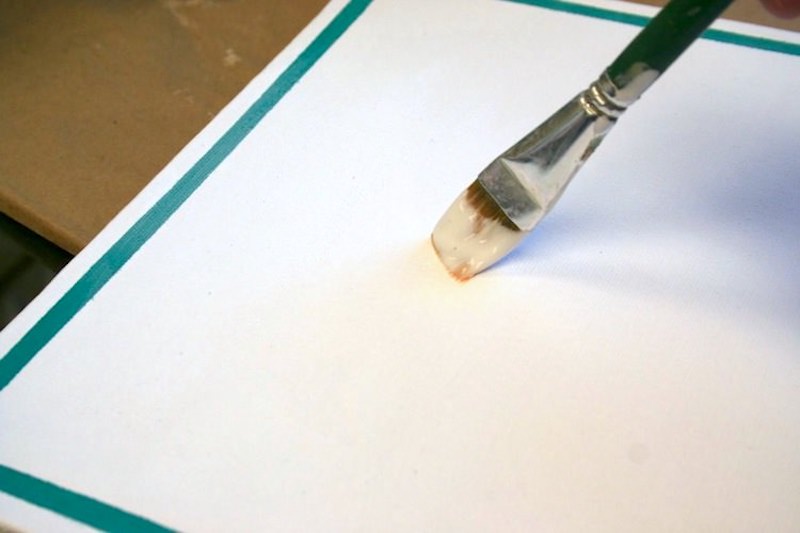
- Seal the canvas with a coat of Mod Podge. Let dry.
- Use buttons to lay out a circular wreath pattern, then glue down with craft glue and let dry.
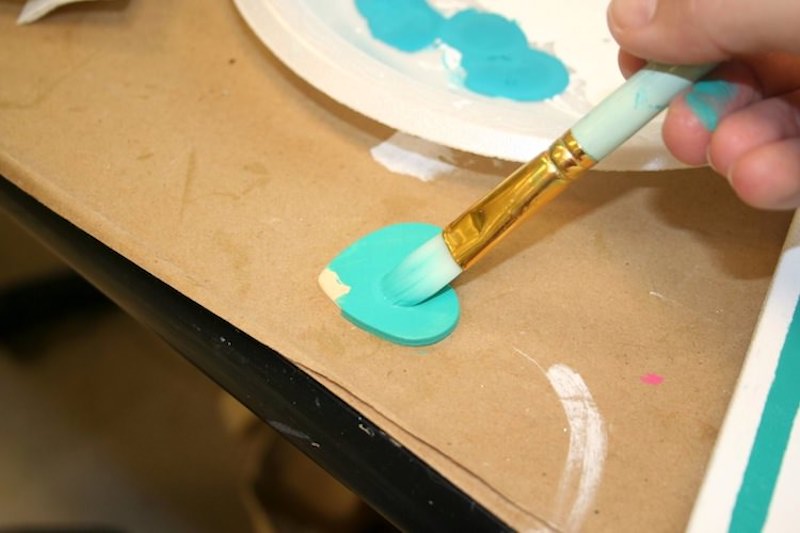
- If desired, paint a wooden heart with paint and let dry. Add Extreme Glitter to the heart and let dry, then glue to the canvas.
Notes
Did you enjoy this button canvas art project? Here are some other ideas you might want to check out:
DIY Love Canvas • Dollar Tree Button Wall Art • Halloween Button Art • Heart Photo Holders • I Love You Decor • Valentine’s Day Wood Decor • Wood Pallet Heart Decor


Love this! I’m new to button art and wondered where you get all your buttons?
Hi Carrie! I’ve collected them over time and the way I have done it is 1) through buying “lots” on eBay 2) button sales at Joanns etc and 3) Oriental Trading Company 🙂
thats a lovely canvas,
something different from flowers and faces…
cool and easy to make
I’ve never used Mod Podge before but I think this might be a project I might not be too intimidated to handle. It’s beautiful and I love your colors. I saw your blog on the tater tots and jello link party. I’m your newest follower. 🙂 ~ Megan
so cute and so you! I knew when I saw the little photo on the party list that it had to be yours! thanks so much for sharing on Craft Schooling Sunday! xoxoxoxo
Hi Amy! I love Mod-Podge too! I saw your link at the Somewhat Simple linky party and had to stop by to say hello and get a better look at your DIY! Luv it!! I am pinning this project on my DIY pinboard as a must do! So glad I found your blog – I am your newest follower. Please visit my blog and say hello. I love making new bloggy friends, comments and followers 🙂 Have a wonderful day! Heather @ settingforfour.blogspot.com
First the color grabbed me and then the cute jumped up and caught my attention. Love everything about this project. Very colorful and clever and so adaptable to other colors and even holidays. Good job!
This turned out so nice. I like the various shades of aqua.
so cuteNatasha xxwww.serenityyou.blogspot.com