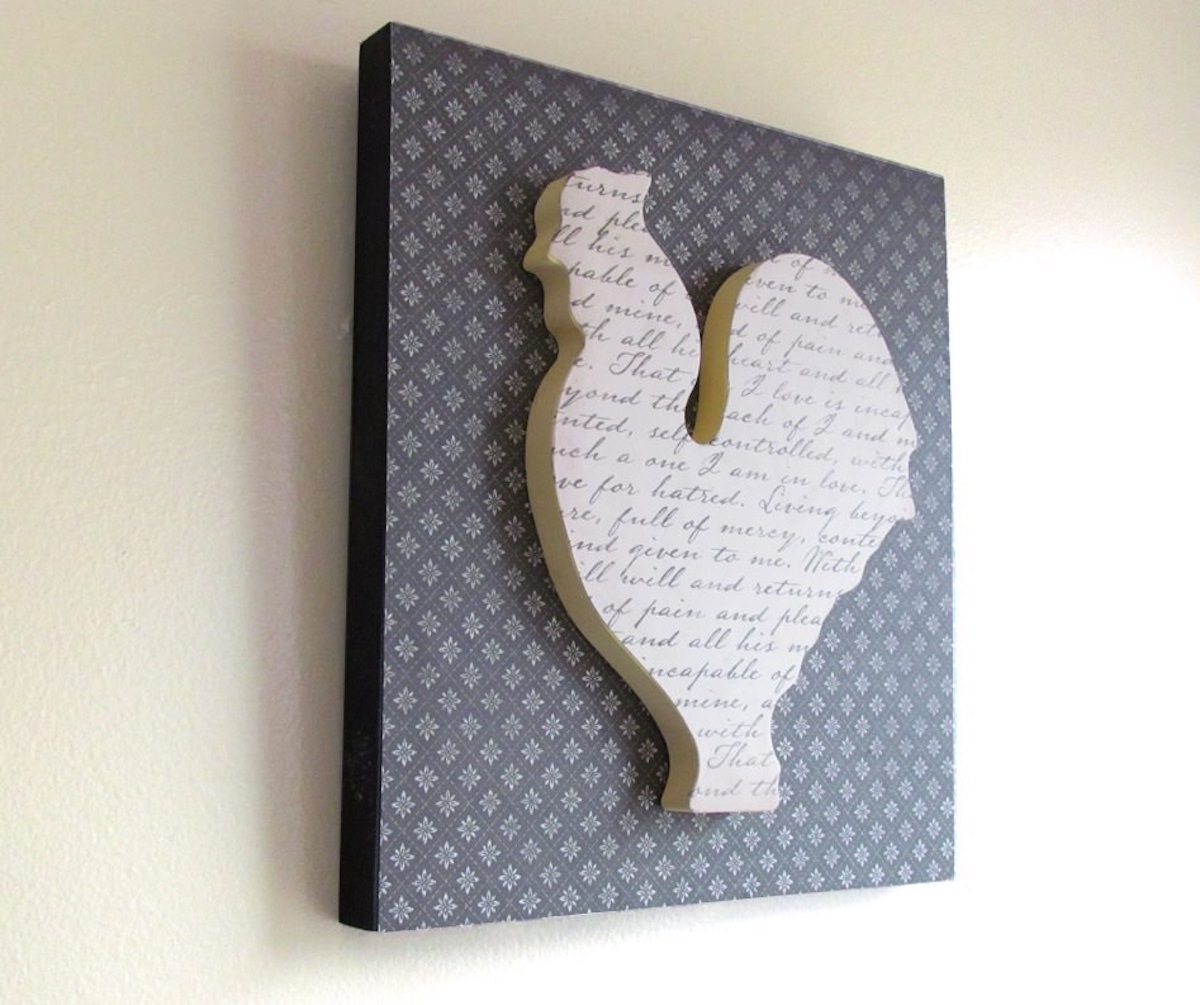
Make your own DIY farmhouse wall decor with any square of wood and wood shape – just add your favorite papers to personalize!
Skills Required: Beginner. It helps to have some experience with Mod Podge simply to avoid wrinkles in the paper. Otherwise this wall art easy; you’ll be decoupaging paper to wood pieces.

Man Podger Walter recently sent me one of his pumpkin jack magnets, and truly made my Halloween. If you haven’t been to his Etsy shop in awhile, pop over and buy a holiday gift for a beloved friend or family member. My mom loves pigs, so guess which item from his shop I’ll be buying? Shh – don’t tell her!
Another gift my mom would definitely like is this DIY farmhouse decor by Walter. It would look great in her kitchen, and I’m guessing it might look great in yours. Take a peek at Walter’s full tutorial below.
The holiday season will be here before you know it. I will be creating tutorials that will make great holiday gifts. Here is a farmhouse wall art project with a lot of appeal!
I recently saw something similar at a high-end boutique . . . and I will show you how to make it for less. A little imagination, effort, and time is all you need. Plus you can customize your wood craft with any shapes and colors.
This cute farmhouse wall relief makes a nice addition to any kitchen decor. Roosters are coming back, my friends!
DIY Farmhouse Wall Art
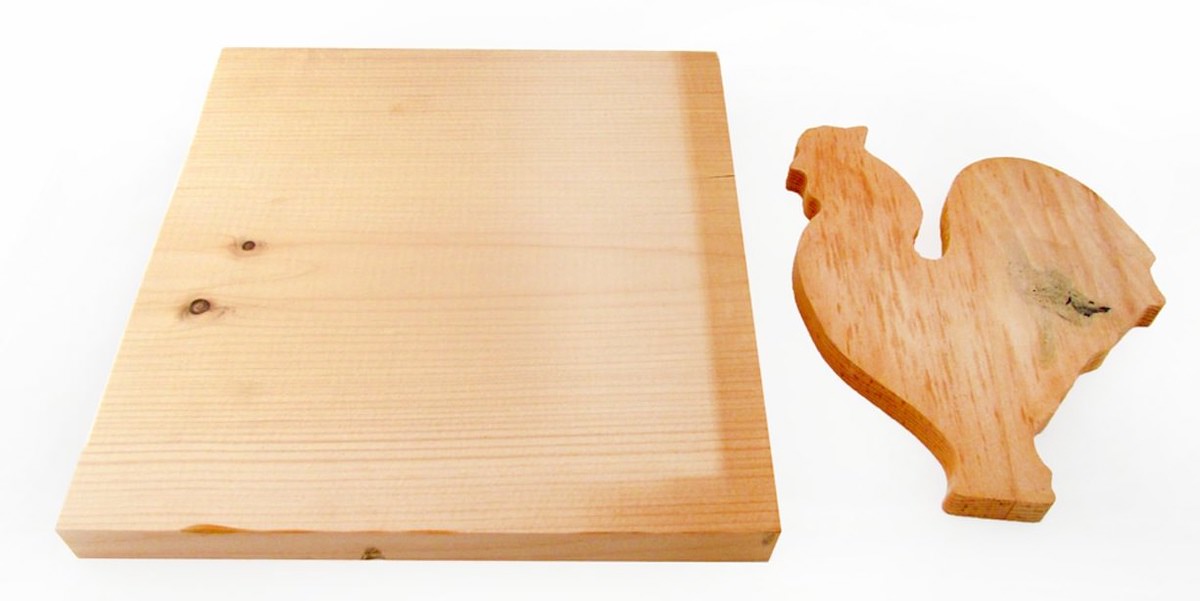
Some of the basic supplies and tools you will need for this project:
- 8 1/2″ x 9 1/4″ piece of wood
- Rooster cut out or other wood shape (found mine at a thrift shop for 39 cents)
- Scrapbook paper (antique/weathered patterns, book pages)
- FolkArt paint in the colors of your choice
- Mod Podge Matte
- Mod Podge Tools
- Picture hanger for the back
- Sandpaper
- Scissors or craft knife and mat
- Hot glue gun
- Pencil
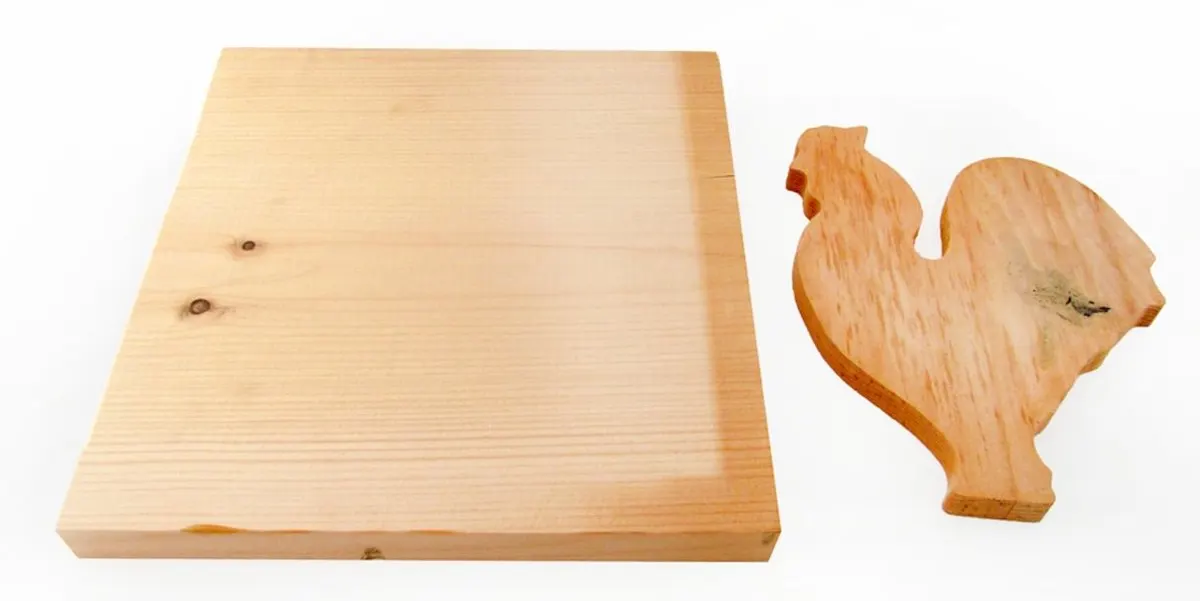
Step 1: Preparation
Remove any price tags and or stickers from the wood pieces. Lightly sand off any rough edges and wipe away the sanding dust.
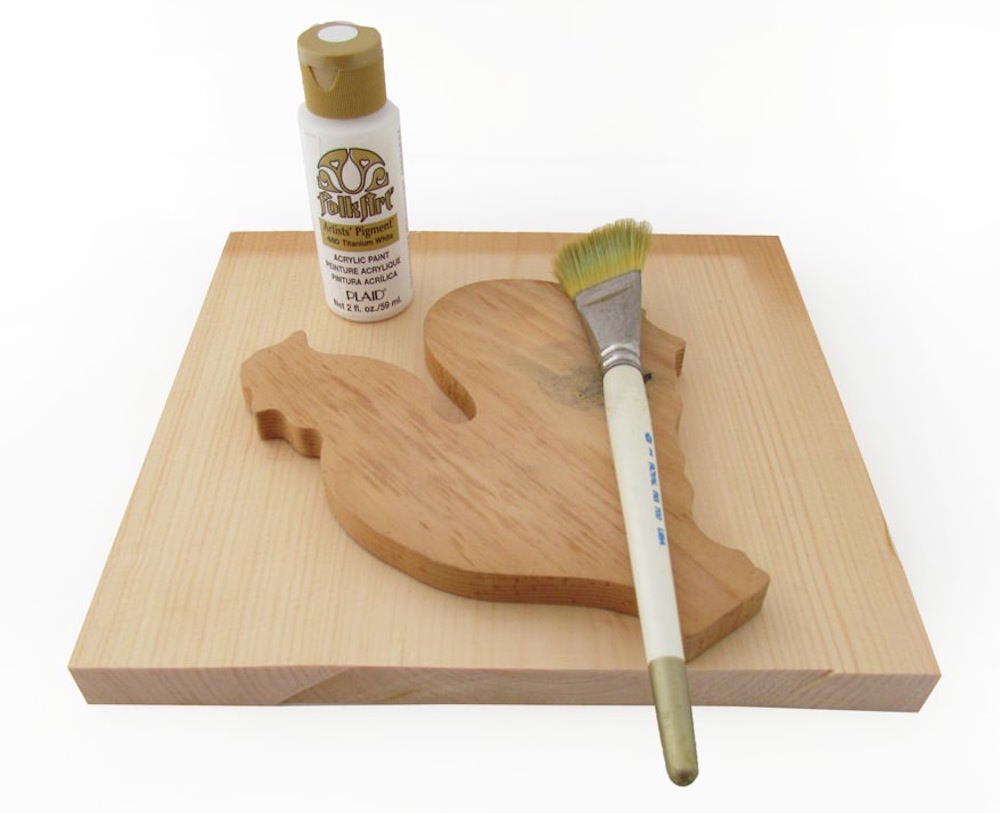

Step 2: Prime and Paint
Prime both pieces with FolkArt paint (any color you choose). Let dry for at least 15 minutes.
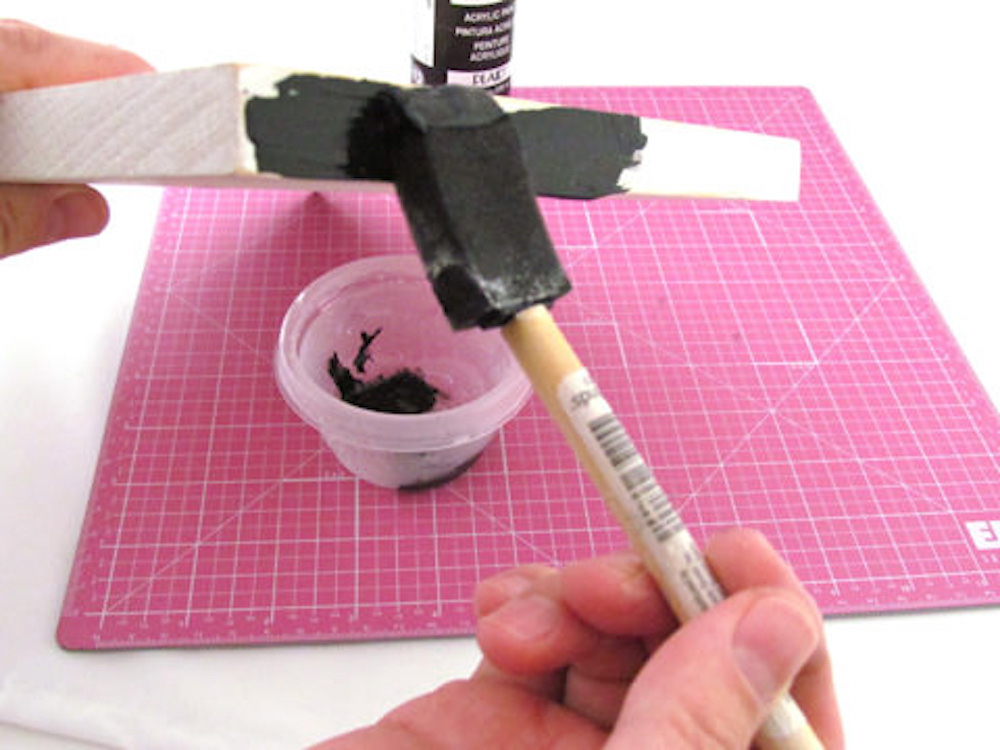
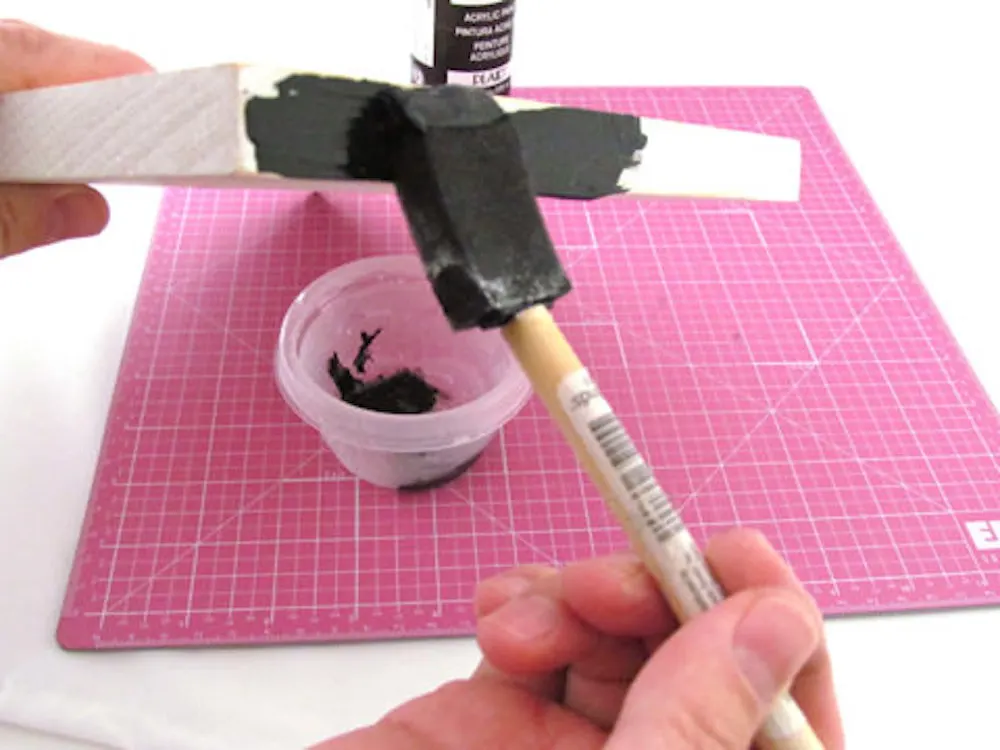
Paint the sides of the wood board. I used Folk Art Licorice for the sides because it matched the cardstock I chose for the board.
This step is optional; you can decoupage the sides too. You will have to cut the paper to fit the sides of the board, but you can definitely put paper on the edges.
Repeat this step for the rooster wood cutout. I used Folk Art Sunflower paint because it matched the cardstock I selected. Choosing the papers and paints is probably the most fun part of this DIY farmhouse wall decor project! I had a blast with it.

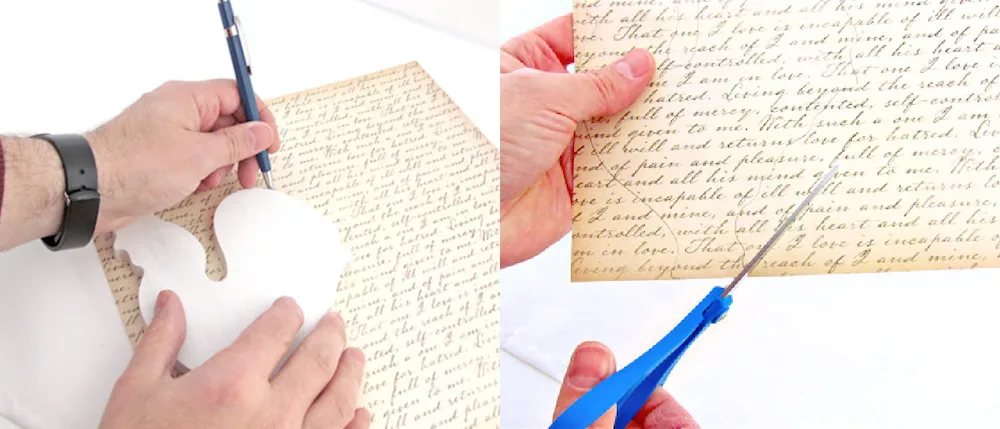
Step 3: Cut the Paper and Decoupage
Measure and cut the scrapbook paper to fit the square board. Cut out using scissors or a craft knife and mat.
Trace the rooster onto the selected paper and cut out. Decoupage both pieces down using Mod Podge. Place a medium layer of Mod Podge on the wood surfaces, place the scrapbook paper down, and smooth thoroughly.
Then you’re going to let both pieces dry for 15 – 20 minutes. You can seal both pieces at this point – or you can wait until you glue them together.
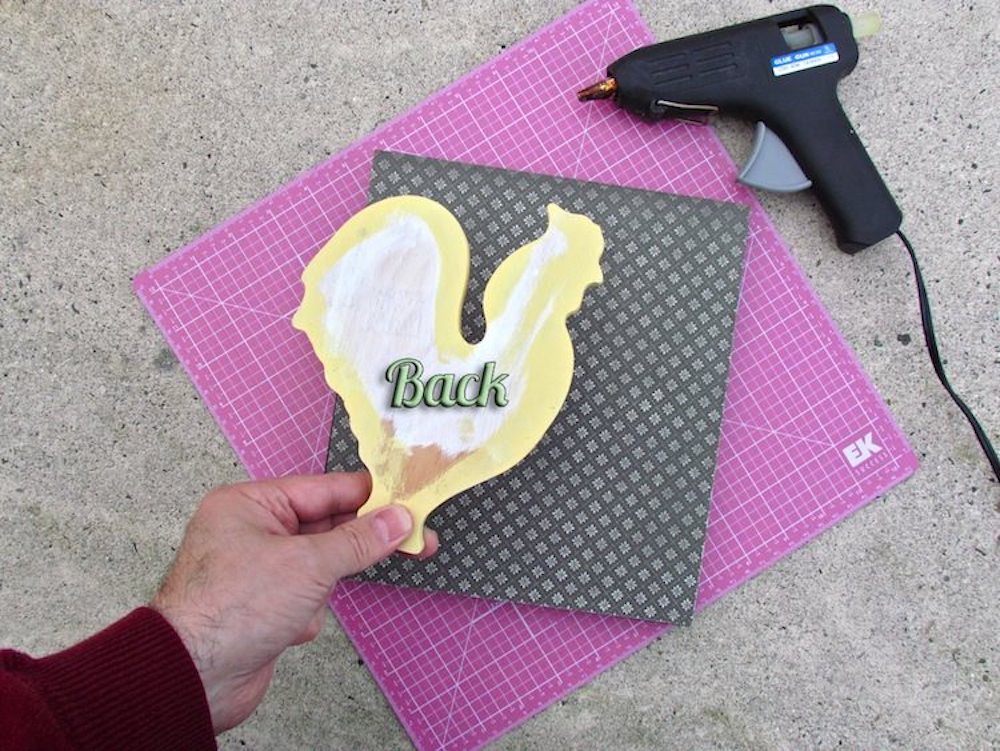

Step 4: Assemble the Decor
Plug in your hot glue gun and get it all heated up. Your DIY farmhouse wall decor is very close to being done!
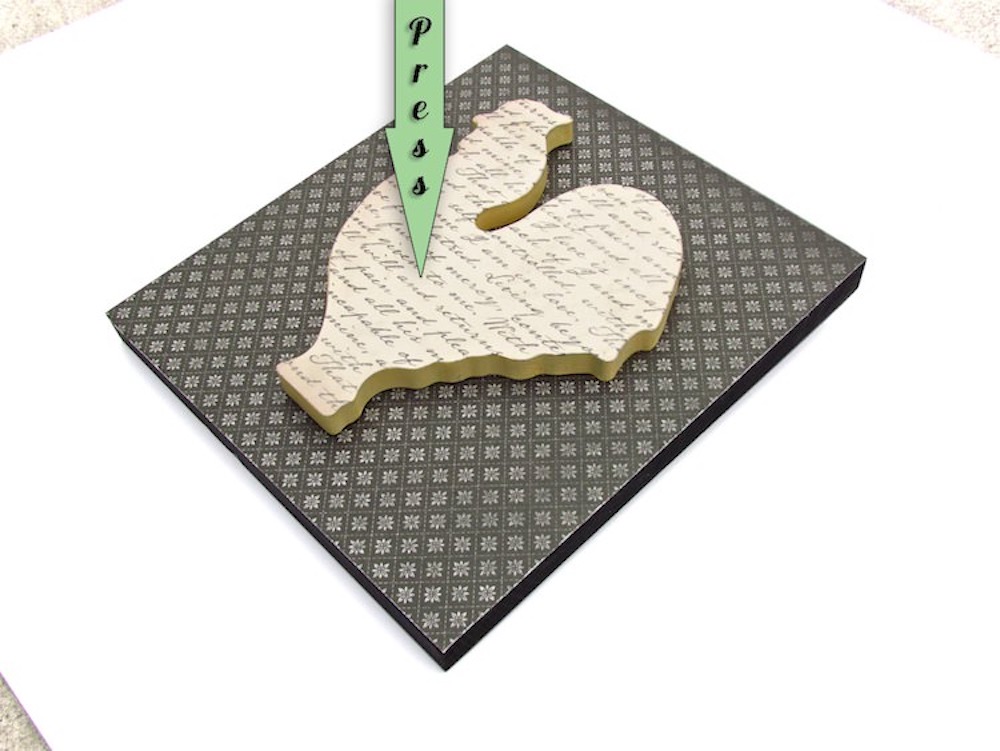
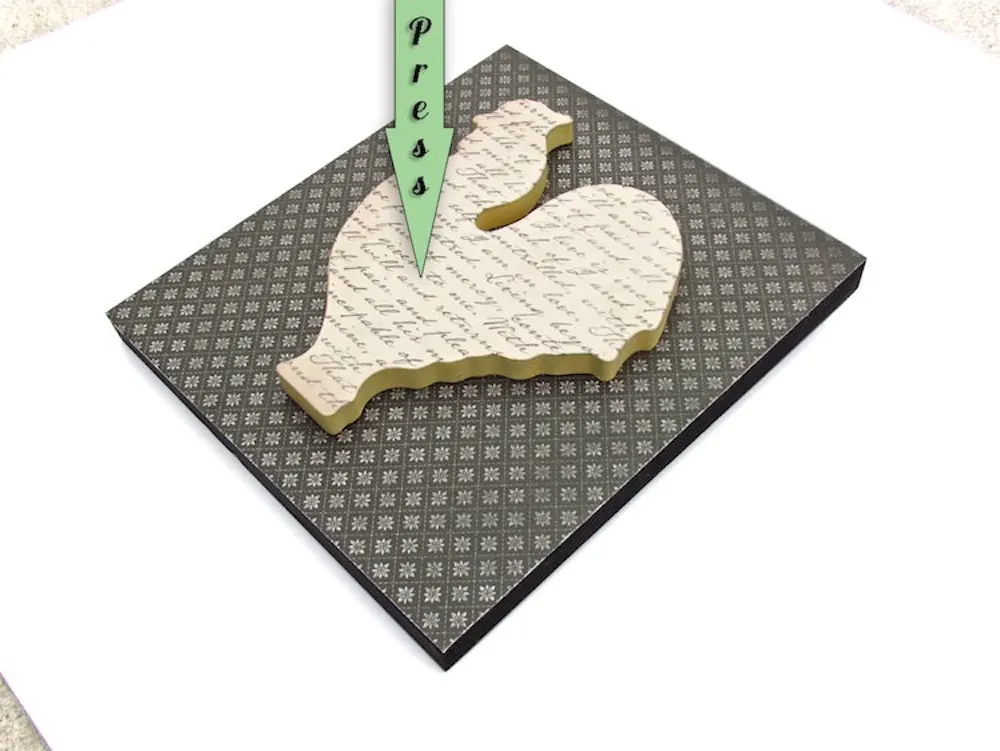
Using your glue gun, spread some hot glue on the back of the rooster. Attach the decoupaged rooster onto the center of the decoupaged board.
Press down on the rooster for a couple of seconds to make sure it’s secure.
Seal the entire piece of wall art with Mod Podge and let dry for about 20 minutes (if you haven’t already).
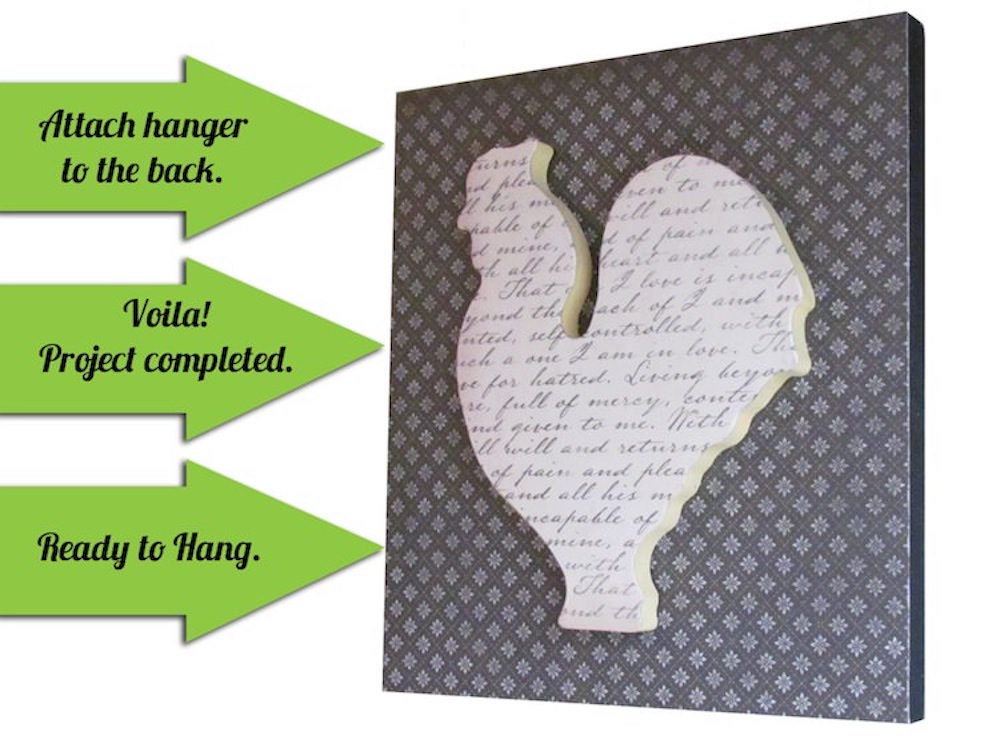

Step 5: Ready for Hanging
Attach any type of picture hanger to the back. If you’re being really particular (and I won’t blame you), add two rubber bumpers to the bottom back (left and right).
This DIY farmhouse wall decor is such a fun and simple project! Use any wood shapes, vintage or new – crafts stores have a great assortment to choose from.
You can also grab something online from Etsy (support handmade!). Some suggestions: use a fish shape for a den or animals for a kids playroom? Use your imagination . . .
And how about adopting a “handmade” gift season this year? These make great holiday gifts! Let me know what you decide in the comments.
If you enjoyed this farmhouse wall art, I’d love for you to check out these other ideas:
Anonymous
Monday 21st of November 2011
This is so cute! I'm in love....
Julie (in Perth Western Australia)
Monday 21st of November 2011
This would look good done using the initials of family member's first names and hanging them on a prominent wall.
jennifer hutchinson
Friday 18th of November 2011
I cannot wait to make this for my Dad for Christmas! (He is French, so he loves roosters for some reason ;)
Amy @ Positively Splendid
Friday 11th of November 2011
This is terrific! I love the dimension.
cheltenhamroad
Wednesday 9th of November 2011
So cool! I'm diggin' the 3D trend in your work here and over at Decor Hacks.David