Learn how to make a rustic painted American flag on a wood plaque! This is perfect decor for Fourth of July, and you don’t need any crafting skills to make it.
Skills Required: None. If you have never painted before, it’s okay. This is very basic painting with a Mod Podge application to seal.

With Memorial Day coming up and the Fourth of July not that far behind, I decided it was time to bust out the American flag canvas! I usually put the flag canvas on the front porch, which works because it doesn’t rain much here during the summer.
BUT things still need to get a little more patriotic around here. And, coincidentally, my mom painted a little rustic American flag on a plaque . . . which I eyeballed when I went over to her house. I asked her about it, and she told me how easy it was.
Then she also told me something interesting. She used her fingers to paint the flag stripes! And fill in the blue portion of the flag as well. WHICH I really like – because it gives a bit of a homespun feel to the project.
But also, whether you are young or old, finger painting is attainable. If you’re intimidated by painting in any way, this is a great starter project! (also check out our easy things to paint for beginners)
I hope you’ll try this out for the Fourth. Maybe make it yourself, or with your kids (since it’s so easy). And I’d love to know a version of this project for your own flag if you aren’t from the USA. Enjoy the tutorial below!
Rustic American Flag
Gather These Supplies
- Wood plaque – 4″ square
- Acrylic paint – white, red, blue, gold
- Mod Podge Gloss – optional, to seal
- Paintbrush
- Pencil
- Ruler
- Sandpaper (optional)
Prepare the Surface
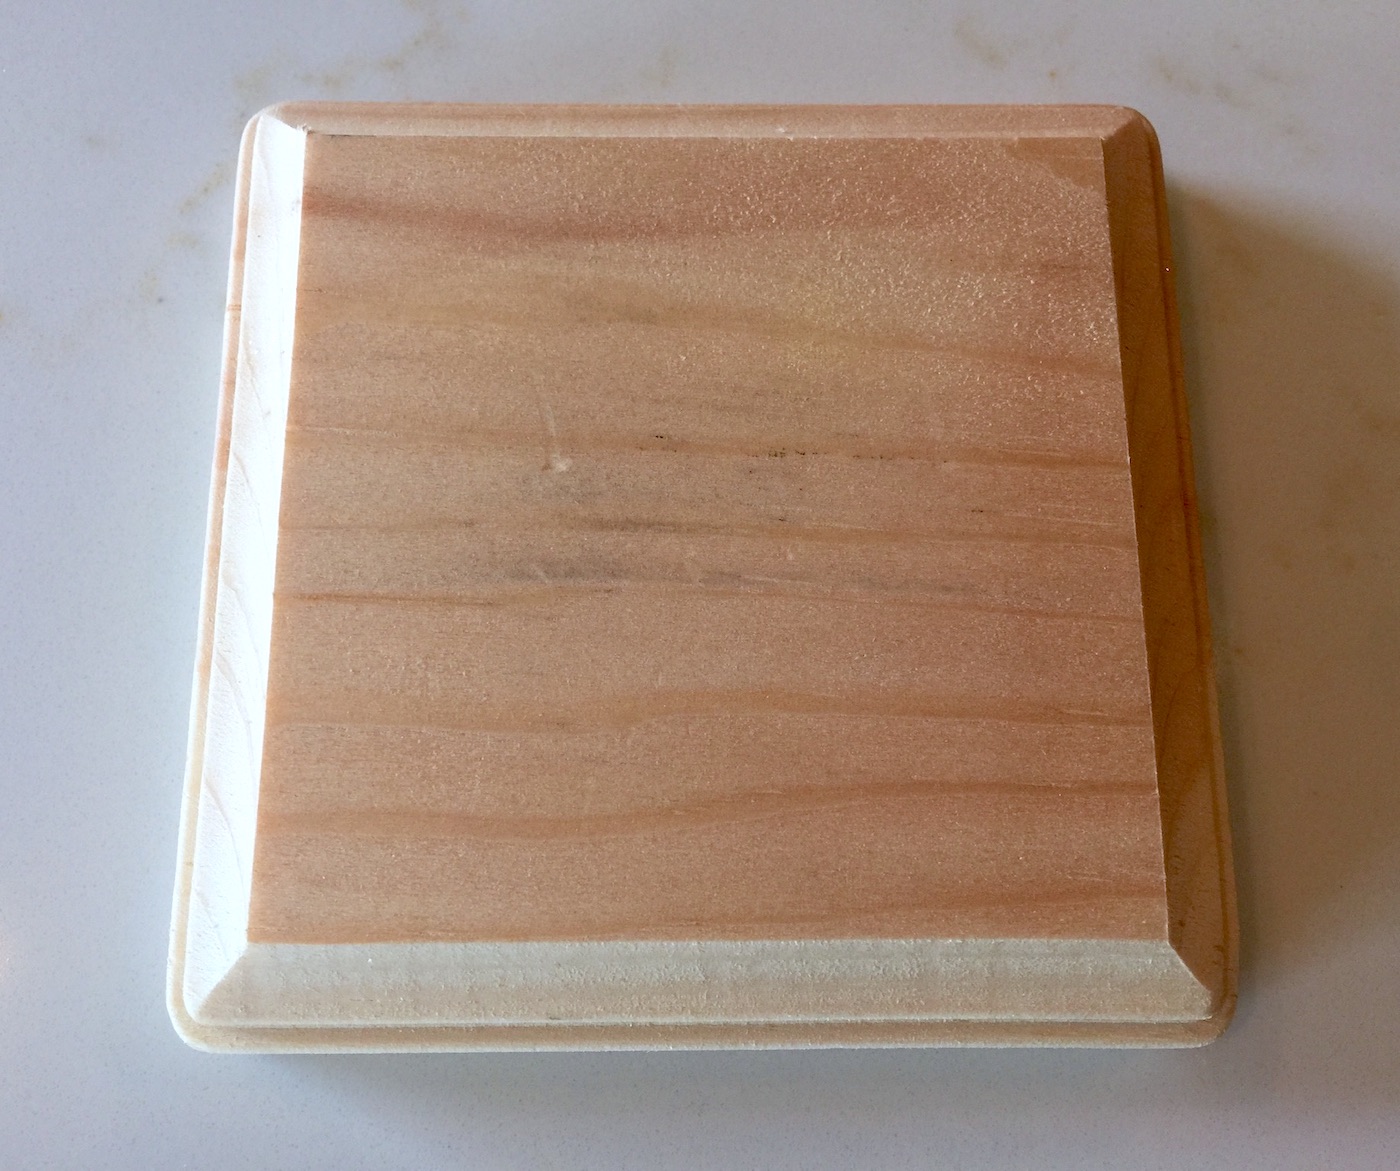
For this project, I used a 4″ wood plaque from the craft store. You can use any sized wood plaque you like – you could also choose an oval or a different shape. It’s really up to you. You could even use a piece of scrap wood!
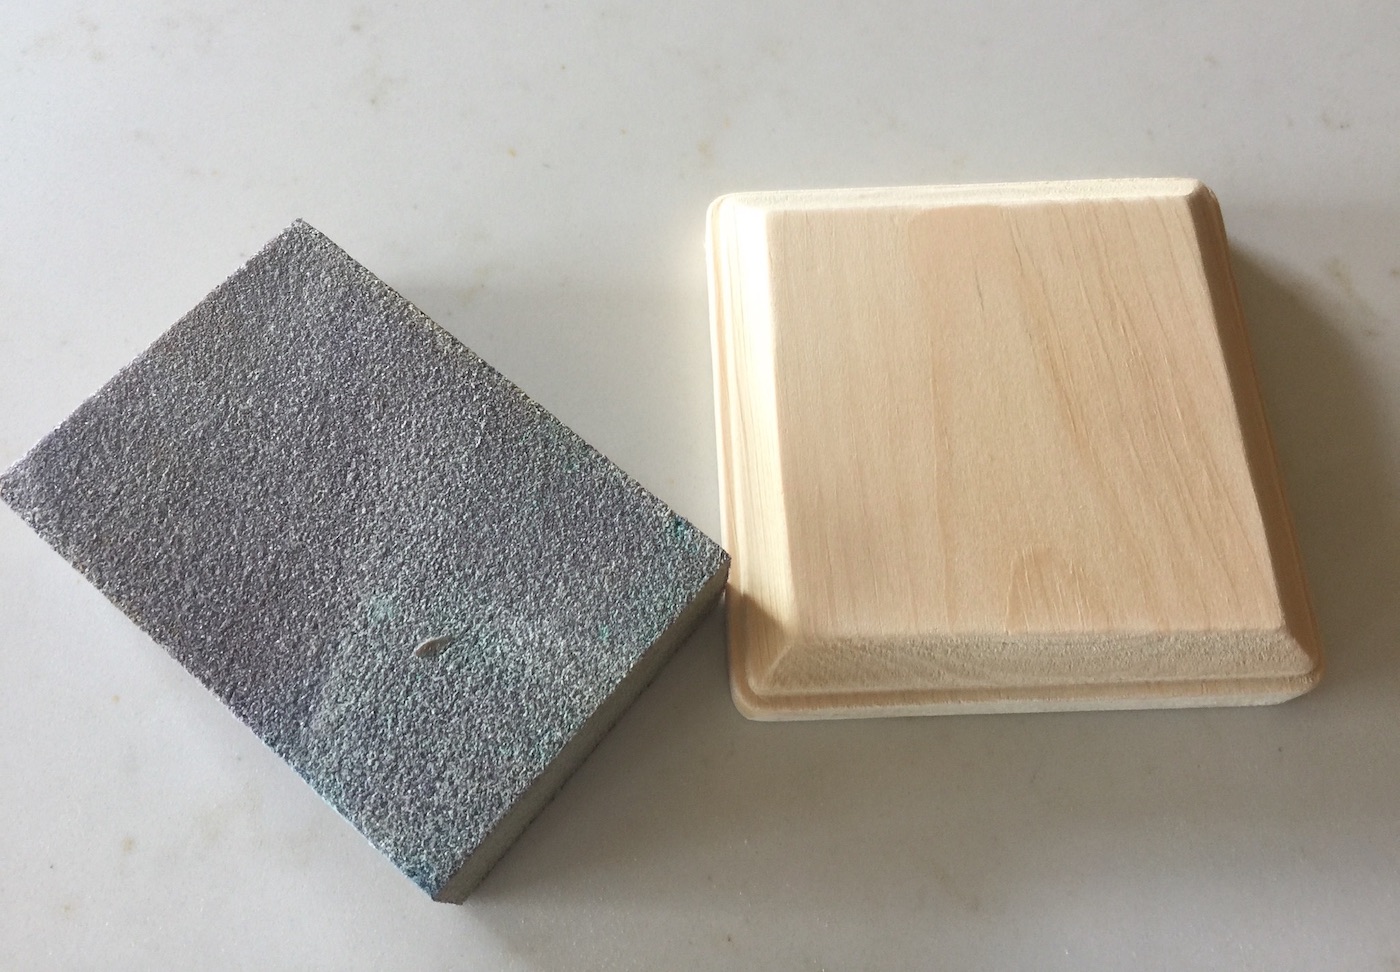
Use a sanding block to smooth the edges of your wood piece. Wipe away any sanding dust.
Paint the Plaque
Paint your wood piece with a coat of white paint. Let dry and then paint with a second coat. My mom used chalk paint, but you can use any acrylic paint you like.
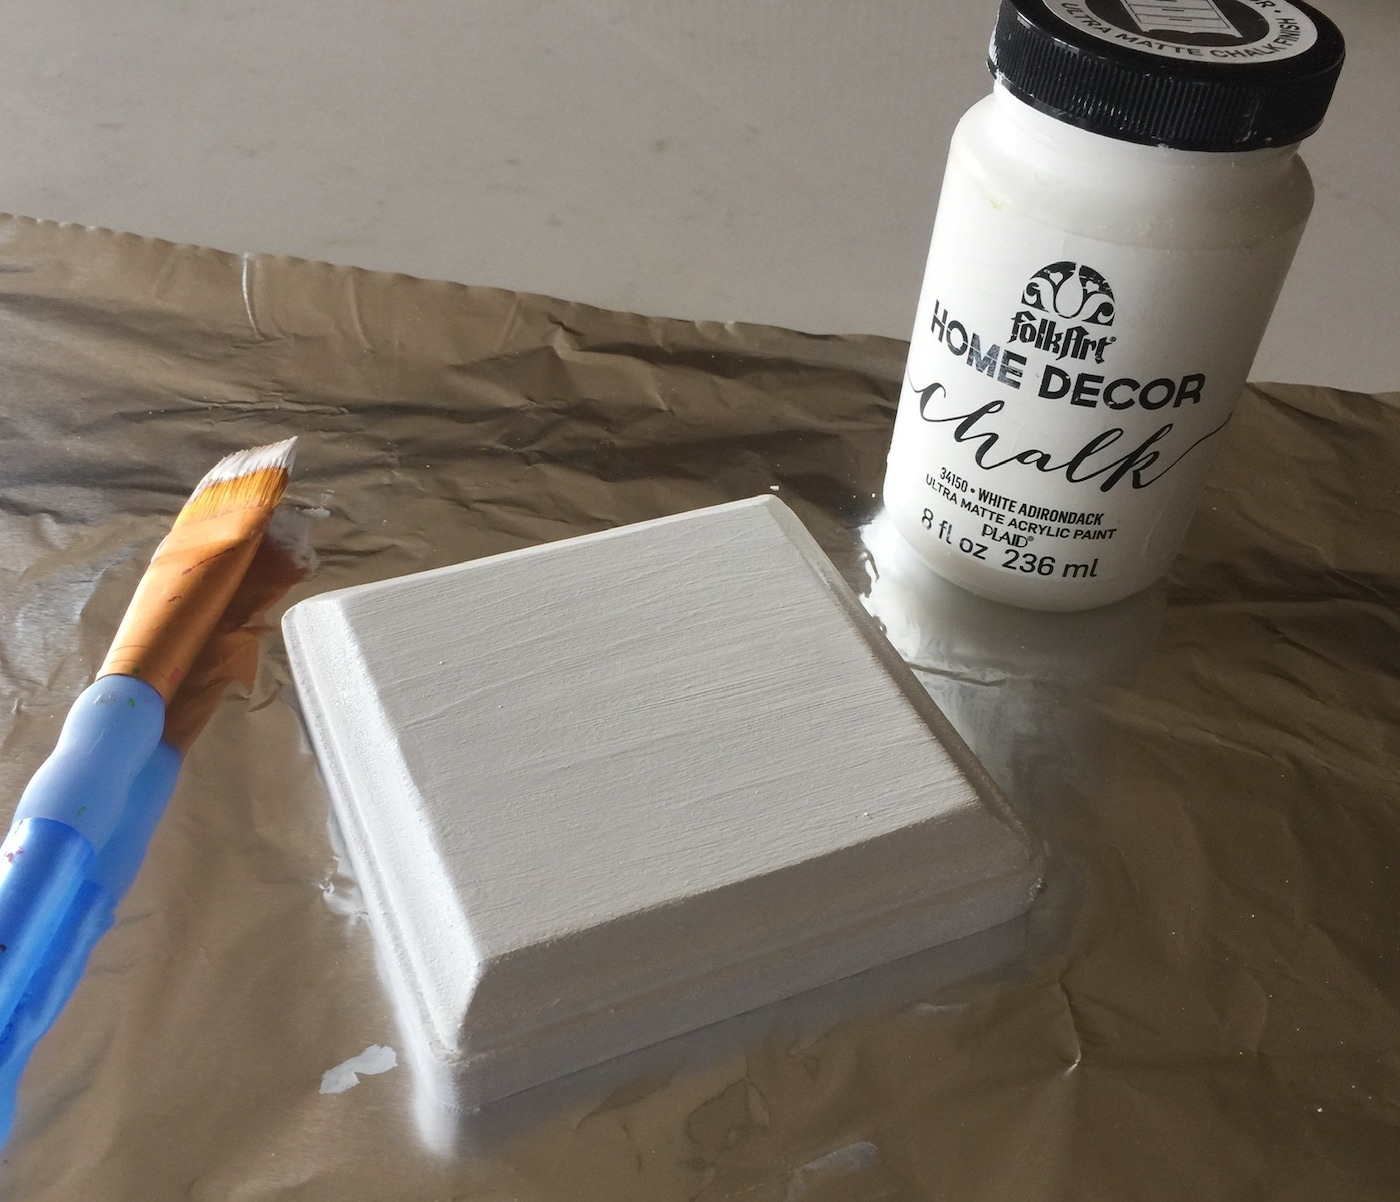
This is where it gets a little creative, but I’m sure you won’t mind! Grab the paint colors you would like to use for your flag.
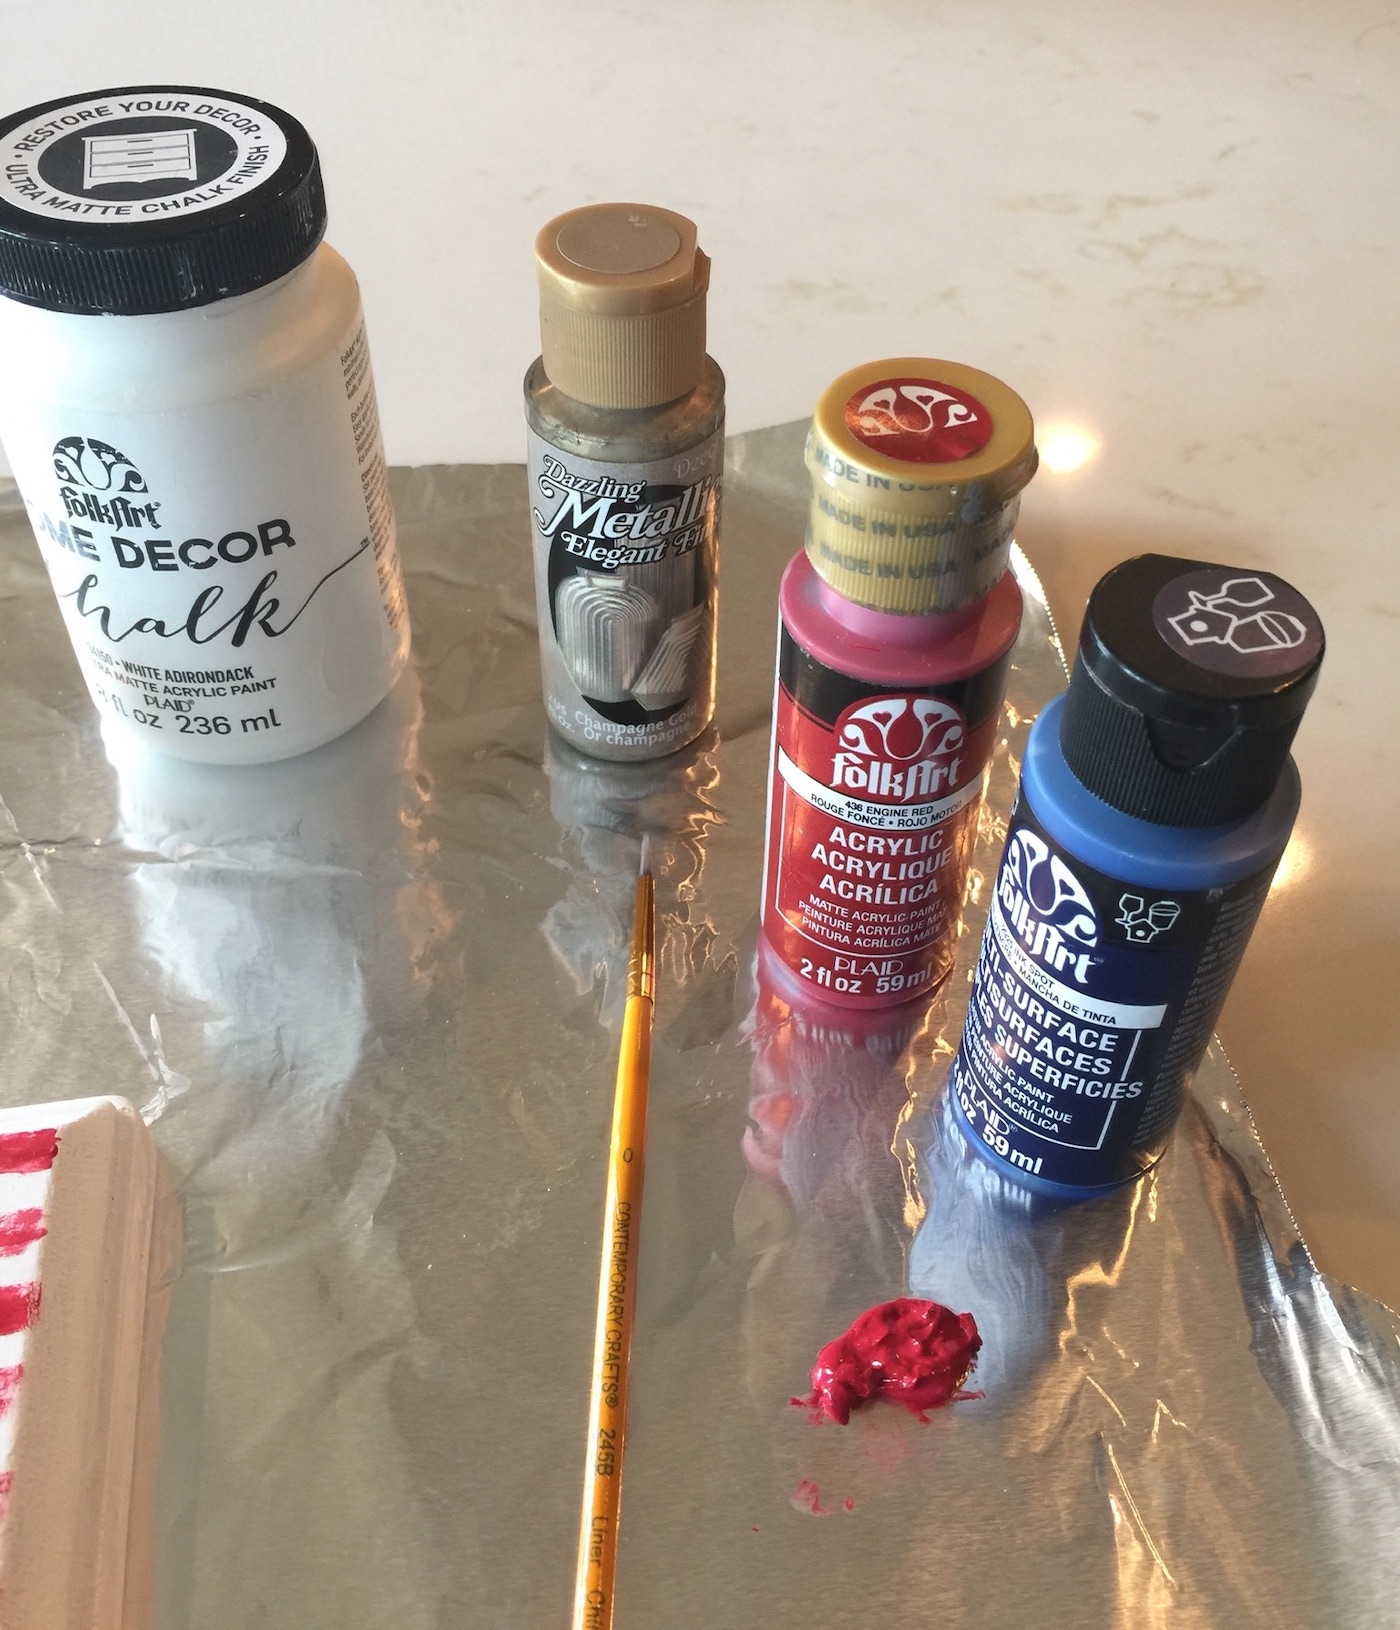
Paint the Flag Design
The best way to tackle making the flag design is to make small pencil marks on either side of the plaque using the ruler. You’re going to draw the paint from one side of the plaque to the other.
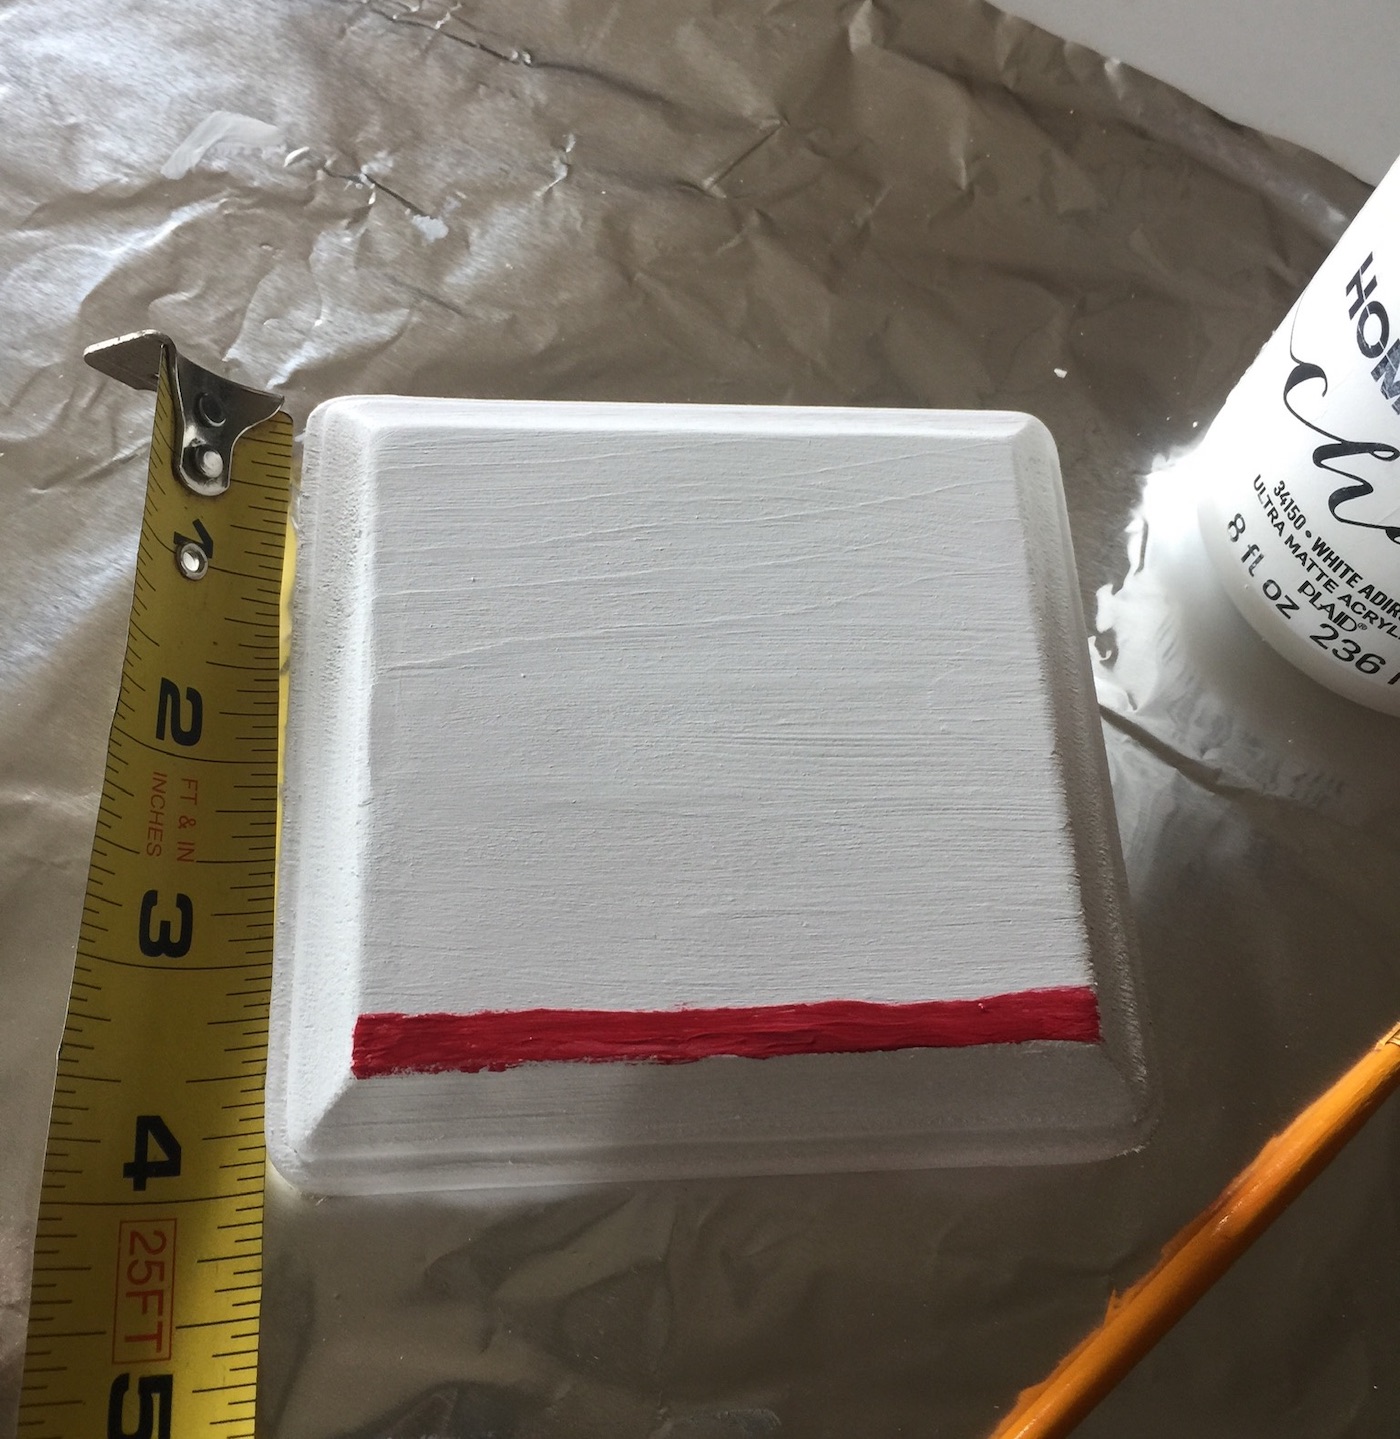
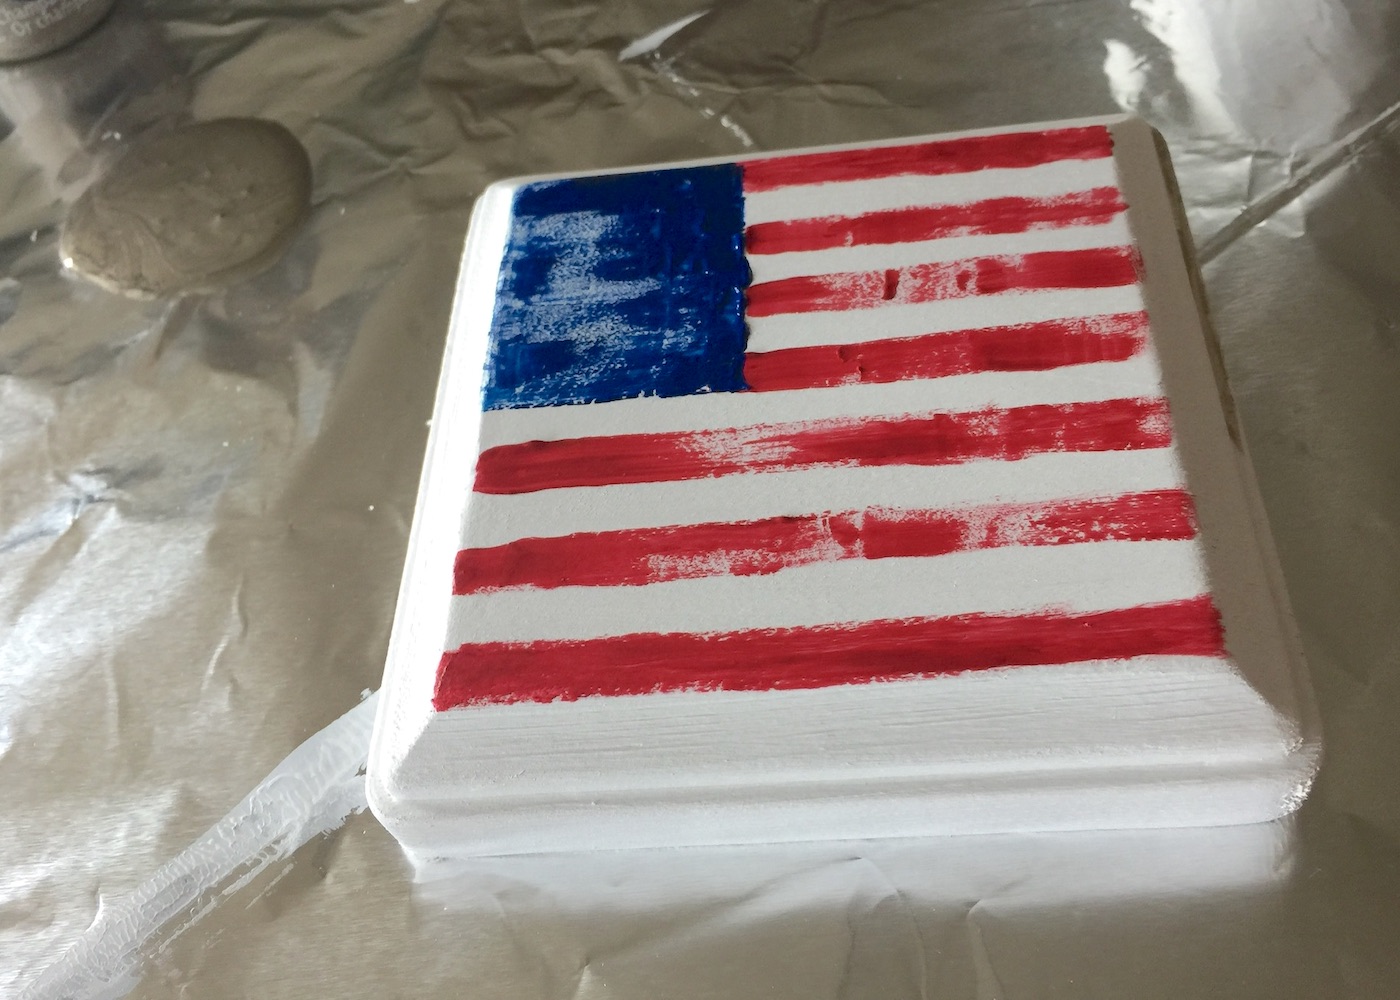
Dip your finger in the paint (in this case, red) and drag it from one side of the other, making a “rough” looking line that gives the project a rustic touch.
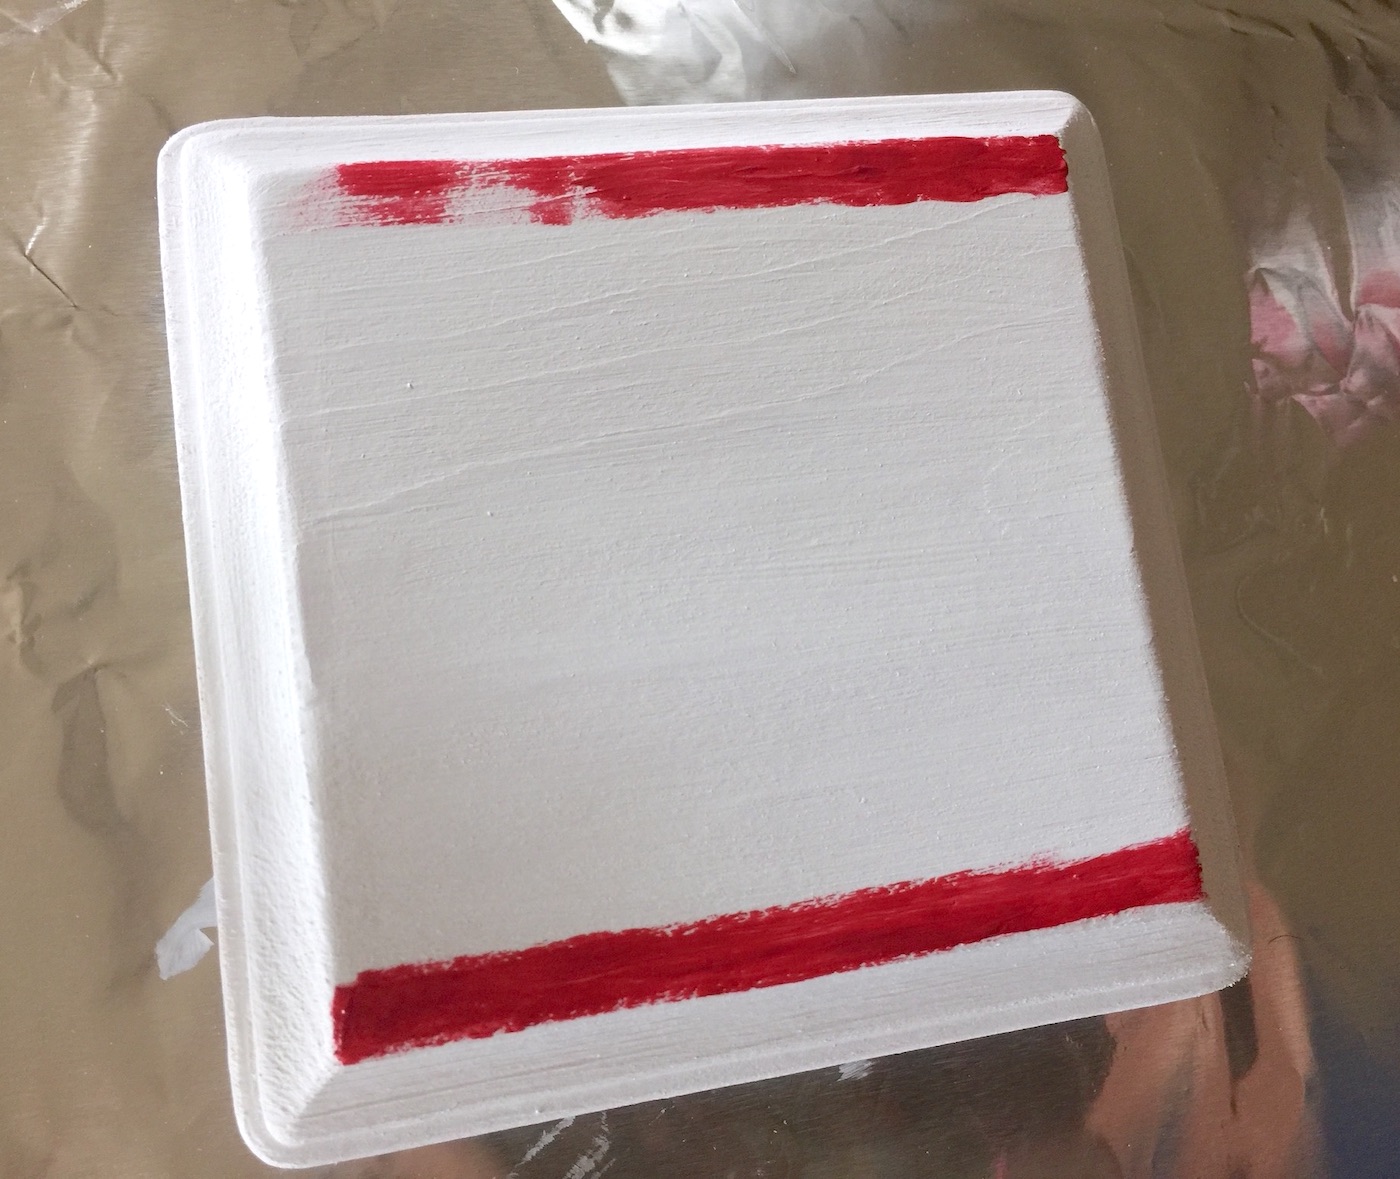
Continue dipping your finger in paint and dragging across from one side to the other to create flag stripes. You can leave an area for where the top portion of the flag (blue, in this case) goes.
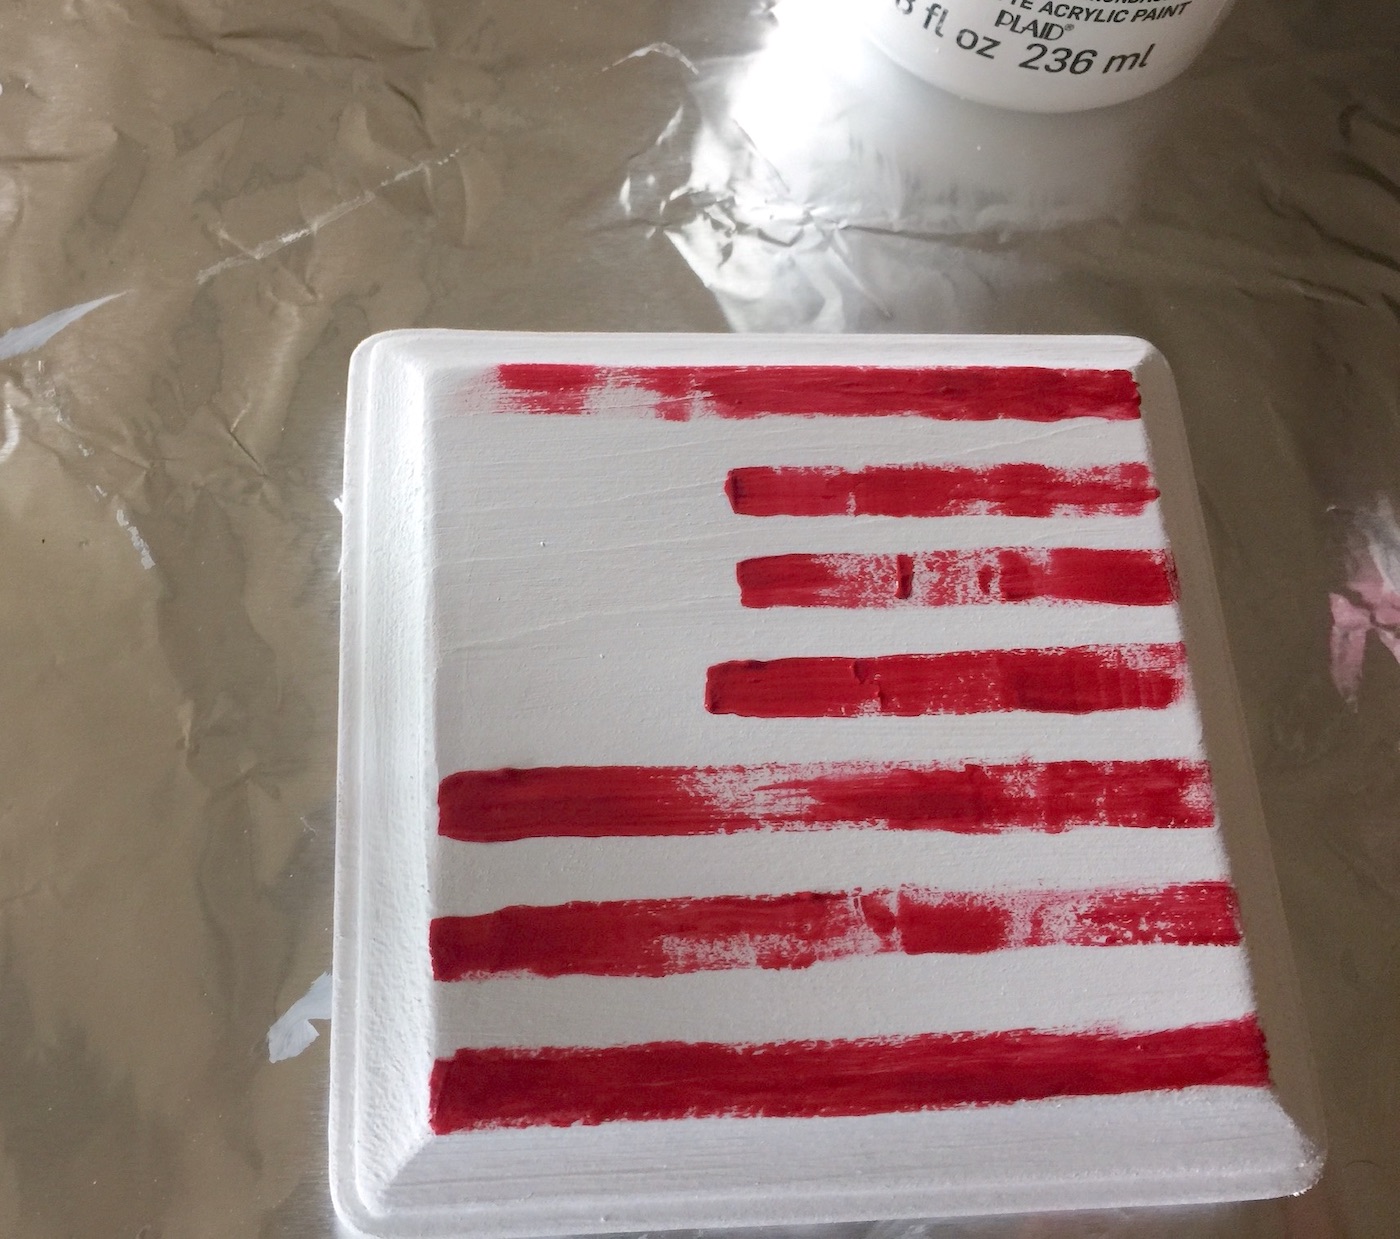
Let the stripes dry. Next you will add the upper portion of the flag. Yep . . . with your finger! Fill it in and let it dry.
Finish and Seal
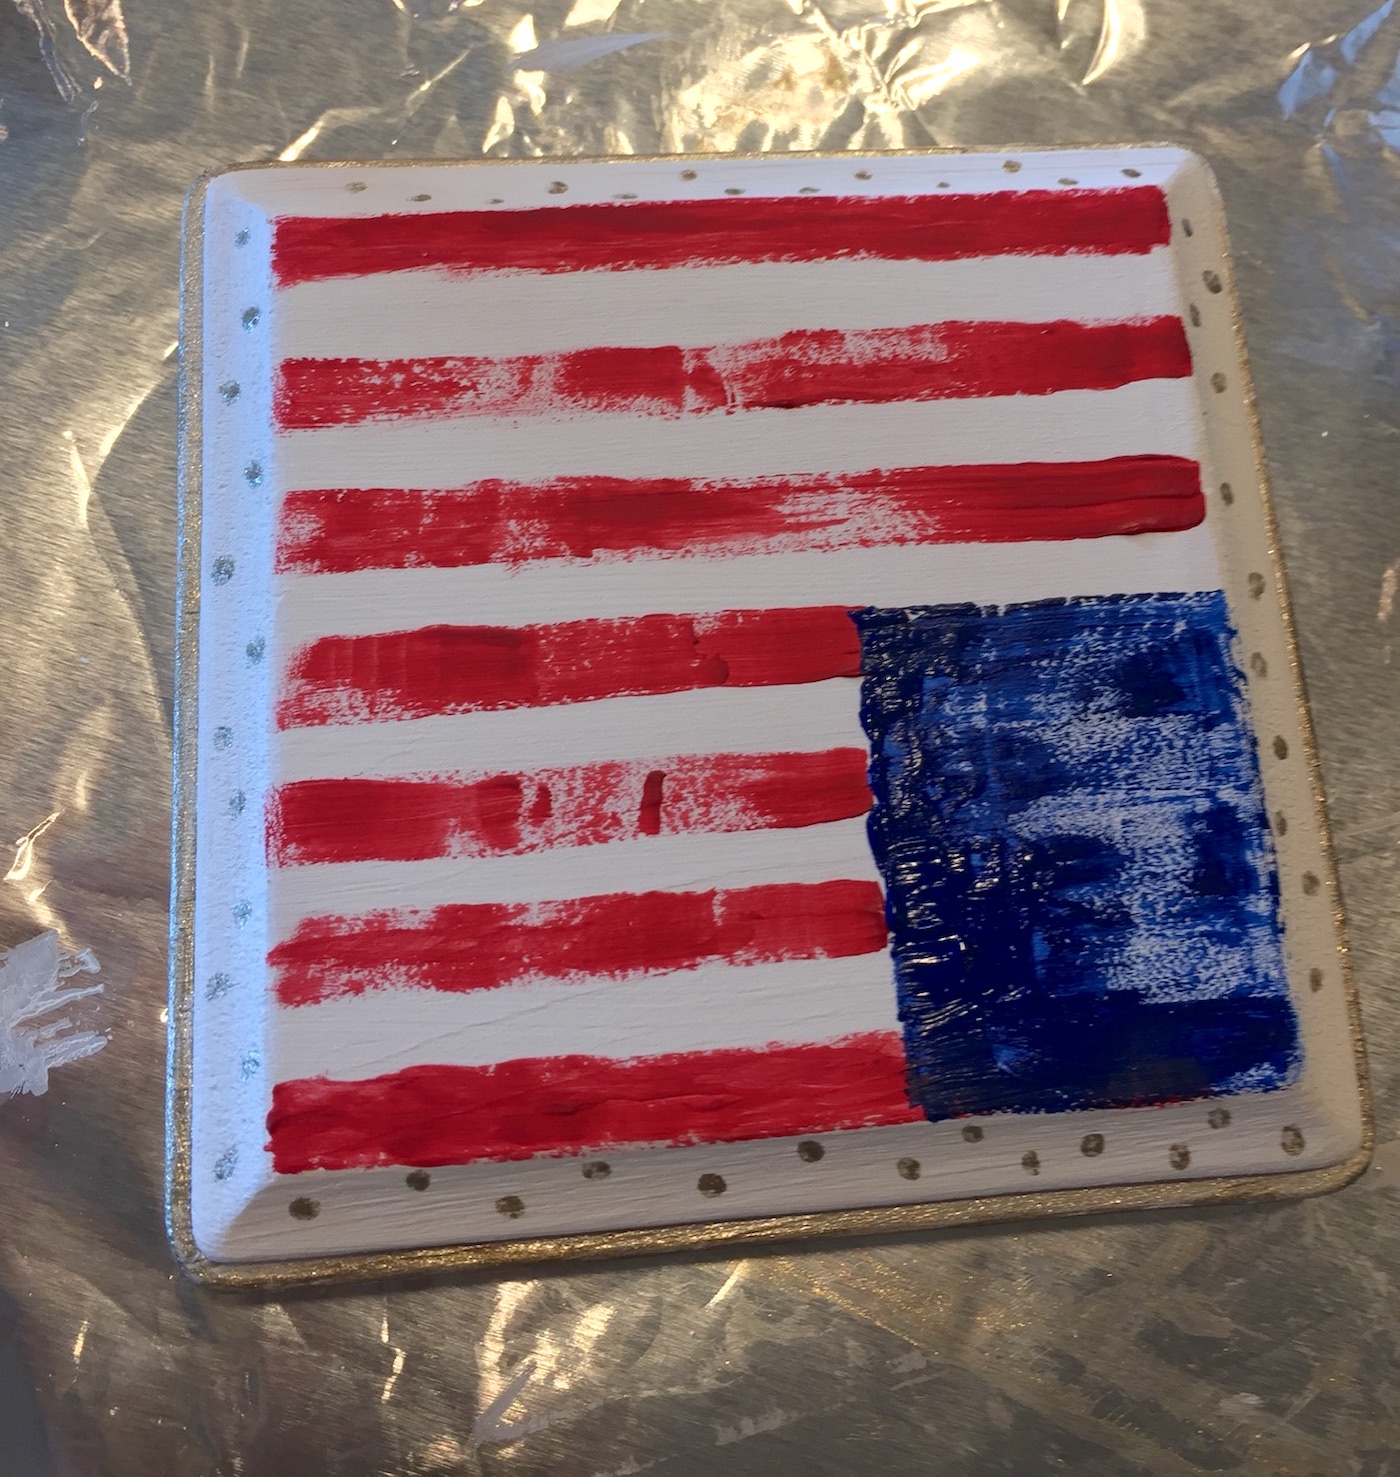
This project goes so quickly . . . there are just a few finishing touches. My mom added a gold metallic border as well as some dots using acrylic paint.
She didn’t add dots in the blue area, but if you wanted to put a few dots or mini stars there, you could.Let dry.
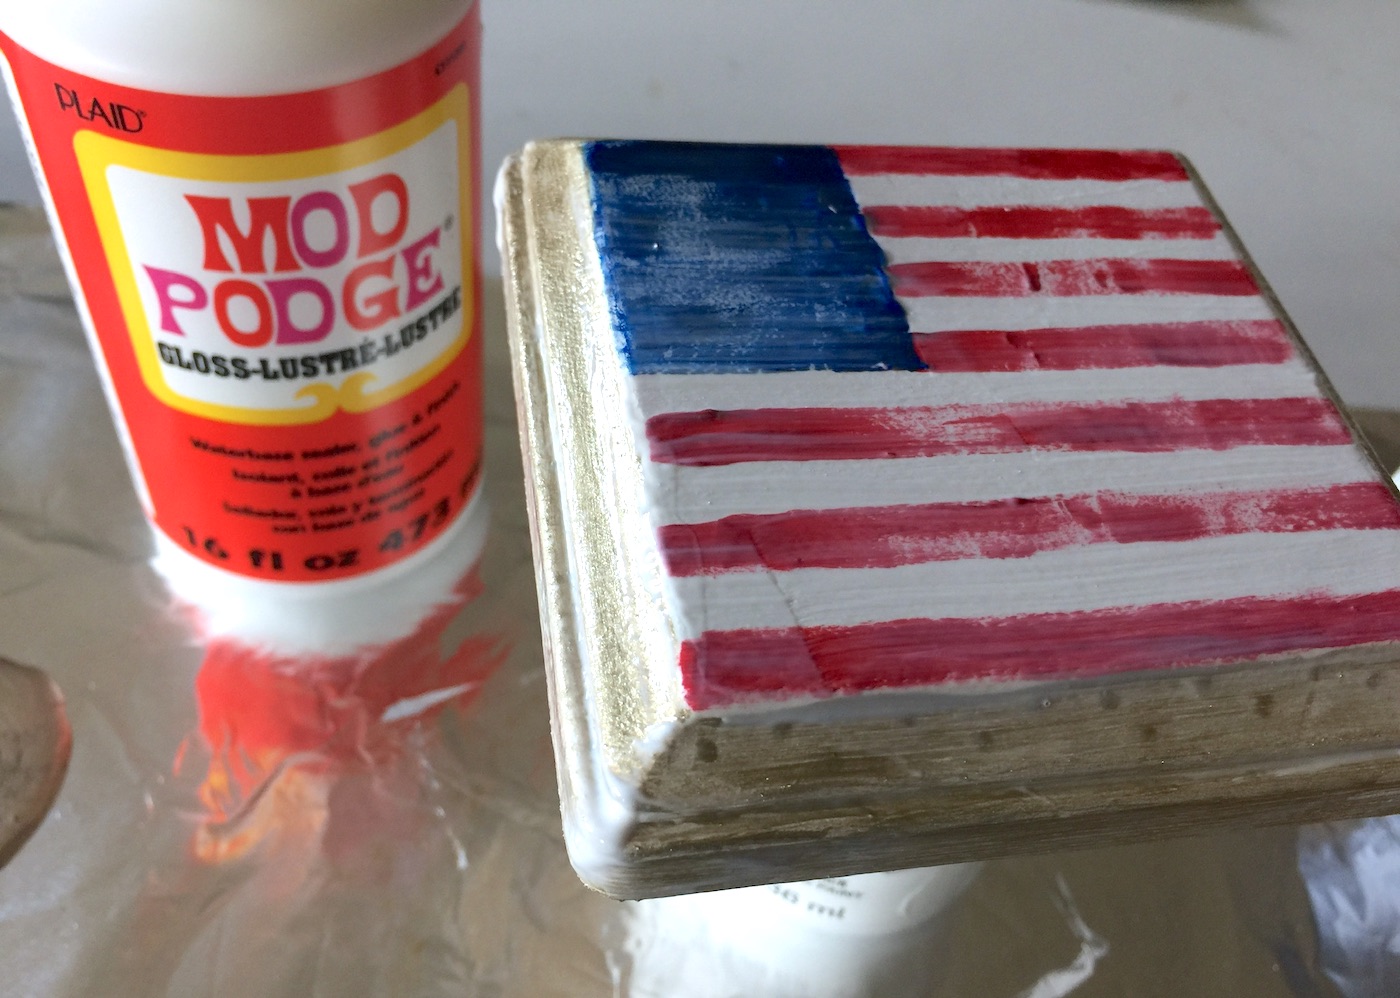
To seal her project, and add a bit of glossiness, she added Mod Podge Gloss to coat. You’ll paint on a coat, let dry. Then add a second coat and let dry again.
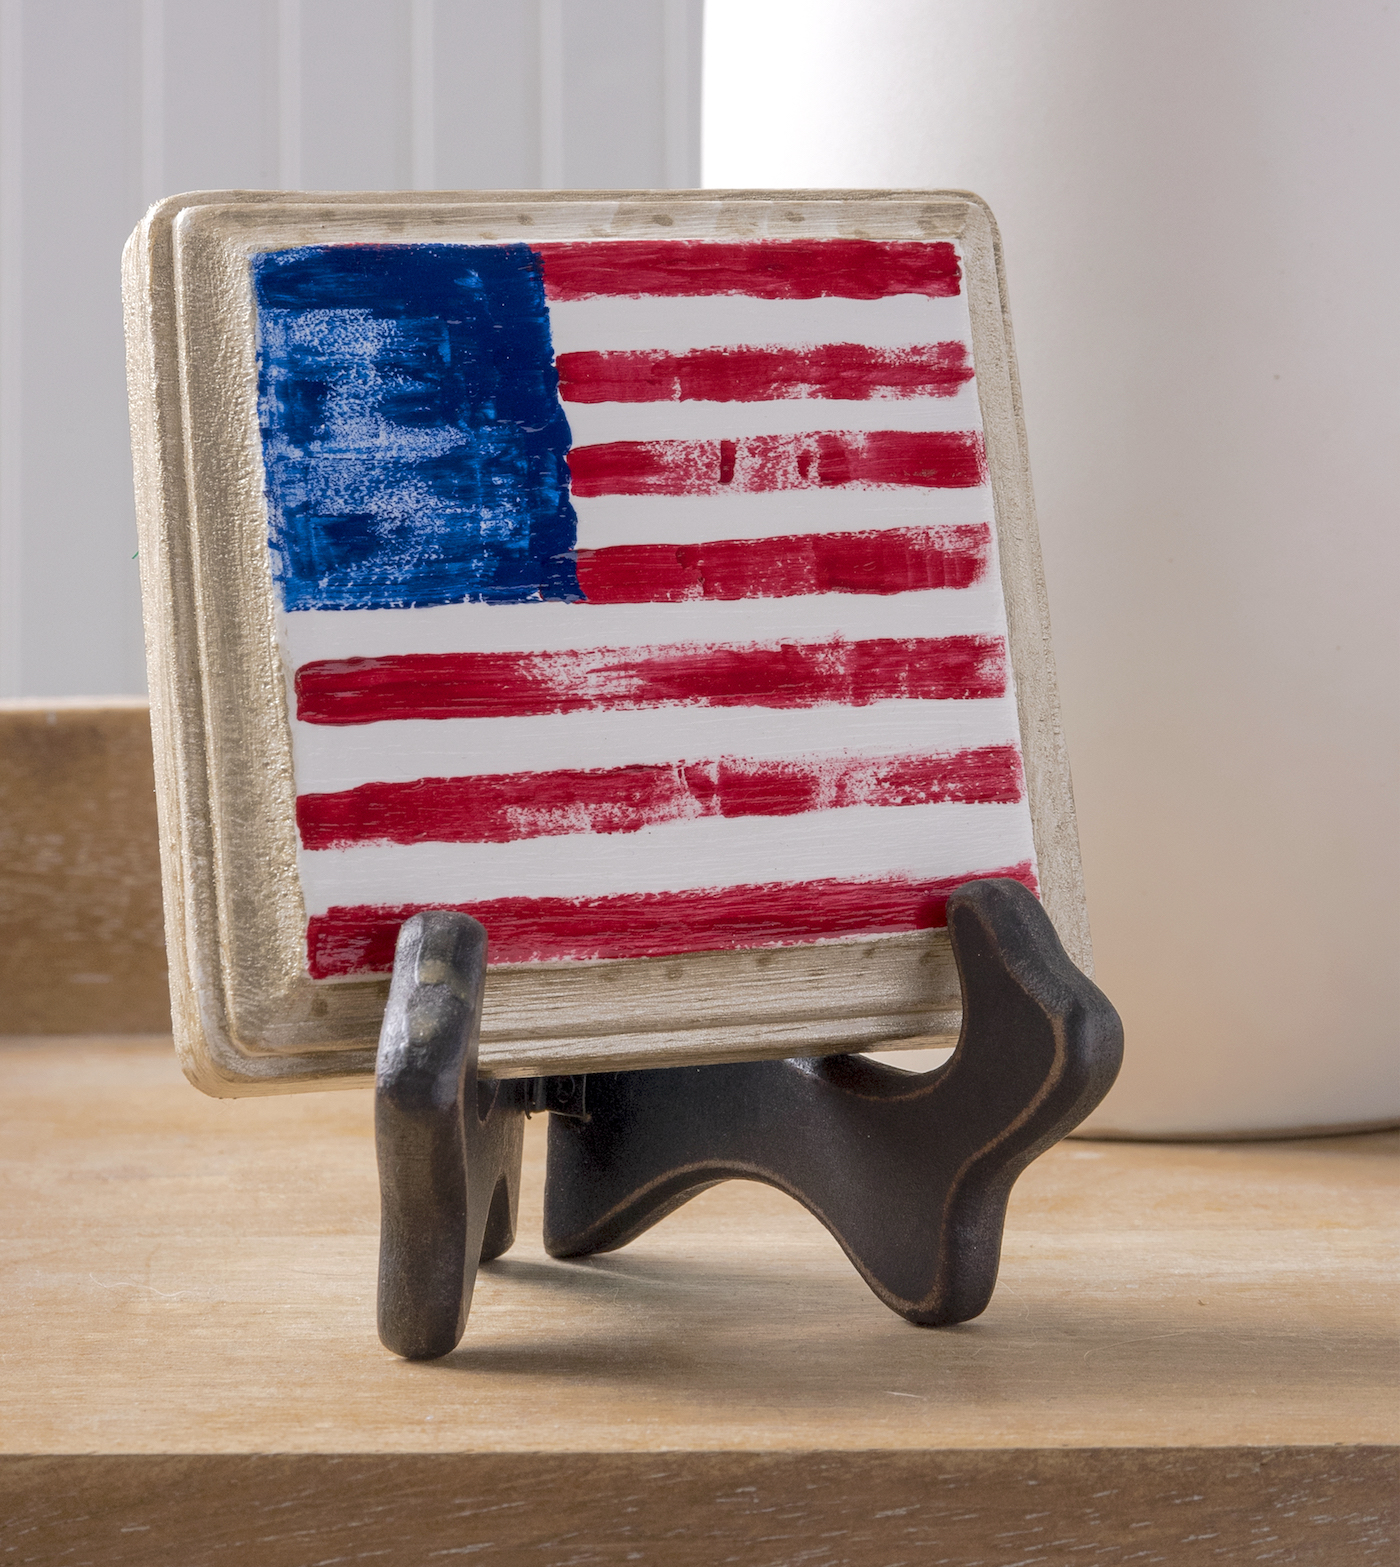
You mini flag is ready to display! You can put it on a little wood displayer like I did, or hot glue some ribbon to the back and hang.
What I love about this project is 1) how easy it is and 2) you can customize it for any size. Plus it’s just kinda cute!
Did you enjoy making this mini painted rustic flag? I’d love to know in the comments! I’d also love for you to check out these other ideas:
Anchor Sign • DIY Candy Dish • DIY Door Hangers • Fireworks Plaque • Mason Jar Lanterns • Sparkly Nautical Decor • Tissue Paper Votives • Wood Star Decor


