
If you are wondering how to use Mod Podge photo transfer medium, here are all of my top tips. Learn how to be successful with this article! Scroll down to see a video of the process in action!
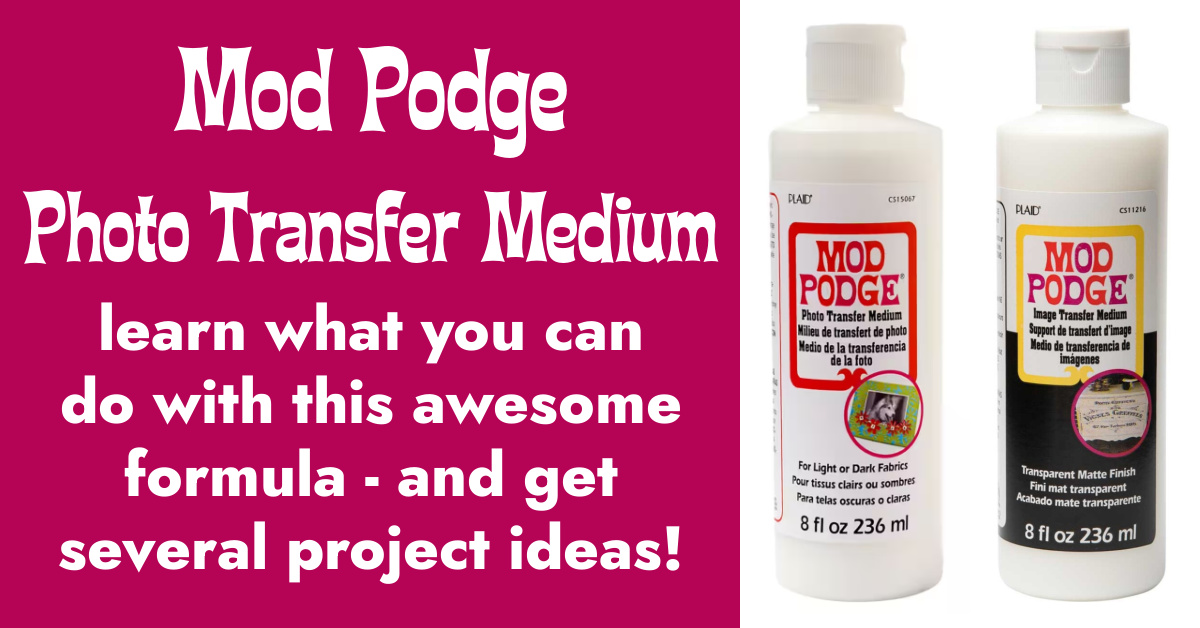
Have you ever used Mod Podge photo transfer medium? It’s a great formula – one of my Mod Podge-y favorites (I use it to transfer photos to wood!).
It’s also one of the formulas that I get the most questions about, so I thought I’d share some tips about using this medium to do a photo transfer with you.
Mod Podge in general is really easy to use, however, the photo transfer medium takes a bit of practice. This isn’t meant to be discouraging – it’s actually meant to be the opposite!
It’s not nearly as hard as knitting, another one of my favorite crafts. I learned to knit at age 15 and messed up like you wouldn’t believe. Yet I kept at it, and now I love it.
And that’s the way I feel about Mod Podge photo transfer medium.
Mod Podge Photo Transfer Tips
So here’s the point: you’re going to master it, I promise! With a little practice and patience, you’ll be a photo transfer ninja. Here are some of my most important tips to use Mod Podge photo transfer medium.
1) Remember that the medium isn’t clear.
When people ask me “why should I use Mod Podge photo transfer instead of regular Mod Podge?” Well . . . this is one big reason.
This isn’t just Mod Podge in a different bottle.
It’s a product meant for photo transfer only, and it will produce an opaque, white background. This means you can use it on dark colored items too. Plan your project accordingly.
2) Print your image on a dry toner printer; don’t use real photographs.
Both inkjet and laserjet will work, it just has to be a dry toner printer. So how to tell if your printer is dry toner? It’s hard to say. Laserjet will work 99% of the time. Inkjet . . . it just depends.
My HP works very well because it has a very dry ink. There are about 10,000 different printers out there, so I’d say your best bet is to do a small test if you’re unsure. This will help you practice too! Grab a small scrap of paper and print out a small image – let’s say 2″ or 3″ square.
Expert tip: if you are printing an image with words – reverse the image on your computer before printing! The words will come out correctly when you do the transfer.
3) Make sure to use enough medium on top of the image.
So here’s my process. I cut the image down to size, and then place it face up on my Mod Podge silicone mat. I use a foam brush to apply the transfer medium over the top of the photo until the image is obscured completely – meaning, I can’t see any of the photo.
Then I use a fingernail or tweezers to pick up the corner of the image, flip it over, and place it down onto the surface. I use my Mod Podge brayer to roll out the image.
If you used the right amount of medium, not much (if anything) will come out the sides. If it does, wipe away, as it will dry and be stuck there if you don’t!
Leave your photo transfer to dry for 24 hours.
4) Take a lot of patience and care when rubbing off the paper.
This is probably the hardest part of the whole thing. You will need to wet your item and rub the paper off, revealing the image below. It’s a little weird to wet your craft project and you’re going to be thinking, “am I doing this right?”
Start lightly and rub off the paper backing – let dry to see what you’ve done. If your image doesn’t look right, wet again and repeat. As you get more experience, you’ll start to see exactly how much you can rub to reveal the image without ruining it.
Because if you rub too hard, you will rub the image away . . . and we don’t want that! I rub with medium pressure, then I typically let dry and rub again if necessary. These days I’m good enough to get it on the first try! You can get there, too.
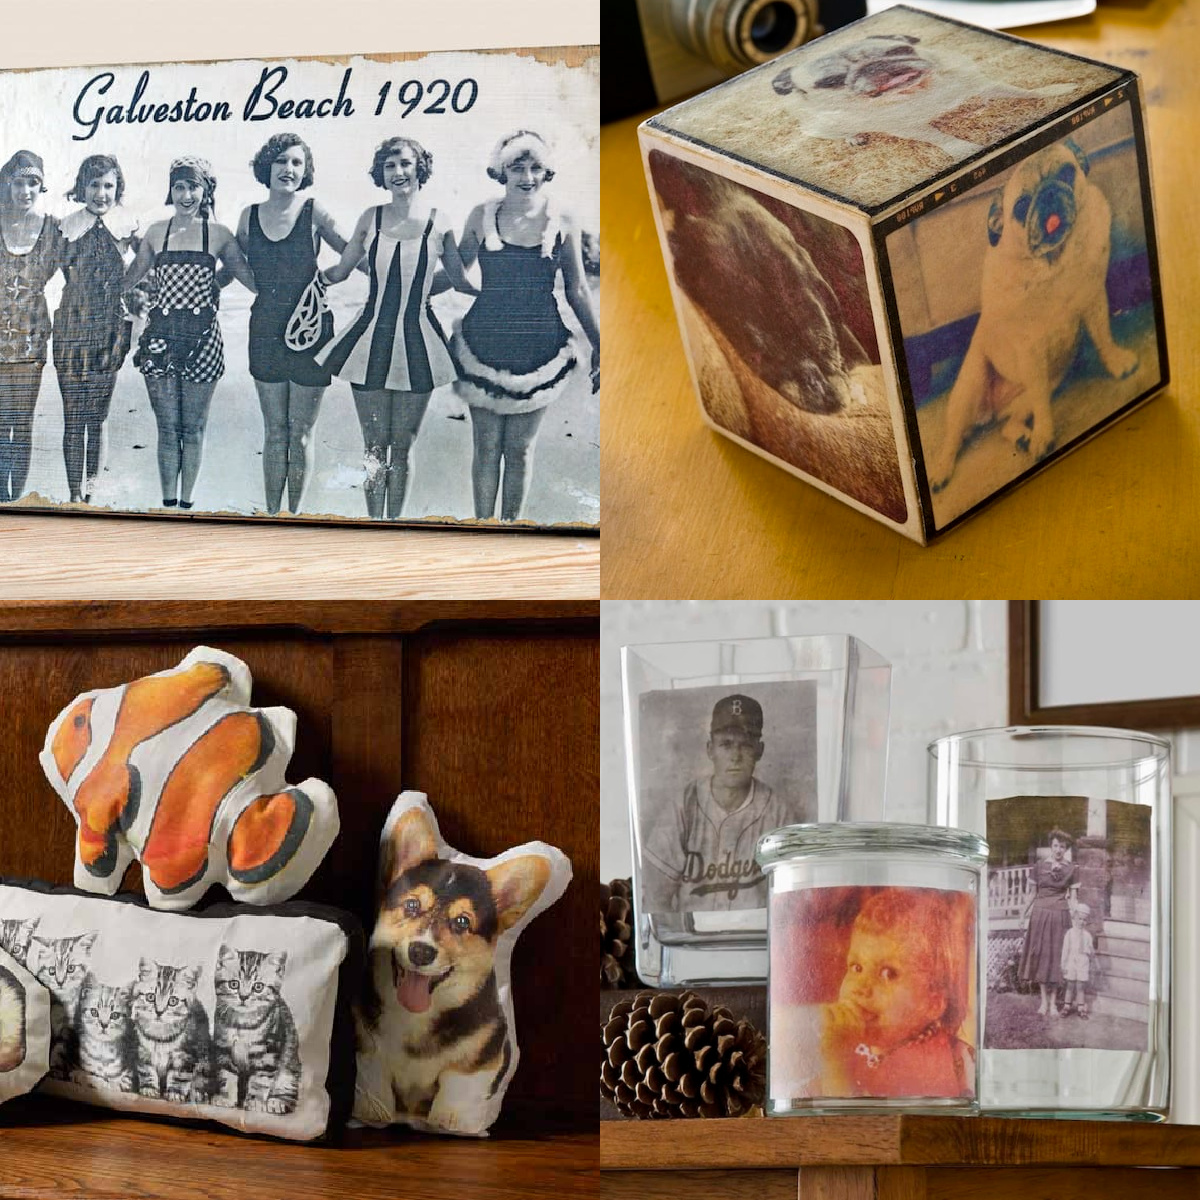
5) Expect a vintage-style image.
This (to me) is an advantage over just Mod Podging an image down. Well, this and the item is now washable (if it’s fabric). But I do love the vintage-y look that a photo transfer gives you.
It’s a less sharp version of a real photograph, and it has its own unique look that I appreciate. Once you do try it, you’ll see exactly what I mean. The soft, vintage-y look is really nice in home decor. I think you’re going to like it!
NOTE: This medium is hand washable only. Keep that in mind! No machine washing, my friends.
Now that you know my tips, I’d also love to know what questions you have about Mod Podge photo transfer medium in the comments! And if you’re ready to watch the video of the process, all you have to do is click play below:
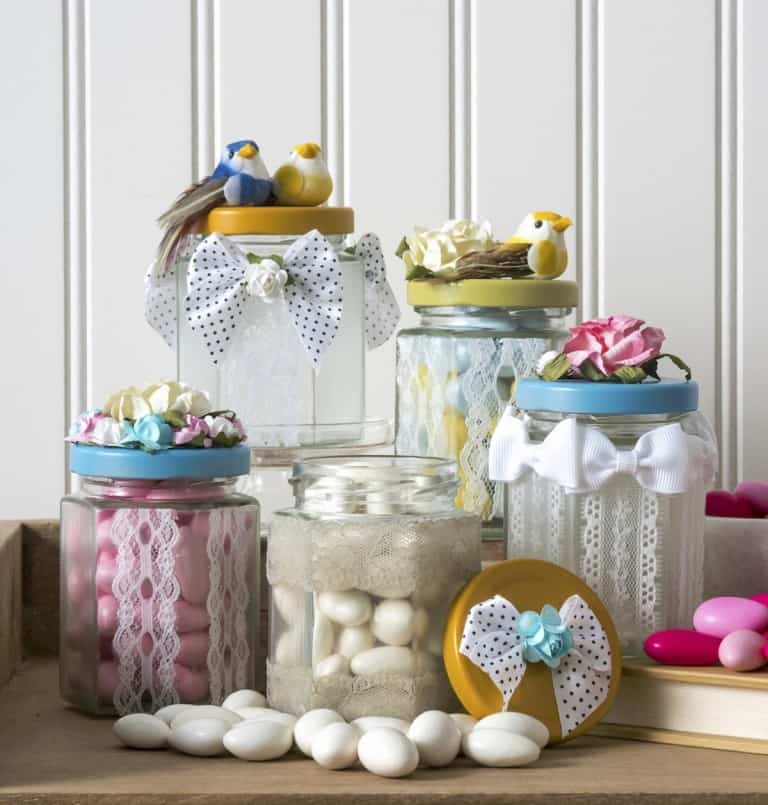
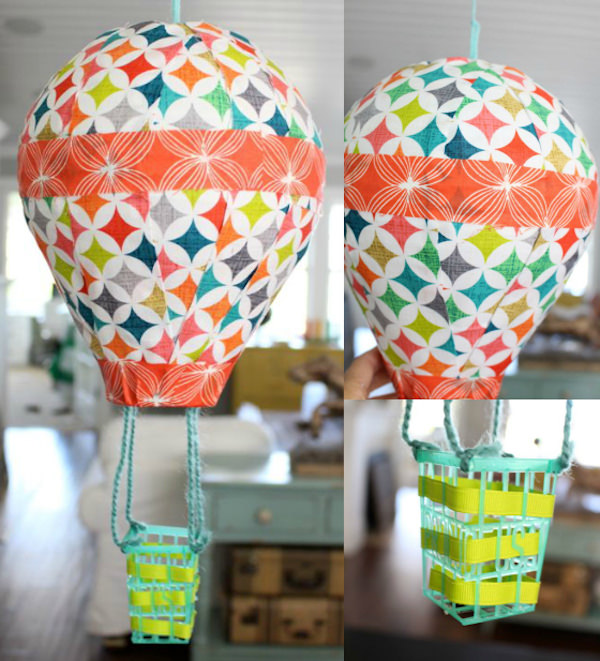
Are you ready to try it?? Visit our Mod Podge photo transfer craft ideas! I’d also love for you to visit the following projects:


So can I use just regular printer paper to print my pic on to use to transfer the image or does it have to be picture paper?
You want to use regular printer paper so that you can rub it away – which you can’t do with photo paper. You will want it to be laserjet printed! Inkjet doesn’t work with the photo transfer medium. If you’re using inkjet images, this is the tutorial for you: https://modpodgerocksblog.com/inkjet-photo-transfer-to-wood/
I tried this recently, and my black ink turned green in some spots. Not the whole thing.
I admittedly didn’t wait a full 24 hours, but it was at least 18. I stopped trying to peel it to see if the rest would come out darker.
Hi Heidi! Did you use a laserjet printer? Just want to check on that first.
The video is a little deceptive as it doesn’t show the mess the wiped off paper makes. I made some shirts and the edges look rough. Is there anything I can do to frame the edges or smooth somehow? I want to give as gifts.
Hello, I used the photo transfer medium on a sweatshirt, processed it as directed in the videos and instructions, waited about 3 weeks to wash it, and the photo disappeared….. any idea why? is there a sealer that we can use on fabric to protect it from the washing? Or is there another step to it?
Hi Judi! Did you use a laserjet image? That’s the only reason the image would disappear, is it inkjet were used. Otherwise, were you left with a white background on? There is no sealer to use, it’s a product to use by itself.
I’m trying to transfer a rather large photo to a live edge piece of hickory. I have divided the photo into two 8×11 photos making it 11×16 total. I used the stencil method with regular mod podge. As I lifted the stencil little pieces of the photo stuck to the stencil. I practiced with a smaller piece first and a few very small pieces stuck. Probably should have asked this question before moving forward. I did let them both dry over 24 hours. Any advice. Thanks.
What is the best type of printing paper to use for this project. I’ve tried the regular paper from the printer and it seems like the ink is just washing away
Hi Angelynn! Are you using laserjet copies? That’s probably why the ink is washing away – if it’s inkjet, that’s what’s going to happen. And regular paper is fine!
Thanks for your excellent advice. I would like to experiment with the photo transfer on an external concrete wall and wood panels. I notice there is an exterior product. would appreciate your thoughts. Thanks Julie
My pleasure Julie! Hmmm – I think the photo transfer would work on the wood, but not concrete. It would have to be very smooth, as the transfer medium needs a smooth surface to adhere to. The exterior product is Outdoor Mod Podge which you wouldn’t necessarily need if you aren’t decoupaging (you could just use an outdoor spray sealer). Basically, I’d be prepared to do an experiment to test first.
I just did my first round of rubbing the paper off. But my picture has a green tint to it. Is that normal? I know I still need to rub more paper off. Im just hoping the end result isn’t green. Thanks!
Hi Cara! Hmmmm – did you use laserjet? Usually the green is the black ink coming off BUT it could just be on the paper. It sounds like an inkjet image.
Hello there. Can I use the mod podge photo transfer medium on terracotta pots?
Hi Clancey! Yes, you can. Make sure to clean the pot and let dry thoroughly!
I would like to put a photo onto shirt and another one onto a rock that I had gotten at the grave site. How do I do that. I have purchased the photo mod podge and regular and sealer