
If you are wondering how to use Mod Podge photo transfer medium, here are all of my top tips. Learn how to be successful with this article! Scroll down to see a video of the process in action!
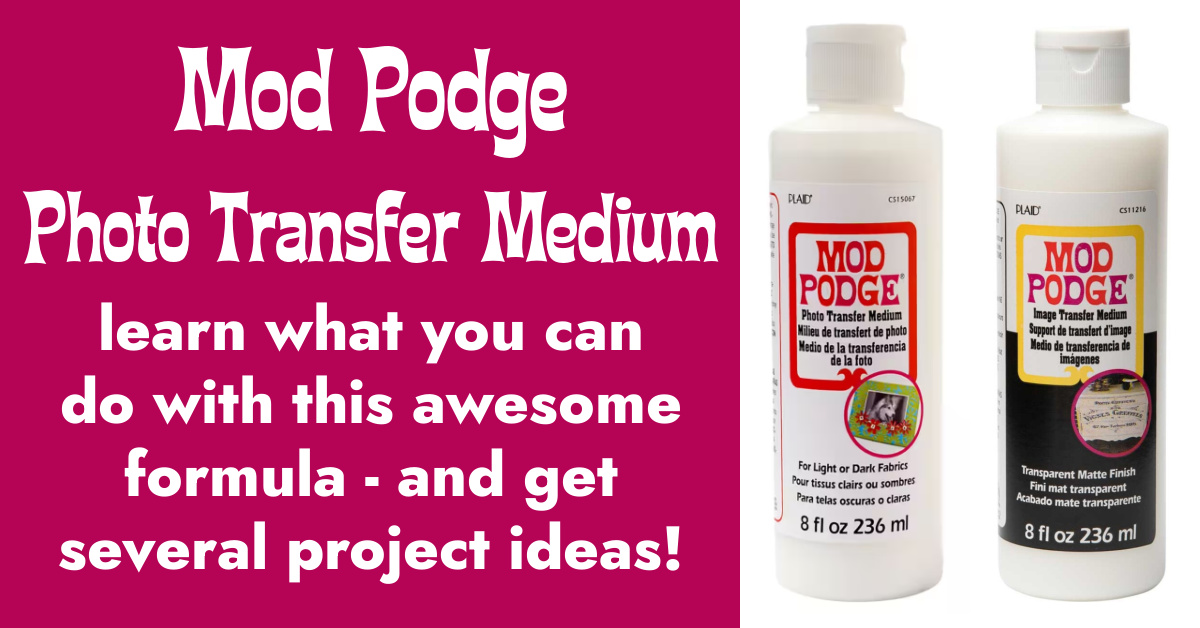
Have you ever used Mod Podge photo transfer medium? It’s a great formula – one of my Mod Podge-y favorites (I use it to transfer photos to wood!).
It’s also one of the formulas that I get the most questions about, so I thought I’d share some tips about using this medium to do a photo transfer with you.
Mod Podge in general is really easy to use, however, the photo transfer medium takes a bit of practice. This isn’t meant to be discouraging – it’s actually meant to be the opposite!
It’s not nearly as hard as knitting, another one of my favorite crafts. I learned to knit at age 15 and messed up like you wouldn’t believe. Yet I kept at it, and now I love it.
And that’s the way I feel about Mod Podge photo transfer medium.
Mod Podge Photo Transfer Tips
So here’s the point: you’re going to master it, I promise! With a little practice and patience, you’ll be a photo transfer ninja. Here are some of my most important tips to use Mod Podge photo transfer medium.
1) Remember that the medium isn’t clear.
When people ask me “why should I use Mod Podge photo transfer instead of regular Mod Podge?” Well . . . this is one big reason.
This isn’t just Mod Podge in a different bottle.
It’s a product meant for photo transfer only, and it will produce an opaque, white background. This means you can use it on dark colored items too. Plan your project accordingly.
2) Print your image on a dry toner printer; don’t use real photographs.
Both inkjet and laserjet will work, it just has to be a dry toner printer. So how to tell if your printer is dry toner? It’s hard to say. Laserjet will work 99% of the time. Inkjet . . . it just depends.
My HP works very well because it has a very dry ink. There are about 10,000 different printers out there, so I’d say your best bet is to do a small test if you’re unsure. This will help you practice too! Grab a small scrap of paper and print out a small image – let’s say 2″ or 3″ square.
Expert tip: if you are printing an image with words – reverse the image on your computer before printing! The words will come out correctly when you do the transfer.
3) Make sure to use enough medium on top of the image.
So here’s my process. I cut the image down to size, and then place it face up on my Mod Podge silicone mat. I use a foam brush to apply the transfer medium over the top of the photo until the image is obscured completely – meaning, I can’t see any of the photo.
Then I use a fingernail or tweezers to pick up the corner of the image, flip it over, and place it down onto the surface. I use my Mod Podge brayer to roll out the image.
If you used the right amount of medium, not much (if anything) will come out the sides. If it does, wipe away, as it will dry and be stuck there if you don’t!
Leave your photo transfer to dry for 24 hours.
4) Take a lot of patience and care when rubbing off the paper.
This is probably the hardest part of the whole thing. You will need to wet your item and rub the paper off, revealing the image below. It’s a little weird to wet your craft project and you’re going to be thinking, “am I doing this right?”
Start lightly and rub off the paper backing – let dry to see what you’ve done. If your image doesn’t look right, wet again and repeat. As you get more experience, you’ll start to see exactly how much you can rub to reveal the image without ruining it.
Because if you rub too hard, you will rub the image away . . . and we don’t want that! I rub with medium pressure, then I typically let dry and rub again if necessary. These days I’m good enough to get it on the first try! You can get there, too.
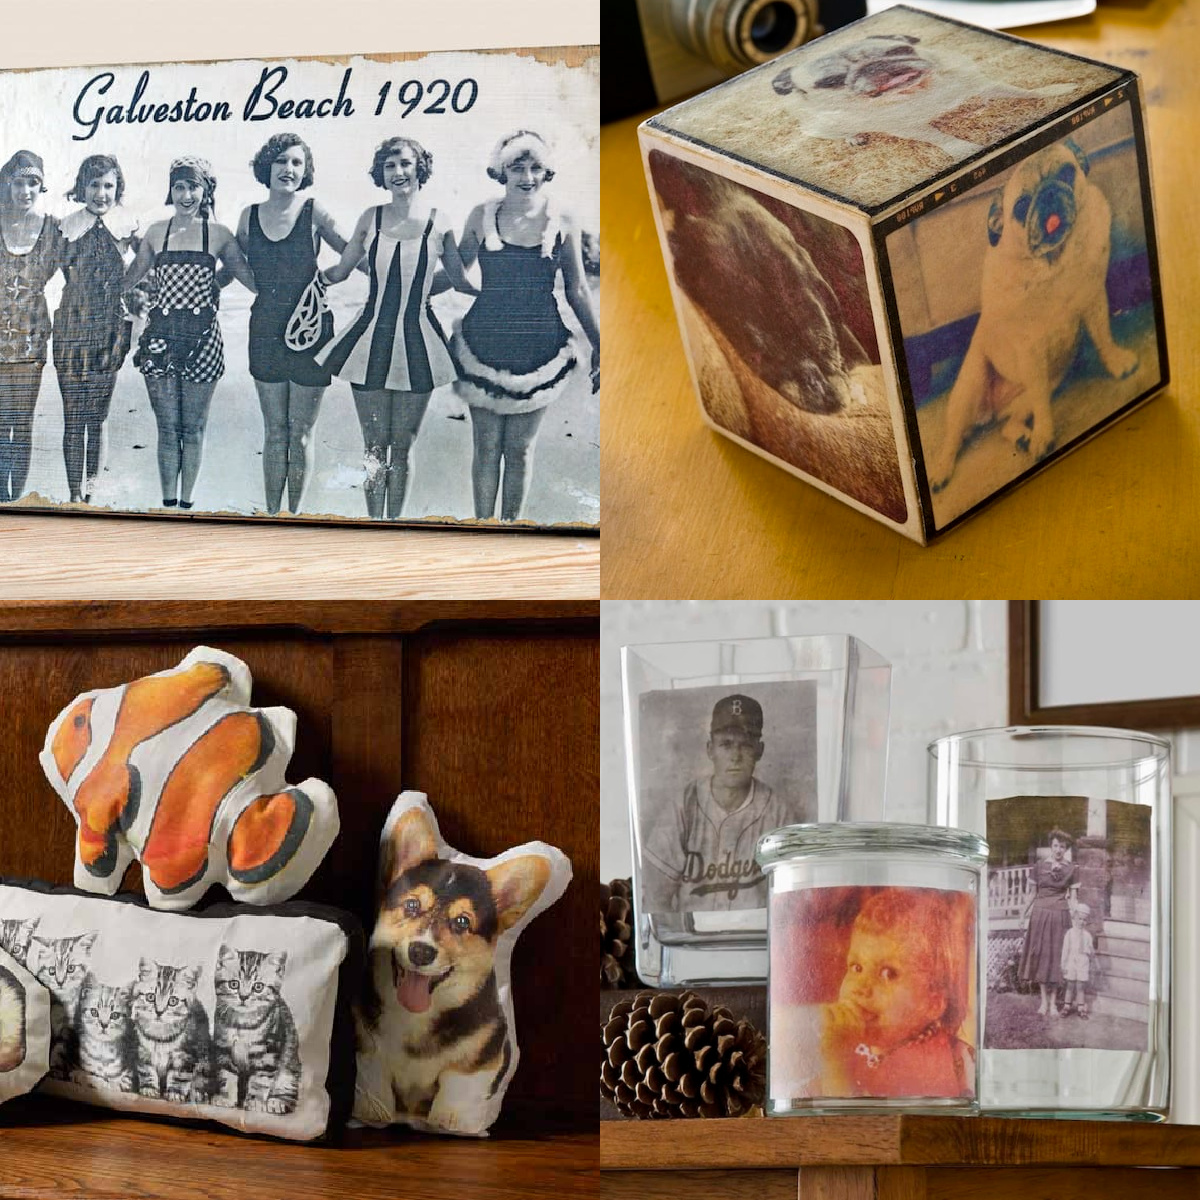
5) Expect a vintage-style image.
This (to me) is an advantage over just Mod Podging an image down. Well, this and the item is now washable (if it’s fabric). But I do love the vintage-y look that a photo transfer gives you.
It’s a less sharp version of a real photograph, and it has its own unique look that I appreciate. Once you do try it, you’ll see exactly what I mean. The soft, vintage-y look is really nice in home decor. I think you’re going to like it!
NOTE: This medium is hand washable only. Keep that in mind! No machine washing, my friends.
Now that you know my tips, I’d also love to know what questions you have about Mod Podge photo transfer medium in the comments! And if you’re ready to watch the video of the process, all you have to do is click play below:
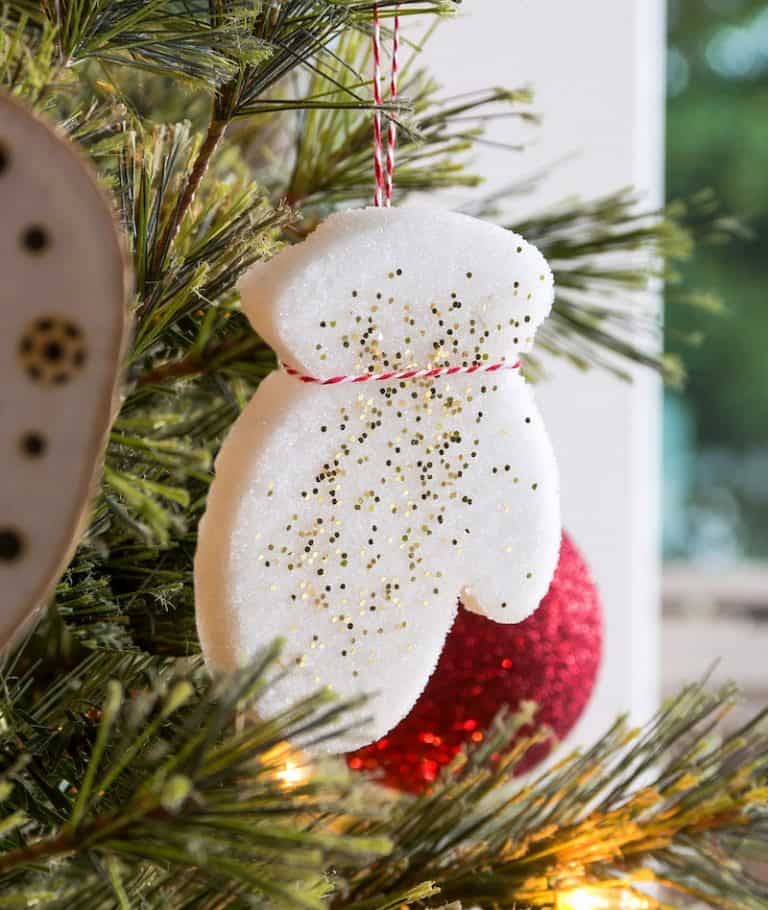
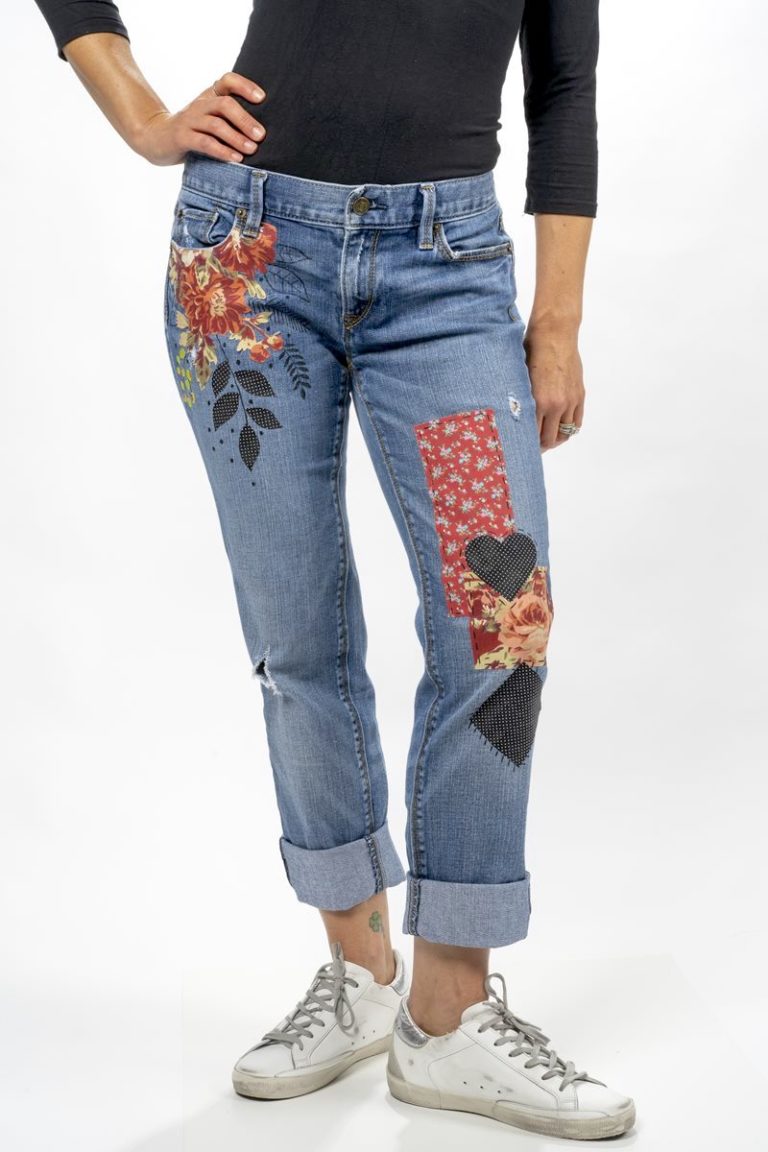
Are you ready to try it?? Visit our Mod Podge photo transfer craft ideas! I’d also love for you to visit the following projects:


I’ve never used this product, but I’m excited to try! Thank You! I’m making our General Manager a photo collage vase for his going away present. After I get the photos on the glass vase, is there a sealant or anything I need to spray on the outside of the vase on top of the photos to make sure they don’t come off ever?
Hi Sharnese – hmmmmm – I’m thinking you might want to use something else besides photo transfer medium if you’re doing a collage on glass. Glass uses the decal method like this: https://modpodgerocksblog.com/mod-podge-photo-transfer-to-glass/
Can this be used to transfer pictures onto a candle?
Hopefully you can help me out, I have been trying this process with reasonable success, but I constantly end up with dry white clumps/bubbles of transfer medium on the image that blister and peel off, ruining the image and exposing the wood underneath. I am smoothing it out, wiping away any excess, and letting it dry for 24+ hours, but this keeps happening. I’d love to hear your thoughts 🙂
Hi Sarah. Can you send me an email amy at modpodgerocksblog dot com – let me know if there are chunks in the formula!
@Amy, there were chunks in mine! Does that mean it’s bad?!
Hmmm – depends on how many and the size of the chunks lol. I would do a small test on a scrap. I don’t think it’s bad but just in case.
After I transfer my photo and let it dry,and then after I remove all the paper backing and let it dry what do I put over it to seal it in?Should I just spray a coat of mod podge clear acrylic sealer over it or should I put a few layers of mod podge gloss or matte coat over it then the acrylic sealer?please let me know!!
Hi Isaac! You don’t have to cover it with anything. However – I Mod Podge over the top with my favorite finish like gloss or matte . . . you could also do the spray sealer. Really up to you!
I ha e tried this twice and both times the picture hazes over when it dries. What am I doing wrong
Hi James! You likely still have paper on top of it. Use a rag to help you remove the excess paper!
can you tell me why mine has a white mist all over it and it only comes off when I wet it but as soon as it dries it goes back to not seeing the image (photo to wood)
Hi Jackie! I’m thinking you aren’t getting all the paper off, but I don’t want to comment on your process until I see pics. Can you join this group and share? https://www.facebook.com/groups/craftywithmodpodge/
Does it leave a slight dusting film on the image once dry as I have tried a couple times to wipe away and it still dries the same
Hi Brian! That’s still a little paper. But you can put Mod Podge on it to get rid of that look – or keep trying with a cloth or sponge!
Is it possible to use a copy of a photo that has been made on photograph paper?
Hi Judy! No, unfortunately not – the photo paper won’t release the ink the way you need it to in order to do the transfer.
I did a photo transfer using the mod podge but I can’t get the last bits of paper off and I don’t like the look of it. Can you use another coat of mod podge or a different type of sealer that will make the bits of paper left not so visible?
You can use Mod Podge on top! You can also re-wet (maybe you’ve done that) and try to pick the last pieces off with tweezers.
can fabric photo transfer be used on polyethylene tote bags?
Hi Barbara! You could try it, but I don’t think so. Mod Podge doesn’t work well on plastic, especially the photo transfer medium.
@Amy, Thank you. Barbara