I created this DIY cake stand using a plate from the dollar store and an old candlestick. This is the perfect budget craft idea for a party!
Skills Required: Beginner. It’s a very easy project for those with basic crafting experience. You’ll be painting, gluing, and Mod Podging.
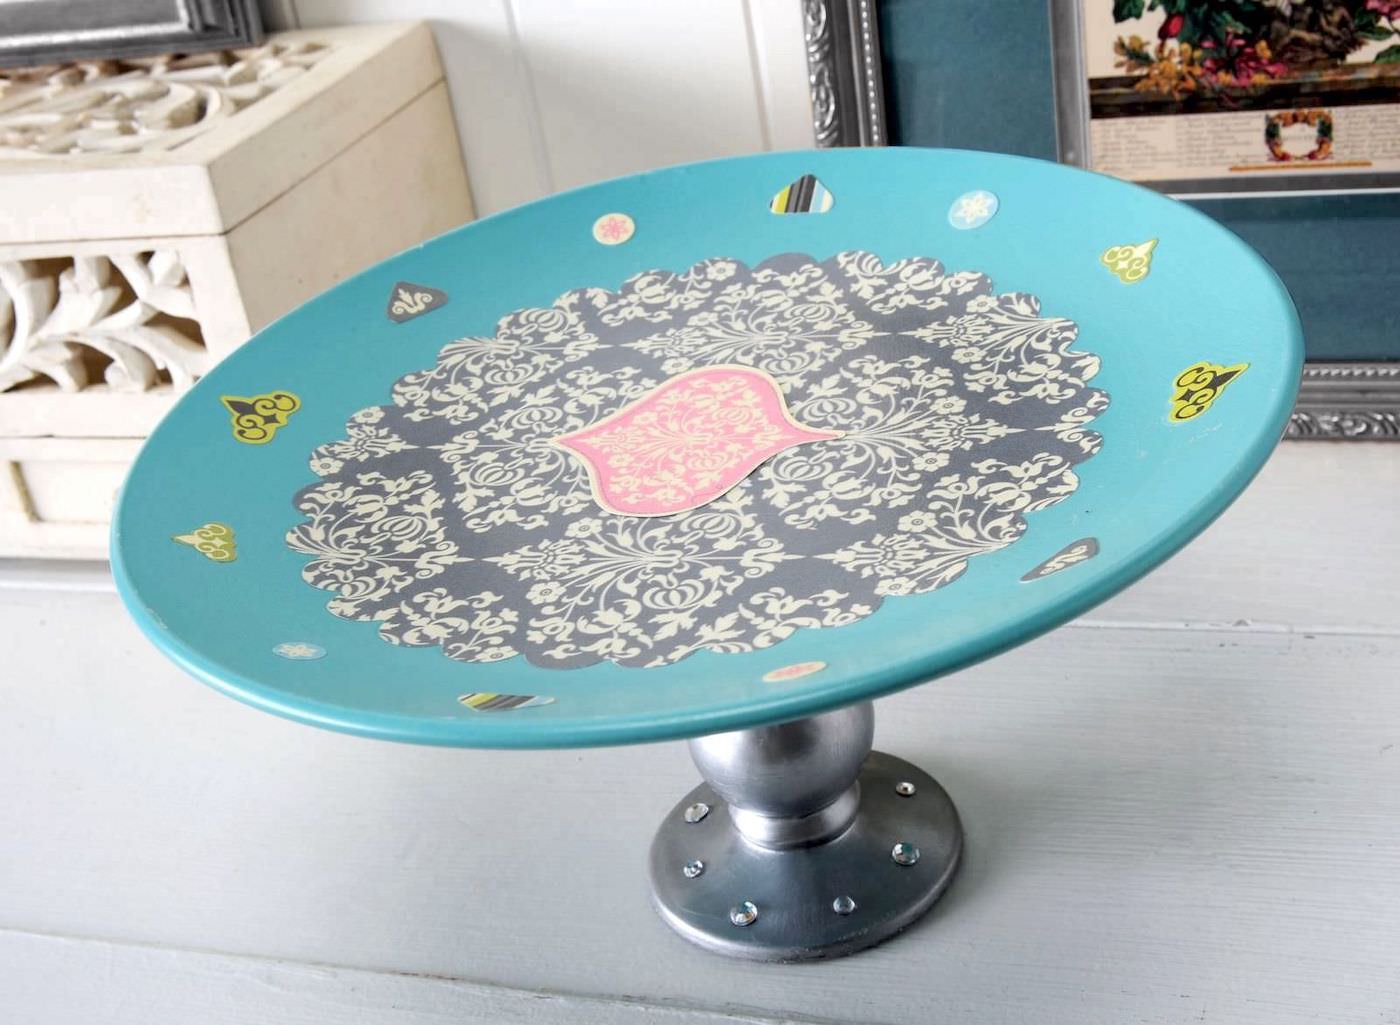
I actually did this DIY cake stand last year, but I wanted to share it again because I really like it. Vintage holiday-ish colors are my fav, and I think the blue and silver work in that regard – yet I could use this for a party all year round. If you love DIY cake stands for party or decorating . . . this is SO easy and inexpensive!
I assembled this DIY dessert stand for only $1. I had everything else on hand. I would love to do a series of these in coordinating patterns so that the party table I don’t have yet looks cool.
One day I will have a party table, and this will be on it! Here’s how I made this cake stand.
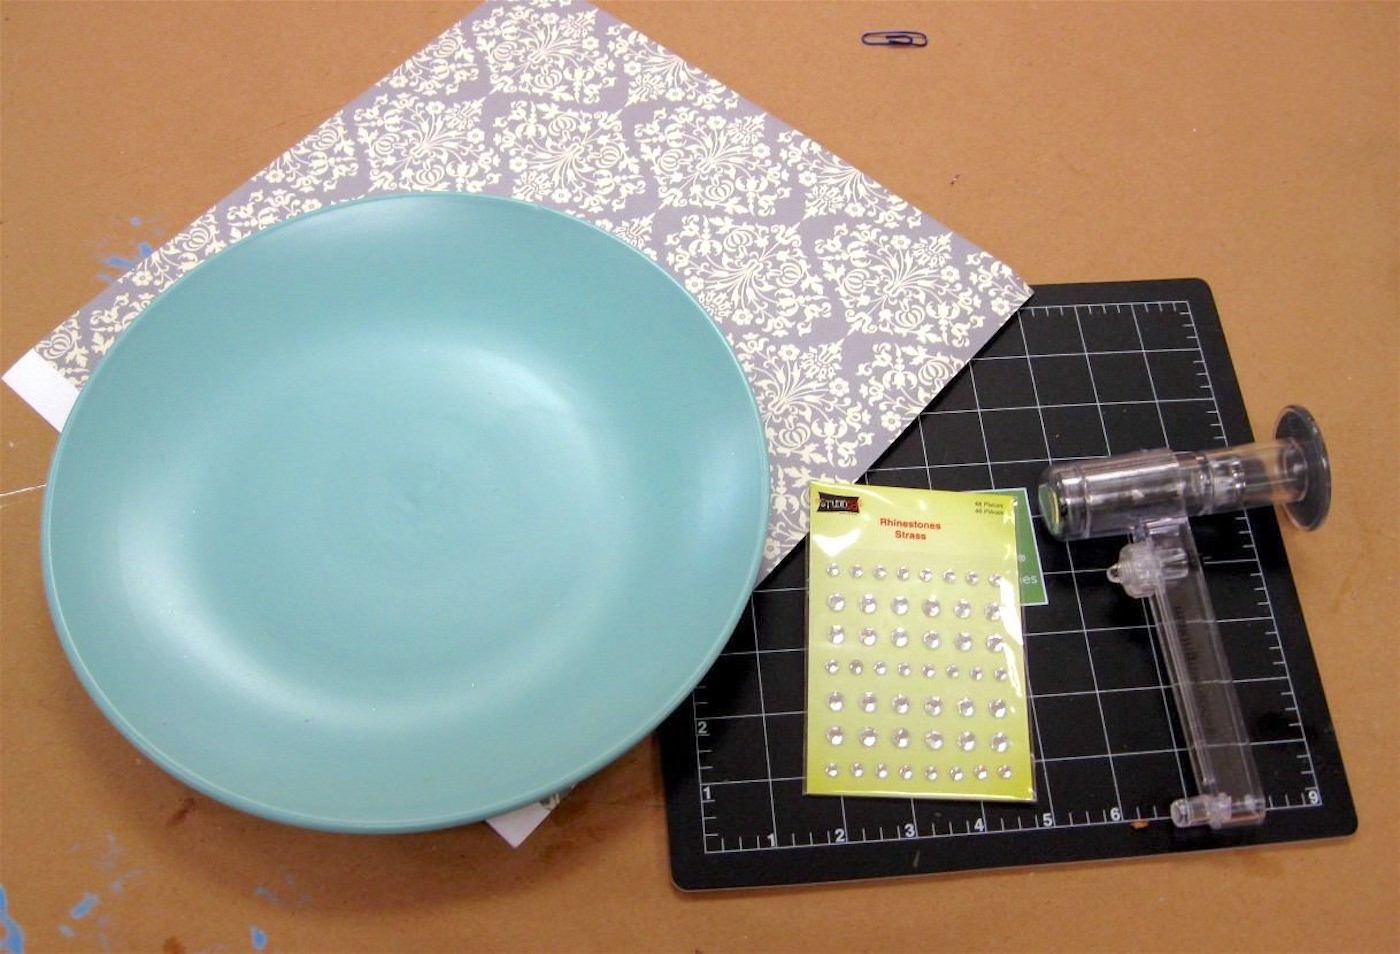
Gather These Supplies
- 11″ blue plate ($1 from Dollar Tree)
- Mod Podge Matte
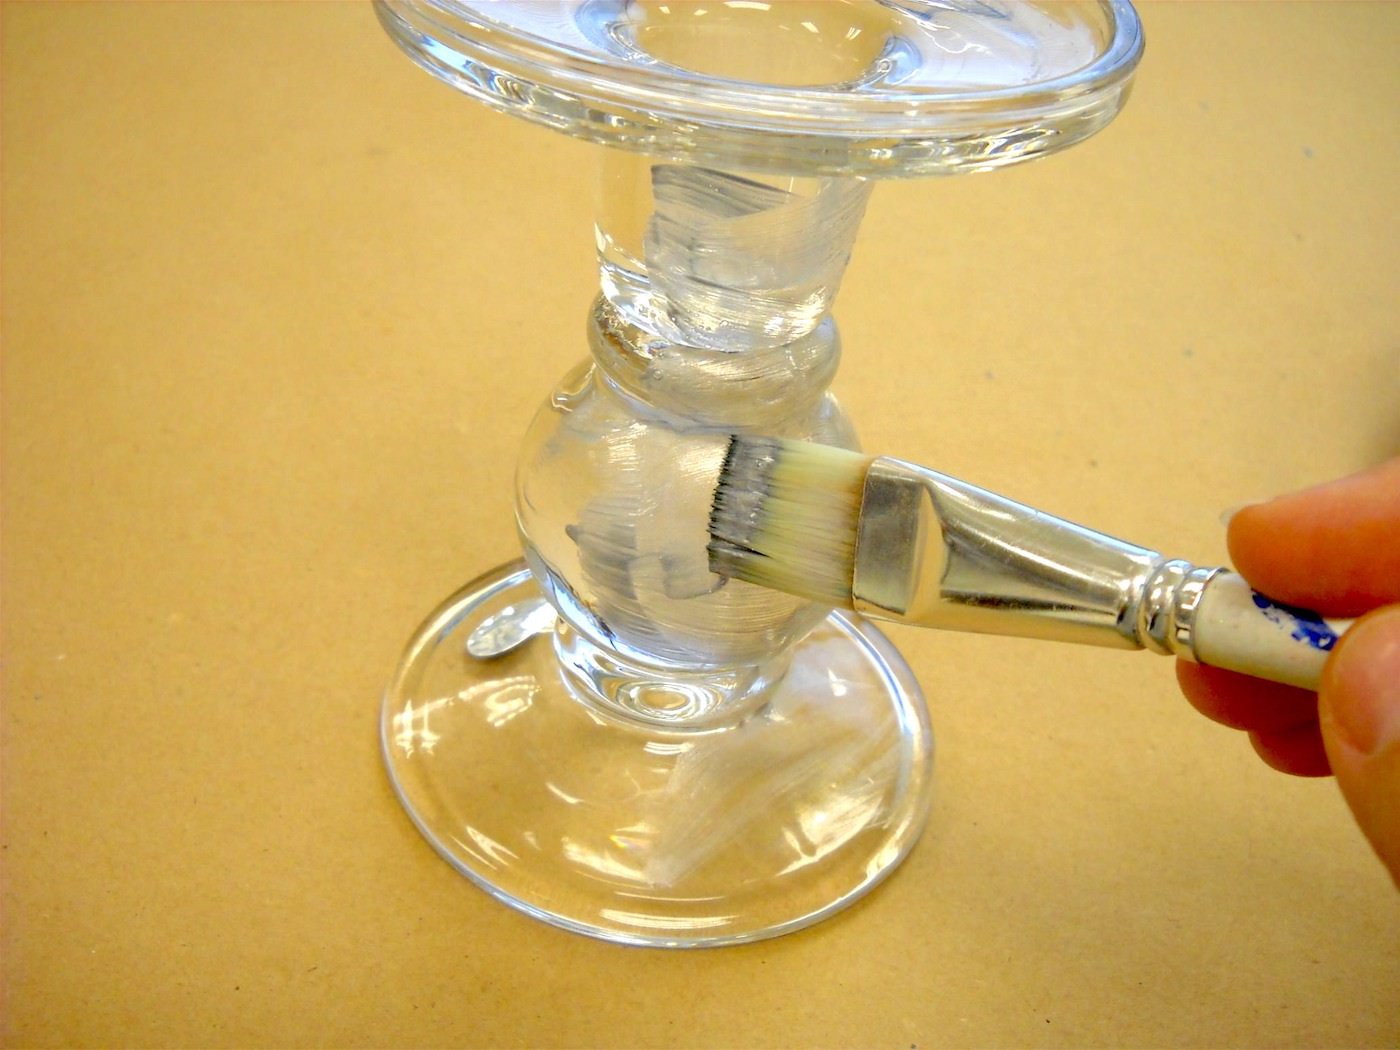
- FolkArt Enamel Paint – Silver Sterling
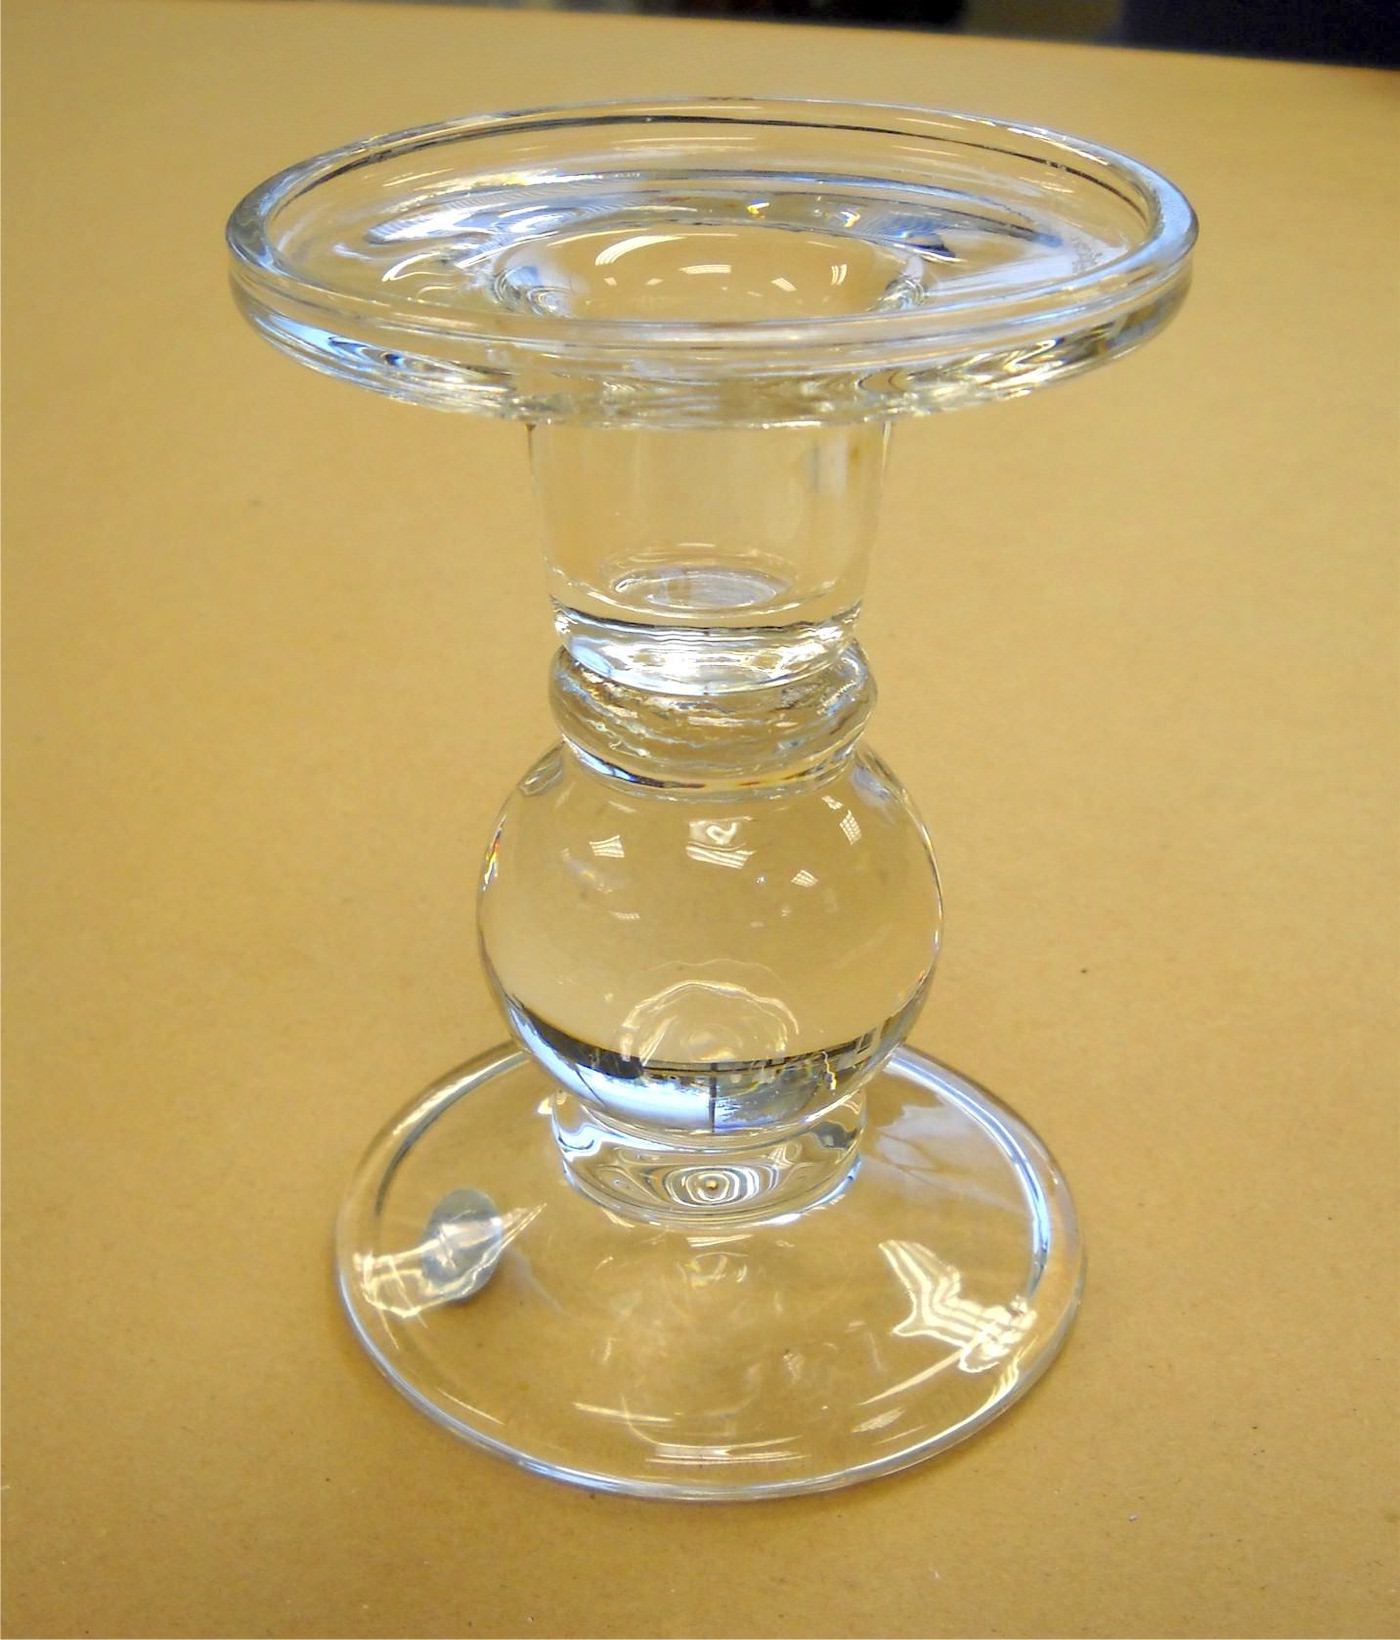
- Candle holder (old one I had lying around the house, but the dollar store has them as well as thrift stores)
- One sheet of scrapbook paper with coordinating embellishments
- E-6000
- Clear rhinestones
- Scissors
- Paintbrush
- Circle cutter (optional)
- Scalloped scissors (optional)
Notes and Thoughts on This Project
Before you paint anything glass with glass paint, you’ll want to make sure to clean it with mild soap and water and then let dry. You can also use rubbing alcohol.
When you paint the candlestick, make sure that you use a soft brush or the strokes will show in the paint. You will also need to paint several layers if it’s a metallic paint, letting dry between layers.
And since I’m basically a psychic, I can already predict your question. Can you put food directly on your DIY cake stand? You could, but then the decoupage police would come and arrest you.
The manufacturer recommends a clear glass plate on top of the decoupaged plate. Are you ready to try this project? The how-to card is below!
DIY Cake Stand
Equipment
- Circle cutter (optional)
- Scalloped scissors (optional)
Materials
- 1 Plate 11"
- Mod Podge
- FolkArt Enamel Colors
- Candleholder
- Scrapbook paper
- E-6000
- Clear rhinestones
Instructions
- Clean the glass candlestick with mild soap and water or rubbing alcohol and cotton pads. Let dry.
- Paint the candlestick using glass paint. Give several coats until desired color is reached, letting dry between coats. Set aside to dry.
- Cut paper to fit the center of the plate, including embellishments for the edges.
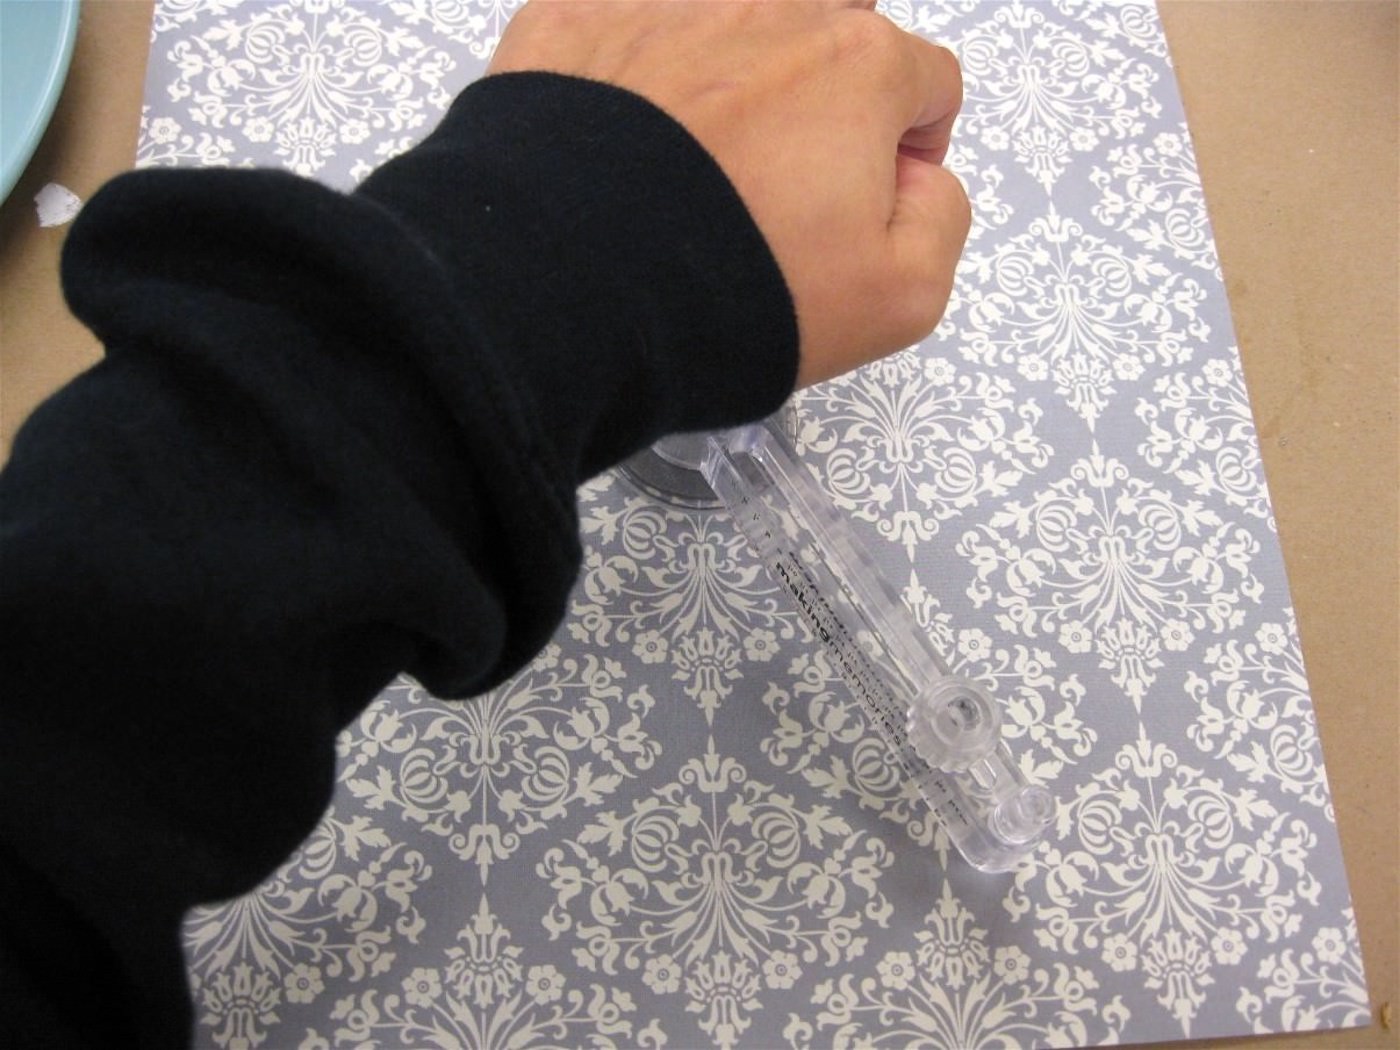
- Add Mod Podge to the back of the paper and then smooth onto the plate. Repeat with the embellishments. Let dry for 15-20 minutes.
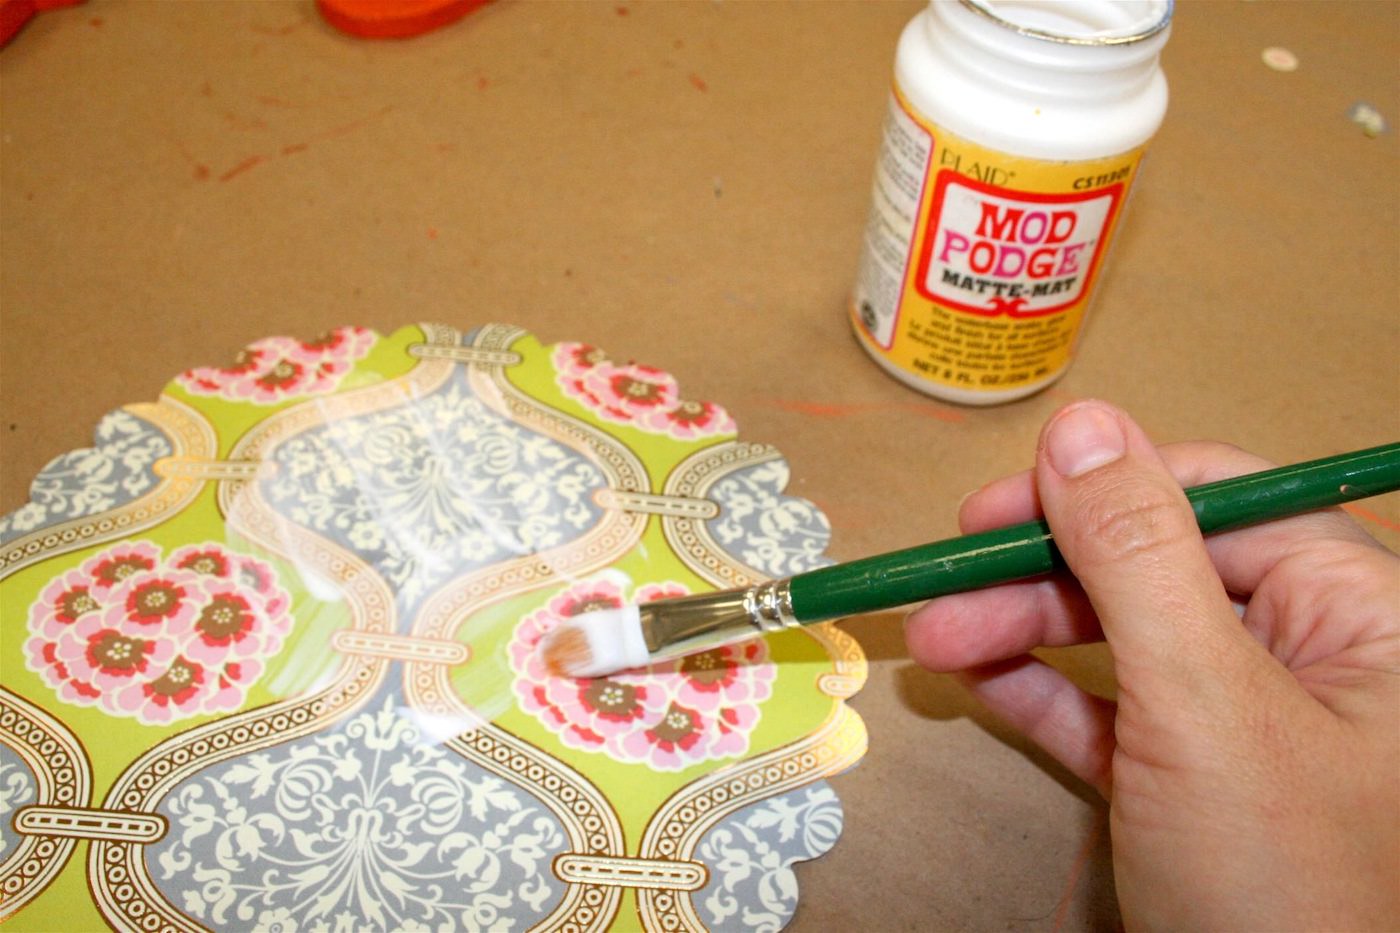
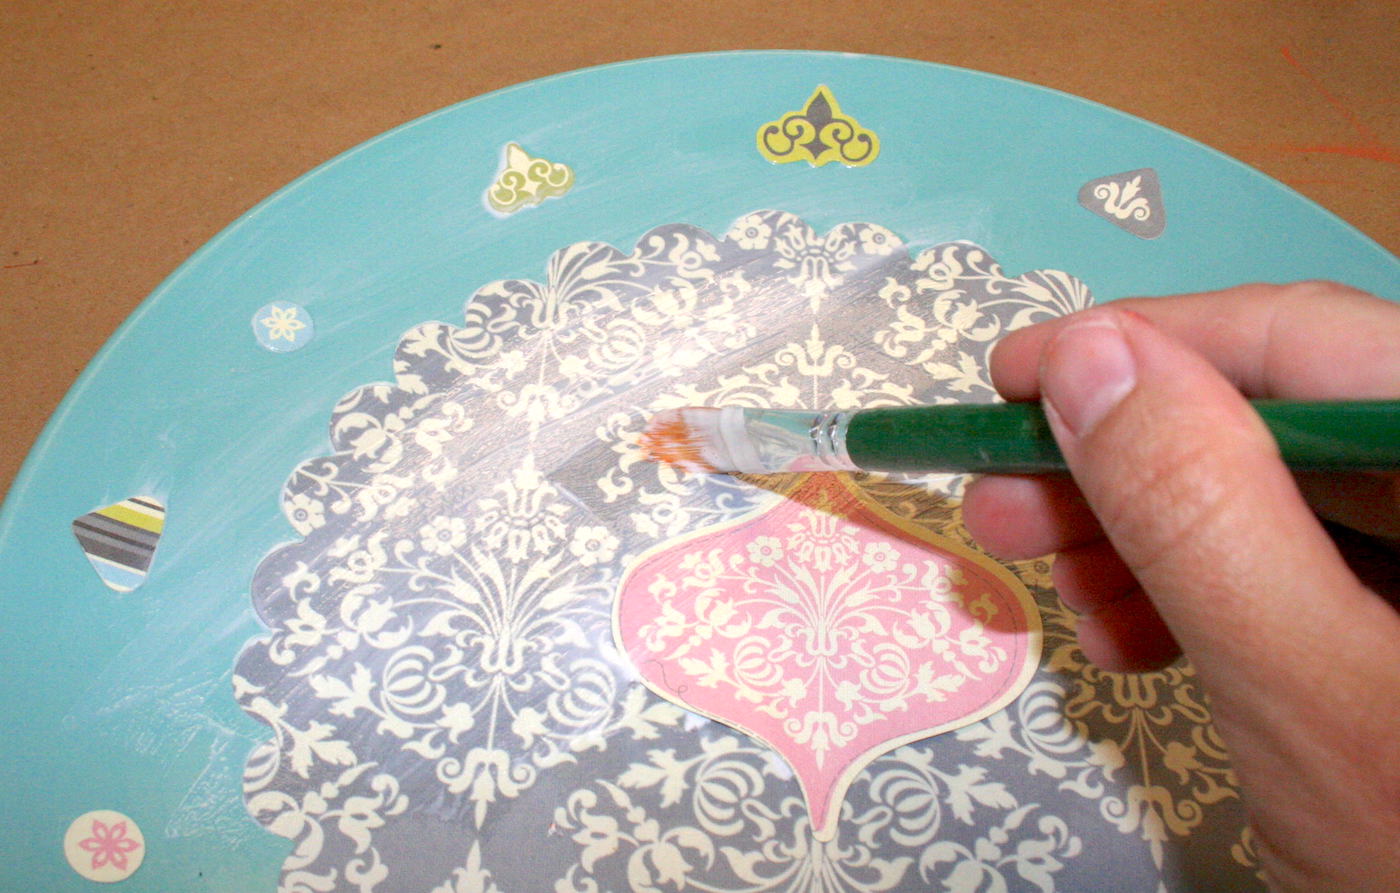
- Coat the top of the plate with Mod Podge. Let dry.
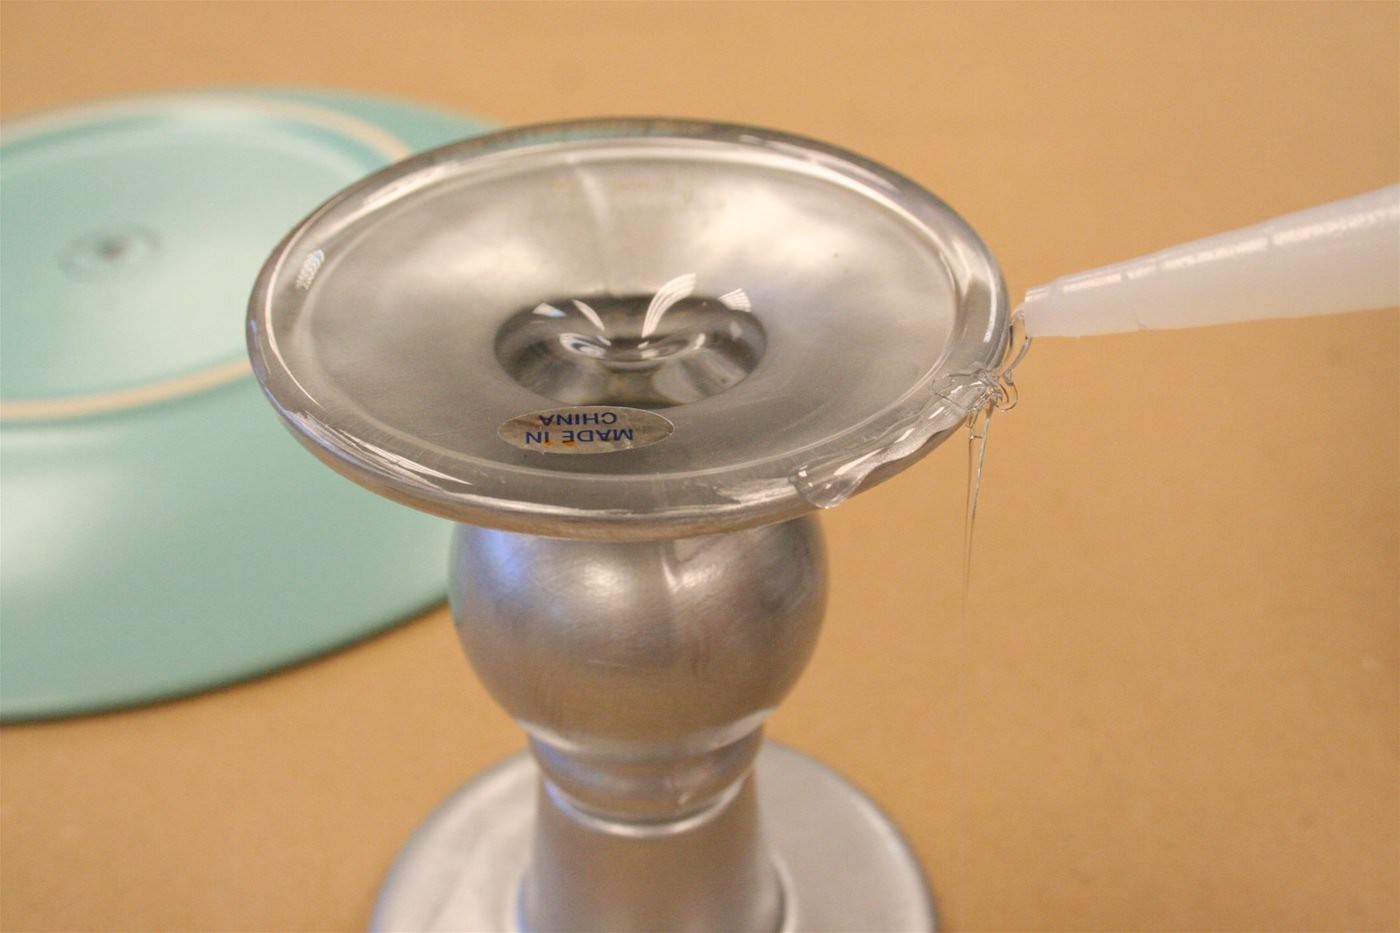
- Glue the plate to the top of the candlestick using the E-6000. Add a bead of glue to the edge, press the candlestick down in the middle of the bottom of the plate, and let dry.
- Add rhinestones to bling the base using E-6000 if desired. Let dry completely before using.

Notes
Let me know what you think of this project in the comments! I’d also love for you to check out these other party posts:




So cute!!!
cool idea..
Love this idea!
I have been wondering about the mod podge and food on top of it… but didn’t want to bug you with another mod podge question, although you may miss me and my hoe by now:)!!!
Here’s another idea. One year my Mom, sisters and I took clear glass plates turned them upside down and Mod Podged Christmas fabric on them. Turn them over and you have a plate that can be used with food because the Mod Podge is on the bottom of the plate (does that make sense?). We gave them to relatives as presents, but I could see attaching them to the candlestick for a dessert stand.
This is great. I just made a mini-dome from dollar store stuff … this is the perfect accompaniment!
I LOVE this!! I linked your post up to Christmas I’m Lovin’ It Round Up!! thanks again Amy!! https://tidymom.net/im-lovin-it-christmas-round-up/
Amy,
Thank you for sharing your innovative project with the FaveCrafts December blog hop.
As a special way of saying thank you, we’re featuring your project, as well as projects from our other participants, in a special newsletter that mails to more than 850,000 subscribers.
I hope you’ll join us again in January. The next hop is January 15.
Thanks again!
Caitlin
Super Cool!!! I love how you made the stand!!!!
Great idea! I just discovered mod podge and didn’t realize there were so many things you could do with it. This is perfect for displaying a cake 🙂
Can this plate be washed, or will the modge podge wash off?
No, it can’t be submerged in water. That is another reason to use a clear glass plate on top. Then you can wash that 😀