
It’s a lot easier to decoupage napkins to surfaces than you think! Learn how to do it with Mod Podge – tips, tricks, and a video included.
Are you ready to decoupage napkins? Some crafters think that decoupage with napkins can be difficult . . . and there is a learning curve.
But I’m here to tell you that if you have a little bit of patience and determination, you’ll learn to decoupage napkins in no time!
Why Decoupage Napkins?
- Napkins are inexpensive to purchase
- They come in beautiful designs
- You can achieve delicate projects that have a different look than scrapbook paper or fabric can provide
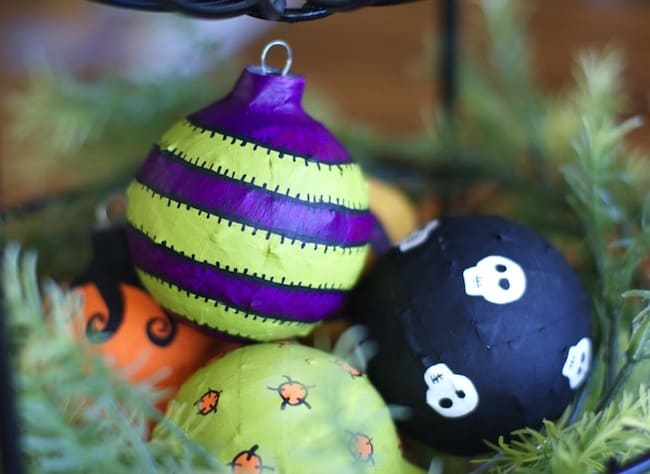
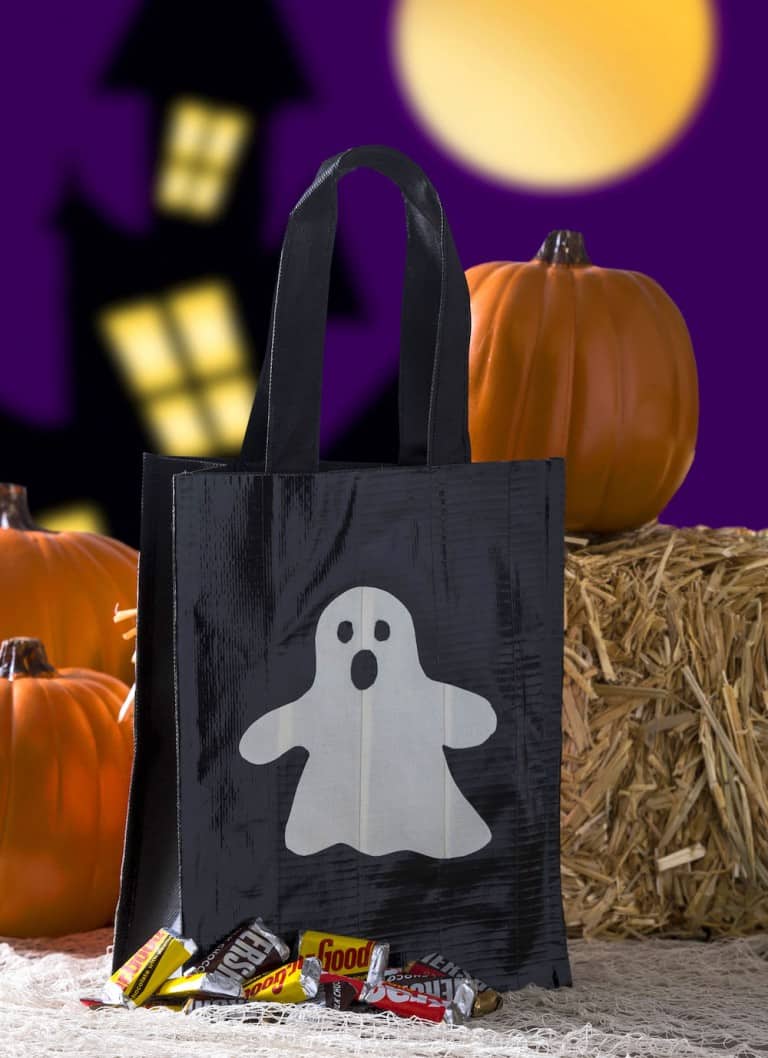
You can see the types of projects you can do in our article decoupage ideas with napkins. The results are truly beautiful and unlike any other medium!
Once you learn to decoupage with napkins, you’re going to be hooked! I want to share a bit of the process with you and some tips gathered from my Getting Crafty with Mod Podge group on Facebook.
- Separate the napkin layers before beginning. This means peel the (typically) white layer off the back of the front layer. You can gently rub the layers together to separate or use a piece of Scotch tape in one corner and pull.
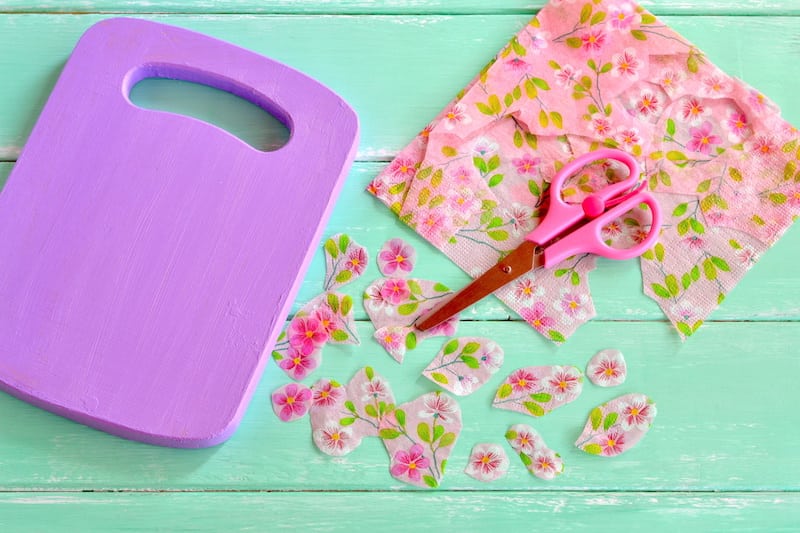
- You can cut or tear your images. The way to tear them is to use a detail brush, dip it in water, and trace around the part of the image that you want to save. The napkin will easily pull away.
- Place Mod Podge on the surface of the item and then place the napkin (or portion of napkin design) down on top. Use a piece of plastic wrap on top to smooth the image. This will help you smooth the napkin down without tearing. Work on smoothing from the middle out.
- Alternatively, some use hair spray on their napkins before decoupage. Spray with several coats of hair spray, let dry, and then Mod Podge your napkin as usual.
- Pressure of your brush is crucial. Don’t be light as you’re just weakening the napkin, and don’t be rough as you will tear your napkin. Practice and patience are key!
- Always do a light sanding and varnishing at the end of your project. Sand until it is smooth.
One of my favorite alternate methods for decoupaging napkins to tile coasters comes from Pat Rhoads in the Facebook group: “If putting a napkin on a tile coaster, put down Mod Podge, wait for it to dry and iron the napkin on. Will be wrinkle free!”
Pat uses teflon sheets between the napkins and the iron, but suggests you could also use parchment paper or a thin towel instead.

Decoupage Napkins
Equipment
Materials
- Decorative paper napkin(s)
- Mod Podge
- Scotch tape
Instructions
- Separate the napkin layers before beginning. This means peel the (typically) white layer off the back of the front layer. You can gently rub the layers together to separate or use a piece of Scotch tape in one corner and pull.
- You can cut or tear your images. The way to tear them is to use a detail brush, dip it in water, and trace around the part of the image that you want to save. The napkin will easily pull away.
- Place Mod Podge on the surface of the item and then place the napkin (or portion of napkin design) down on top. Use a piece of plastic wrap on top to smooth the image. This will help you smooth the napkin down without tearing. Work on smoothing from the middle out.
- Alternatively, some use hair spray on their napkins before decoupage. Spray with several coats of hair spray, let dry, and then Mod Podge your napkin as usual.
- Pressure of your brush is crucial. Don’t be light as you’re just weakening the napkin, and don’t be rough as you will tear your napkin. Practice and patience are key!
- Always do a light sanding and varnishing at the end of your project. Sand until it is smooth.
Are you ready to decoupage napkins? Check out the videos below!
These are crafters’ favorite places to buy napkins for decoupage:
What questions or tips do you have in regard to napkin decoupage? Let me know in the comments!


Absolutely awesome
Love love love! Thank you for sharing!
I used decoupage with napkins on wood. It seemed to go down really nice, but when I came back a couple hours later, the napkin bubbled in several places. What should I do now?
Thank you for your time.
Did you use the iron on method? You can re-iron it. Just put the parchment paper on the top and iron again. https://modpodgerocksblog.com/wood-butterfly-decor/