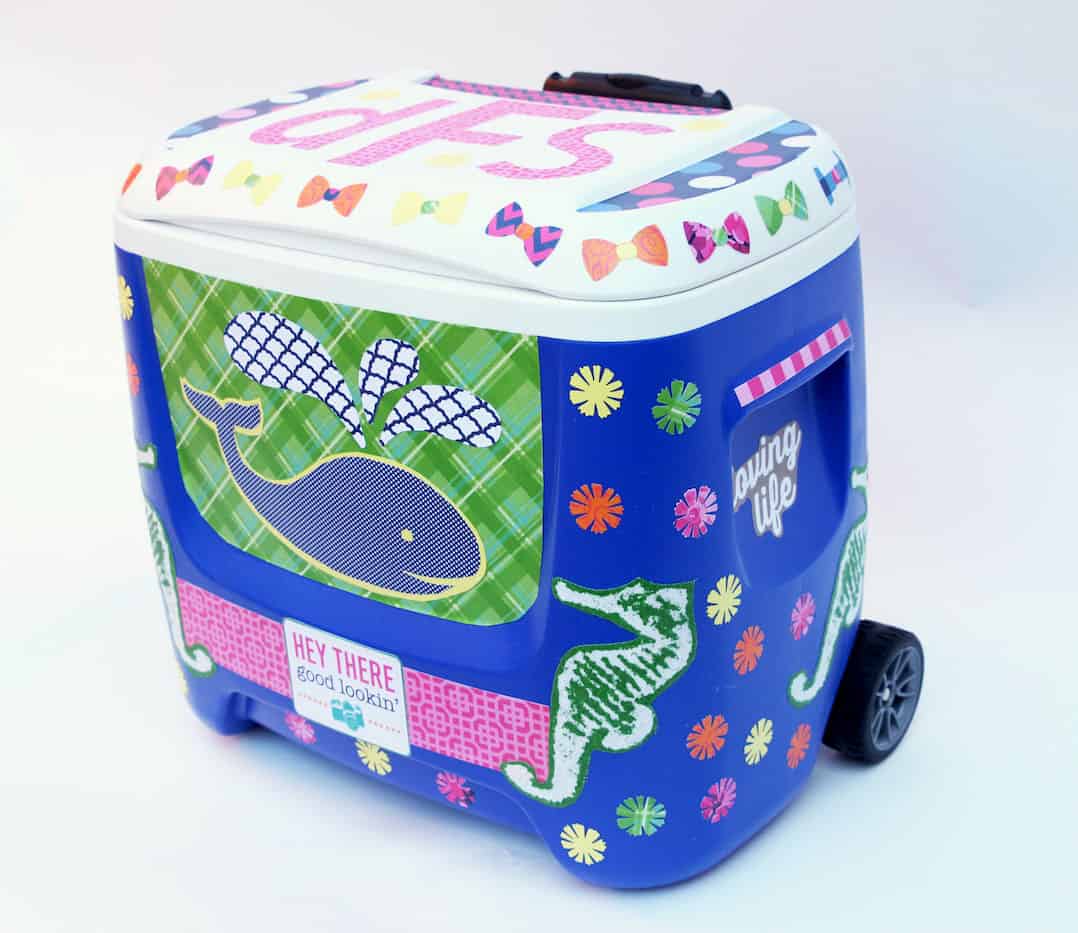
Wondering how to decorate a cooler for a party or tailgate? Here’s the easy way to do it with Mod Podge – video included in the post. Such a fun game day idea!
Skills Required: Advanced Beginner. I recommend having prior experience with Mod Podge as you’ll be adhering paper to a (likely) textured surface. It’s not hard but you need patience!
I get asked this question all the time – can I decorate a cooler with Mod Podge? With football season right around the corner, and then summer after that, I think it’s a great question!
Who doesn’t want to take a custom cooler to a game – especially when you can doll it up with team specific papers and fabric!
If I’m writing this post you can imagine what the answer is. And if you’re waiting with bated breath, the answer is YES! You can decoupage a cooler! It’s not that hard to do.
Cathie and Steve show you how to Mod Podge a cooler in the video in this post. They use a few different formulas – like Mod Podge Fabric and Mod Podge Dishwasher Safe – but once you’re done, you’ll have a cooler that will last several seasons.
Decorate a Cooler
Watch the video to see it done, and to get Cathie and Steve’s best tips for making your cooler magical.
Before you jump into the video, here are few questions you might have about this project. They are common questions, so I figured I’d go ahead and answer them here.
Do I need to prime my cooler?
Maybe. How banged up is it? For an old cooler or a paint color change, I would prime it with spray primer made for plastic. If you bought your cooler new, give the Mod Podge a try first (not all plastics work). If it’s not sticking, prime it.
What paint should I use for my cooler?
Use a spray paint that is made for plastic.
What if my project is tacky after Mod Podging?
Use a clear spray or brush on sealer after Mod Podging. Honestly I’d do this anyway simply to make it more durable – coolers always get banged up!
Any other tips for when I decorate a cooler?
One of my best tips – look for a cooler that has less “texture” if you are purchasing new. You can also lightly sand if your cooler is highly textured or use a primer to help the Mod Podge stick better. Happy decoupaging!

Decorate a Cooler
Equipment
- Spackle knife
- Sandpaper
- Paper punch
Materials
- Hard cooler
- Spackle
- Paper for templates
- Scrapbook paper
- Dishwasher Safe Mod Podge
Instructions
- Start by adding spackle to smooth out the raised areas of your cooler. Smooth on with a spackle knife. Let dry.
- While the cooler is drying, create templates for the indentation areas using white paper and a pencil. Cut out the templates.
- Place the templates on the decorative paper and cut them out.
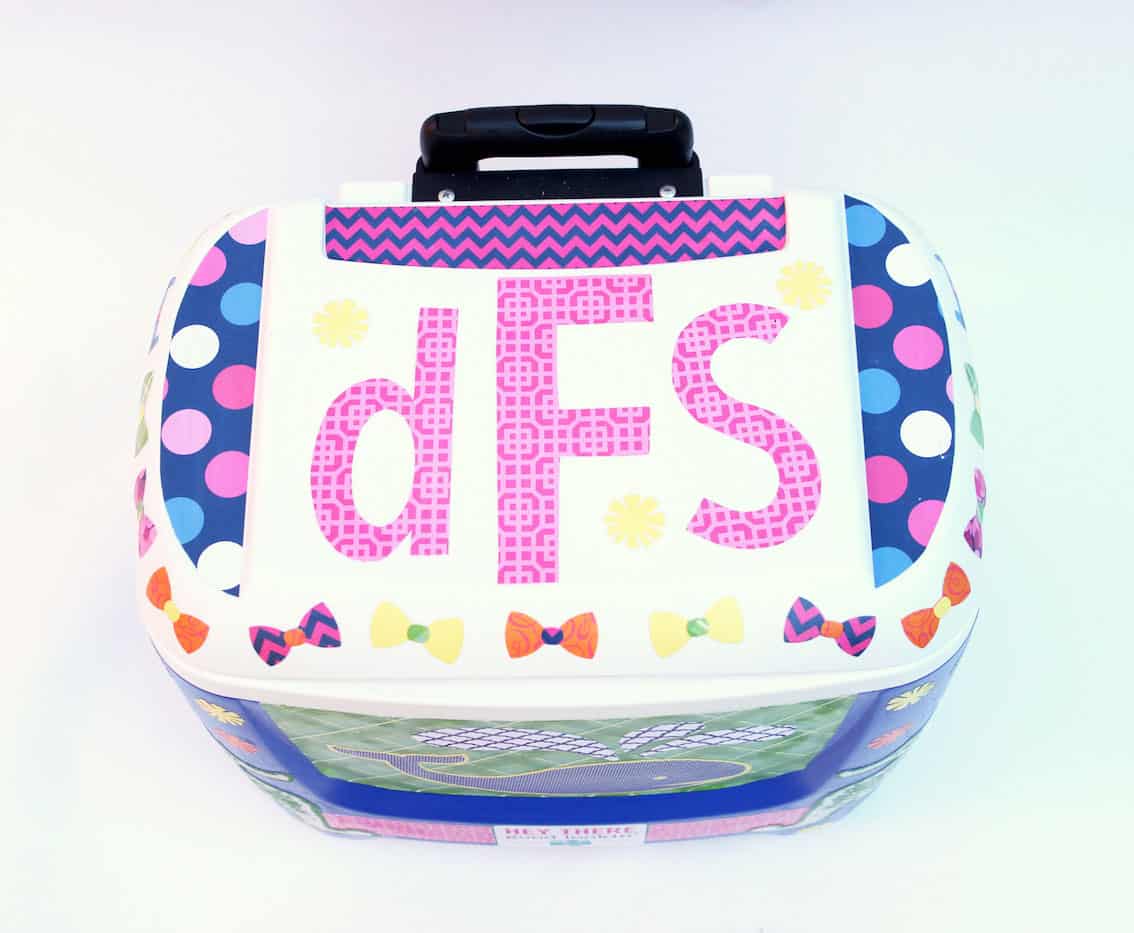
- Cut out any monograms with scissors or a craft knife, punch out additional shapes to go on the cooler.
- When the spackle is completely dry, use sandpaper to smooth the area. Wipe away any dust with a damp cloth.
- Add a coat of Mod Podge to the back of the paper as well as to the corresponding area on the cooler. Place the paper down and smooth. Let dry.
- Add a coat of Mod Podge on top of the area to seal it. Layer up images and design elements as desired. Let dry.
- Completely coat the entire cooler with Mod Podge and let dry 24 hours before using.