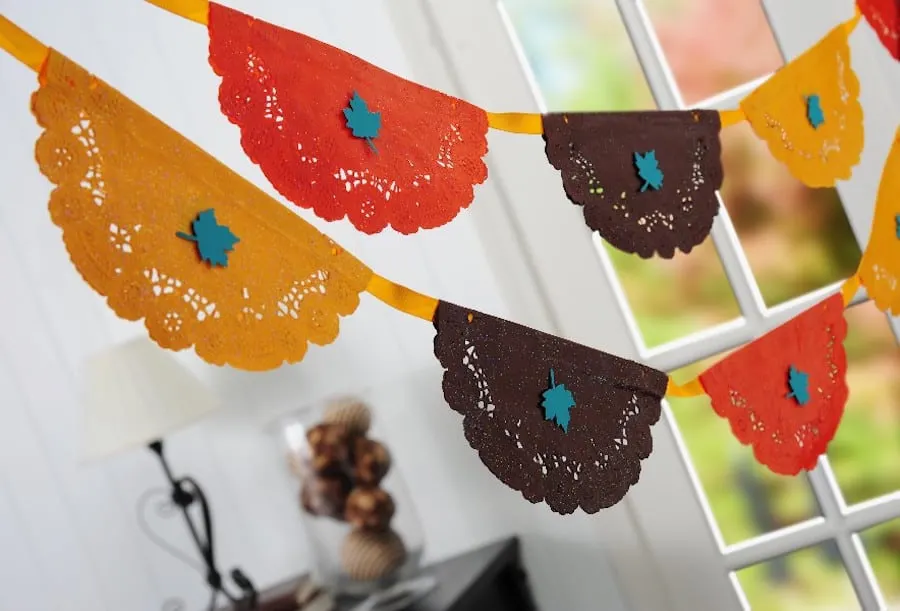
This DIY Thanksgiving banner is REALLY easy to make – just use paper doilies from the dollar store, paint, and Mod Podge!

I’m going to be honest – I really don’t know how to decorate for parties or holidays. My go-to thingy is banners (aka buntings) because they are easy and long, so they cover a large surface area. They make me look fancy without even trying!
This DIY Thanksgiving banner was easier than normal, AND it’s budget friendly. All I did was buy a package of paper doilies and I had the rest of the goodies in my stash.
Now I have a cute decoration for my holiday festivities. I think you need to make a Thanksgiving doily banner too . . . here’s how it’s done.
Thanksgiving Banner
Gather These Supplies
- Paper doilies – mine are 6″ round, from any party store
- Mod Podge Glitter (you can also use Sparkle or Silver)
- FolkArt Acrylic Paint – Coffee Bean, Medium Yellow, Pure Orange
- Scrapbook paper, teal – one sheet
- Leaf Punch
- Mini Pop Dots
- Ribbon, coordinating – I used about 9′ of yellow
- Craft glue
- Brayer
- Paintbrush
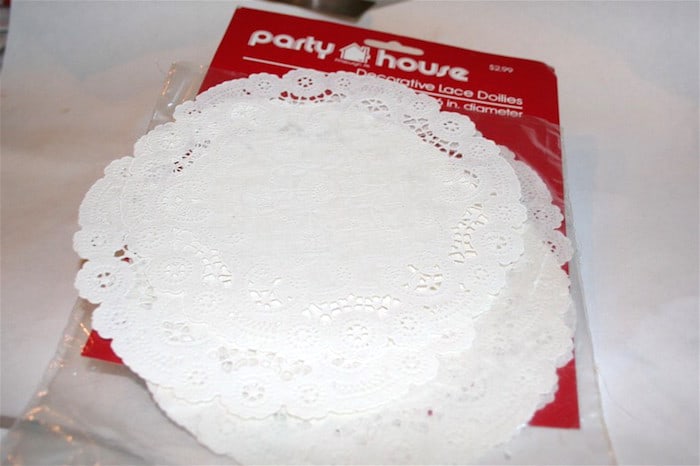

My paper doilies came from the baking section of the dollar store.


Then you get to paint them, which is fun. Make sure to have a piece of paper underneath because of the holes in the doilies. I painted on both sides and picked three obvious fall colors (a total of nine doilies). Pick whatever colors you like.

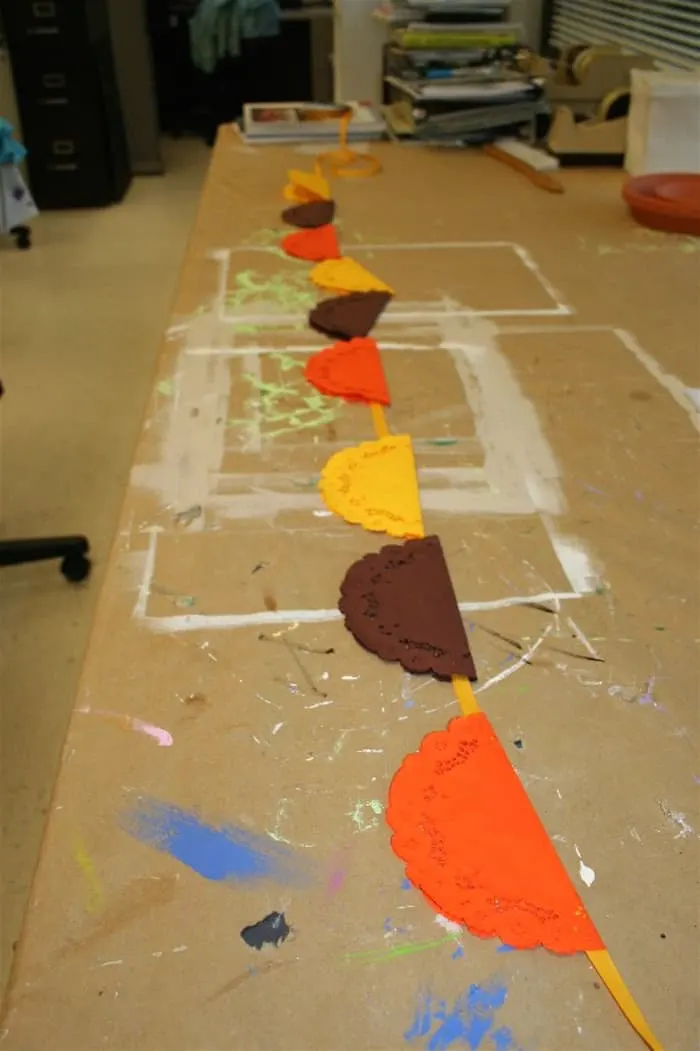
Fold them in half and lay them on a ribbon on a long table. This is the planning phase. Ha!


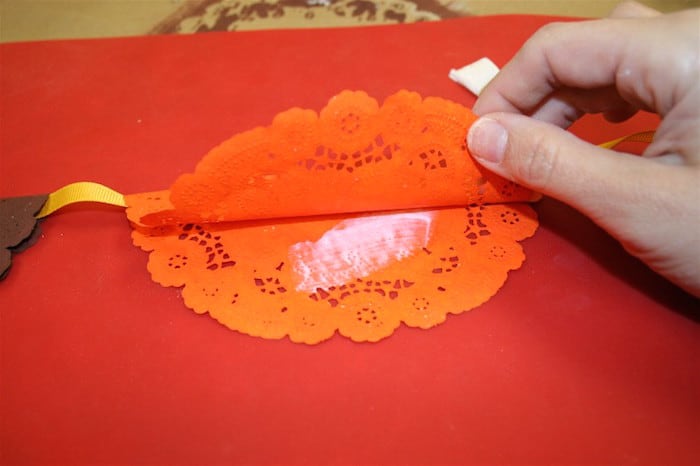
Glue the ribbon in with craft glue. Why not Mod Podge? I found that to glue the ribbon to my doilies, I’d have to add a lot more Mod Podge and it soaked the doily. So a thin line of a thick craft glue is a good solution.

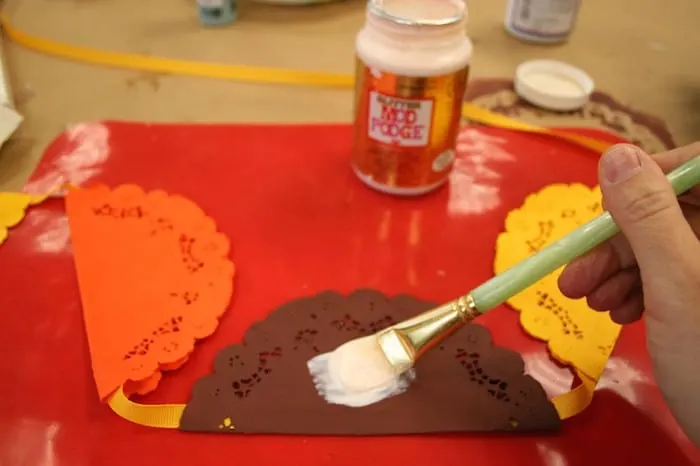
Paint a thin layer of Mod Podge between the doily layers, making a Mod Podge/doily sammich. Do this with one doily at a time.
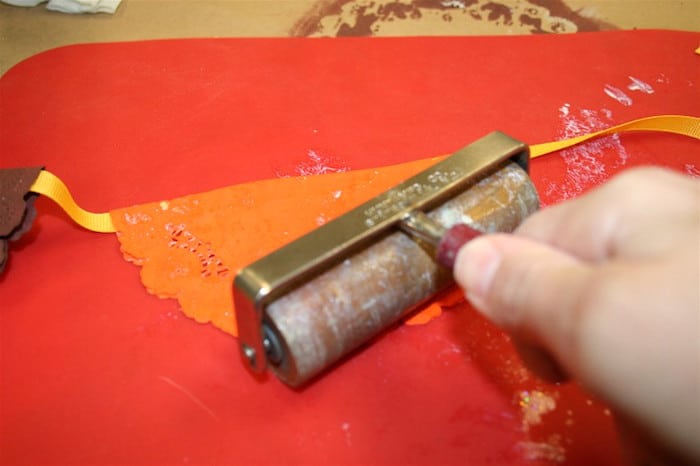

Flatten the doily with your brayer. Some Mod Podge might come out; just wipe it away. I recommend the Mod Podge mat as a surface for you, because it’s non-stick and easily cleanable.

To make your banner super fancy, you’ll add Mod Podge Glitter on the outside. Just paint it on the doilies and let dry. Then turn the banner over and do the other side.
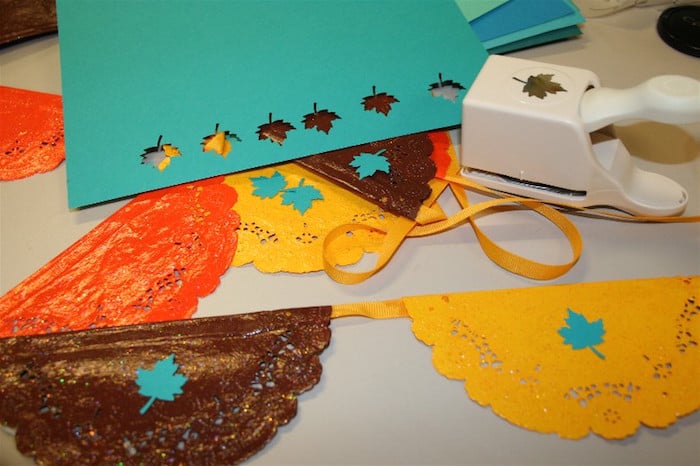

I wanted a unique touch to my banner. You don’t have to do this part, but I thought it was fun. I punched out turquoise leaves using a leaf punch and cardstock.
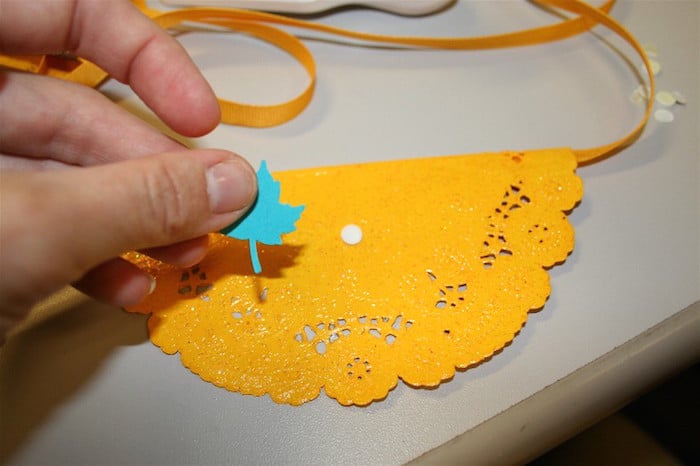

Then I added them to my banner with pop dots.
Your Thanksgiving banner is ready to hang and grace the area near your Thanksgiving table. Make it as long or as short as you like (and obviously, use this for any holiday!)
If you enjoyed this Thanksgiving craft for adults, I’d love for you to check out these other ideas:
The Activity Mom
Tuesday 6th of November 2012
Wow! I just saw your book on the shelf at Hobby Lobby. I totally did a double take. How exciting!!!!! Congrats!